10,000 Digits of Pi in Pie! 60 Meters of Pi!
by Asray Gopa in Living > Toys & Games
2221 Views, 8 Favorites, 0 Comments
10,000 Digits of Pi in Pie! 60 Meters of Pi!


Have you ever had the following scenario: You are going to the mall and the only way you can enter is by reciting the first 10000 digits of pi or you see a cute girl on the street and want to ask her out and she's like the only way to get a date with me is to recite the first ten thousand digits of pi?
Well, you are in luck! In this Instructable, I will teach you how to make Pi Pie. Hopefully, you'll never run into situations like that but it's a good practice to have a 10,000 digits Pi on hand.
This project is obviously very useless but it's a novelty item and mainly a showpiece you can show off to your friends. But it was great fun for me to make and I hope some of y'all will make it too.
I made this project out of cardboard and paper and had a ton of time on my hands. And also pi is a very important number. It helps us in various fields like maths and science. It is also a never-ending number but I only wrote the first 10000 digits ( Maybe 100000 next year?)
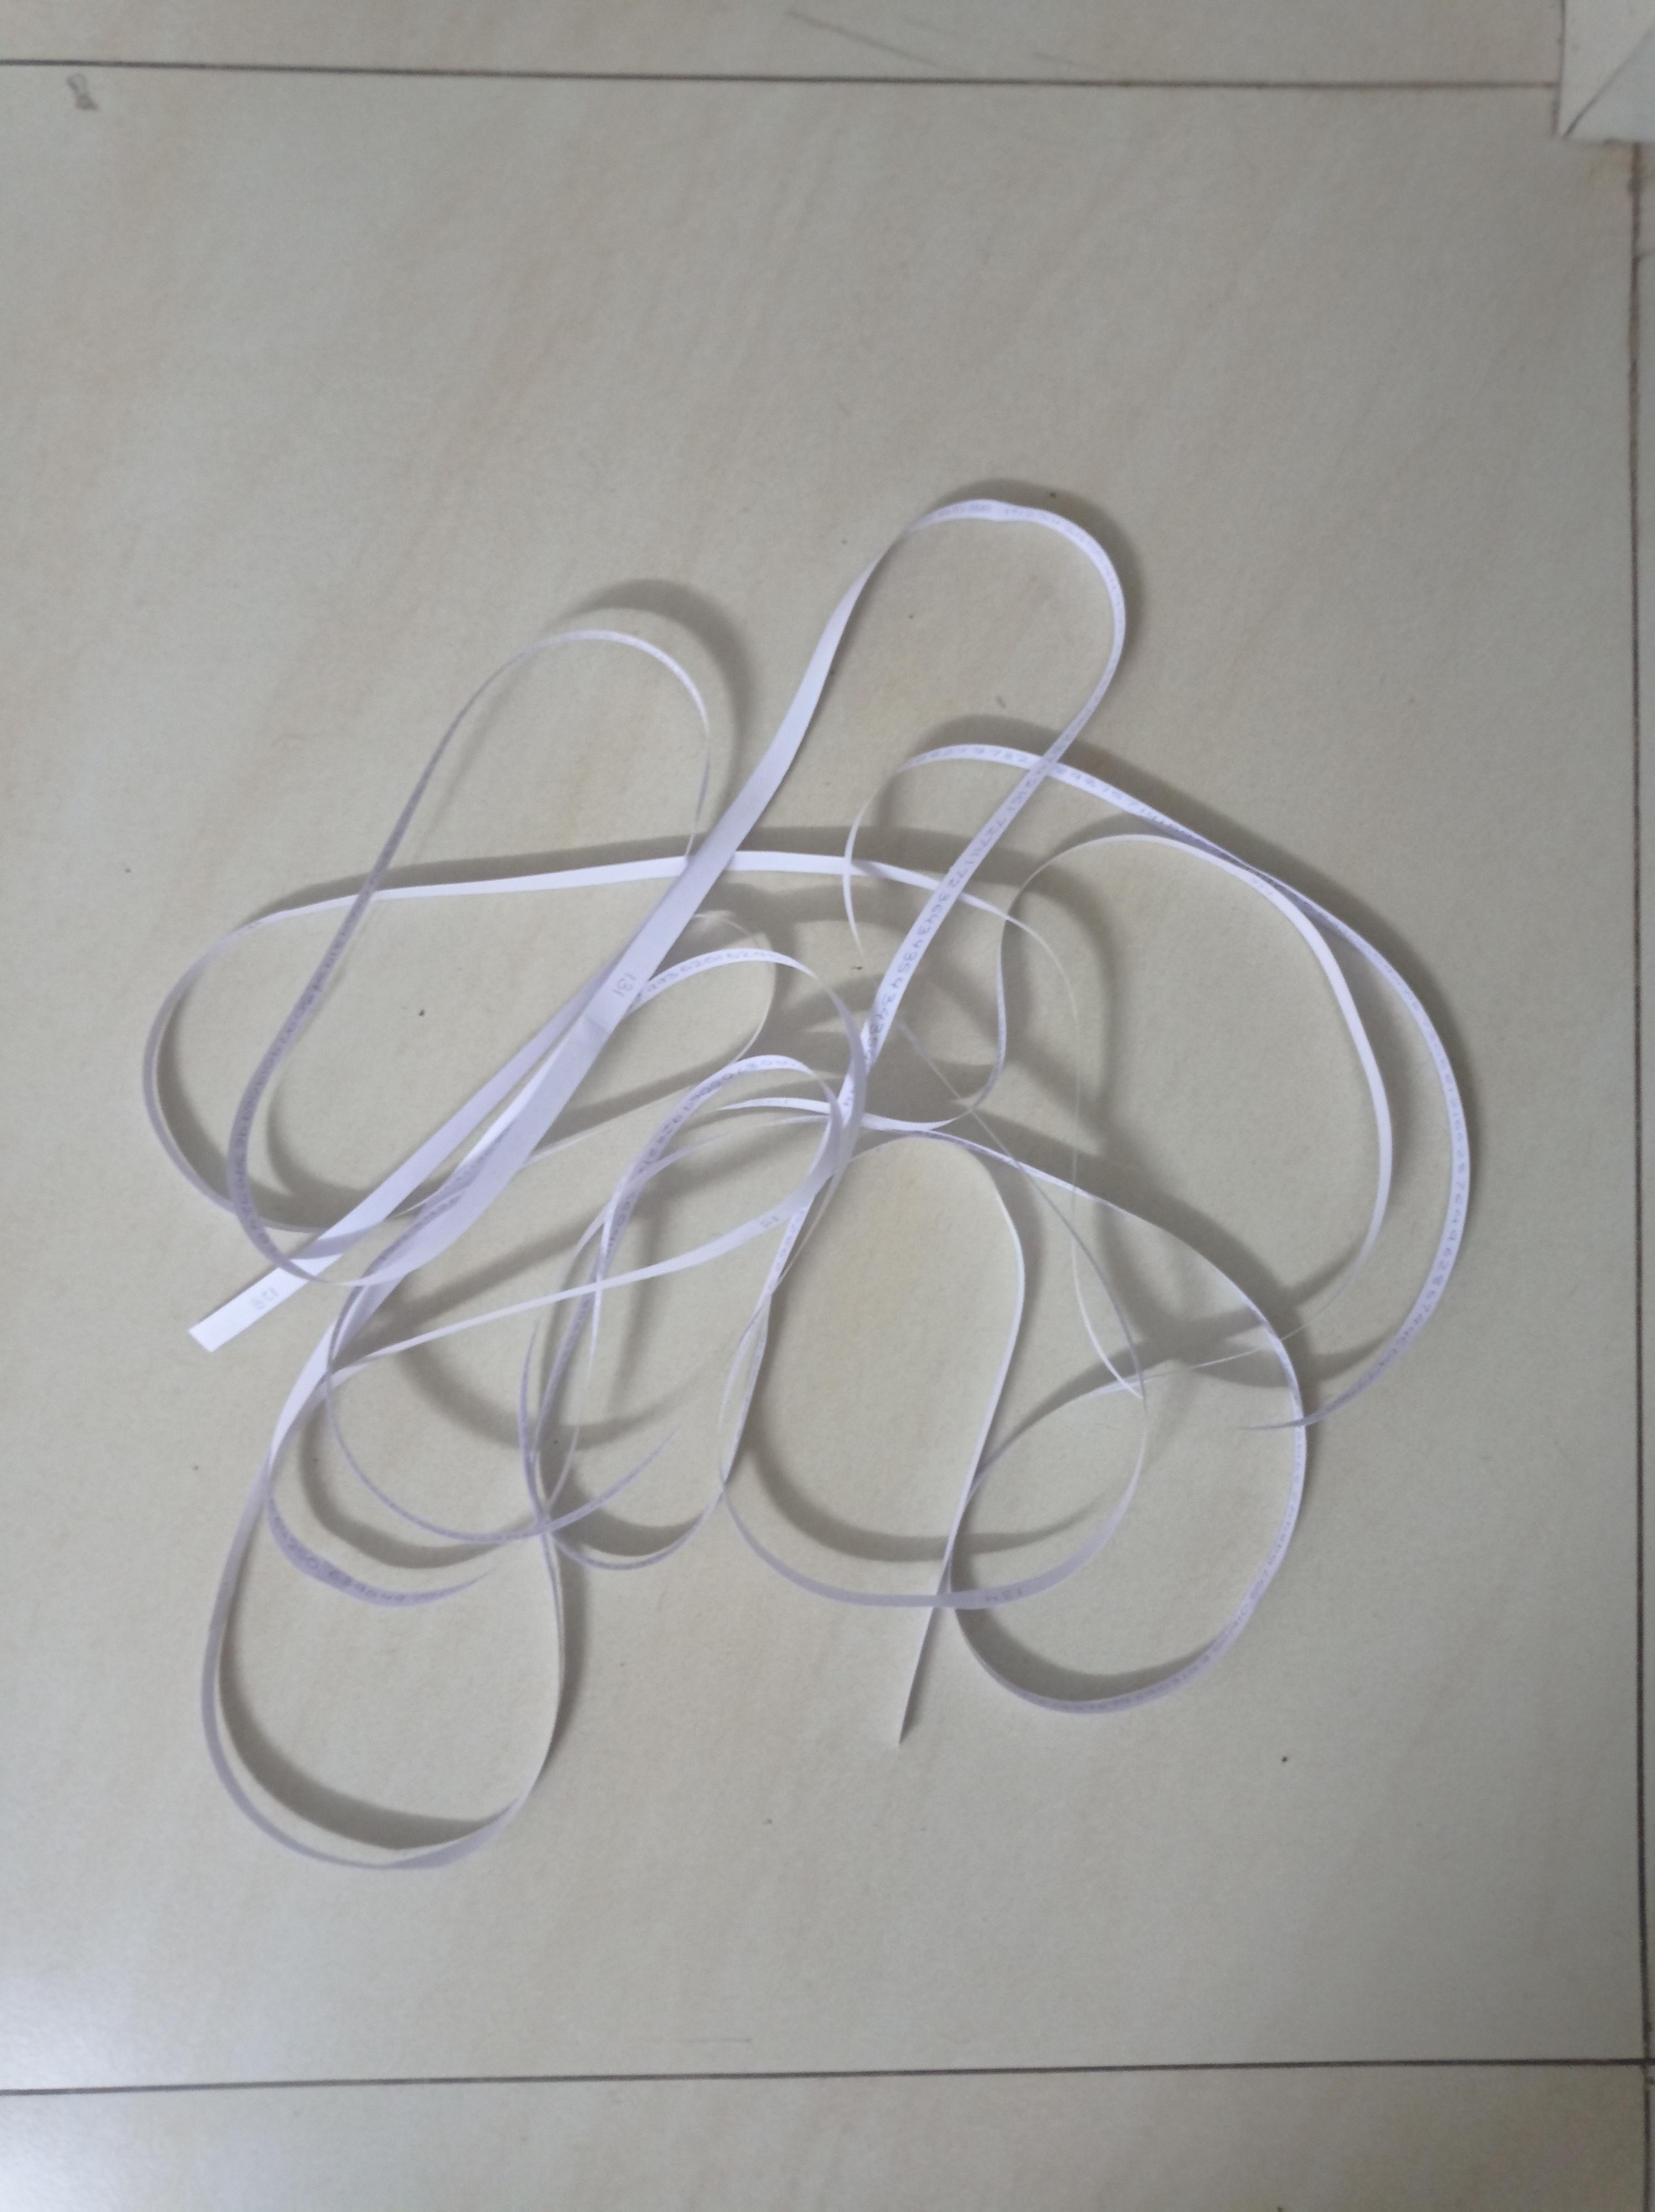
This pi strip is about 60 meters long when unraveled.
You will see that I will use a lot of pi in this project. I used it for cutting out the circles, finding the circumference for the borders of the circles. I also made the whole project in the shape of a pie.
Check out the YouTube video I made for this project, where you can see me unravel the whole thing: https://www.youtube.com/watch?v=nunOBRN2seI
I am submitting this project to the Instructables Pi Day Contest. Pls vote for me :) https://www.instructables.com/contest/piday2021/
Now let's get to crafting!
Supplies
- A4 sheets
- Pen
- Pencil
- Printer
- Liquid Glue
- Cardboard (0.5 CM)
- Hot Glue
- Coloured Paper
- Lots of Patience
Simple As 3.141592…


I went to the Official Pi Day website and went to the section with a million digits of pi. Obviously, a million digits was a bit too much for me, so I stuck with 10000 digits of pi (which was a very smart choice). I kept it in a word document which you can download by clicking on the link here: https://docs.google.com/document/d/1BAeCA5W6
But before I could start writing the digits of pi, I had to form a template to maximize the amount of pi per page. So I took an A4 sheet and drew 1/2 inch lines with a ruler until I had 16 strips per page. And I also drew a 1 cm border at the edge of each paper. Then I wrote three lines of pi and average them out to find out how many digits I wrote per line and multiplied it by 16. Using that factor I divided it by 10000. Doing all that math, I found out I needed 13 A4 sheets. I then drew 1/2 lines for the rest of the 12 pages.
I finally started writing the digits of Pi. It took me an hour to write but it didn't feel like that much time. Keep a movie playing - I was watching the "Life Of Pi". You can see all the completed pages in picture 5.
If you don't wanna waste time like me, you can download the sheets of pi for free. Click on the link here:https://drive.google.com/file/d/11a0jmSN8VA2sXmyeJ0Jc7a or download the file below
Life of Pi


After completing writing 10000 digits of Pi. I counted a total of 192 strips and I had to cut out an extra two strips (these strips will be important later on in the project). An A4 size sheet is 29.7cm in length and I had 194 strips which would result in 57 meters of paper when cut.
I finally got to cutting the strips of paper. Make sure to have a rubber band or clip on hand to organize them in one pile. And another important thing is to number each strip( I often got confused while gluing the strips and the numbers on the strips helped me get back in place & I also dropped all of them once).
I cut the all strips and it was time to glue them up. See those borders in the strips. That's where the gluing is going to take place. Take a tiny dab of glue and put a thin layer of it in the empty space and attach the next strip in order. Don't use too much glue otherwise the paper will warp and the whole thing will get ruined. I found it helpful to glue up 20 at a time and glue all the segments together at the end. Find a place to store all the strips, I emptied out my desk drawer. Also, remember the 2 empty strips you cut out the beginning, glue them to the end of the strip.
Once you glued them all up it's time to make the mechanism to store the 60m strip of paper.
Pi*r^2


I drew up a basic schematic of the mechanism which you can see in picture 1. Basically, this thing works like a yoyo, but the string in this case a 1/2 inch strip of paper, and the yoyo isn't going to be controlled by string but by making the yoyo move with an axle at one edge of the yoyo. It'll make more sense in the instructions on how to make it and the pictures.
Making of the Mechanism:
- Cut out 3 circles of radius 3 cm, another 4 of radius 7 cm out of cardboard
- Glue up the 3 circles of radius 5cm together and poke a hole in the middle with a pencil. Also, poke holes in the larger circles.
- Glue 2 of the larger circles to the center of each side of the structure we made in step 2
- Put a dowel in the pencil-sized hole we made. Make the dowel extends each side by 1/2 an inch.
- On one side of the dowel glue the larger circle to the dowel but not the structure
- Take the remaining circle and cut a 3 cm circle out of it from the middle. You will get a circle and donut-shaped cardboard piece.
- Glue the small circle to the other end of the dowel but not to the structure.
- Glue the donut-shaped cardboard to the structure only.
- Make sure the mechanism can spin freely
- Glue a small piece of dowel to the edge of the donut-shaped cardboard piece. This will help you spin the mechanism easily.
- Remember we glued 2 empty strips of paper of the pi strip. glue one of the strips directly around the innermost cylinder. This makes sure the paper can tug on the innermost cylinder and spin freely when rotating the outermost cylinder.
- Finally, roll up the rest of the 60-meter strip of paper
Check out the pictures for further clarification.
You have made the mechanism. You can finish the project here or you can make the exterior shell for it and that will be explained in the next step.
Apple, Peach, Blueberry, Pumpkin, Pecan…


For the exterior shell, I decided to make it in the shape of a pie. I just needed a thing to store the mechanism, so I just thought of making it look like a boring ol' tape measure but then a brilliant idea came to my mind, thankfully my brain is stupid that way.
How to make the pie exterior shell:
- Cut out 2 circles of radius 9cm and a rectangle of 5cm*28.2cm (Make sure to cut the grain on the cardboard such that it can fold.)
- Take 1 circle and cut a circle of radius 7cm circle in the middle of it. (This circle will be able to let you use the axle of the mechanism and will be the bottom of the pie shell)
- Take another circle and glue the mechanism to the center of it. (This is the top of the pie shell)
- Take the circle with the mechanism on it and glue the rectangular piece of cardboard all around the edge. Cut out a tiny slot in the rectangular strip of cardboard so that the paper strip can come out.
- Glue the circle with the 3cm radius hole to the rest of the structure. Test out if the machine is still working and the paper is still coming out and coming back in. At the beginning of the paper, strip add a bigger piece of paper so that the paper strip does not go into the pie structure
- Cut 2 circles of radius 10cm and cut out a circle of radius 7.5cm in the middle of it. (This will be the crust)
- Glue the crust to the pie structure
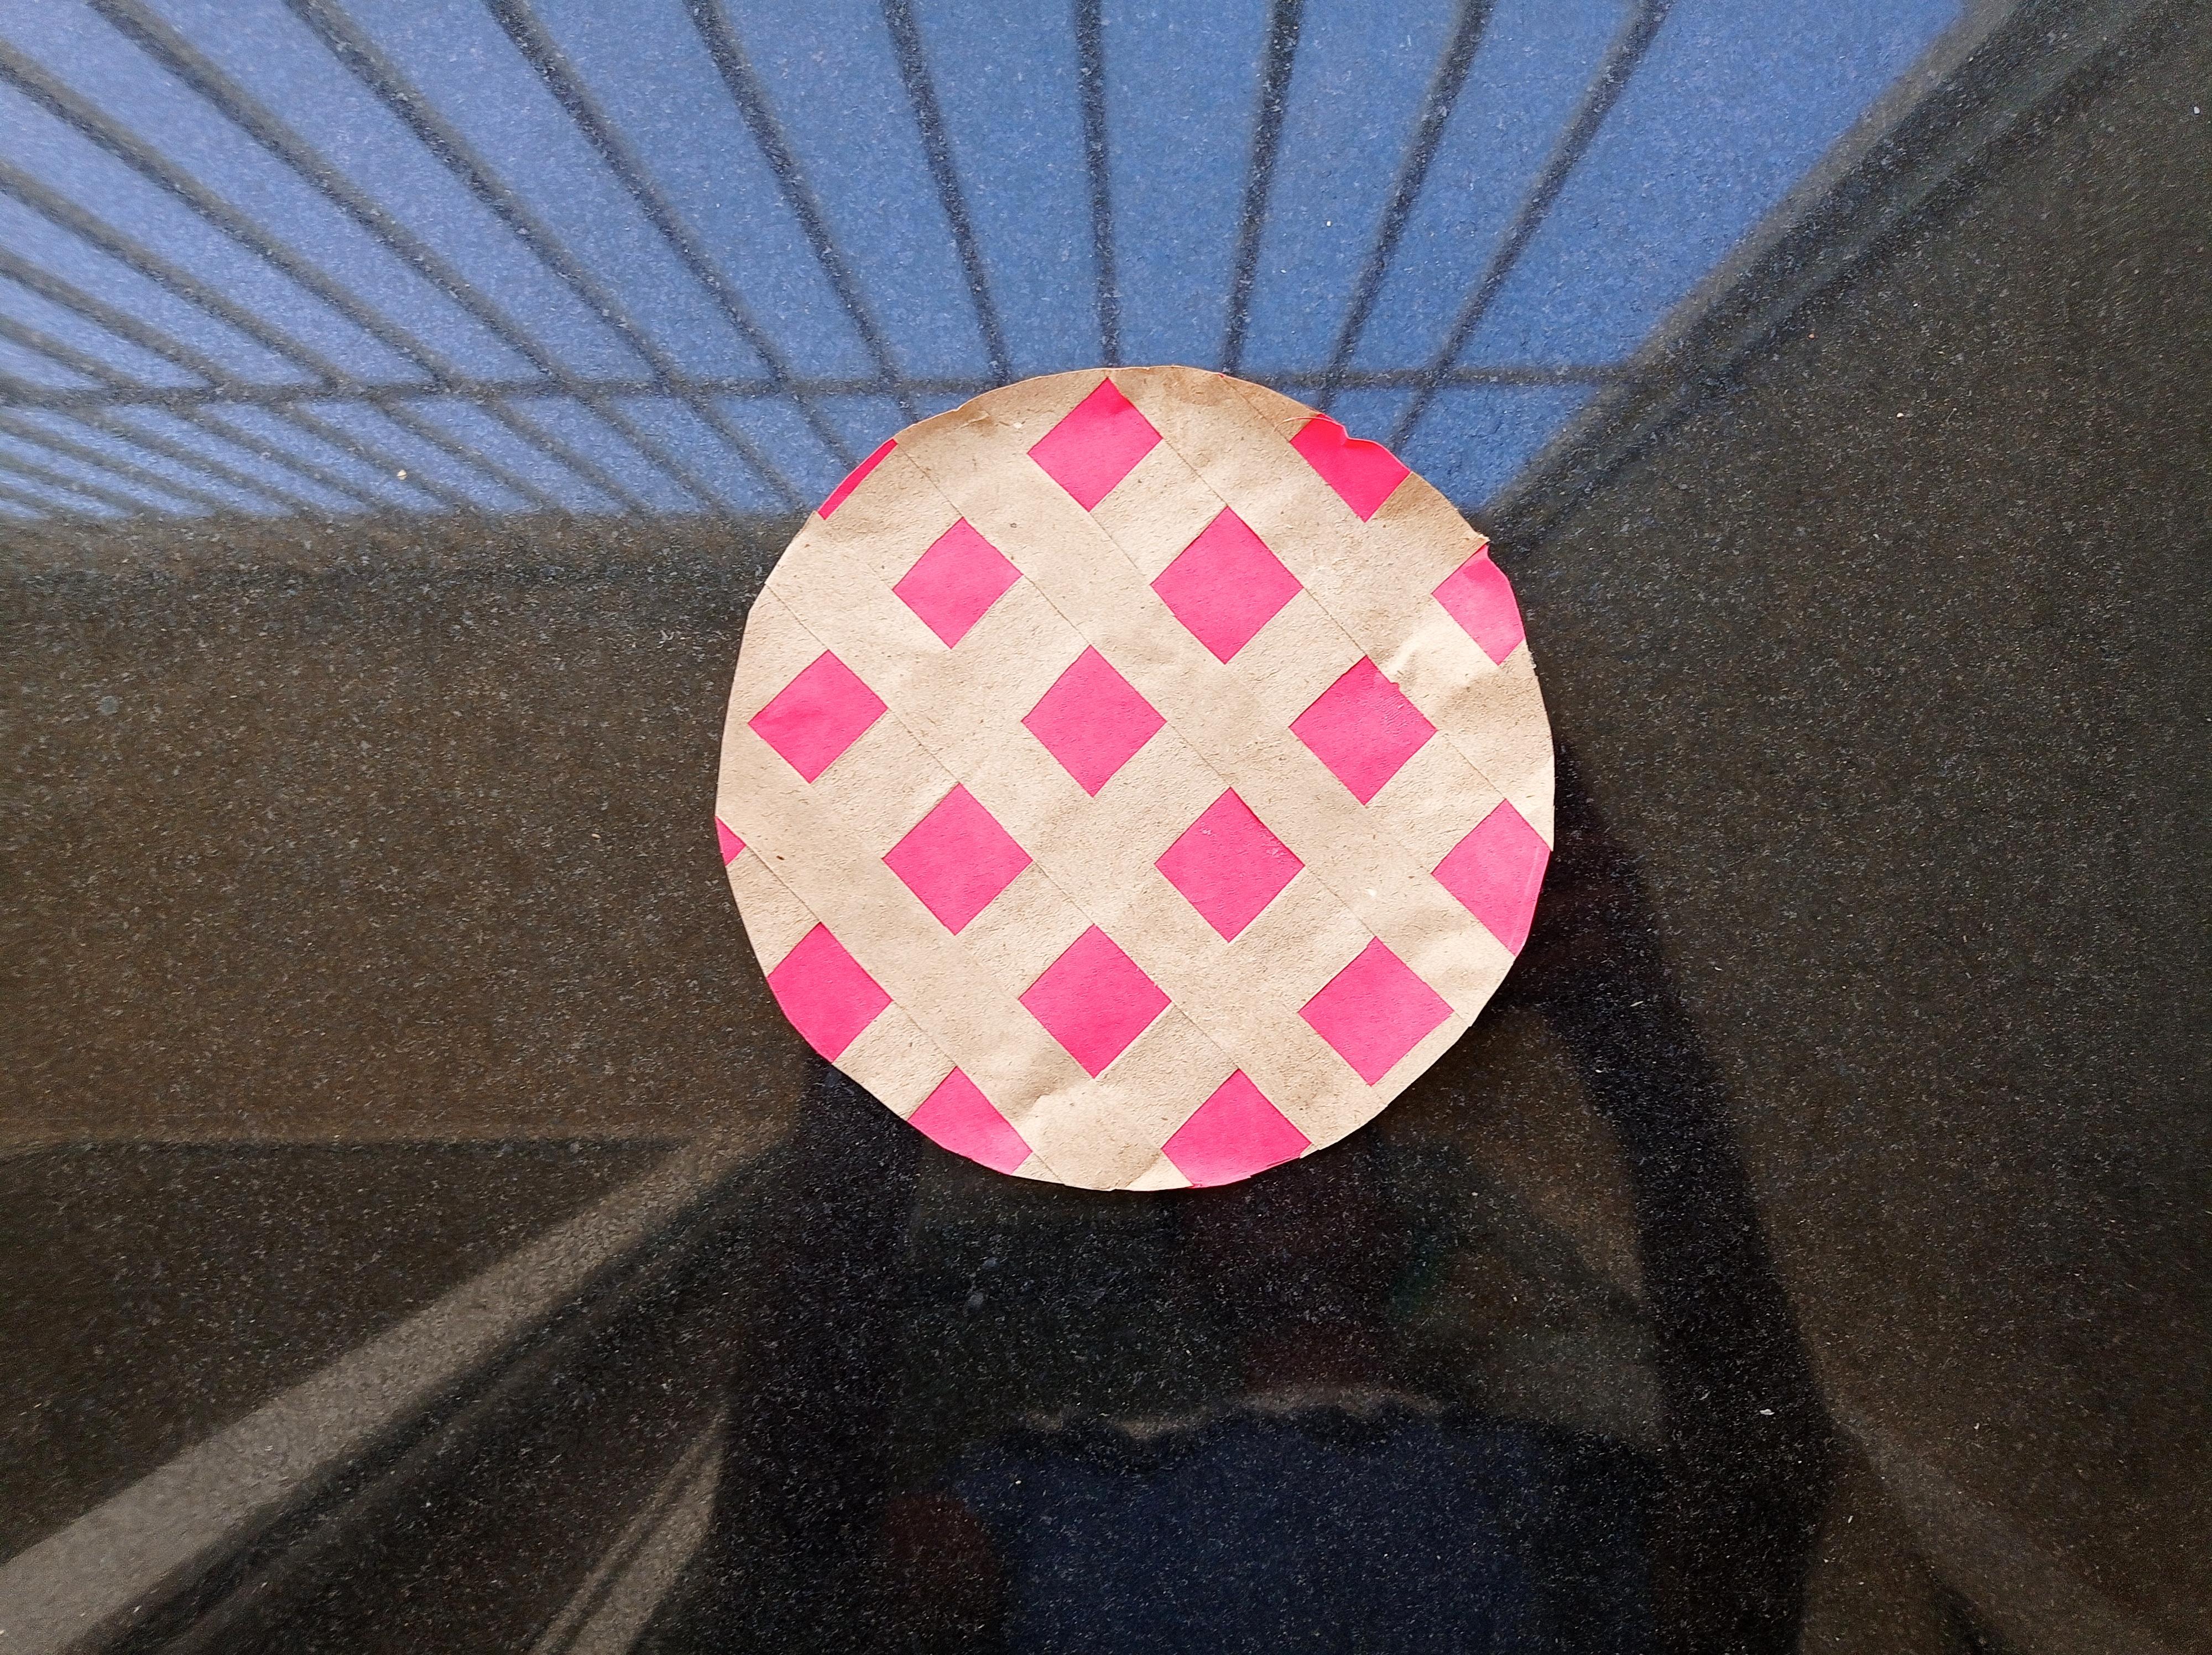
- You can a circle of 7.5 cm and add that pie braid pattern to it and cut it out and finally glue it in the middle.
- Finally, paint it or cover it with colored paper(I use colored paper as it looks better than paint). I covered it with light brown paper and red in the middle(I like cherry pie, what about y'all).
As always, check out the pictures for further clarification.
You are done making the 10,000 digits of Pi in Pie
Irrationally Rational


Thank You for viewing my Instructable! This was a very fun project to make and I hope you make it too. I spent about 5 hours making but every minute was worth making it.
Any kind of advice is appreciated. I think it's better to learn and make myself better at making stuff.
In the end, I went outside and unraveled on my road (watch out for cars). It was really cool to see and my mom was surprised to see it, I didn't tell her it was going to be 60 meters long.
I am submitting this project to the Instructables Pi Day Contest. Please vote for me :) https://www.instructables.com/contest/piday2021/
Check out the YouTube video on this project: https://www.youtube.com/watch?v=nunOBRN2seI
Check out my YouTube videos: www.youtube.com/watch?v=fIgxzXrSSK4&t
Check out my Instagram Account: https://www.instagram.com/create_with_asray/?hl=e...
Check out my other Instructables: https://www.instructables.com/member/Asray%20Gopa...
Bonus Project


Wait you didn't expect that at all right? Usually, every instructable has 1 project written in it. Psych, this instructable has a bonus project. Let's get to it.
This a Pi Shaped figurine with the digits of pi written on it. I made it with cardboard. I don't have any pictures of how I made it ( I haven't really discovered Instructables until a couple of months back), but I will tell you how to make it via steps:
- Cut out a pi-shaped cardboard piece.
- Attach cardboard of the same breath all around the edge of the cardboard pieces
- Add support pieces between
- Cover with chart paper( I used blue for the edges and white for the front)
- On the front write the digits of pi really small using a micron pen. I wrote about 2750 digits.
- Ta-da you are done
Use the pictures for reference.
I really wish I heard about the Instructables website when I was twelve. I would have shared a lot of projects for the maker community to see.
Thank You for reading!