2D Modeling & Laser Cutting: Fish Lamp


This instructable records the process of the creation of a fish lamp.
Regarding to the topic of designing a self-standing module structure, our group initially came up with many possible modules, such as flowers, rainbows, and shapes looked like A. The reason why we eventually decided to use fish as our module is that it not only gave us more chance of practicing 2D drawing on Rhino 7 but also presents a good artistic taste.
From the experience of creating the fish lamp, we learned:
- how to draw 2D designs in Rhino 7
- how to use operate laser cut machine's basic functions
- how to cut shapes with different depth and power
- how to make revisions through prototyping and discussions
The following are the steps we went through:
- Sketching rough ideas
- Determining tools and supplies
- Prototyping
- Revision & Iteration
- Final Product
- Reflection
If you are interested in our design, feel free to scroll down and read our process :)
Sketching Rough Ideas


We started the process with brainstorming modules that allow the structure to be self-standing.
Initially, we drew any possible shapes that we could came up with on paper. We considered flowers whose petals connected to one another, shield-shapes that allowed to overlap upon each other, tiny human shapes whose cut on their shoulders and legs could intersect one another. During our discussion of rough ideas, one of the main problems that we often talked about is how we can make multiple layers of module overlap upon each other without falling apart.
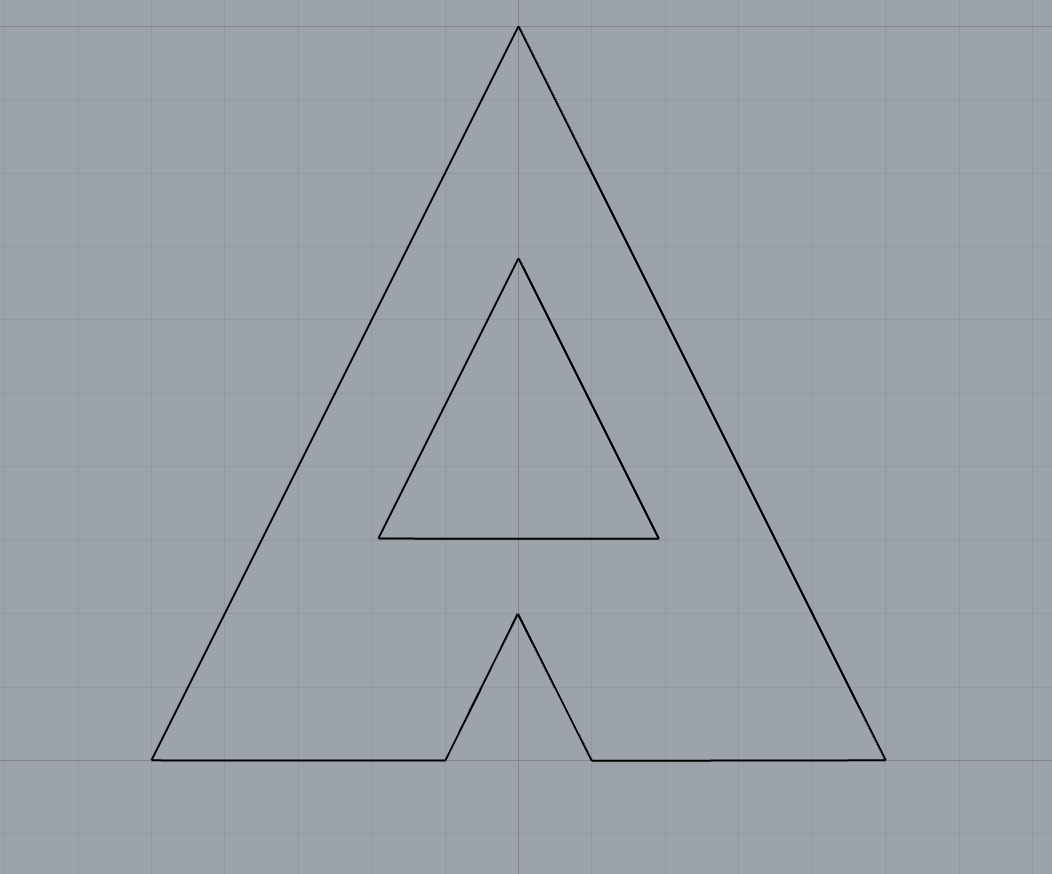
In the end, we tended to focus on prototyping the A-shape triangle (as shown above) first because we wanted to see if we can create a structure made up of a single letter.
Determining Tools and Supplies

Based on the rough idea we determined, we decided to choose polycarbonate as our material. The reason behind such a decision is that compared to the brown paper, polycarbonate was more firm; compared to the wood, it was more flexible. We were thinking that with the 2D design of triangle, such a material can help module to stand more firmly. For the connection part of the module, we decided to use colored paper clips since we thought that the whole structure would be more attractive and firm. We also used the vernier caliper to measure the size of the paper clip for the prototype's design (as shown in the picture).
Prototyping


After finishing the design on Rhino 7, we transferred the design to Adobe illustrator, which then activate the laser cut machine to function.
The result turned well: the triangles could stand by themselves with the paper clips connected. However, even though the triangles were able to stand by themselves, we realized that the structure were not creative enough because the basic logic of the design is just the connection of triangles. Therefore, we decided to give up upon this design and shifted our attention on other design of modules.
Revision & Iteration


We later on focused on our attention to the fish design. We initially utilized polycarbonate for the prototype since we thought that the hardness and flexibility of the material could help the standing of the structure. However, when we did cut the fishes made up of polycarbonate, we found out that the material was not flexible enough to allow the connection between fishes' tails that was achieved simply through cut intersection. Therefore, we decided to use brown paper to print the fishes.
For our second fish prototype, we found out that the fishes were not able to connect well with several layers with one pink paper clip. Under professor's advice, we utilized a nail to connect the fishes, which then resulted the fishes to stand more firmly. Later on, we revised the outline of the fish to make it aesthetically more natural and pretty.
Downloads
Final Product


With several rounds of revision, we eventually made the final structure of our product. The professor Garcia recommend that we could add a light bulb in the middle and turn the whole structure into a fish lamp. The connection was achieved through nails that connect the eyes of fishes and intersections between fishes' tails. With the light bulb settled in the middle, the whole structure became more stable and more artistic. The whole structure was made up of 35 pieces of fishes.
Reflection
From this experience, we not only learned about how to use Rhino 7 to paint 2D designs, but also learned how to use laser cut with various powers. We also gradually built our perspective of seeing things in 3D way, which I think would be a good foundation for future 3D designs. I think what we can improve for future design is that we can utilize more pieces so that the whole structure could be larger and more stable. I also learned that we need to have patience throughout the way before we see the final product.