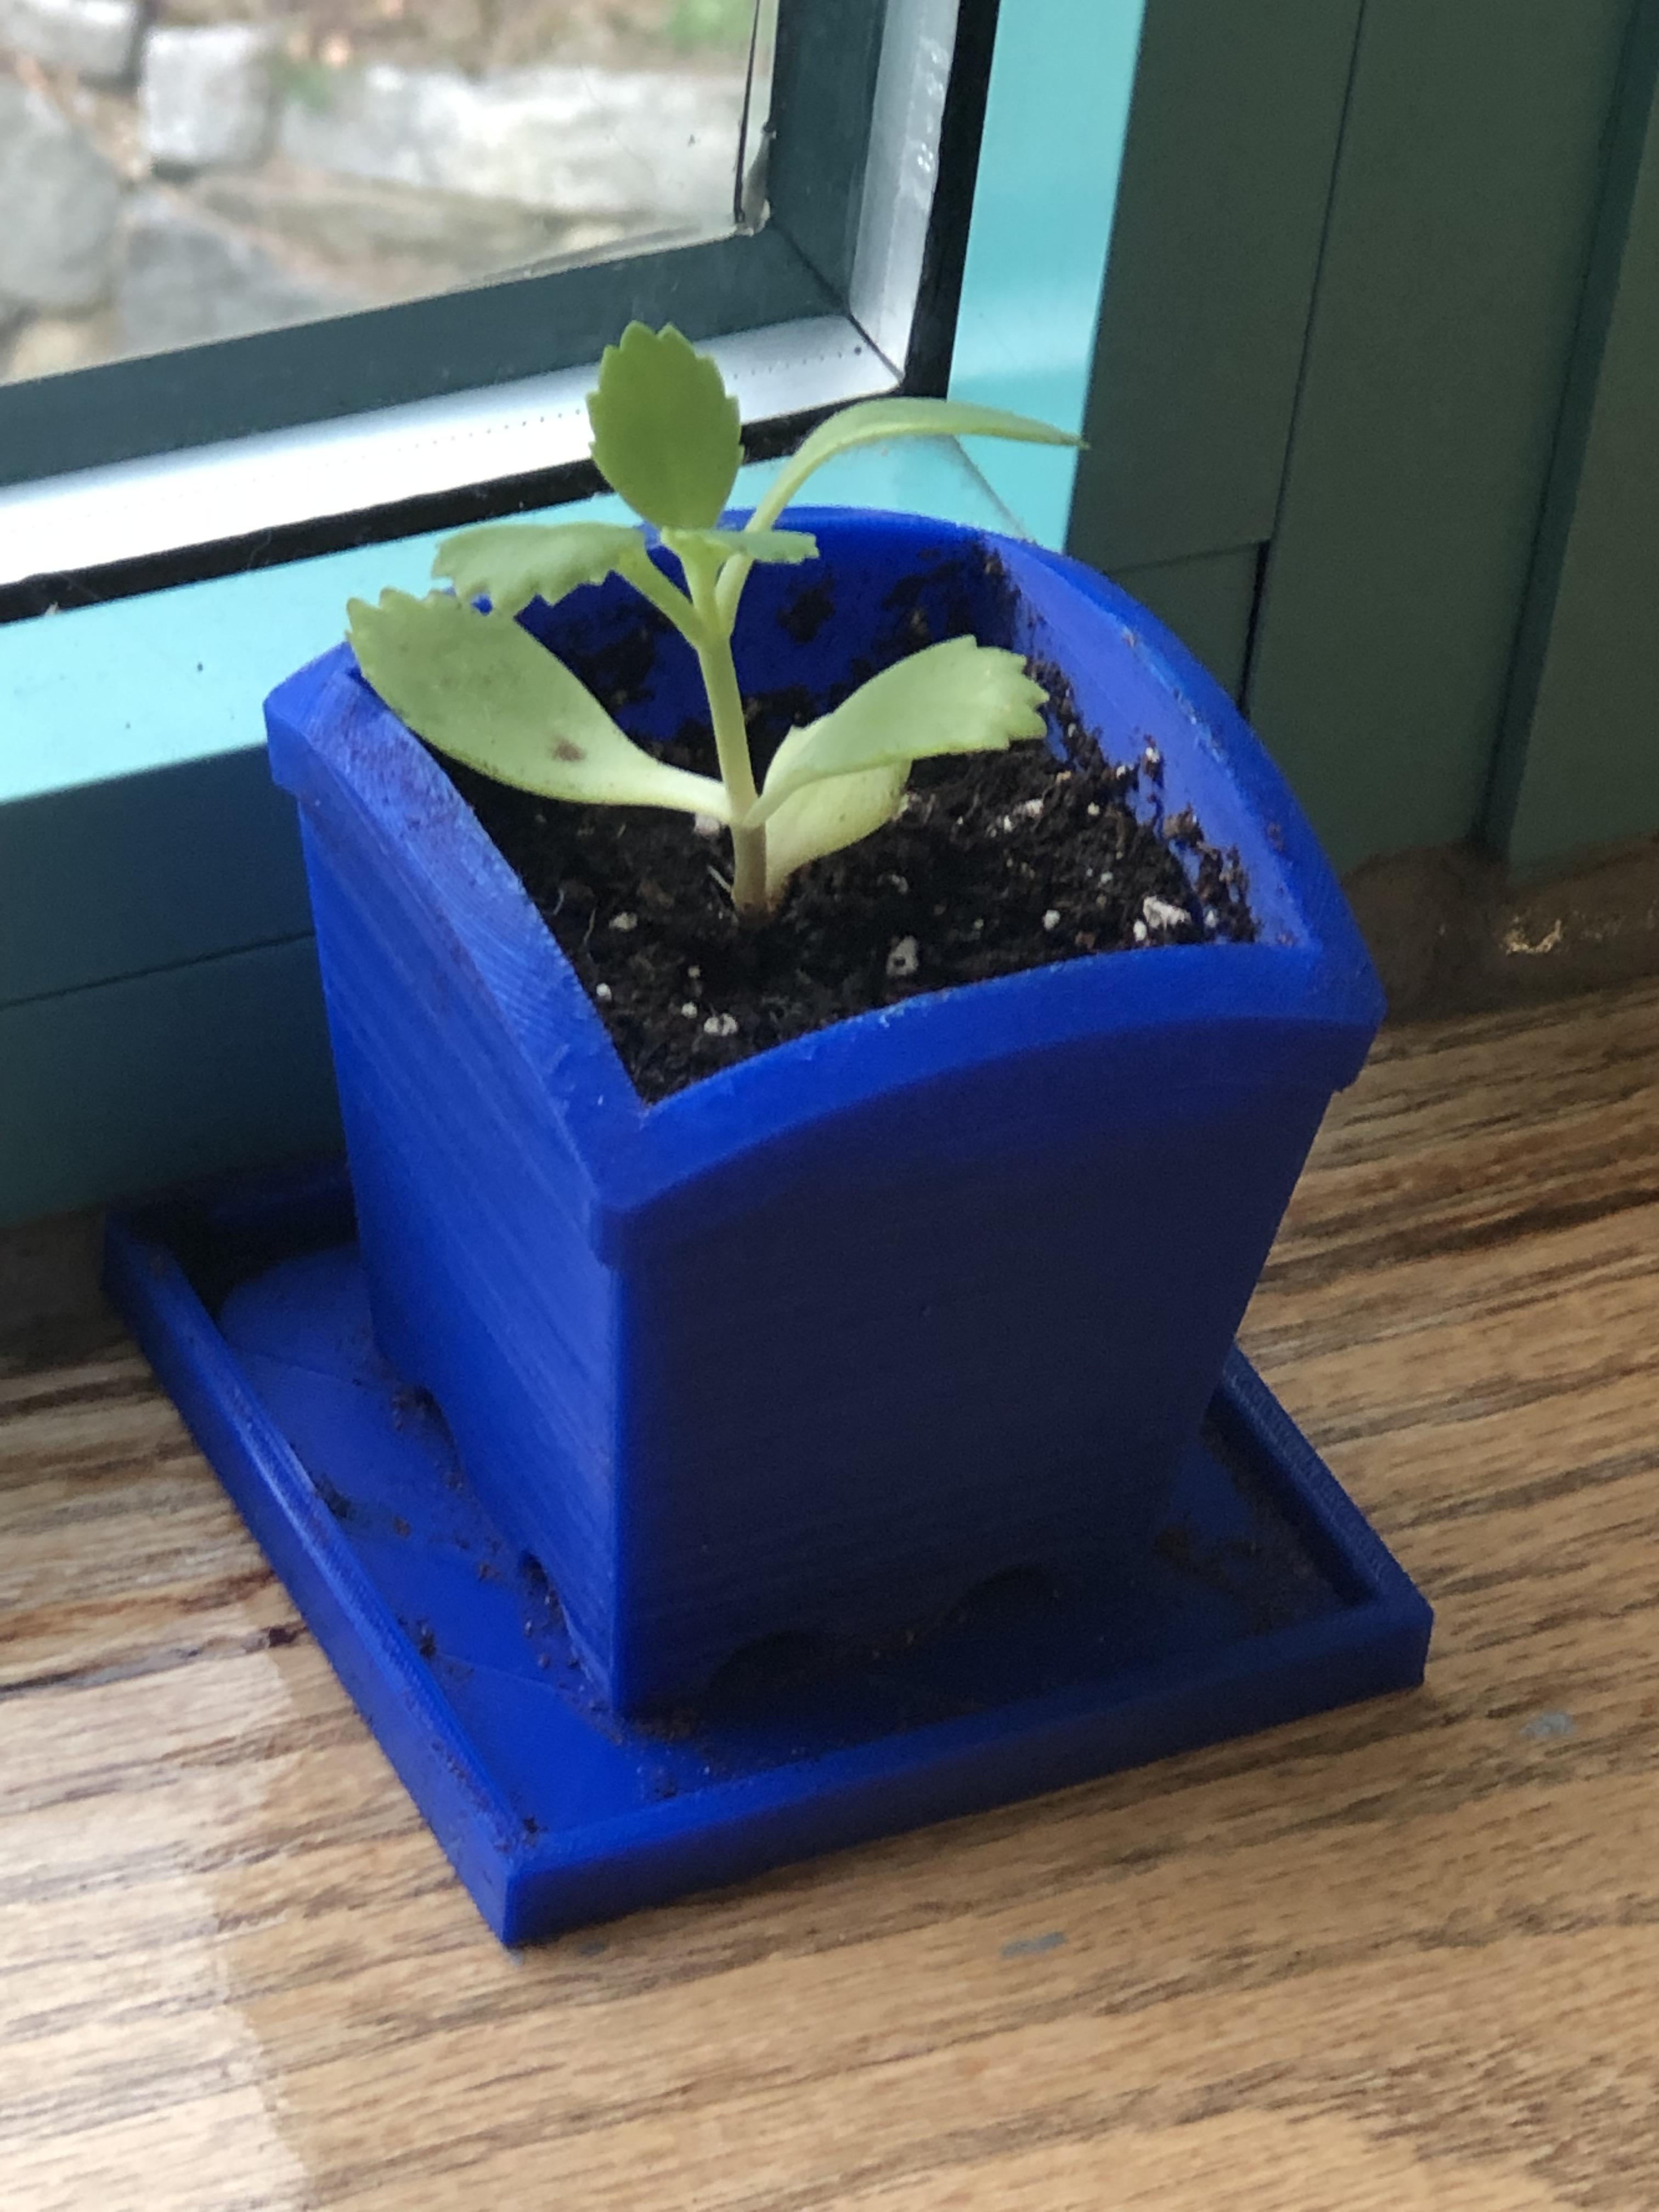
3D Printed Planter

These are the directions to make this 3D Printed Planter!
This planter is perfect for succulents, as it offers lots of drainage so they don't get over-hydrated. However, I'm sure it would work just as well for other plants!
School: Innovation Academy Charter School, Tyngsboro MA
Create a 4"x4"x4" Cube

This will form the main structure of your pot.
Step 2: Create the Sloping Sides


First you will want to make 2 lines on one side, sloping in downwards. It connects from the top corners to about half an inch inwards from the bottom corners.
On this first side, you will have to extrude out the slopes, just so it's a lot easier to make the other slopes.
Make the same lines on the face on either side of the face you just extruded from, these ones you extrude in, creating the slope.
Then, take the two triangles you still have extruded out, and extrude them in, and you should now have the sloped-in box.
Step 3: Hollow Out the Box

In this step, you should use the shell tool to make the space inside the planter. Set the thickness to 0.25 inches.
Step 4: Create the Rounded Top

Create a sphere, centered at the center of the base of your planter (in this example, the origin). Set the size of the sphere to 8.7 inches, and make sure to set it to "intersect," so it only keeps what is inside the sphere.
Step 5: Create the Trim

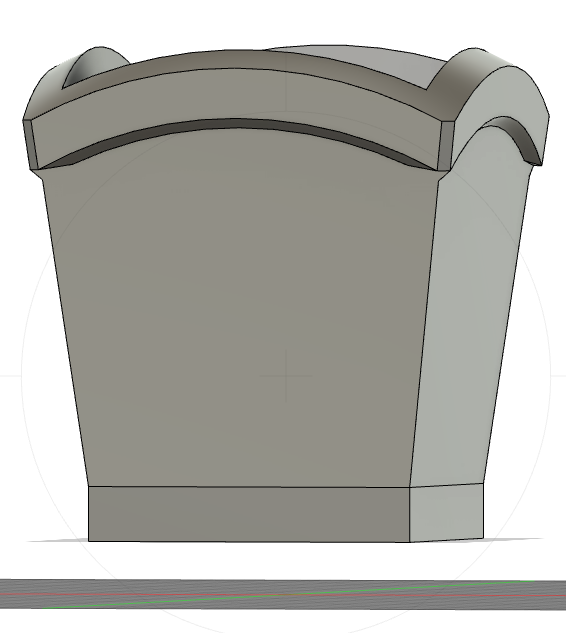
Pick a side, and make 3 lines, all 0.5 inches long, along the rim of the top. One at either side, and one in the middle. Create a 3-Point Arc across these points, and extrude this out by 0.1 inches.
Repeat this process for all 4 sides.
Step 6: Join the Corners

Use the Loft tool to connect the sides of the trim together.
Do this for all 4 corners.
Step 7: Chamfer the Bottom of the Trim

Because of how the trim was made, it will be sloping downward, which will cause issues if you were to try to print it. To fix this issue, select the interior edges on the bottom of the trim (where it meets the sides), and chamfer them outward. There will be some issues here, where small sections sort of glitch out, but this is unavoidable.
Step 8: Repeat Step 4

This will round off the top of the trim, so it's continuous with the rest of the top. Center the sphere at the same point and set the size to 8.7 inches again.
Step 9: Add the Drainage Holes

Make 4 circles (diameter = 0.8 inches) equally spaced from the center. This is especially easy if the center of your pot is at (0, 0). The center of each circle in the image are: (0.6, 0.6), (0.6, -0.6), (-0.6, -0.6), and (-0.6, 0.6).
Then, extrude them down/up, depending on where you sketched them, to create 4 holes.
If you do not plan on printing the drainage tray, then you are finished at this step!
Step 10: Creating the Drainage Channels


Move your whole planter up by about an 1.5 inches. Then, extrude the bottom of it down by 0.5 inches.
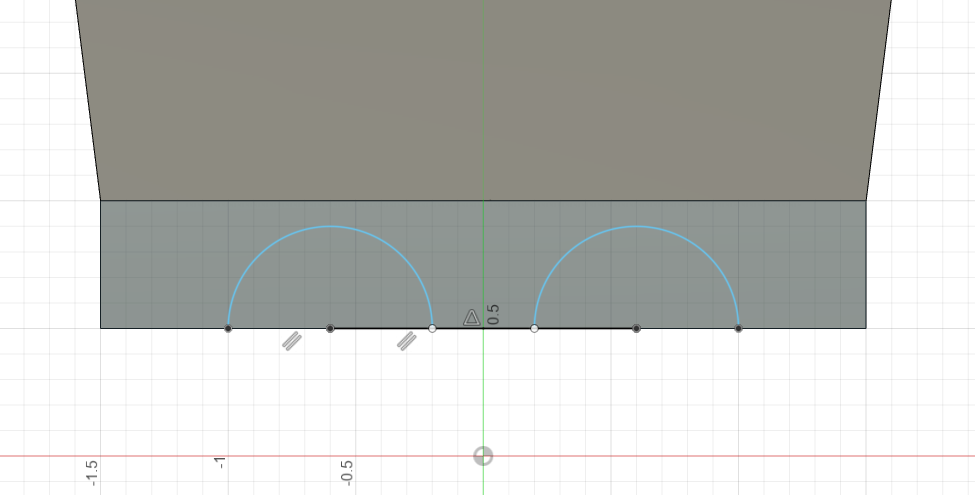
This is where knowing the center coordinates for the circles helps a lot! Sketch 2 semicircles on the new straight edge you created, making sure their centers line up with the circles on the inside. These should have the same diameter of your holes.
Extrude them in by 0.9 inches.
Repeat this for all 4 sides, making 8 channels in total, with 2 coming from each drainage hole.
Step 11: Creating the Slope (Again)


This step is very similar to step 2. Sketch sloping lines on the vertical sides with the holes, then use the "Parallel" option under constraints to make the sketch line parallel to the sloping side you already have.
Again, extrude both triangles on this first side out first, then repeat on an adjacent side.
Now the slope is continuous!
Step 12: Creating the Drainage Tray


Make a 5"x5"x0.7" box below the planter, making sure the planter is centered. Make sure they do not touch!
Then you will use the same "Shell" tool you used to hollow out the planter to hollow out this box. Set the thickness to 0.2".
Then, lower the planter until the bottom of the planter is touching the inside bottom of the tray.
Step 13: Ready to Print!

Now the planter is finished! Feel free to scale it as you need to in order to suit your plant!
(The one in the preview image is scaled down to about 3/4 the original size.)