3D Printed Puzzle Geocache Container!
by prusteen in Workshop > 3D Printing
6413 Views, 51 Favorites, 0 Comments
3D Printed Puzzle Geocache Container!

One of my favorite summer activities is geocaching! Geocaching is like a worldwide treasure hunt. The more formal definition is "an outdoor recreational activity, in which participants use a Global Positioning System receiver or mobile device and other navigational techniques to hide and seek containers, called "geocaches" or "caches", at specific locations marked by coordinates all over the world." (Wikipedia)
I have always wanted to 3D print my own geocache. My favorites have always been field puzzles, where you must solve a puzzle at the location of the cache in order to retrieve it. In this Instructable, I have designed a puzzle container for the geocache to make it a bit more fun for people to find. It is a two-part cache, and looks super cool when completed :)
Supplies
You will need Fusion 360 in order to make or edit this design. In order to 3D print it and actually use it, you will need:
-3D printer
-Magnetic nano geocache container
-M5-0.8 * 16mm screws (x4)
-Belt
-Magnet
-Thick wire
-Climbable tree for hiding spot
Market Research


Currently, there are several puzzle containers on the market that look like the pictures above. However, they are simple and more guessing than thinking. My puzzle container stands out because it has a separate magnetic stick to retrieve the container, and the lines on the box that point to the direction of the maze requires some extra thinking, making it more enjoyable once solved.
Target Audience


The audience for the geocache container includes makers/hobbyists with 3D printers, and geocachers. This is a great audience, since the geocaching community is huge and there are enough people in this audience to make some profit.
Files
Here are the attached files for the container, lid, and stick. There are .stl files for all of them, but I also included .f3d files for the container and lid in case you want to make any edits to the design before printing them. Possible edits include the screw holes (right now it's made for M5-0.8 * 16mm screws), maze pattern, and title/group name on the lid.
Different Colors


Here are some examples of the geocache container and magnetic stick in different colors.
Details


Here are some details that make the geocache container special.
Image 1: Custom threaded hole for M5-0.8 * 16mm screws; 5mm fillet on box corners for smooth grip and look
Image 2: 3mm maze walls strategically placed for moderately difficult puzzle
Image 3: Ellipse shaped hole for container to fall out in any orientation without getting stuck
Image 4: 40mm wide hole going through the back of the container for any sized belt to go through
Image 5: Geocache title carved into lid of container
Image 6: Geocache group name carved into lid for personalization
Renders
.jpg)
.jpg)

Here are some renders of the geocache container.
3D Printing, Assembly, and Setup


Here are some pictures of the geocache container with the magnetic stick 3D printed and set up. I printed my container with a raft on the bottom and chose to keep it for extra protection against the tree.
*NOTE: Make sure to select supports everywhere when printing so that the belt hole can print accurately. I used a ruler to get the supports out and it worked well for me.
The assembly is super simple. Put the container at the "Start", screw the lid on with the four screws, and then slide the belt through the belt hole. Glue your magnet to the bottom of the magnetic stick and tie some flexible wire around one of the grooves of the stick. Find a tree to buckle the belt around and a nearby tree to climb and hang the magnetic stick on one of its branches.
And then you have your geocache set up!
Posting Your Geocache


In order to post your geocache on Geocaching.com, you will need to go to the Hide a Geocache page. Follow the steps and provide the necessary information to upload your cache to the site.
If you need help posting your cache refer to the steps on this page.
*NOTE: Your geocache must be at least .1 miles from another geocache in order to pass through verification, so make sure your location is allowed before setting up your cache.
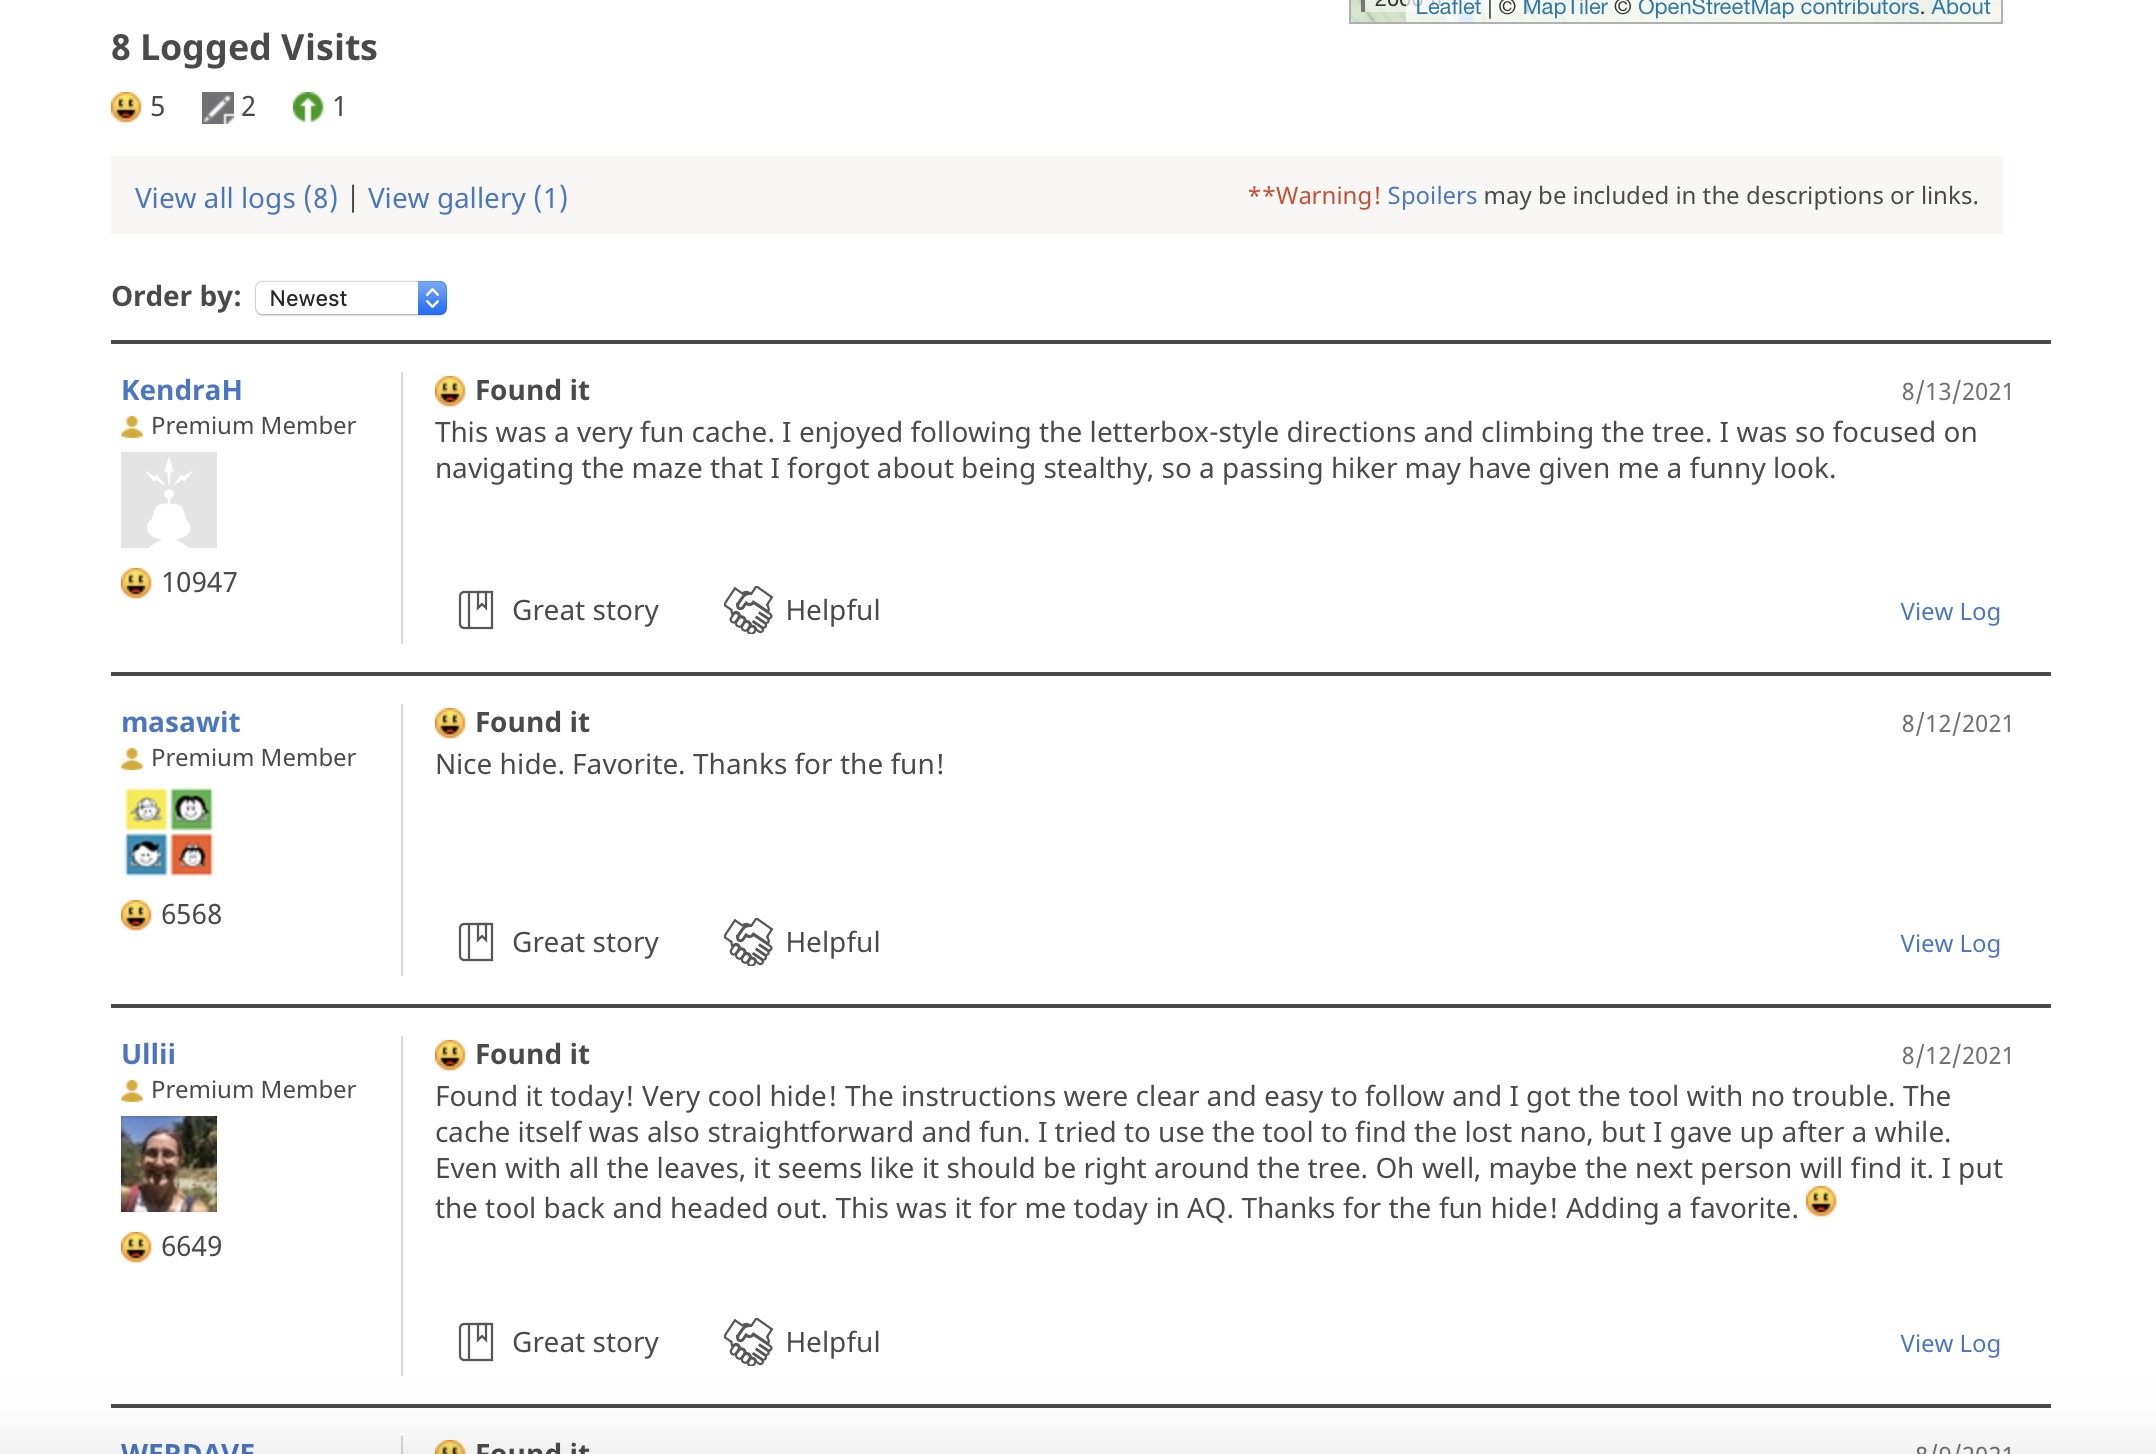
When your cache has been verified, you can sit back and watch the positive comments flow in as people find it :)
Videos


Here are two videos of the cache. The first is just how to get the container out of the box, and the second is a full walkthrough of the puzzle solving experience.
Final Thoughts
Overall, I am extremely happy with the final result of my geocache container. The puzzle is simple but clever and fun to solve. The nano container I used also happened to be the perfect size for the maze. People seem to really enjoy finding the cache, and reading their comments makes me so happy.
However, if I were to revise this design one thing I would change is to add a small opening on the side of the box next to start so people can easily place the nano container back into the box without having to use the magnet and go through the maze again. This would be more convenient, and a flap can be inserted over the hole from the inside so that it can only open one way and people will not cheat by getting the nano out from there.
Special thanks to Jake and Serena for all the amazing help and motivating me to expand my knowledge of Fusion 360.
If you have any questions or ideas, please leave them in the comments below. Thanks! :)