A 123D Design Table


You will learn how to make a table in 123D design. You will need to have the program installed on your computer (link:http://www.123dapp.com/design) You will also need some experience with 123D design. There are plenty of videos on youtube if you have no experience.
Step #1: the Legs


- Use splines and draw a curved line
- Bring in a cylinder with a height of 1 and a radius of 4.
- Put the cylinder facing the end of line.
- Then use the sweep tool and select a face of the cylinder as the profile and the line as the path.
- Rotate the result by 90 degrees.
- Draw a polyline and rotate it 90 degrees
- Use the circular pattern button and select the new solid you created as the solid and the line as the axis.
- Tap enter.
Step #2: the Table Top


- Make a 50 mm x 50 mm square using polylines
- Extrude it 5 mm using the extrude tool.
- Use the fillet tool and select all of the edges on the top face and all the edges in the corners
- It should have a fillet radius of 3
Step #3: the Wine Bottle


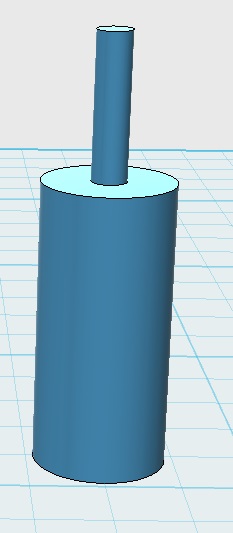
- Take out a cylinder
- Put another smaller cylinder on top of the first one.
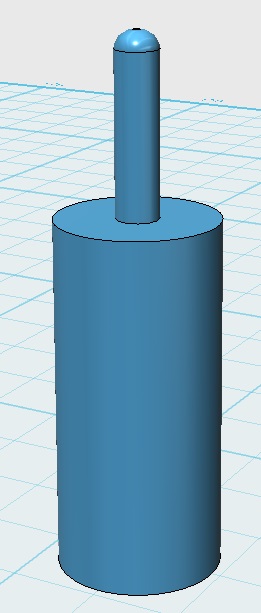
- The using the fillet tool select the top cylinder's top face.
- Then do the same for the bottom cylinder's top face.
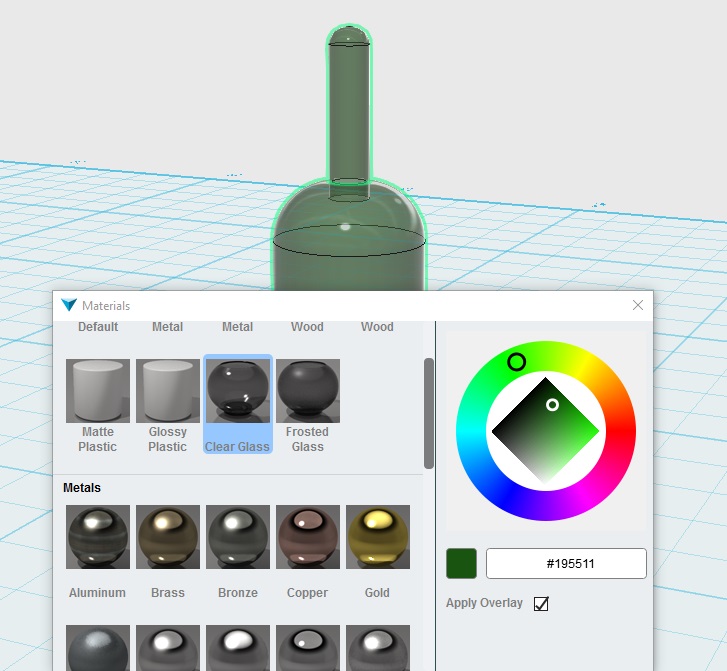
- Click on the bottle and then click materials, select glass and then give it a color.
Step #4: Flower Decorations


- Draw a tiny circle
- Draw an oval that touches the circle
- Select it and click on the gear then click on the circular pattern button.
- Then shift click the petals and extrude them 0.05 mm
- Extrude the center by 0.05 mm
- Then merge everything.
- Go to materials, select natural wood and select a color.
- Then put them on the edge of the table top.