An Owl Pinata

HI, this is an owl pinata for a birthday boy, he love birds and can name all of them, i guess.
Supplies


The materials we will use are strips of cardstock, pinata paper, a piece of wire, a stapler, cardboard, masking tape, glue, paintbrush and strips of newspaper.
Reinforce It


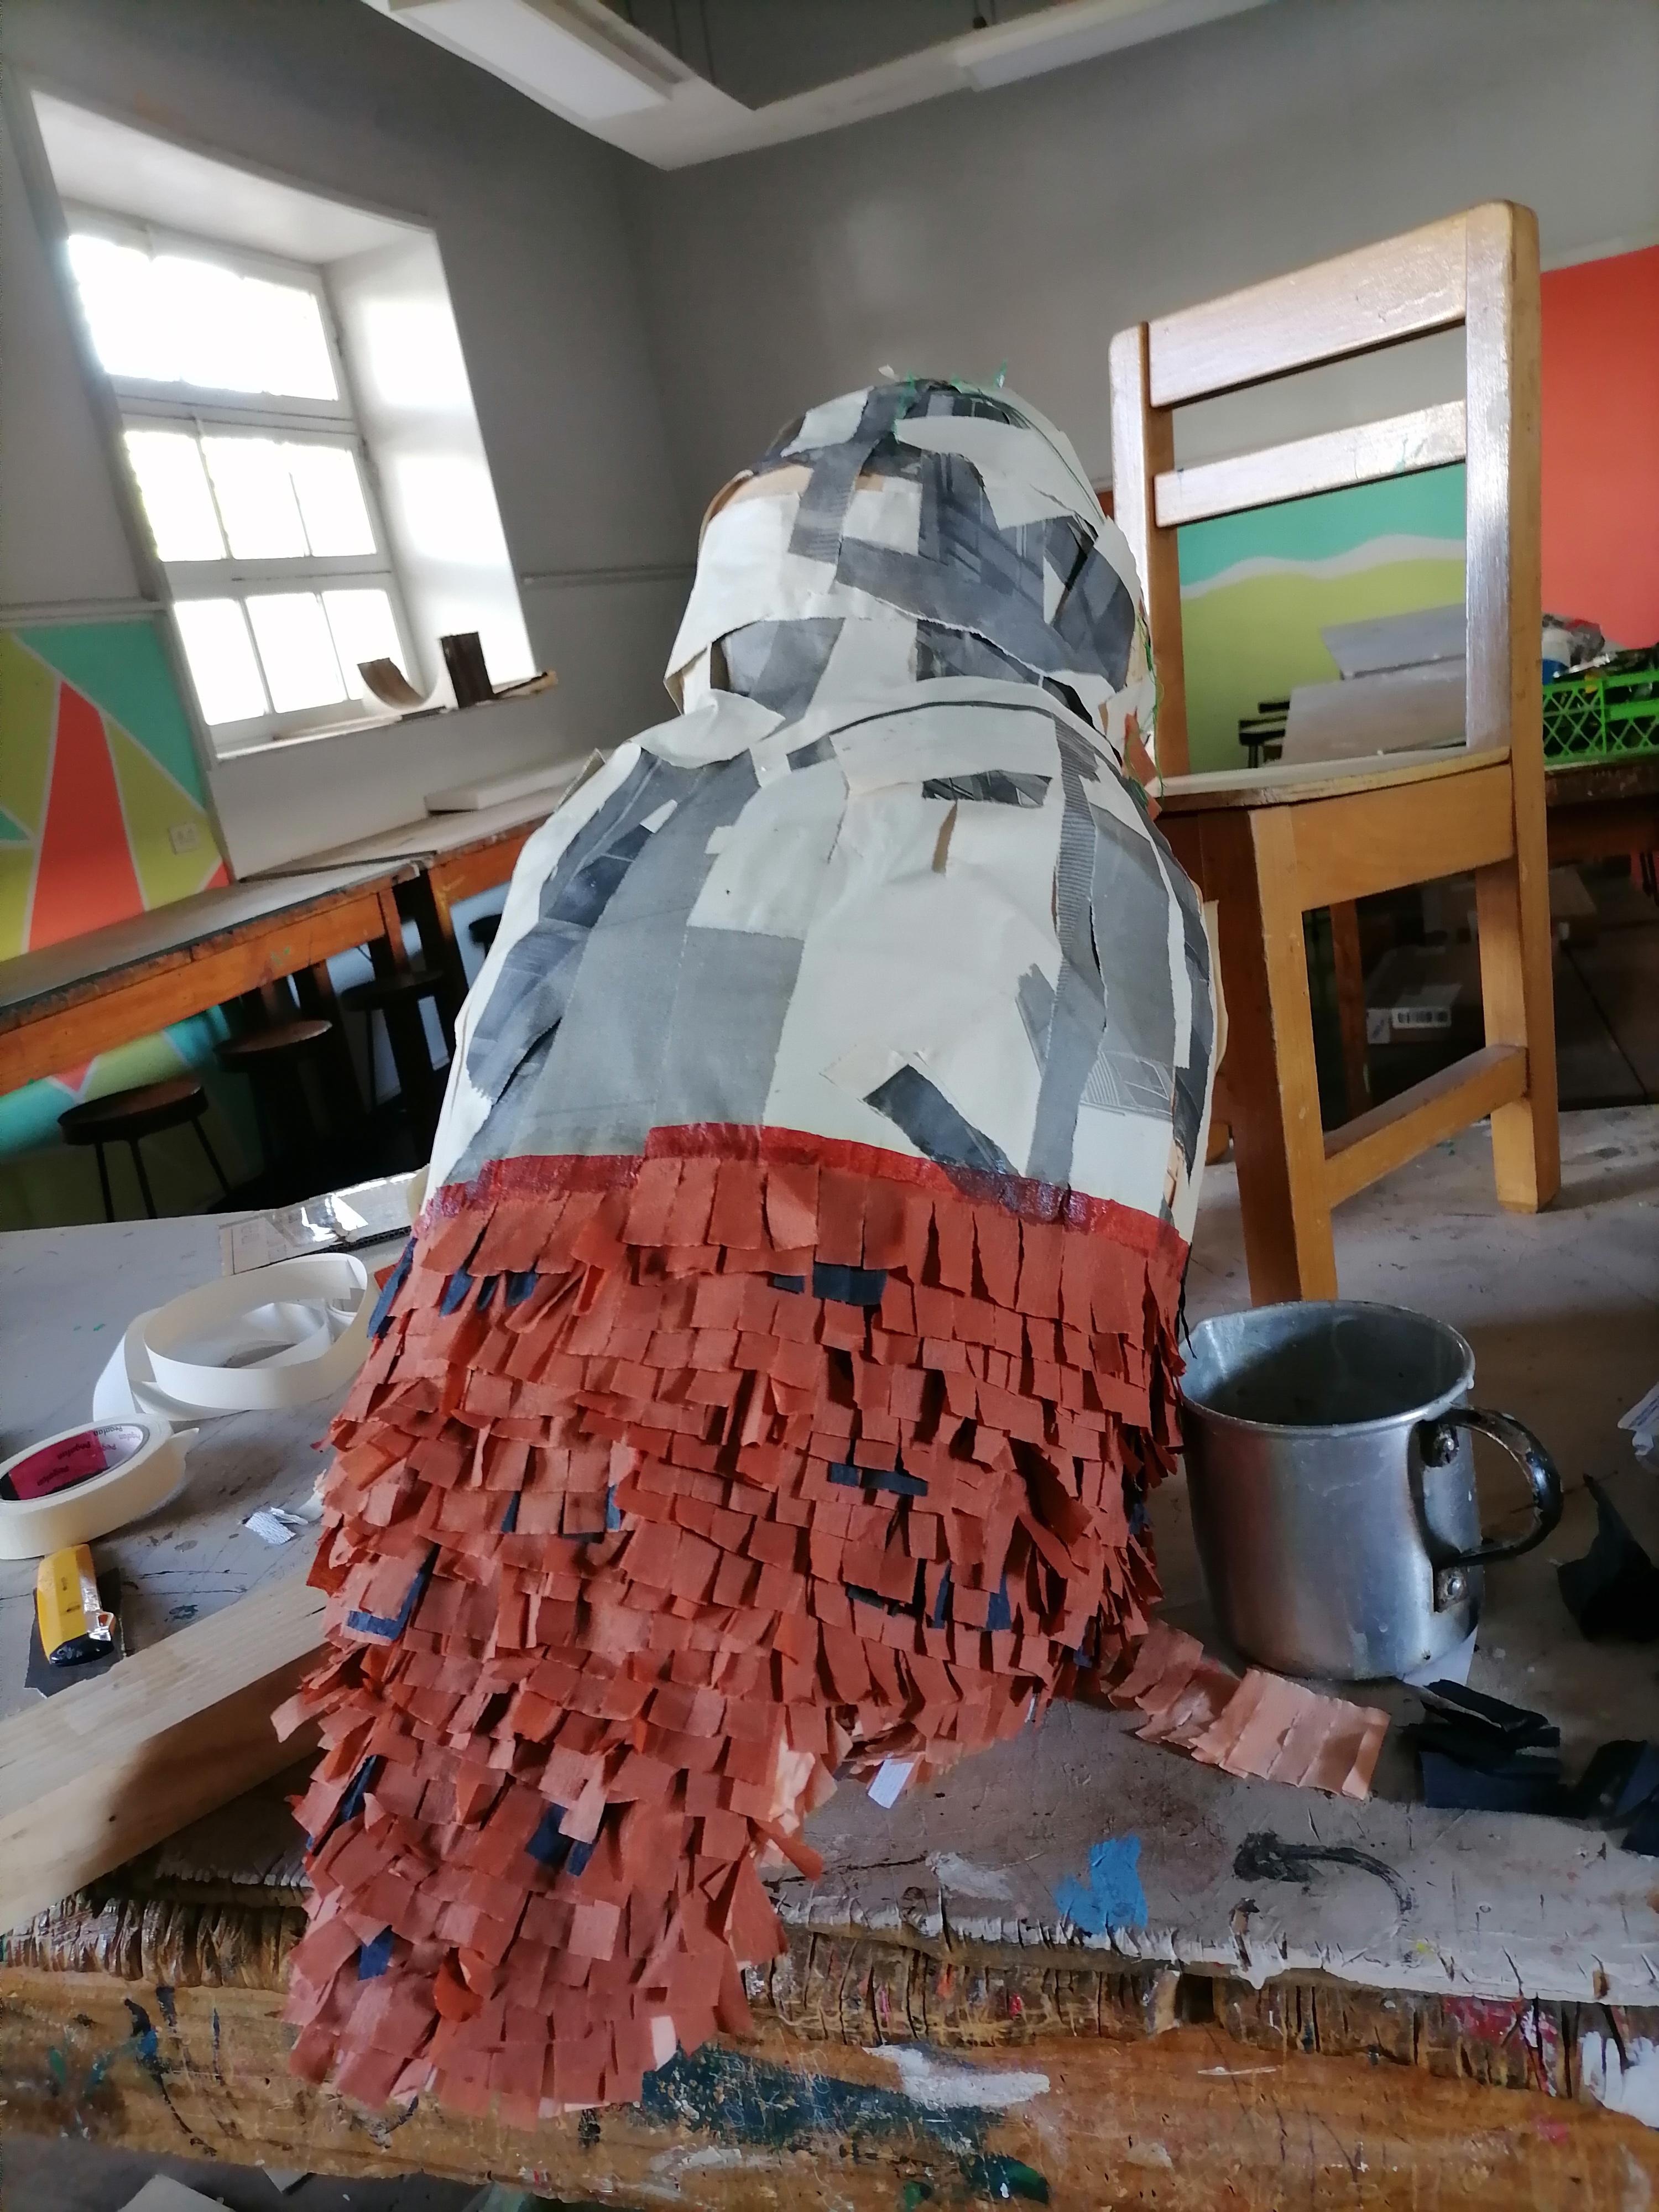
1.- We make the structure by joining the cardstock strips and stapling them, the shape of the head is a sphere and the body is an elongated oval.
(For the tail we leave three strips folded into triangles and we staple them to the base of the oval)
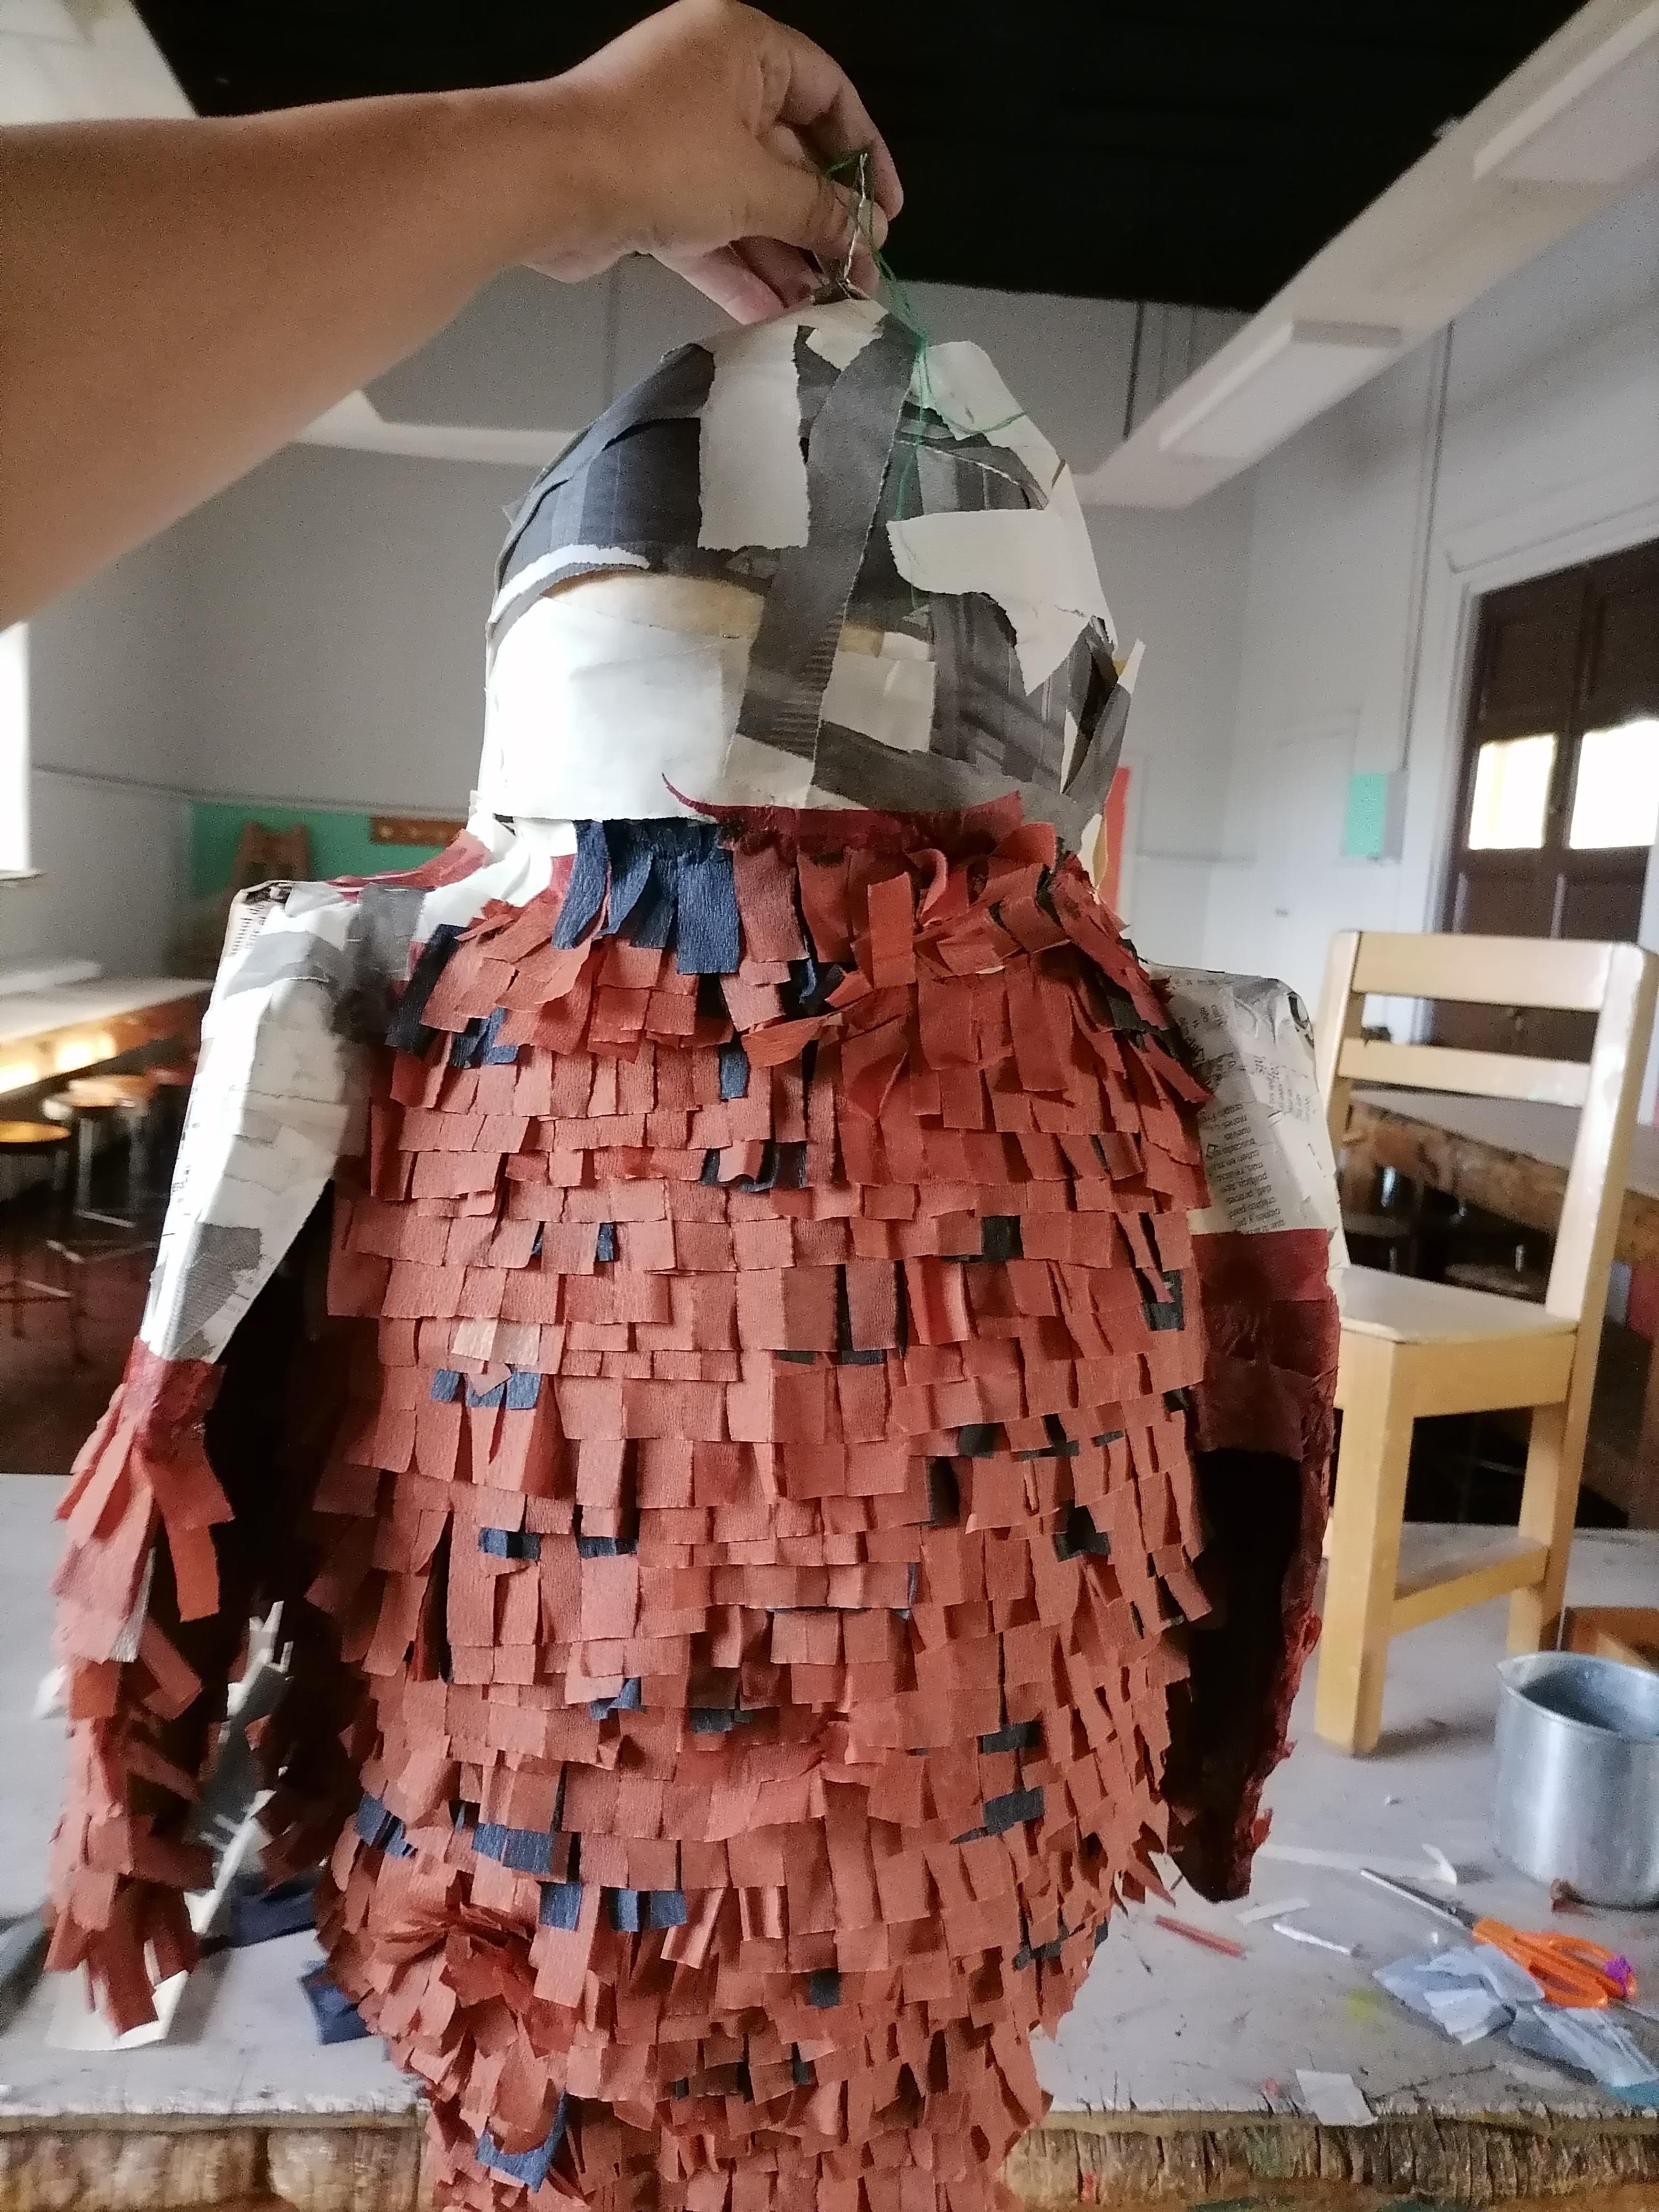
2.- Once the shape is ready, we reinforce it with strips of newspaper glued together. We cover the tail and add the support with a braided wire.
Let it dry overnight
Put the Paper On


3.- The paper for the pinatas is cut into rectangular pieces (without unrolling the paper) and pieces are cut with scissors up to 3/4 of the total.
4.- We begin to glue the pieces of colored paper from the bottom up, alternating the brown tones. We glue them with glue diluted with a little water. The owl's chest is a lighter brown than the back.
Give Them Wings


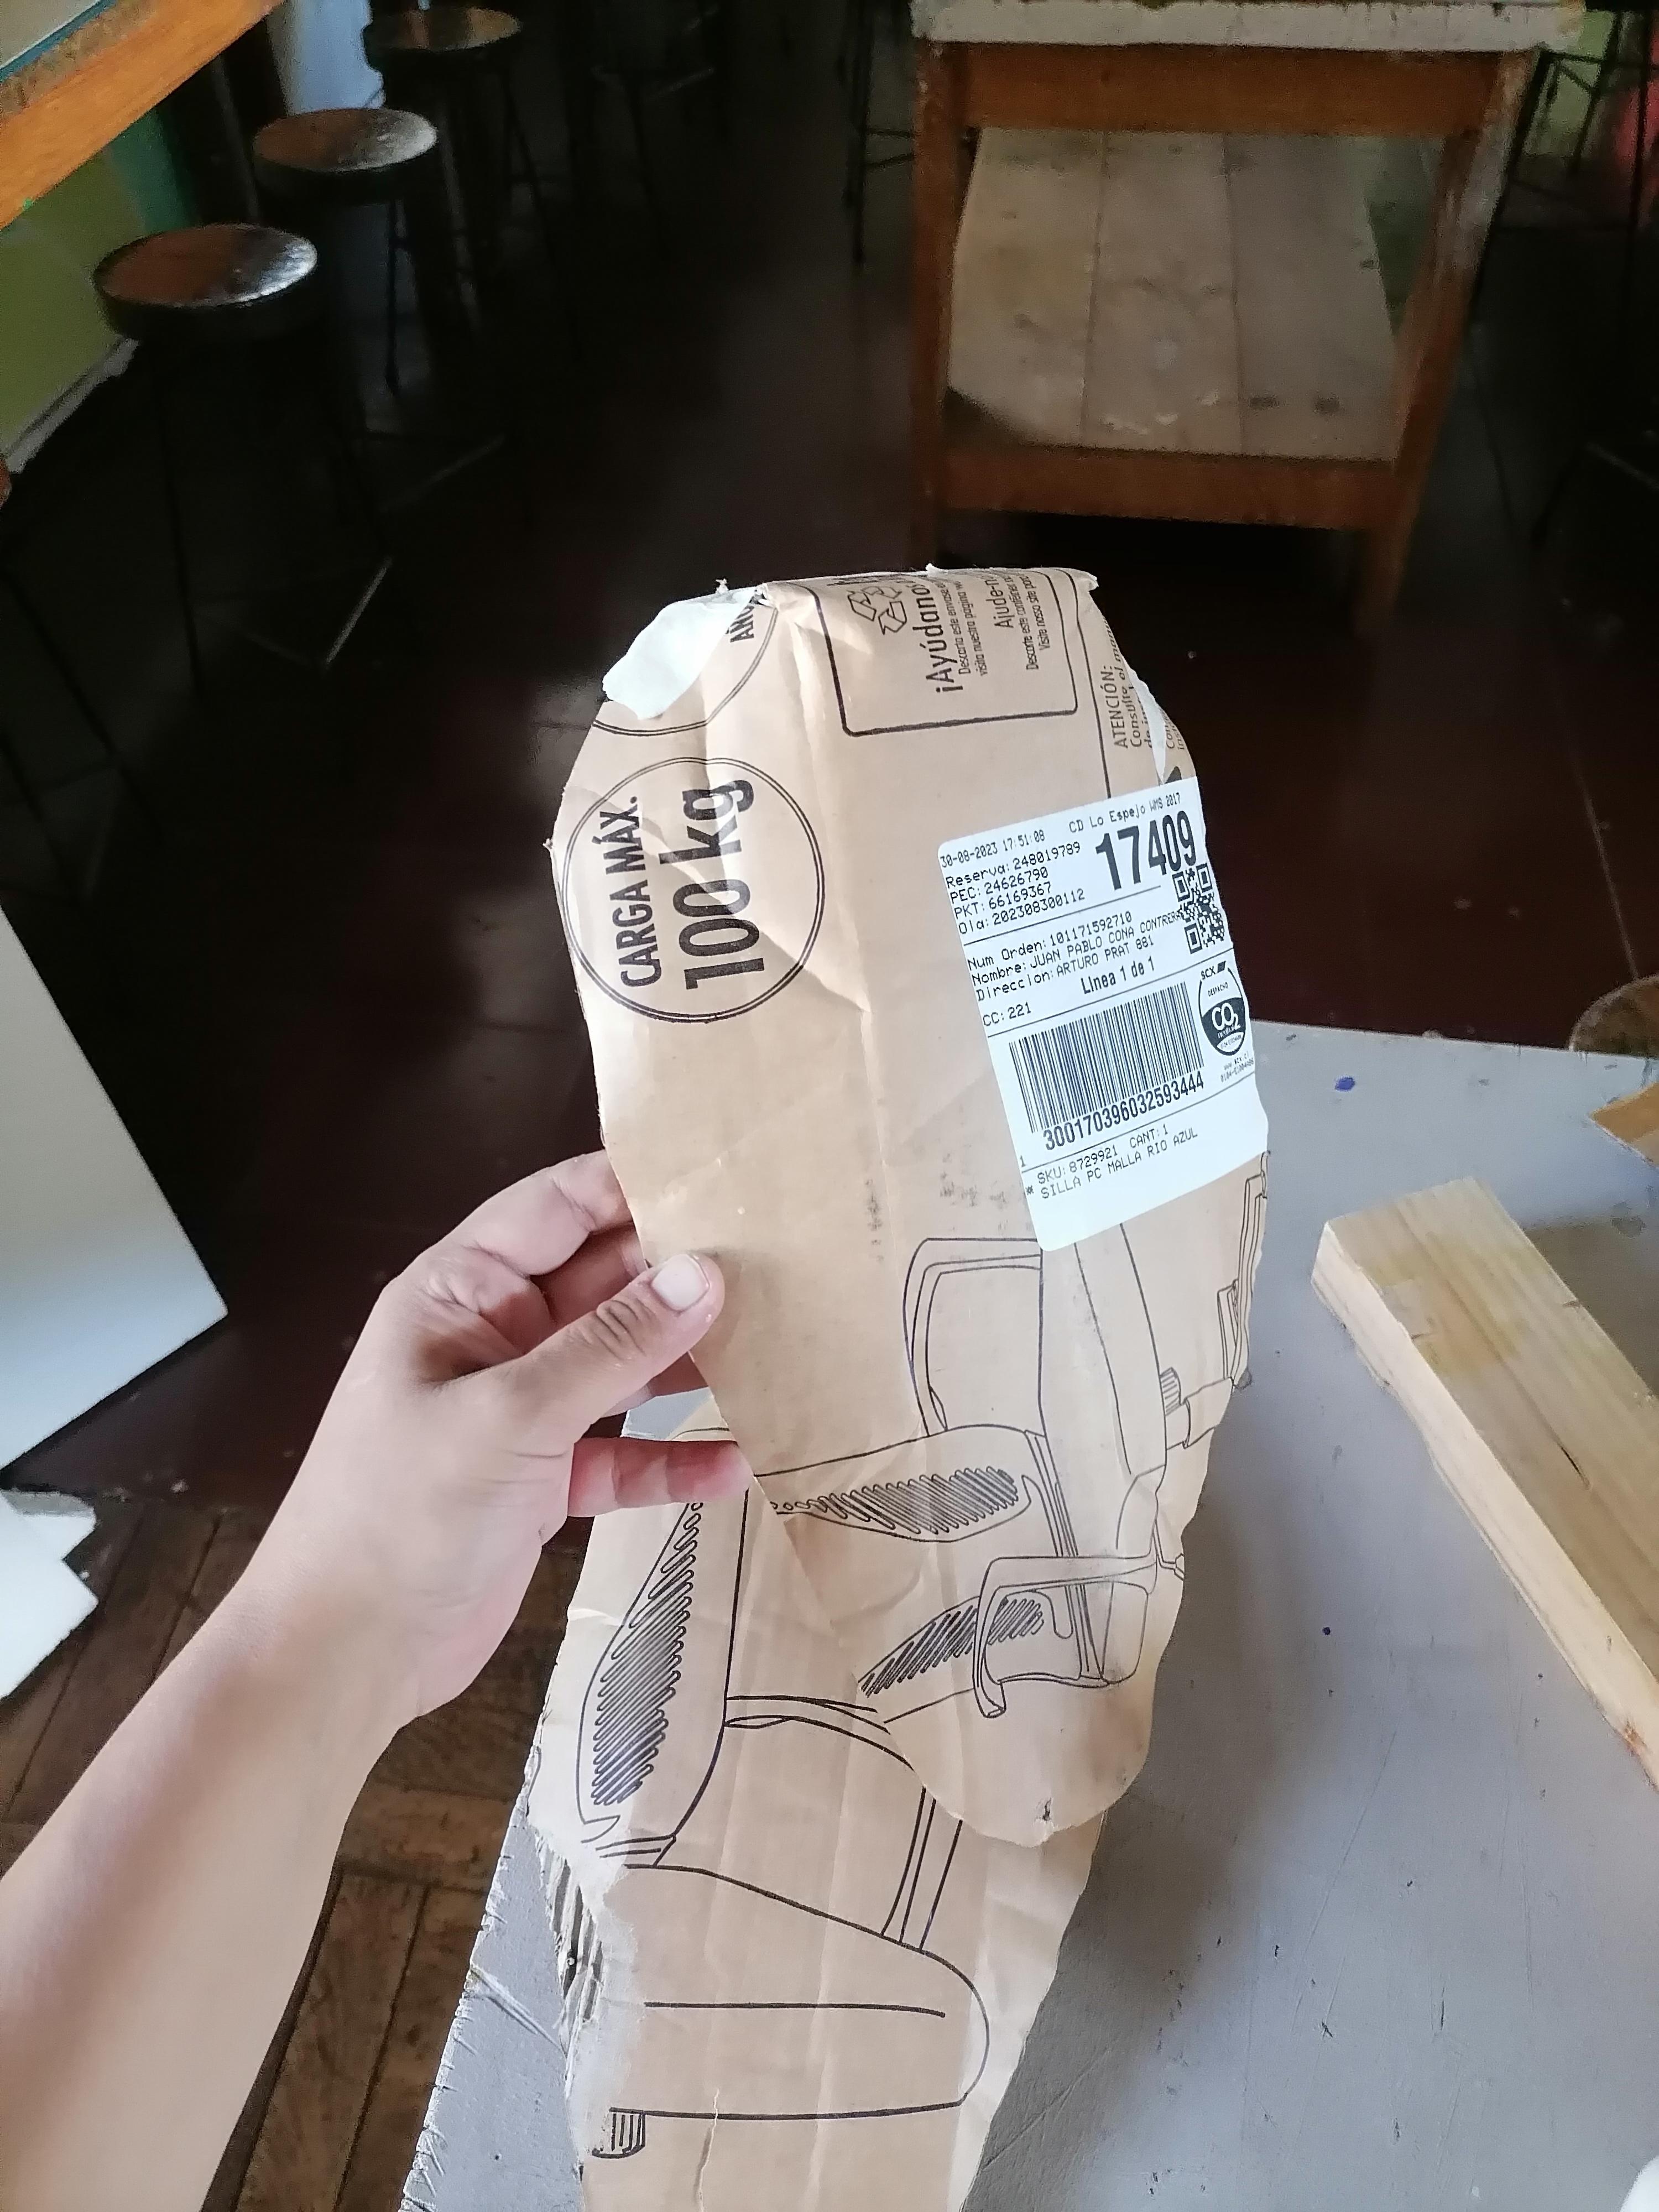
5.- For the wings we cut out two pieces of cardboard and fold them to round them. We conect with masking tape to the sides of the oval and continue adding the strips of pinata paper.
The Claws


6.- For the legs, we bend some pieces of wire and cover with newspaper or white paper. Then we covered those with the same pinata paper, only that its cut into strings. These will be joined with wire at the base of the oval.
Give It Some Ears


7.- For the ears, we cut two oval pieces of cardstock and attach them to the head with glue and masking tape.
The Final Step


