Auto-Waterer (For Plants, Pet Water Bowls, Etc.)
by xX_christopher_Xx in Living > Pets
1660 Views, 40 Favorites, 0 Comments
Auto-Waterer (For Plants, Pet Water Bowls, Etc.)


In this Instructable, you will learn how to make a simple, easy auto-waterer for plants, a pet's water bowl, or something else.
The auto-waterer works because for water to flow out of a closed jug, air must go in. The auto-waterer has a jug connected to two straws, one of which (straw A) ends above the other (straw B). Air goes in straw A and water goes out straw B. When the water level rises to cover both ends of the straws, air can no longer enter, so water will no longer come out. If water is taken out, the process begins again.
Supplies
Supplies:
- Large jug
- Two straws
Tools:
- Drill
- Scissors
- Hot glue gun
Supplies

Drill Holes for Straws


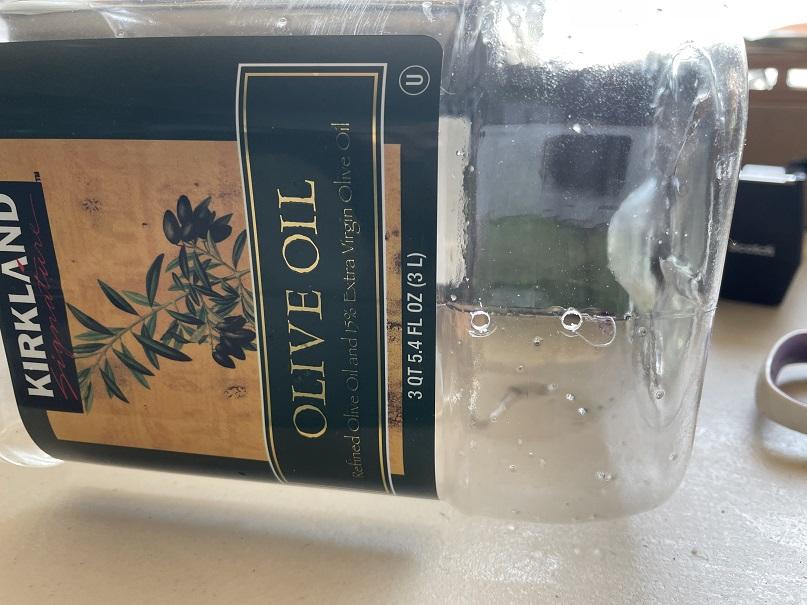
Drill two holes in the bottom of the jug for the straws.
Widen the Holes

Stick the scissors in the holes and rotate to widen the hole until it is the width of the straw.
Add a Straw

Add a straw in one of the holes.
Hot Glue the Straw

Hot glue the straw. Try to make an airtight seal.
Repeat for the Other Straw

Repeat the gluing process for the other straw.
Trim the Straws
Trim the straws so that one ends about 1 inch above the other. You can adjust later.
Air-Seal Test

Use a small cup to test near a sink. If there is a leak, the watering system will not stop even both straws are under water. If this happens, re-seal and test again.
Setup


Raise the structure as needed and setup as in the test.
Handle Tips

When refilling (or testing), fold up the straws and tilt the bottle. Lay the system sideways when not in use.