BARN WOOD STRING ART SIGN

This is a faux barn wood string art sign made from cedar fence planks.
SIGN BACKING


Cut fence boards to the need dimensions and secure them together with yet more fence boards. Pre-drill and screw boards together from the backside with short screws that wont penetrate through. After this step I built a frame around the outside but it isn't necessary.
MAKE THE NEW WOOD OLD


This is new cedar wood at this point. All pink and bright yellow. Its time to change that.
Look up a stain recipe to experiment with. The recipe I used calls for a jar of Vinegar with the addition of a pad of steel wool placed in it. Wait a day or so for the wool to dissolve. This creates a chemical stain which affects the wood fibers to turn grey as if aged. Sounds simple, but it will take some testing. Cedar reacts differently to this mix than Pine, so test, test, test. Cedar will go black if the stain is not diluted while pine will go grey. Take some scrap wood, put the stain in a spray bottle, test, then dilute if necessary. I even added a bit of white paint to act as a greying agent. Use a brush to help feather the affect.
THE LETTERING

Choose what you want your sign to say and a font style you would like to use to achieve your desired look.
You could use Word, I used Photoshop because it affords more control, you could always hand draw your lettering too.
In way of planning it is good to know exactly how you want the words on the sign to lay out and how big it needs to be. Do some sketches and play around with it until you think you have it right. I ended up using several different font styles and slight size differences between each letter! On top of that I hand drew some portions to achieve the perfect form in the lettering.
GET IT ON THE BOARD


For this method I suggest you take your SMALL sketch and project it onto a paper template.
Create your paper template by cutting / taping paper to fit your desired surface area of the sign.
I did this by laying it directly on top of my sign board and trimming it to fit.
The projector I am talking about is called an opaque projector which you can buy at Michael's. They take some getting used to so experiment a little. Factors to consider will be distance of the projector, elevation of the projector, focus, and 90º angle. Its a challenge.
This is useful to easily compose the lettering onto the sign area without much struggle, but the old fashioned way to just MAN UP and draw it on.... THAT never fails.
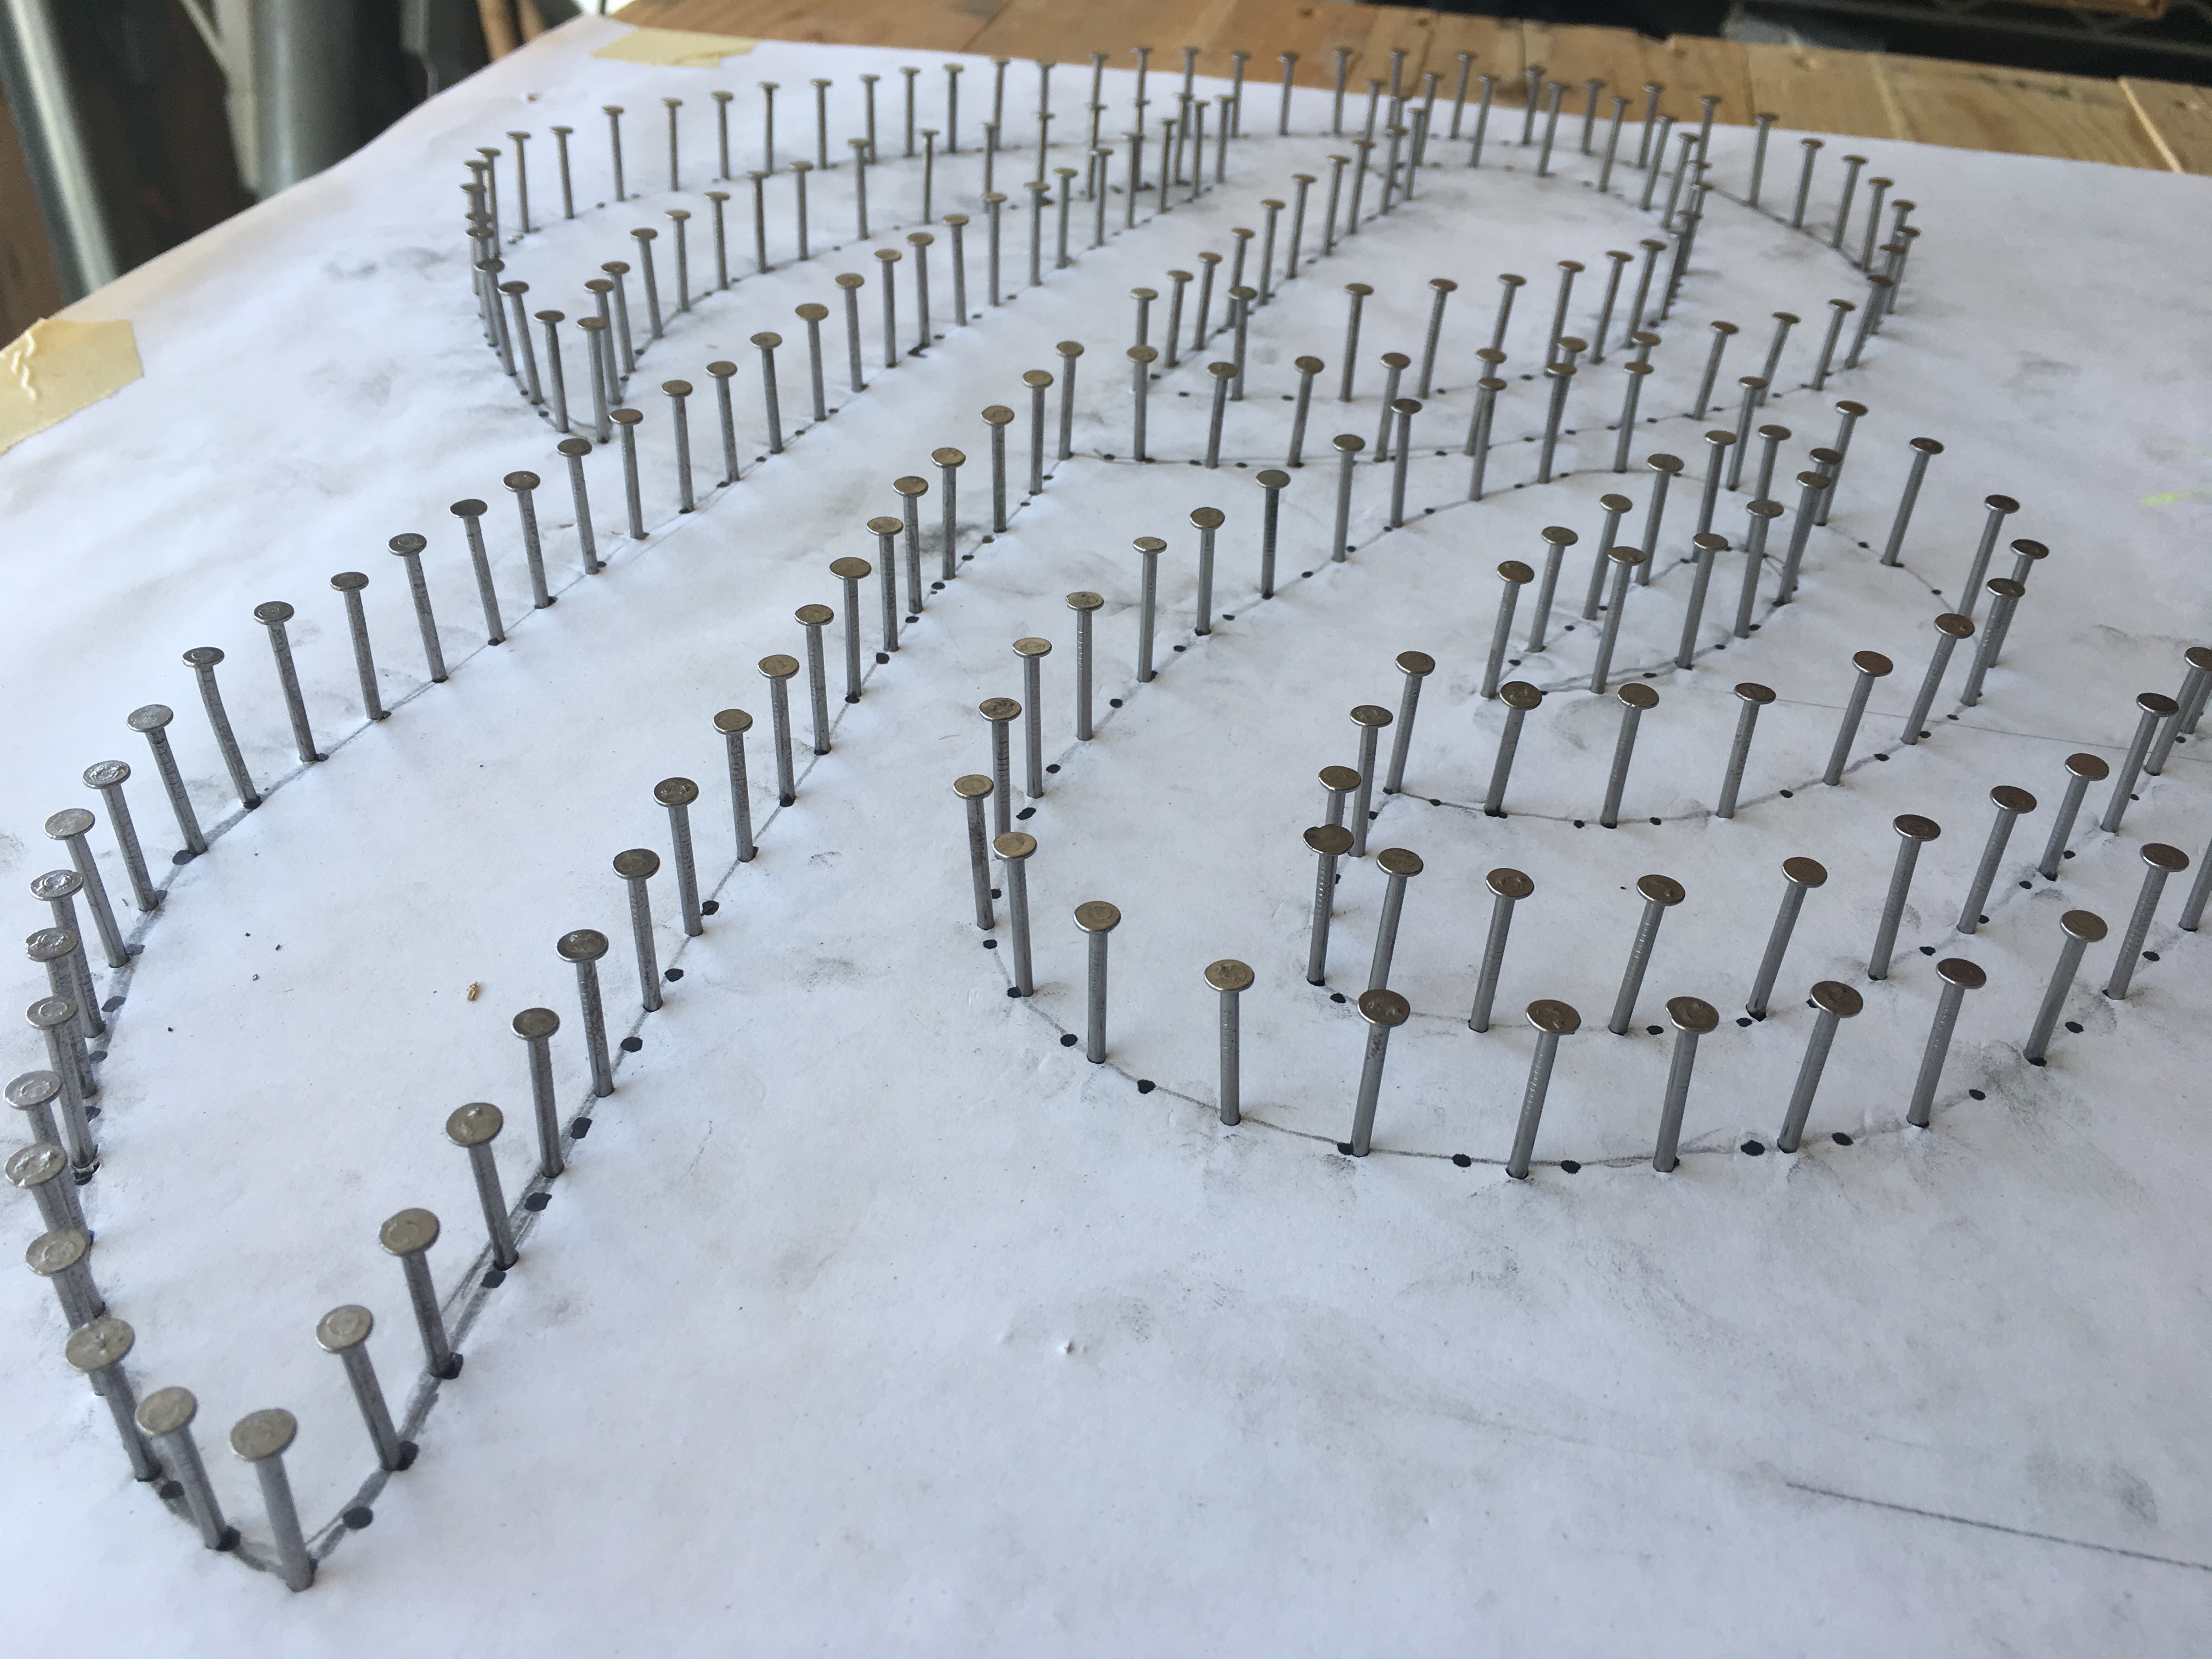
GET NAILIN'


Tape the template in place and begin nailing. I started out by measuring each nail placement but quickly switched to doing it by eye with a varied distance apart. Where there are curves you need more nails to achieve a smooth appearance and obviously the corners are important points. About 1" to 3/4" apart seemed to work well. just remember if you have too few the string may look sparse and patchy.
PAPER REMOVAL


This part was terrible. After pulling the paper template off about a thousand little paper tags were left behind. These I removed with some tweezers, it was the best way I could think of to do it. This is when I wished I had just drawn it by hand, but it came out ok.
TWINE IT UP

Tie a loop around your twine or yarn and lasso the first nail. Work on one letter at a time to progress across the whole project. ZigZag patterns up and then back making sure to cross the thread as many times as you can, also string the outline to help with the readability of the letter. This is like half the labor so get some help.
GOOD LUCK!