Baby Train Toy

-a computer
-tinkercad accout
-a 3d printer
-filament
-cardboard
-paper
One of the 3 Squares


Firstly, start off with an with 1 square with mesurments like so, then copy and paste the square 3 times.
Add the Cylinder


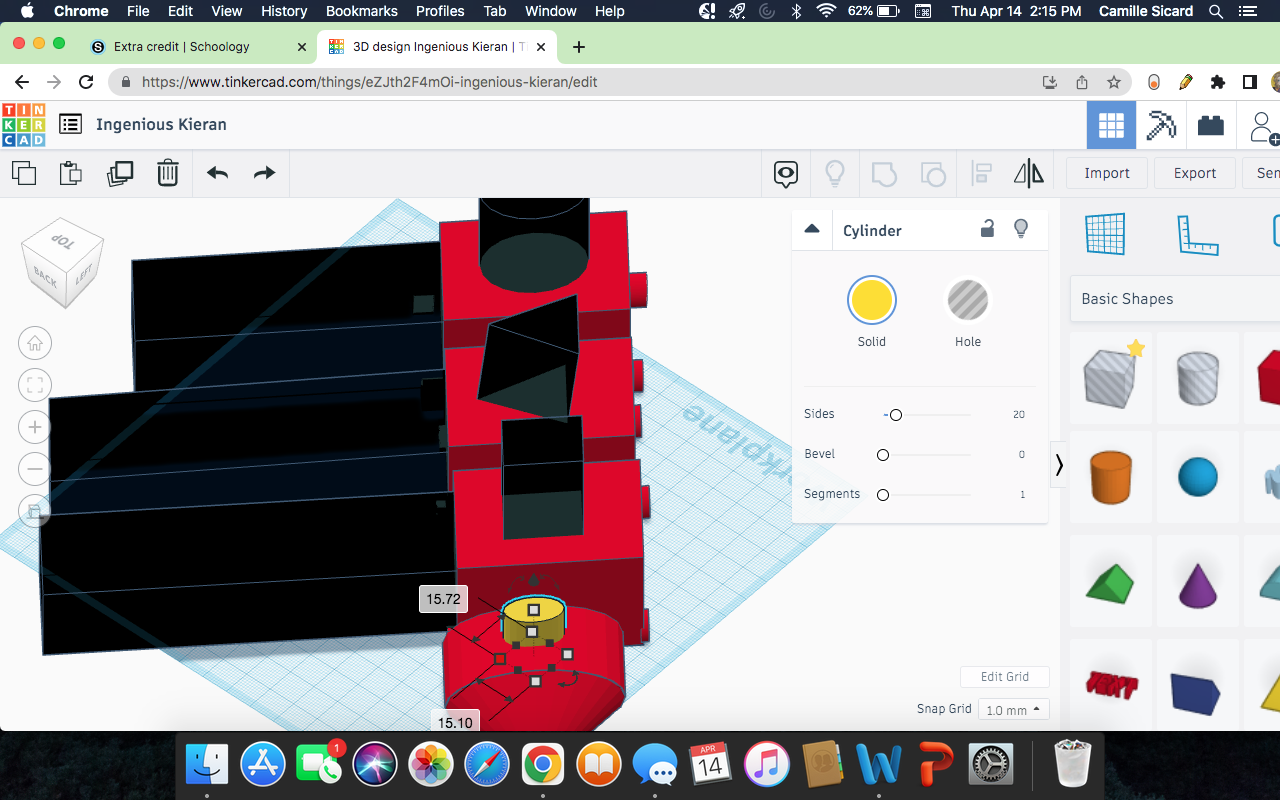
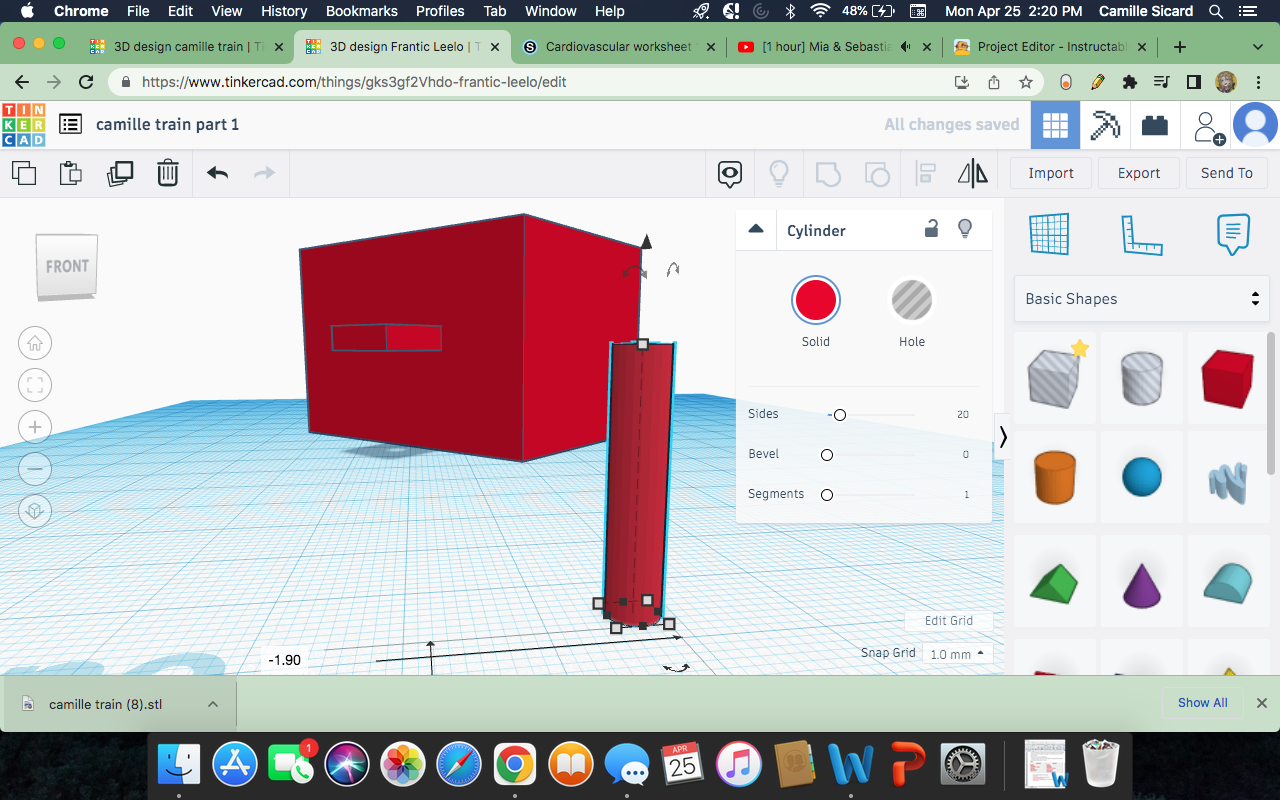
In these photo's the cylinder we are making is the one in yellow. import the circle shape and copy my measurements, then put this cylinder in front of the train
Add the Cone


to make this process easier i put the cone in yellow, to make the cone, import the cone shape, and copy my measurements, once done, place it on the cylinder
Add the Cylinder on Top


import the cylinder shape, copy my measurments and put it on the other cylinder shape wherever youd like.
Add the Holes!
.jpeg)
let's move on and add the holes, well go back to the basis of the train later
Start With the Square Hole


to make the square hole import the square shape and make it a hole, copy my measurements, once done place it where ever you want on the first square
The Triangle Hole


to make the triangle hole import the traingle hole copy my measurments and place it wherever you'd like on the square of your choice
The Circle Hole


import the circle shape copy my measurements and place it one top of one of the squares wherever you'd like
The Big Hole in the Middle


first import the square hole, copy my measurements and then copy and paste it 3 times, then put each hole in the solid squares where i put them in these pictures
The Connecting Peices for the Train


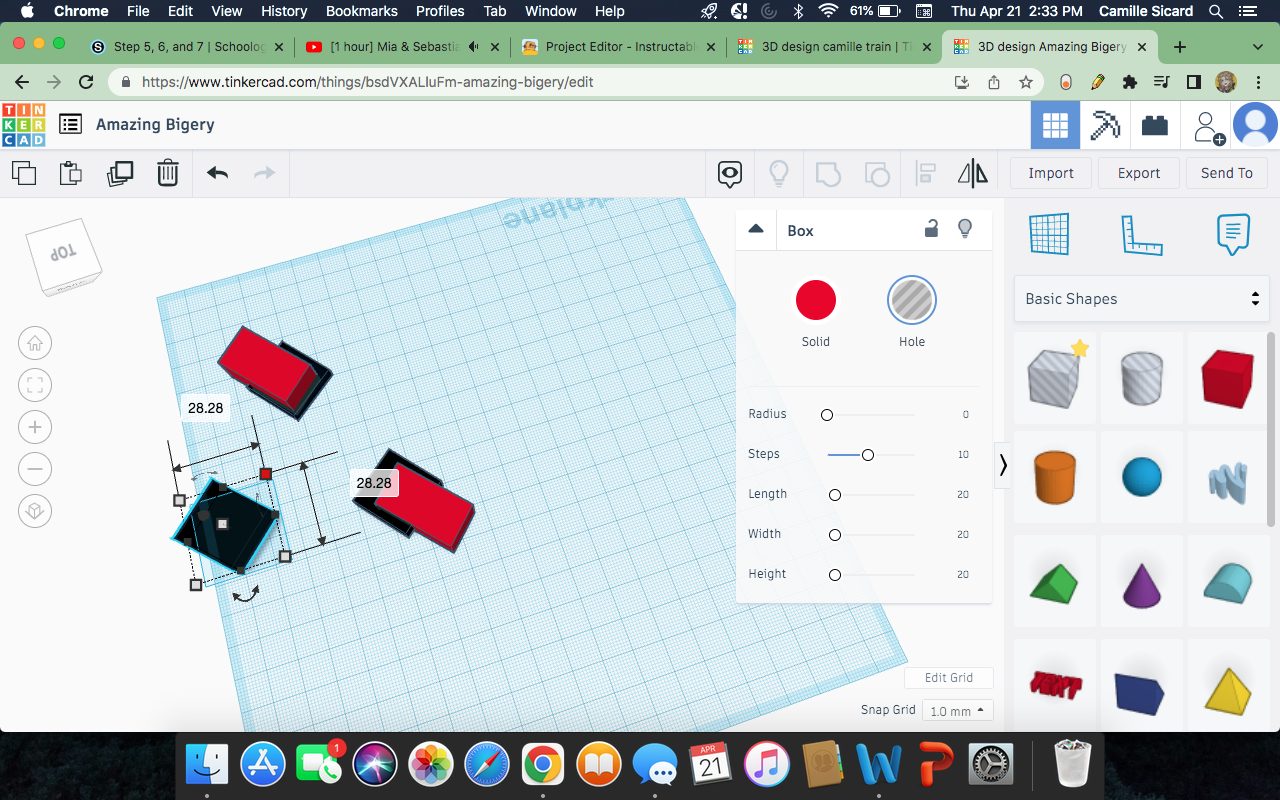
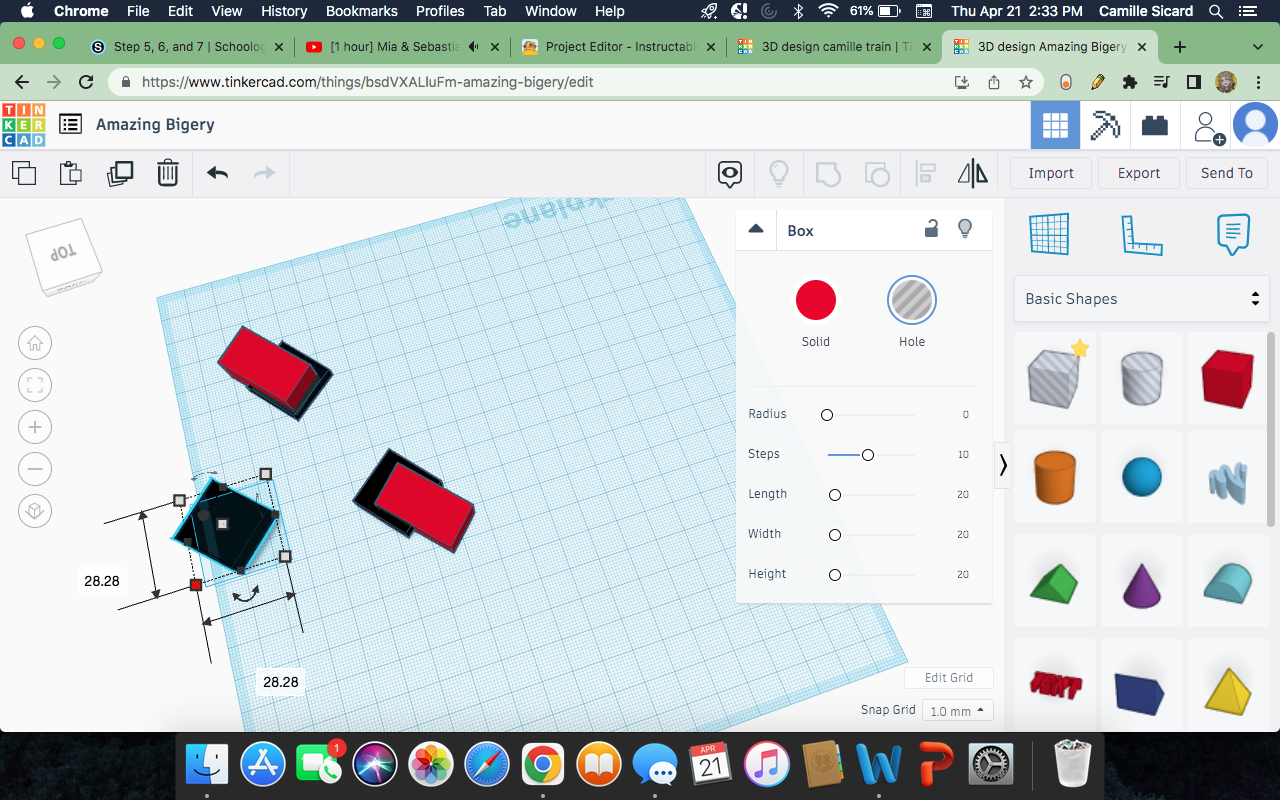
open a seperate tinkercad project and import the square then copy these measurments, we will explain the hole in the next step
The Hole Inside the New Piece


import another square hole and copy these measurements, place it inside the square we just made made wherever you'd like
The Second Connecting Piece


import the square shape and copy these measurements place it wherever you'd like on the new project, were not done with it yet though
The First Hole on the Peice


import the square hole copy these measurements and place it on top the newly made square wherever you want. you may need to change this placement in these next few step
The Second Piece on the BOTTOM


import the square hole, copy these measurements and drag it to the bottom of the rectangle we made a few steps ago, remember we may edit the placement later.
Merge the Shapes Together

highlight ONE out of 2 of the shapes and click the button my mouse is hovering on in the photo. then highlight your other shape and click the same button, now go look at the next shape
Your Shapes Should Look Like This

after copying step 18 your shapes should look like so
A Little More Complicated

after everything is finished, copy and paste each piece individually 2 times into the other project. Once everything is pasted your going to want to line up the opposite peices like in the picture. make them higher and continuasly highlight each train section to line up both peices inside each other according to where the holes are until they are perfectly lined up. once u have them lined up get 2 cylinder holes make them very small since they are going to be what makes the train flexible. look at the next step for specifics on the cylinders
The Cylinders

make the cylinder as small as the picture it can be a little smaller or bigger if you'd like.Copy and paste the cylinders 4 times, make 2/4 of the cylinders a solid, and make the other 2 holes. place the solid cylinders wherever you'd like on the project. it doesnt matter where are as long as they end up 3d printed. then place one hole cylinder on one of the lined up pieces (square and triangle or triangle and circle) from last step place the other hole one on the same in the EXACT same spot. click the cylinder hold shift and click of the pieces( varies on which duo u decided to do first aka square and triangle or triangle and circle) then press the button that makes it a hole. press the cylinder thats left hold shift and click the other shapes and press the button to make them a hole. now your shapes that are alined should have a hole in the middle. (do the exact same on the other train "duo" aka triangle and square or triangle and circle) now seperate each part of the train (the circle hole part, the triangle hole part, and the square hole part) so that they are not touching. then highlight each one seperately and click the button to make each one a hole. that way you can adjust so that everything is printed but not touching. if that is too difficult to fit you can copy and paste each part into a new project and print them all seperately.
DONE!!
and finnally were done. YAY