Big Paper Crane


We did not have a big piece of paper but wanted to make a big paper crane. This is our first instructable. Thank you for viewing.
Supplies
You will need
1. 12 sheets of paper 9x12
2. tape
I used drawing paper and packaging tape.
1. 12 sheets of paper 9x12
2. tape
I used drawing paper and packaging tape.
Step One


Tape the one side of paper with part of the tape over the edge of the paper and flip it over. Place another piece of paper down on top of the tap making sure to line up the sides.
Step Two


Flip the paper back over and put another piece of tap on the side of the paper with part of the tape over the edge. Flip over again and place the third piece of paper on the tape. And flip it back over. You now have three pieces of paper taped together.
Step Three


Flip over and tape the edge of the paper and flip over. Line up the next piece of paper so that you have four pieces of paper tapped together.
Step Four


Repeat steps one through three until you have three columns of paper.
Step Five


Tape the columns of paper together like you did with the paper in steps one through three.
Step Six


Add extra tape to the tape that is already on the back side of the paper to secure the paper into one sheet.
Step Seven


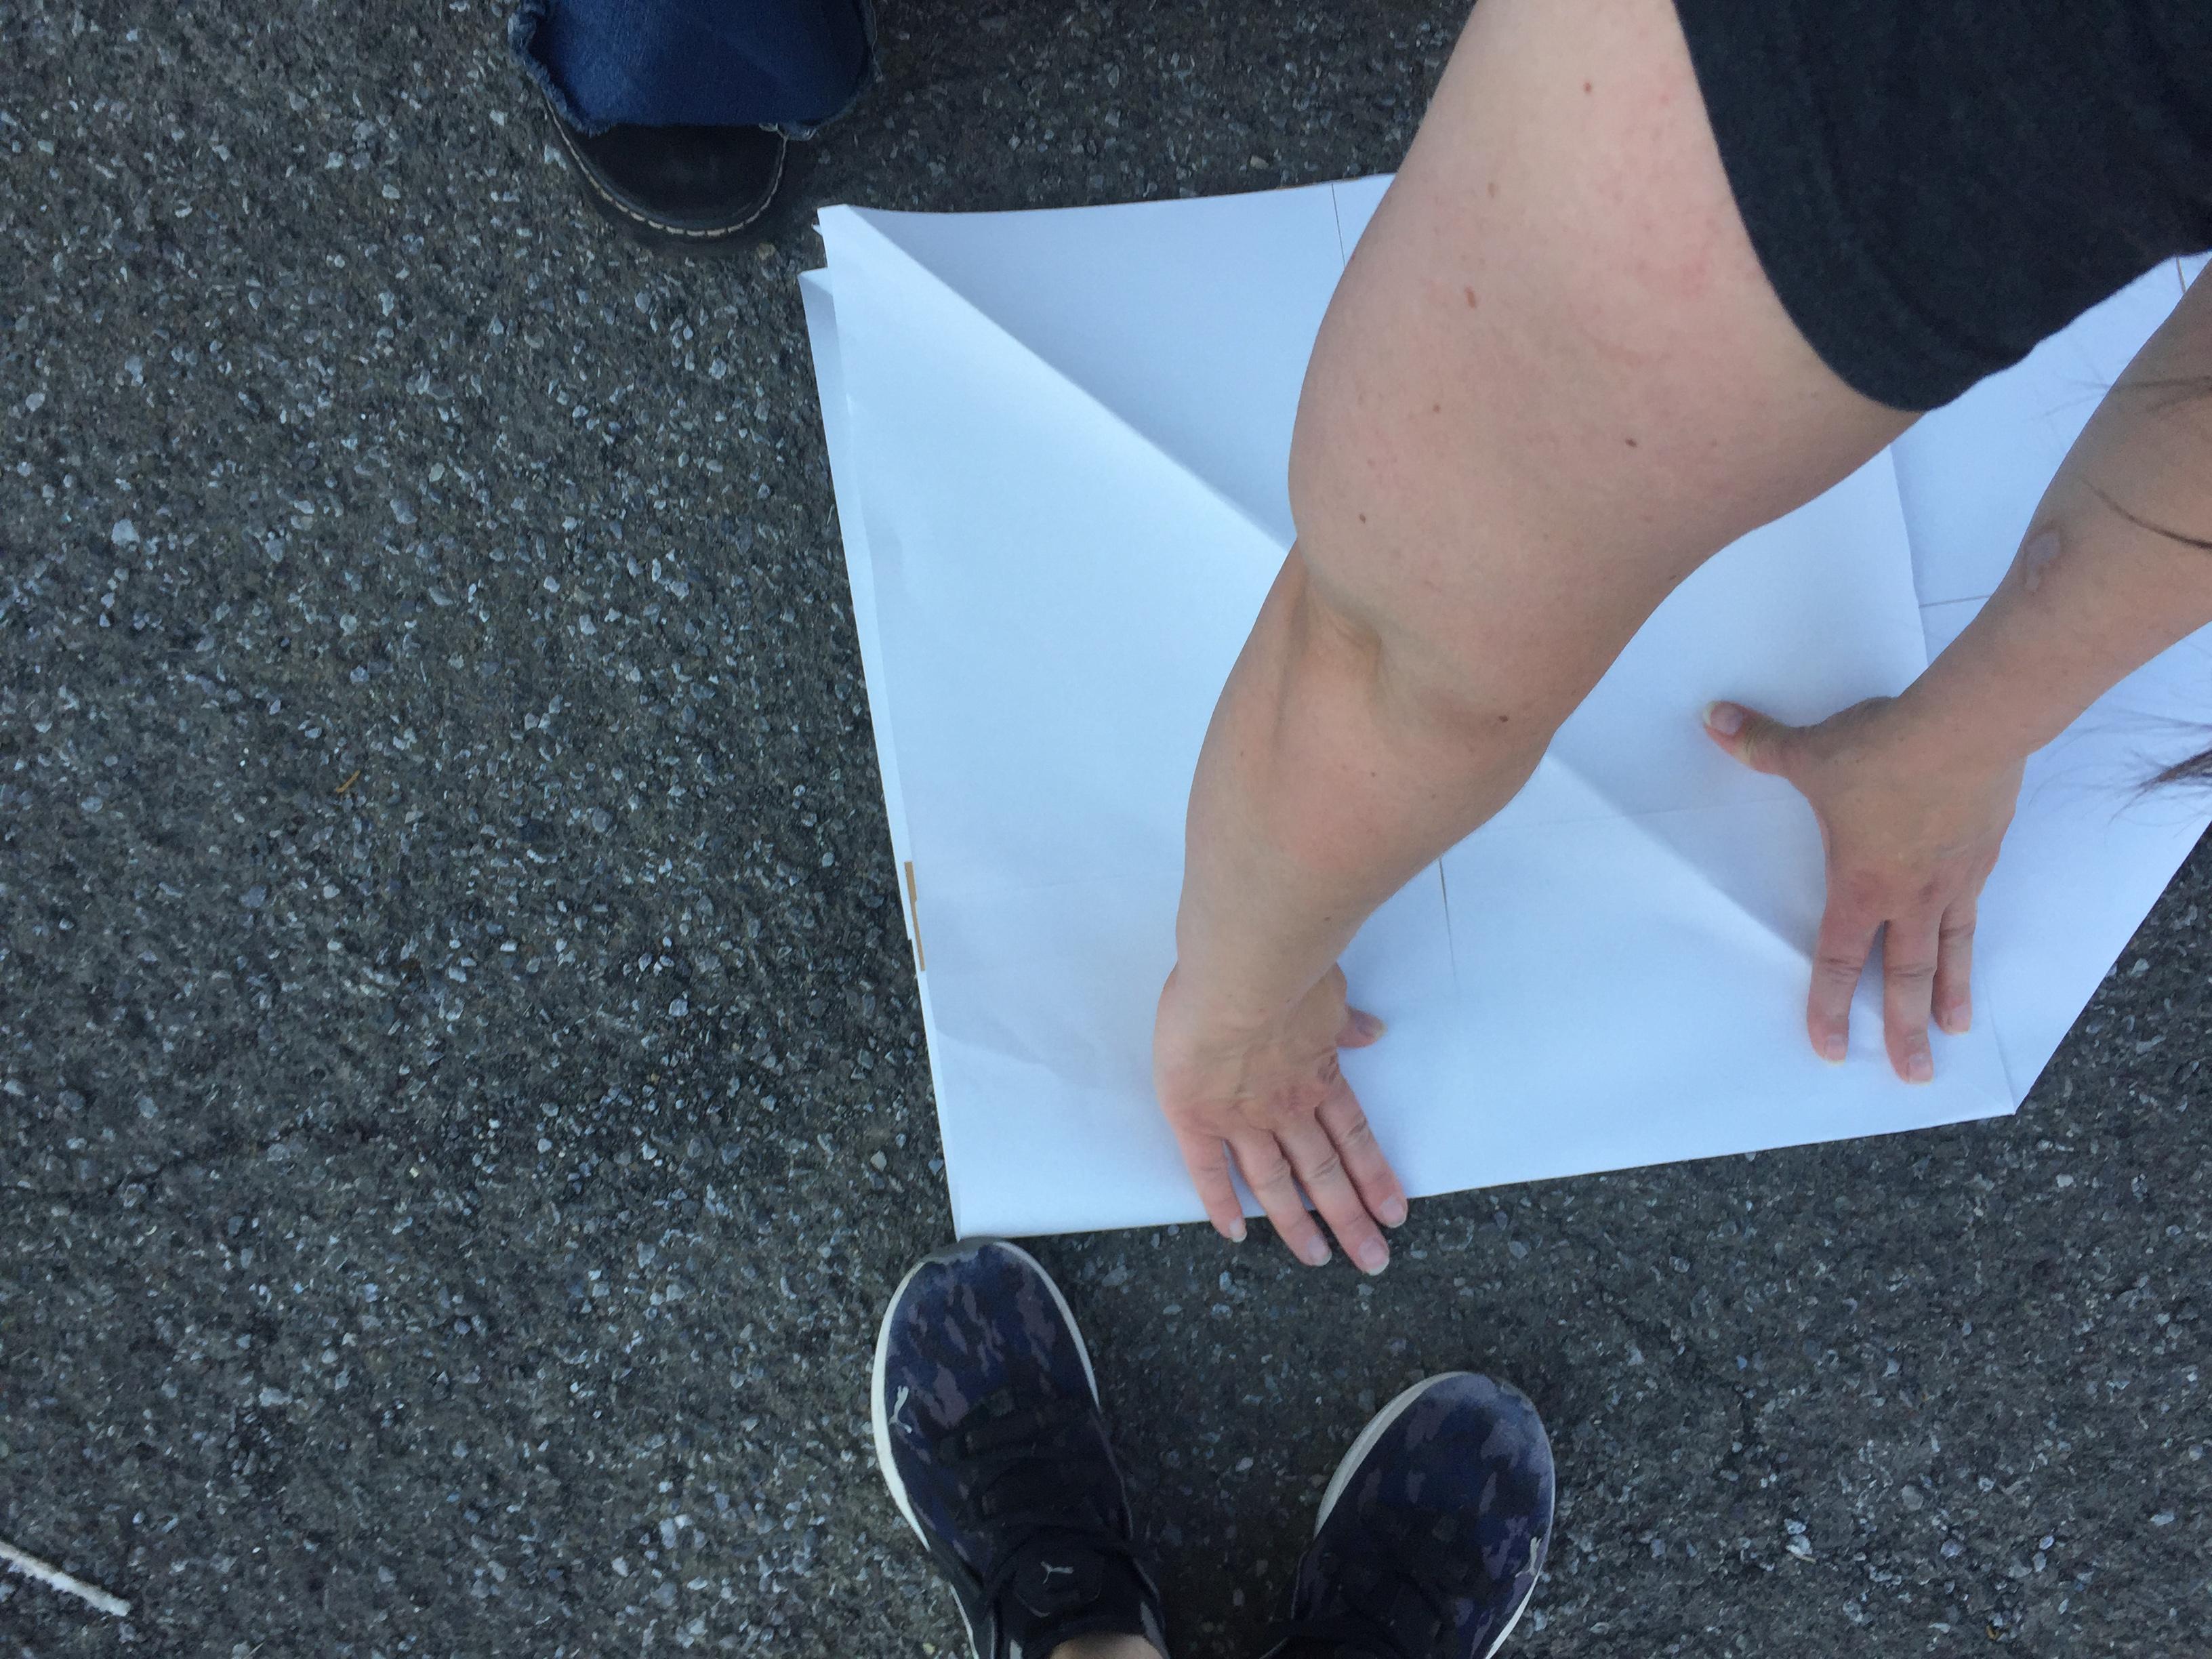
Fold the one corner to the other corner making a triangle. Make sure the tape is on the inside.
Step Eight


Fold triangle in half.
Step Nine


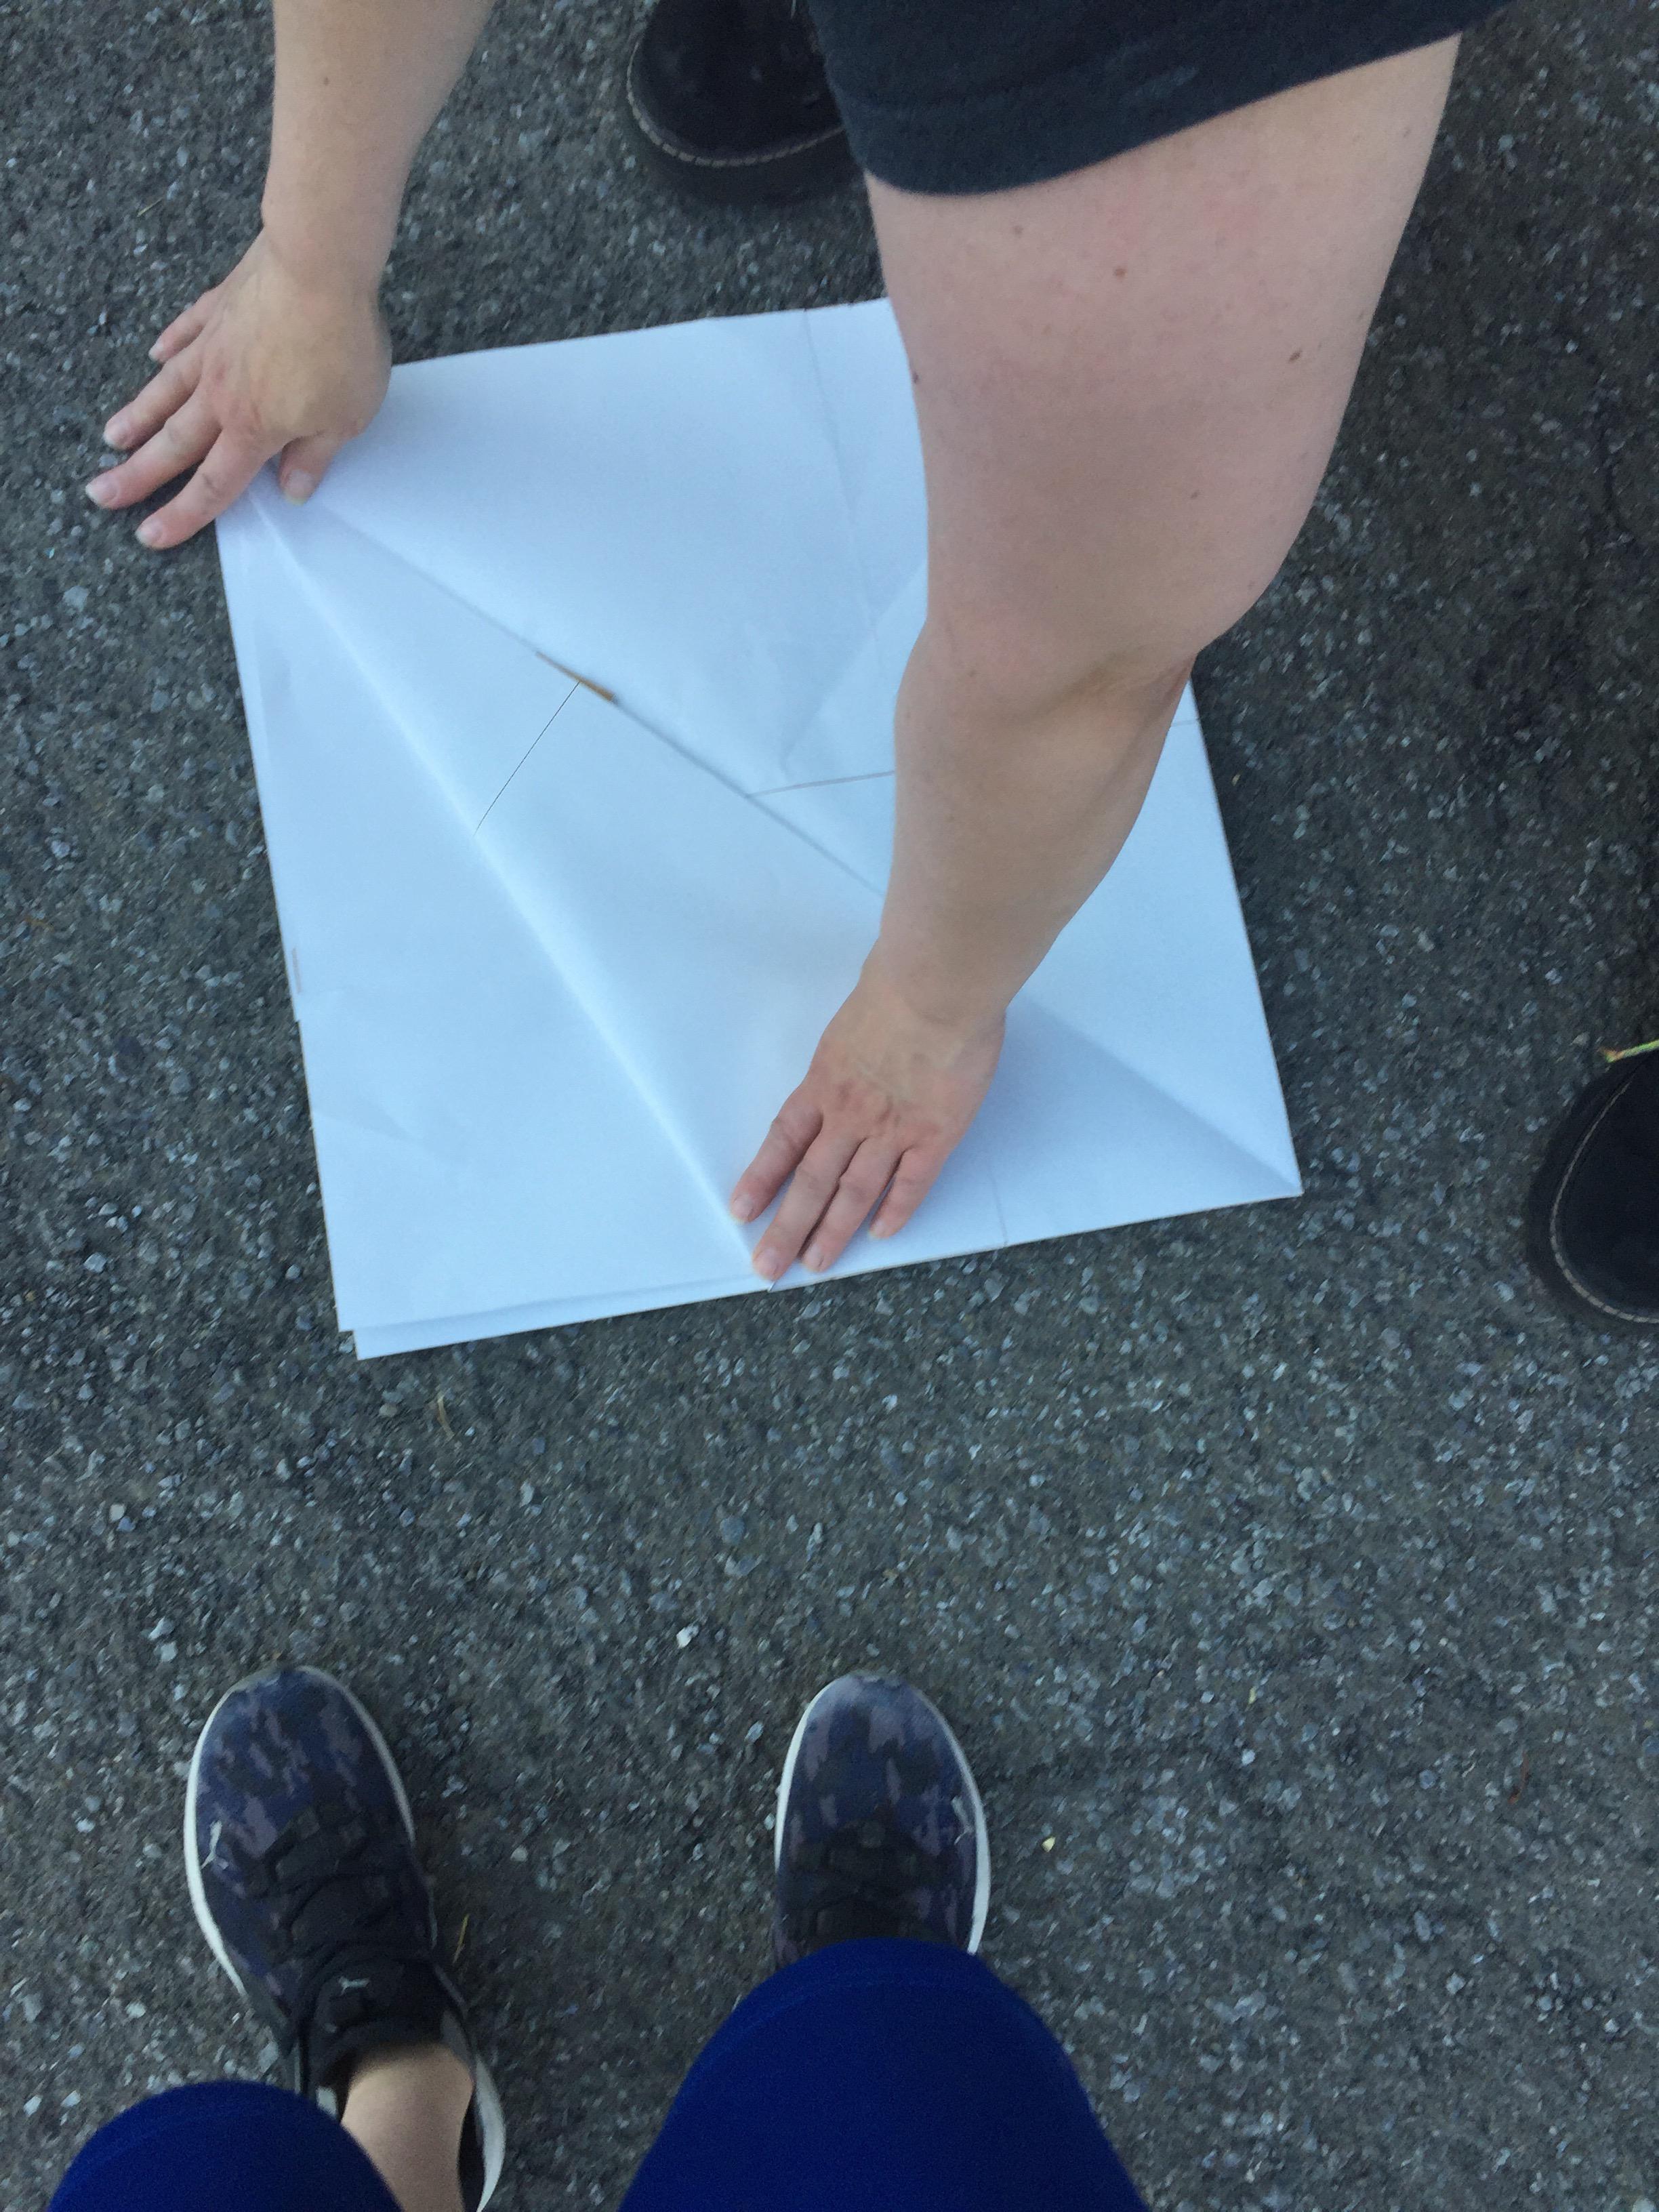
Open half of the folder triangle up and turn it into a square. You will get what looks like a rhombus.
Step Ten


Flip the paper over and open the other half of the triangle open to make another square. Once you are done you will have a big square.
Step Eleven


Take the top corner of the square and bring it towards the center makeing another triangle. Fold the other top corner to the center to make another triangle.
Step Twelve


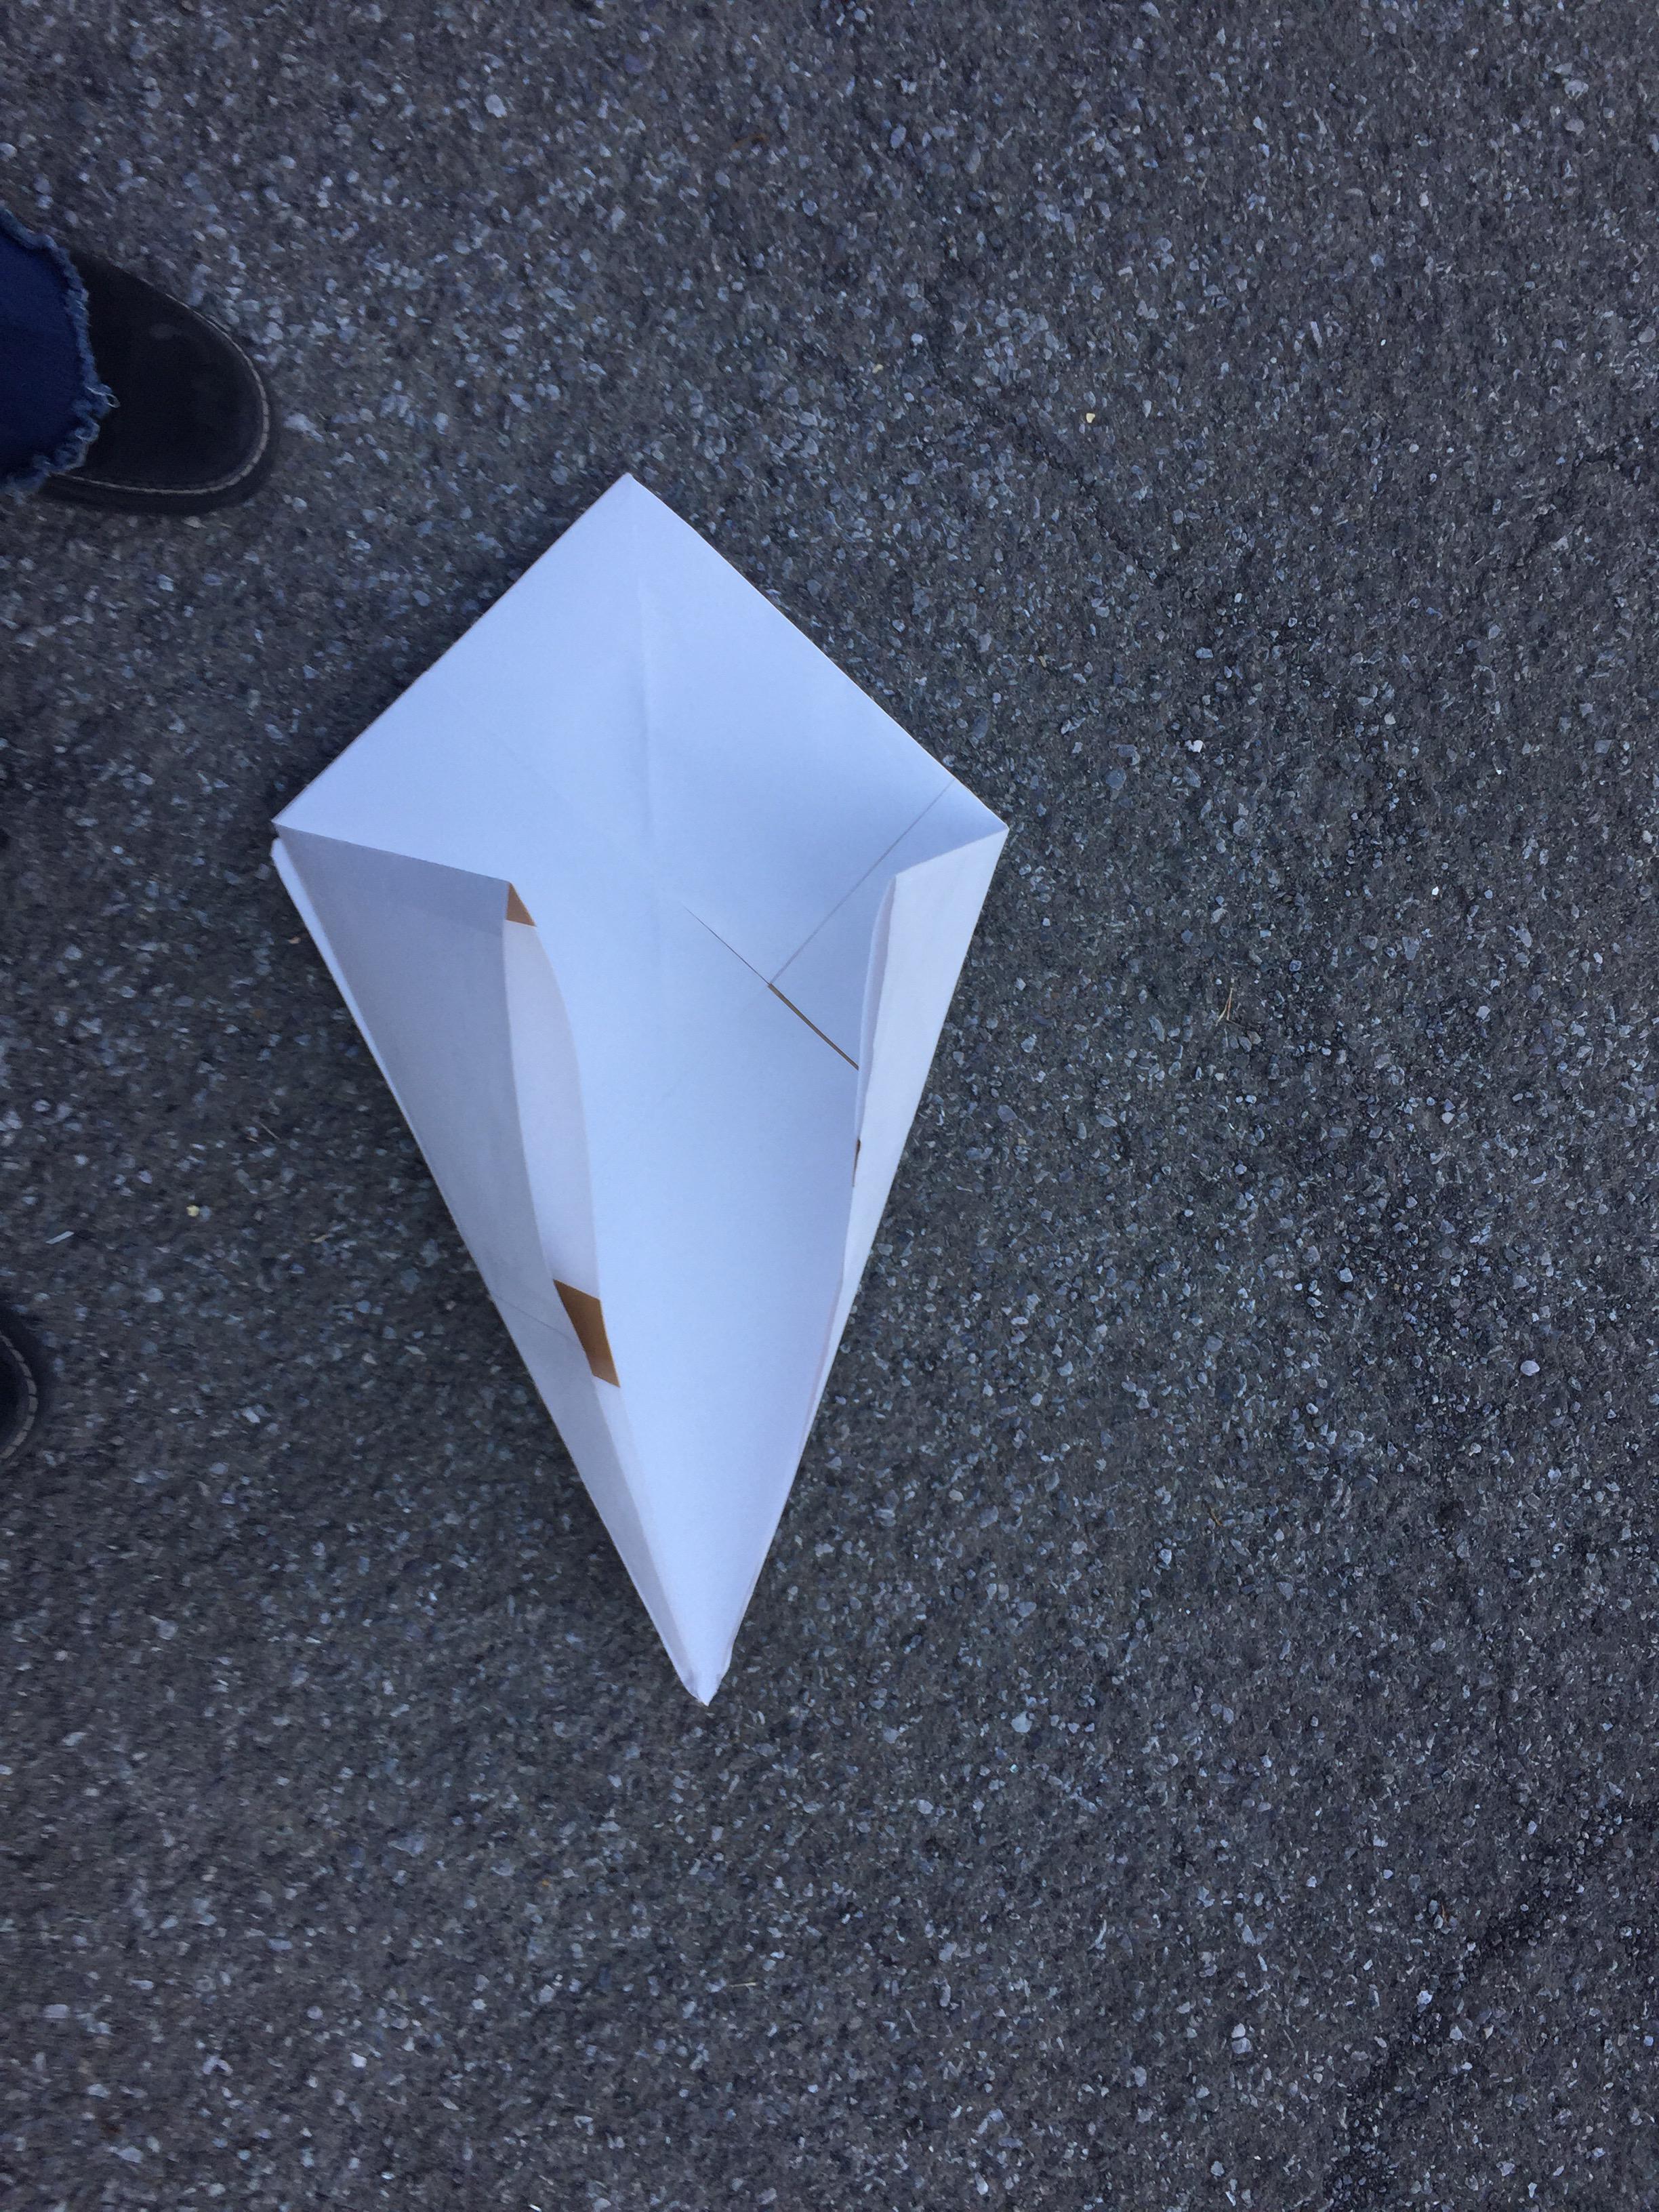
Turn the paper over and repeat step eleven. You will have a shape that looks like a kite. (It was a little windy outside.)
Step Thirteen


Fold the small triangle that forms the top of the kite image.
Step Fourteen


Unfold one side back into the square and flip over. Next open the corner of the bottoms of the kite shape using the crease you just made to make a diamond on the one side.
Step Fifteen


Flip the paper over and refold the square into the kite shape. Take the bottoms corner and fold it up using the crease that was make before so you have what looks like a long diamond shape.
Step Sixteen


Fold the diamond in half on both sides to get something that looks like a diamond with a split tail.
Step Seventeen


Fold the top large part of the diamond down to thwart looks like a split triangle. Flip the paper over and repeat on the other side.
Step Eighteen


Take one of smaller interior triangles and pull it back and crease it. Repeat on the other side until you have what looks like a funny looking W.
Step Nineteen


First you need to decide which side is going to be the head. Take the larger triangle that is on top and fold the triangle at and angle leaving the bigger part were the head is and the tighter part by the tail.
Step Twenty


Fold the one triangle that will be the tail into a long diamond shape. Take the other end That will be the head and fold a smaller triangle. (If you make the folds right you can hold the base of the crane by the neck under the wings of the crane. Pull the tail and the wings will flap as well.) that is how the big paper crane was made