Bokashi - Compost EVERYTHING!


It happens. You forget to eat the leftovers, but there's dairy and meat so you can't compost it. You can compost everything though if you use an anaerobic process called Bokashi. Ages ago (probably in Korea), people started fermenting food waste and using it as a natural fertilizer. The basic stages of the process are:
Collect food scraps including meat, dairy, fat, bones, and anything else organic.
Add Bokashi bran or lactic acid bacteria.
Keep container sealed in between additions of scraps.
Drain excess liquid when necessary.
When container is full, let it sit for two weeks.
Dig a hole in the ground, add contents of container and cover with soil.
Wait for another two weeks and then plant something in the amazing soil you created from trash!
What if you live in an apartment or don't have a yard? That's ok! You can use totes to finish your bokashi. Since it doesn't smell bad, your neighbors won't mind. The process doesn't attract rodents or bugs either. It's a great way to turn trash into treasure!
Supplies
- 5 Gallon Bucket
- Spigot
- Bokashi Bran or Make Your Own LABs
- Food scraps
- Dirt
- Tote (if you don't have a yard)
Prepare Bucket


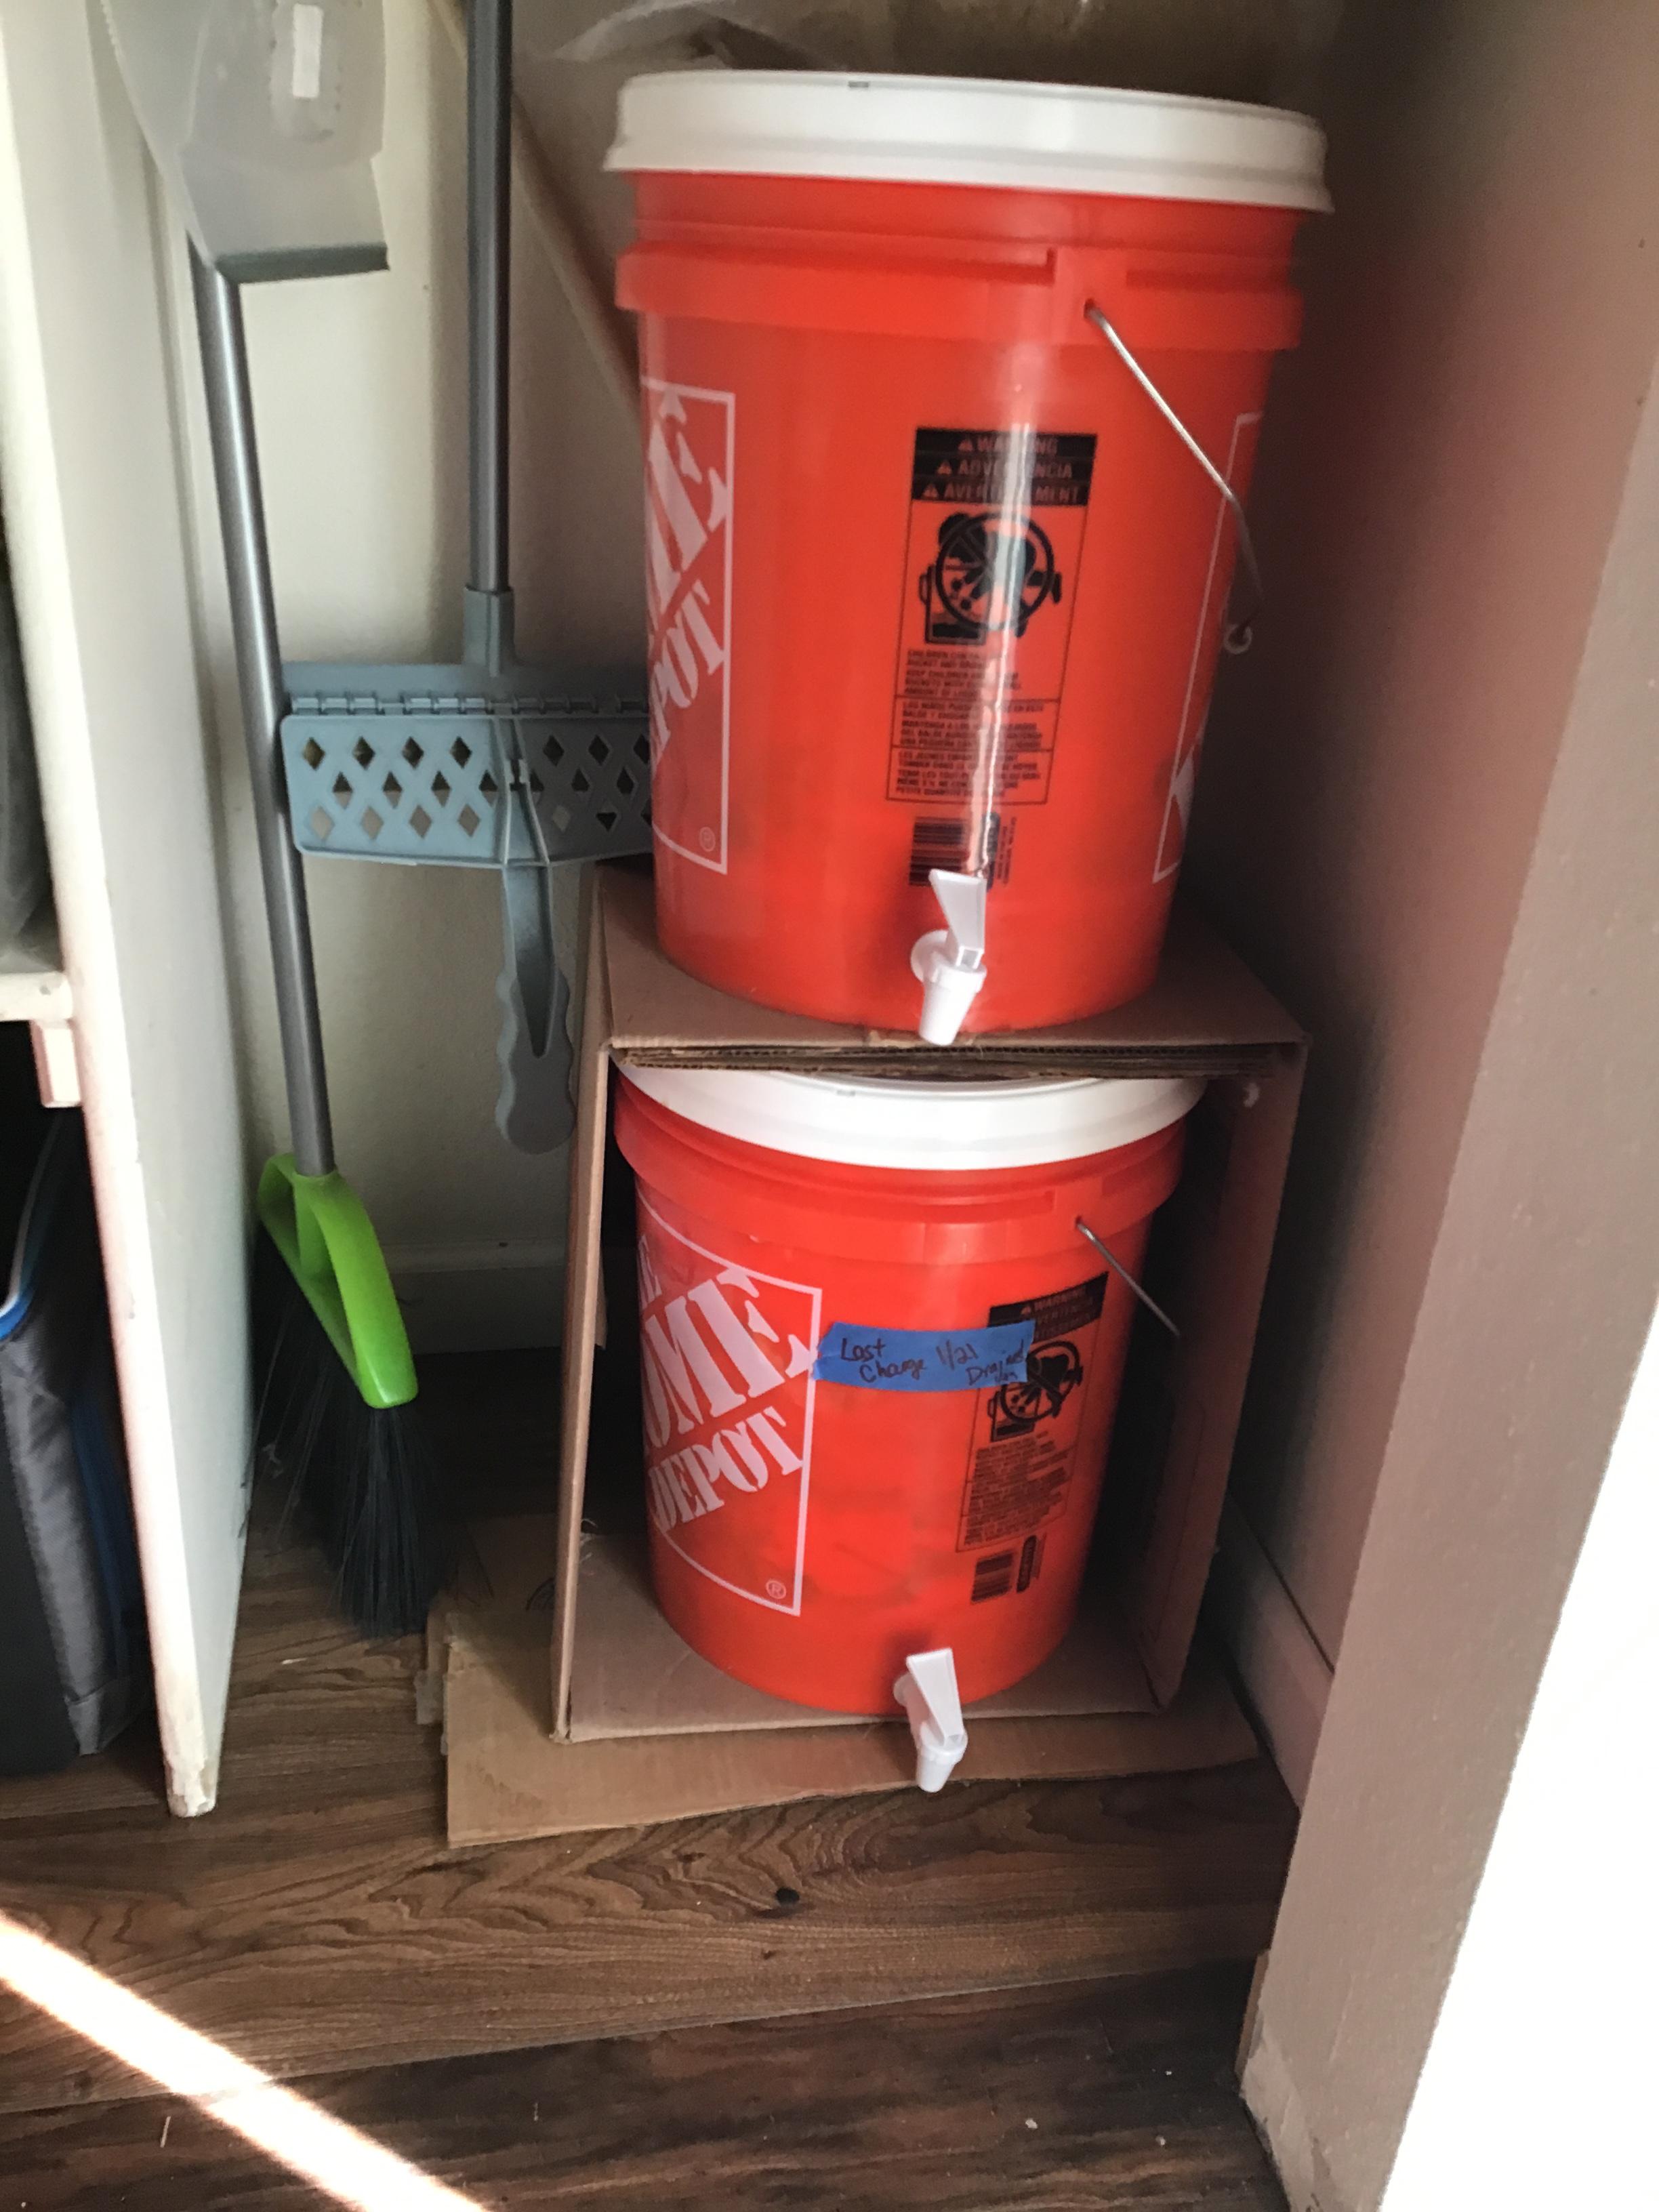
You absolutely must have a container that you can seal to hold your bokashi. Fermentation will happen in anaerobic conditions, which means you need to seal out air as much as possible. It's also a good idea to be able to drain off excess liquid. Both of these are possible with a variety of set ups, but I wanted to make this as easy and reusable as possible so I made two buckets using the following strategy.
First, drill a hole in the bucket high enough that your spigot won't be touching the ground. Add the gasket to the spigot and smear on a generous amount of silicone sealant grease (vaseline will work). Thread through your hole and place the second gasket around the stem. Tighten the nut until the grease squishes out, but the gaskets do not deform. I tested for water tightness by filling the bucket about half full and letting it sit in the bathtub for the afternoon.
Wrap the bucket insert with cheese cloth or use compostable containers to block the holes. You want liquids to settle in the bottom of the container, but you do not want the spigot to clog with debris. You also don't want the food sitting in the liquid.
Snap the lid ring on the top of the bucket.
Add Food Waste & Bacteria


I collect my food waste in a sealable container in the kitchen for about a week before adding to my bokashi bucket. The less you open the bokashi the better because you don't want to introduce a lot of air. Add your food waste to the bokashi container in layers. Add bacteria after every inch or so of food. You can use store-bought bokashi bran or you can make your own from newspaper. You can also make diluted Lactic Acid Bacteria liquid, which has a lot of other uses. I use both.
Seal the container tightly after you add the food. The one time I didn't seal it very well, I had black and green mold in my bucket. White mold is ok, but other molds are not. Throw away the whole batch and clean your container really well if you have black or green mold. It will smell funky, sort of sour and vinegary, but if it smells like death or putrid, throw it away and try again.
I put everything in the bin including coffee grounds, eggs, rice, pasta, onion, avocado, dairy, raw and cooked meat. Some people will tell you to put in the correct ratio of greens and browns like you would in a regular compost, but I have only put in the occasional dead leaf off my hibiscus and some compostable food containers so mine is very heavy on the greens. I use browns like leaves later in the process because they take up too much space in the bucket.
It takes me about a month to fill the bucket. If a lot of liquid accumulates in the bottom of the bucket, I will drain it using the spigot when I add more material. More about this treasure next.
Wait & Drain


Once your bucket is full, let it sit undisturbed for at least two weeks. Drain it at least once a week, but do not open it. I add another piece of tape with the "last charge" date and put it on the bottom of the stack. The top bucket then becomes the bucket I add new material to.
Save the liquid you drain from the bucket. It is concentrated fertilizer full of all of the beneficial bokashi microbes that help to unlock nutrients and minerals in your soil. It can be used as a fertilizer on your plants, lawns, veggies and flowers. It is quite acidic, therefore dilute at a rate of around 1:100. The diluted bokashi tea fertilizer should be applied to soil not foliage.
Use your bokashi liquid as soon as possible after draining it from your bucket so that your plants can benefit from all of the goodness in it. If left unused for more than a few hours, then the tea may start to go bad. I have been refrigerating it because I can't use it fast enough. So far, that seems to be working to prevent it from getting really smelly and gross.
Bury & Wait More


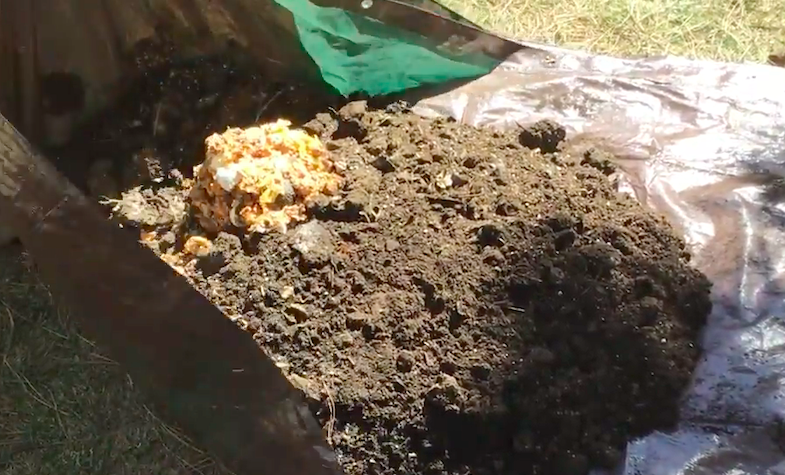
After two or more weeks of fermenting, the contents of your bin are ready to bury. Dig a hole approximately 10 inches (25 cm) deep. Dump your bucket in the hole and top with soil. Wait two more weeks for the acidity to decrease and then plant something. You can also dig in the spaces between your garden rows and the plants will seek out the nutrients. It is highly acidic at first so it can damage young plant roots.
Since I don't have a yard, I bury the bokashi in dirt contained in totes. First, I mixed some high quality dirt from last season with low quality dirt I dug up elsewhere and some leaves. Leave about half of the dirt in the bottom of the tote and set the rest aside. Dump the contents of your bokashi bucket onto the dirt. Stir them together really well. You can add some bokashi bran or lactic acid bateria to help maintain the microbes. Then put another layer of soil on top and put the lid on. Wait another two weeks. Open your tote and stir up your beautiful new soil. You can plant right in the tote, put it in the ground or use the soil in pots.
When it came time for me to dump my second bucket, I bought a cheap bag of topsoil. I filled the bottom of three totes with a layer of leaves. Then I mixed the contents of the first tote and the second bokashi bucket using a tarp and dumped it onto the leaves. Next I added another layer of leaves and then topped it all off with the top soil to "seal" it all in. Once it stops snowing, I will mix up the contents of the totes and plant my peanut seedlings in them.
I haven't had a problem with pests or smells while my bokashi has been in the totes. I know there was still most of a pork chop in there when I put the second bucket in soil, but the fermentation process makes the food unappealing to rodents and bugs. Keeping food waste out of our landfills is great for our shared environment as it prevents the release of methane gas. It also turns trash into treasure!