Brick Bond Miniature- Different Approach
1383 Views, 17 Favorites, 0 Comments
Brick Bond Miniature- Different Approach

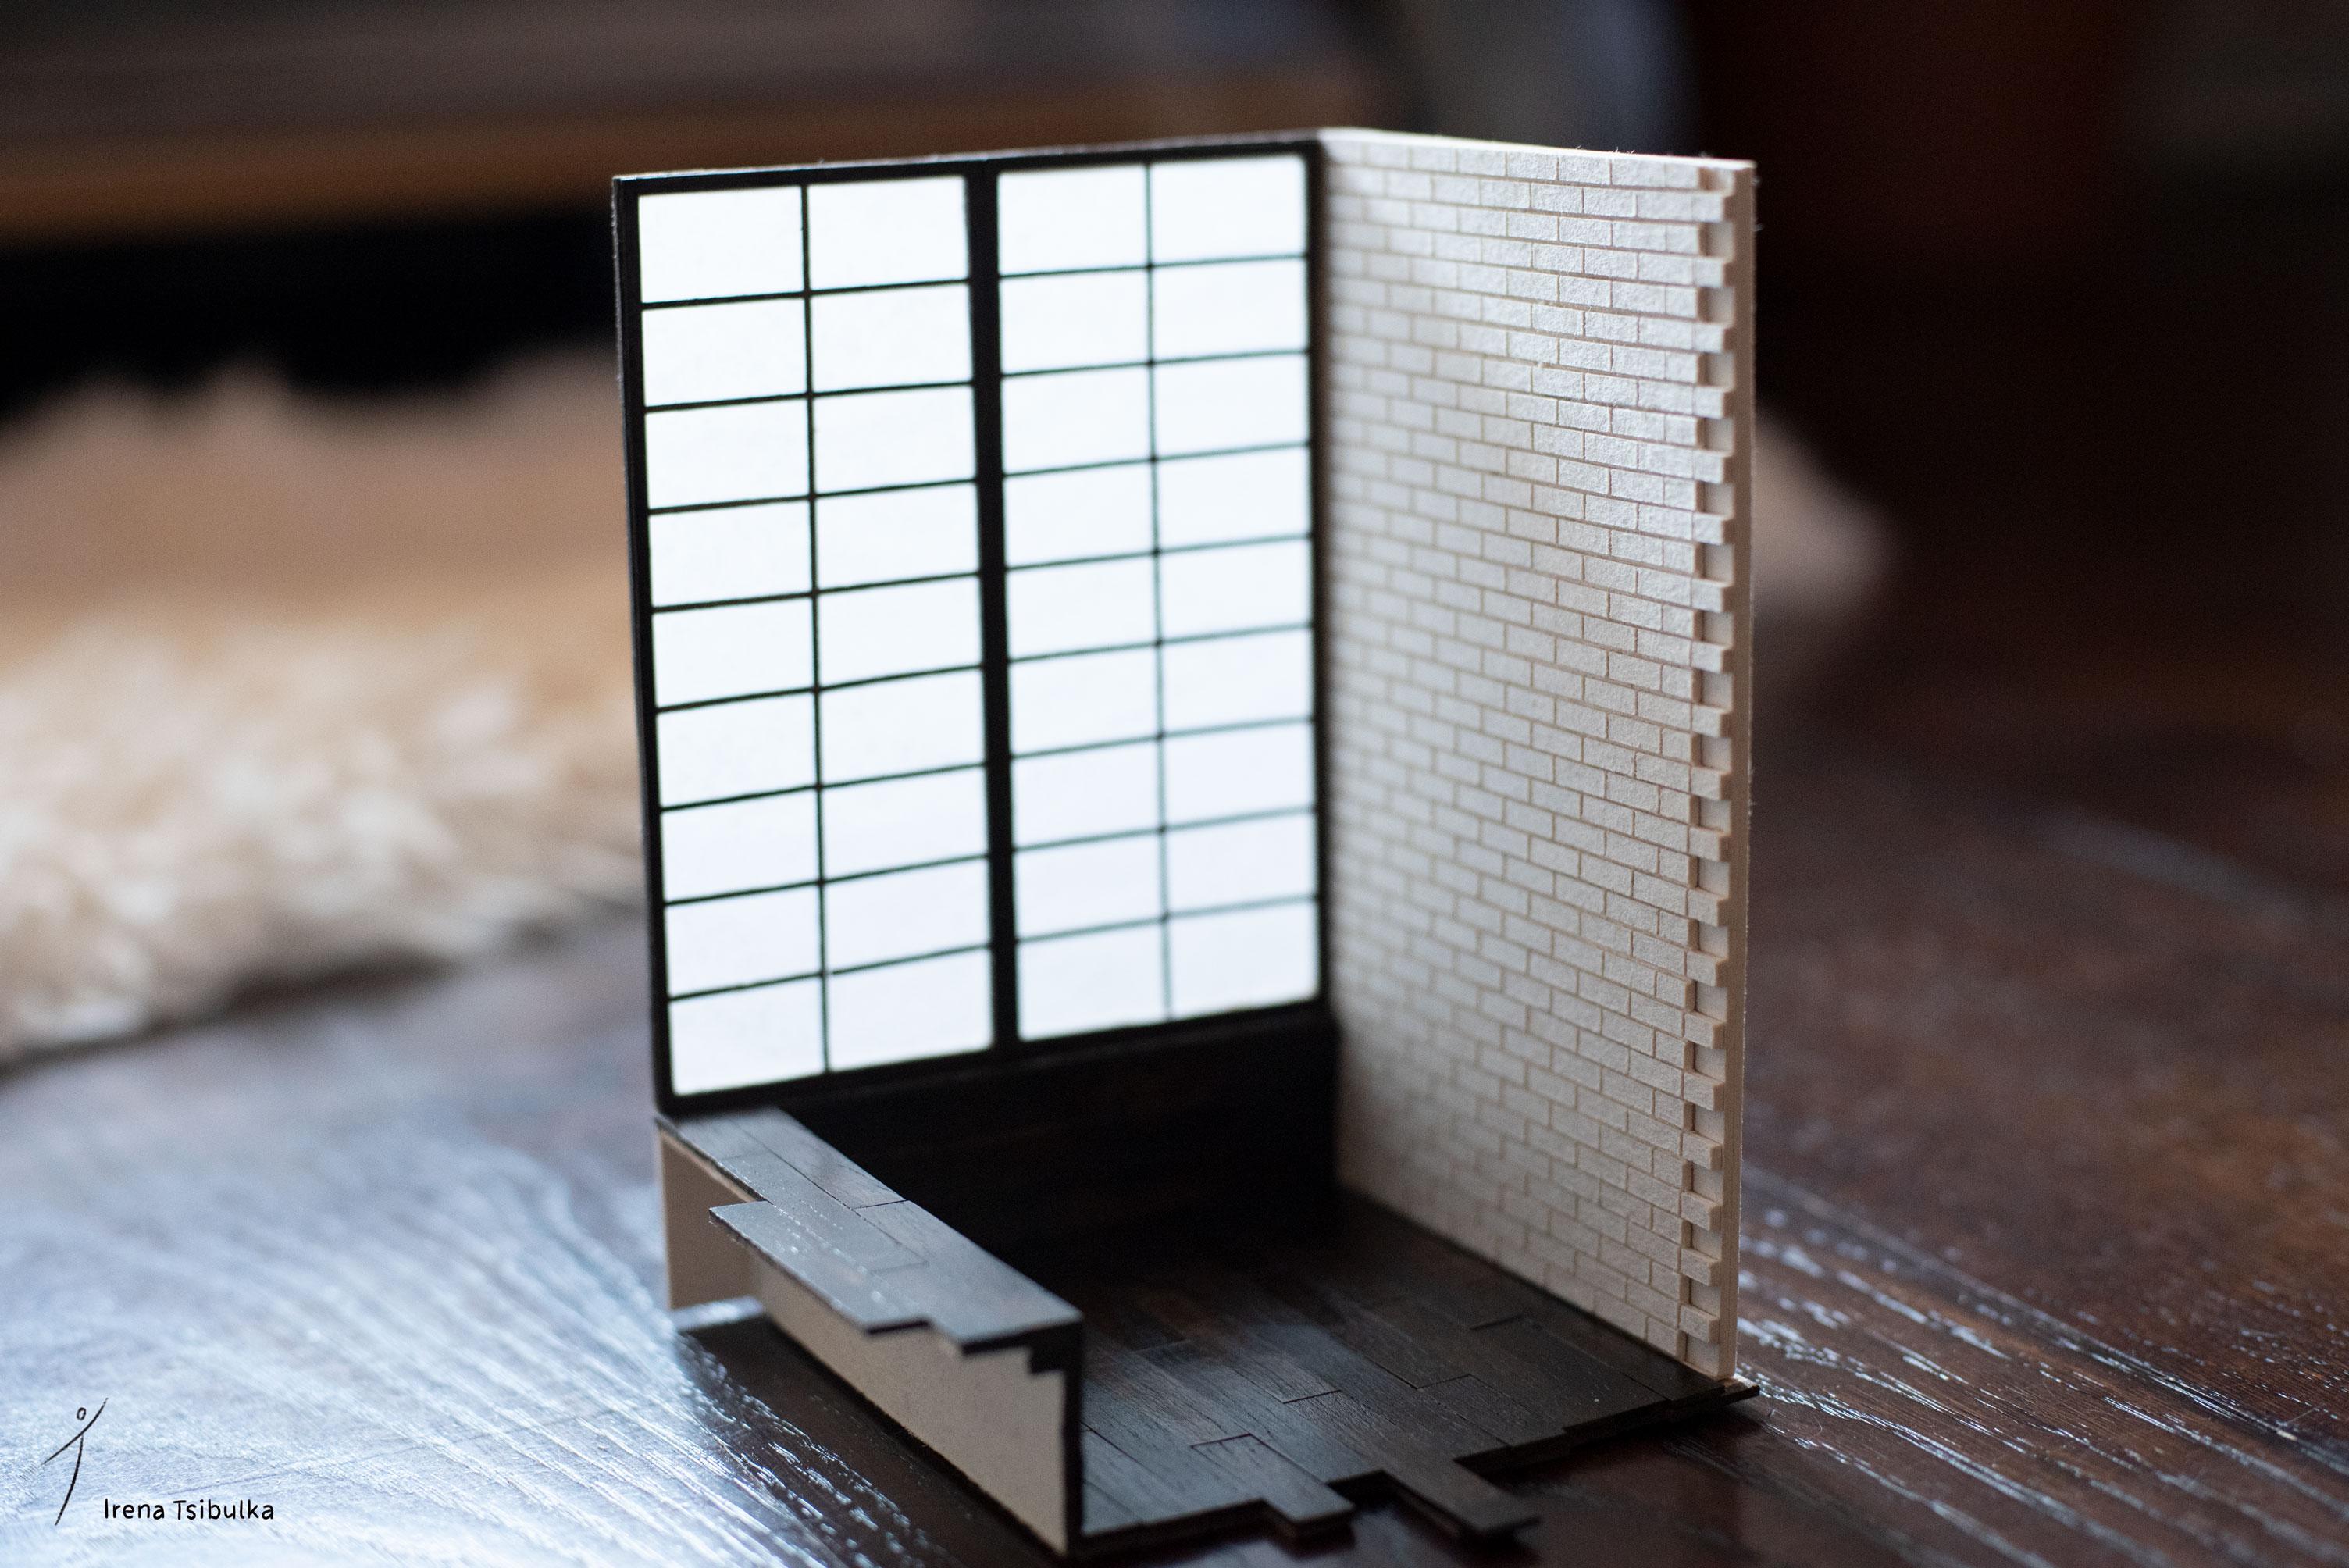
A MINIATURE proof of concept, made for an interior design course, a cutout portion of an 'in-floor' sitting area. The style incorporates a wood floor, wood Shoji sliding doors and a brick wall.
Many styles of bricks laying exist the, so called, Stretcher Bond or a Running Bond is in this project.
The first thought was to make the bricks and then glue each one of them onto another board. It meant that the bricks should be perfectly identical with straight lines. This was a hard mission to accomplish with a regular ruler and knife while the brick is 12 x 3 mm.
So, how can we create a PERFECT GAP between the bricks?
The inspiration for this DIY came from the 3D modeling process, where you create one brick, and then you copy it horizontally with the gaps. This creates one row of bricks, that essentially, is the basic element. The row is duplicated once, vertically, with an offset. You end up with this group of two rows that can be duplicated many times.
How can we translate it to the real world and create a miniature brick wall from a task-board in a more PRECISE way?
Supplies
| TASKBOARD | BALSA WOOD | RICE PAPER | UTILITY KNIFE | MATT | WOOD GLUE | TRANSPARENT MODELS GLUE | DARK WOOD STAIN |
THEORY

Basically, we are working with the negative space of the bricks, the gaps. The process of their carving will show up the bricks.
A Stretcher Bond (Running Bond) is picked for this model that is 10 cm by 15 cm, with about 270 whole and 38 half bricks. Each brick is 12 x 3 mm and the gaps between 0.9 mm.
39 bricks lines will be created and glued by offsetting them, like it is shown in the diagram.
In short, a Stack Bond will be created first, cut into rows and then glued back with an offset that will create the Running Bond.
MATERIALS & TOOLS


- UTILITY KNIFE, SHARP BLADE, MATT, FULLER & THICK PENCIL for making precise cuts.
- TASKBOARD (in America) or FINNBOARD (in Europe) a wood pulp board that is used by architects for their concept models.
One A4 board is enough for the wall.
It comes in different thicknesses which is very nice. Locally we have only the 1.5 mm in its 'natural' version with a warm beige color and also the white one which is denser and smoother. The 'natural' one is used in the tutorial since it has this warm softness and delicate brittleness that just levels up the visual satisfaction. - BALSA WOOD 10 x 20 cm it is a very light wood that is easy to cut.
- RICE PAPER 10 x 13 cm you can use white backing paper instead
- DARK WOOD STAIN, SANDING PAPER (800-1000 grit), BRUSH To make the wood dark-colored and shine.
- WOOD GLUE
- CLEAR MODELS GLUE for the rice paper. You want it tacky so that it will not absorb in the rice paper
MARK THE GAPS

The image shows the step before the cuts.
Mark the gap between the bricks with a thick pencil, 0.9 mm line.
We want it thick because it will be carved, and reveal the bricks.
Or you can use the provided pattern. Just fix it onto the task-board.
Downloads
KNIFE PREPARATION

Prepare the knife so that it will cut only 1 mm from the 1.5 mm thickness.
Do some tests to find the perfect depth. Remember to cut in the same manner because the angle of the knife can change the depth of the cut.
DOUBLE HORIZONTAL CUTS

The image shows the cuts, there is no drawn line so that the cuts will be seen.
Each drawn line will be cut twice along each side. These cuts will guide our carving.
DOUBLE VERTICAL CUTS

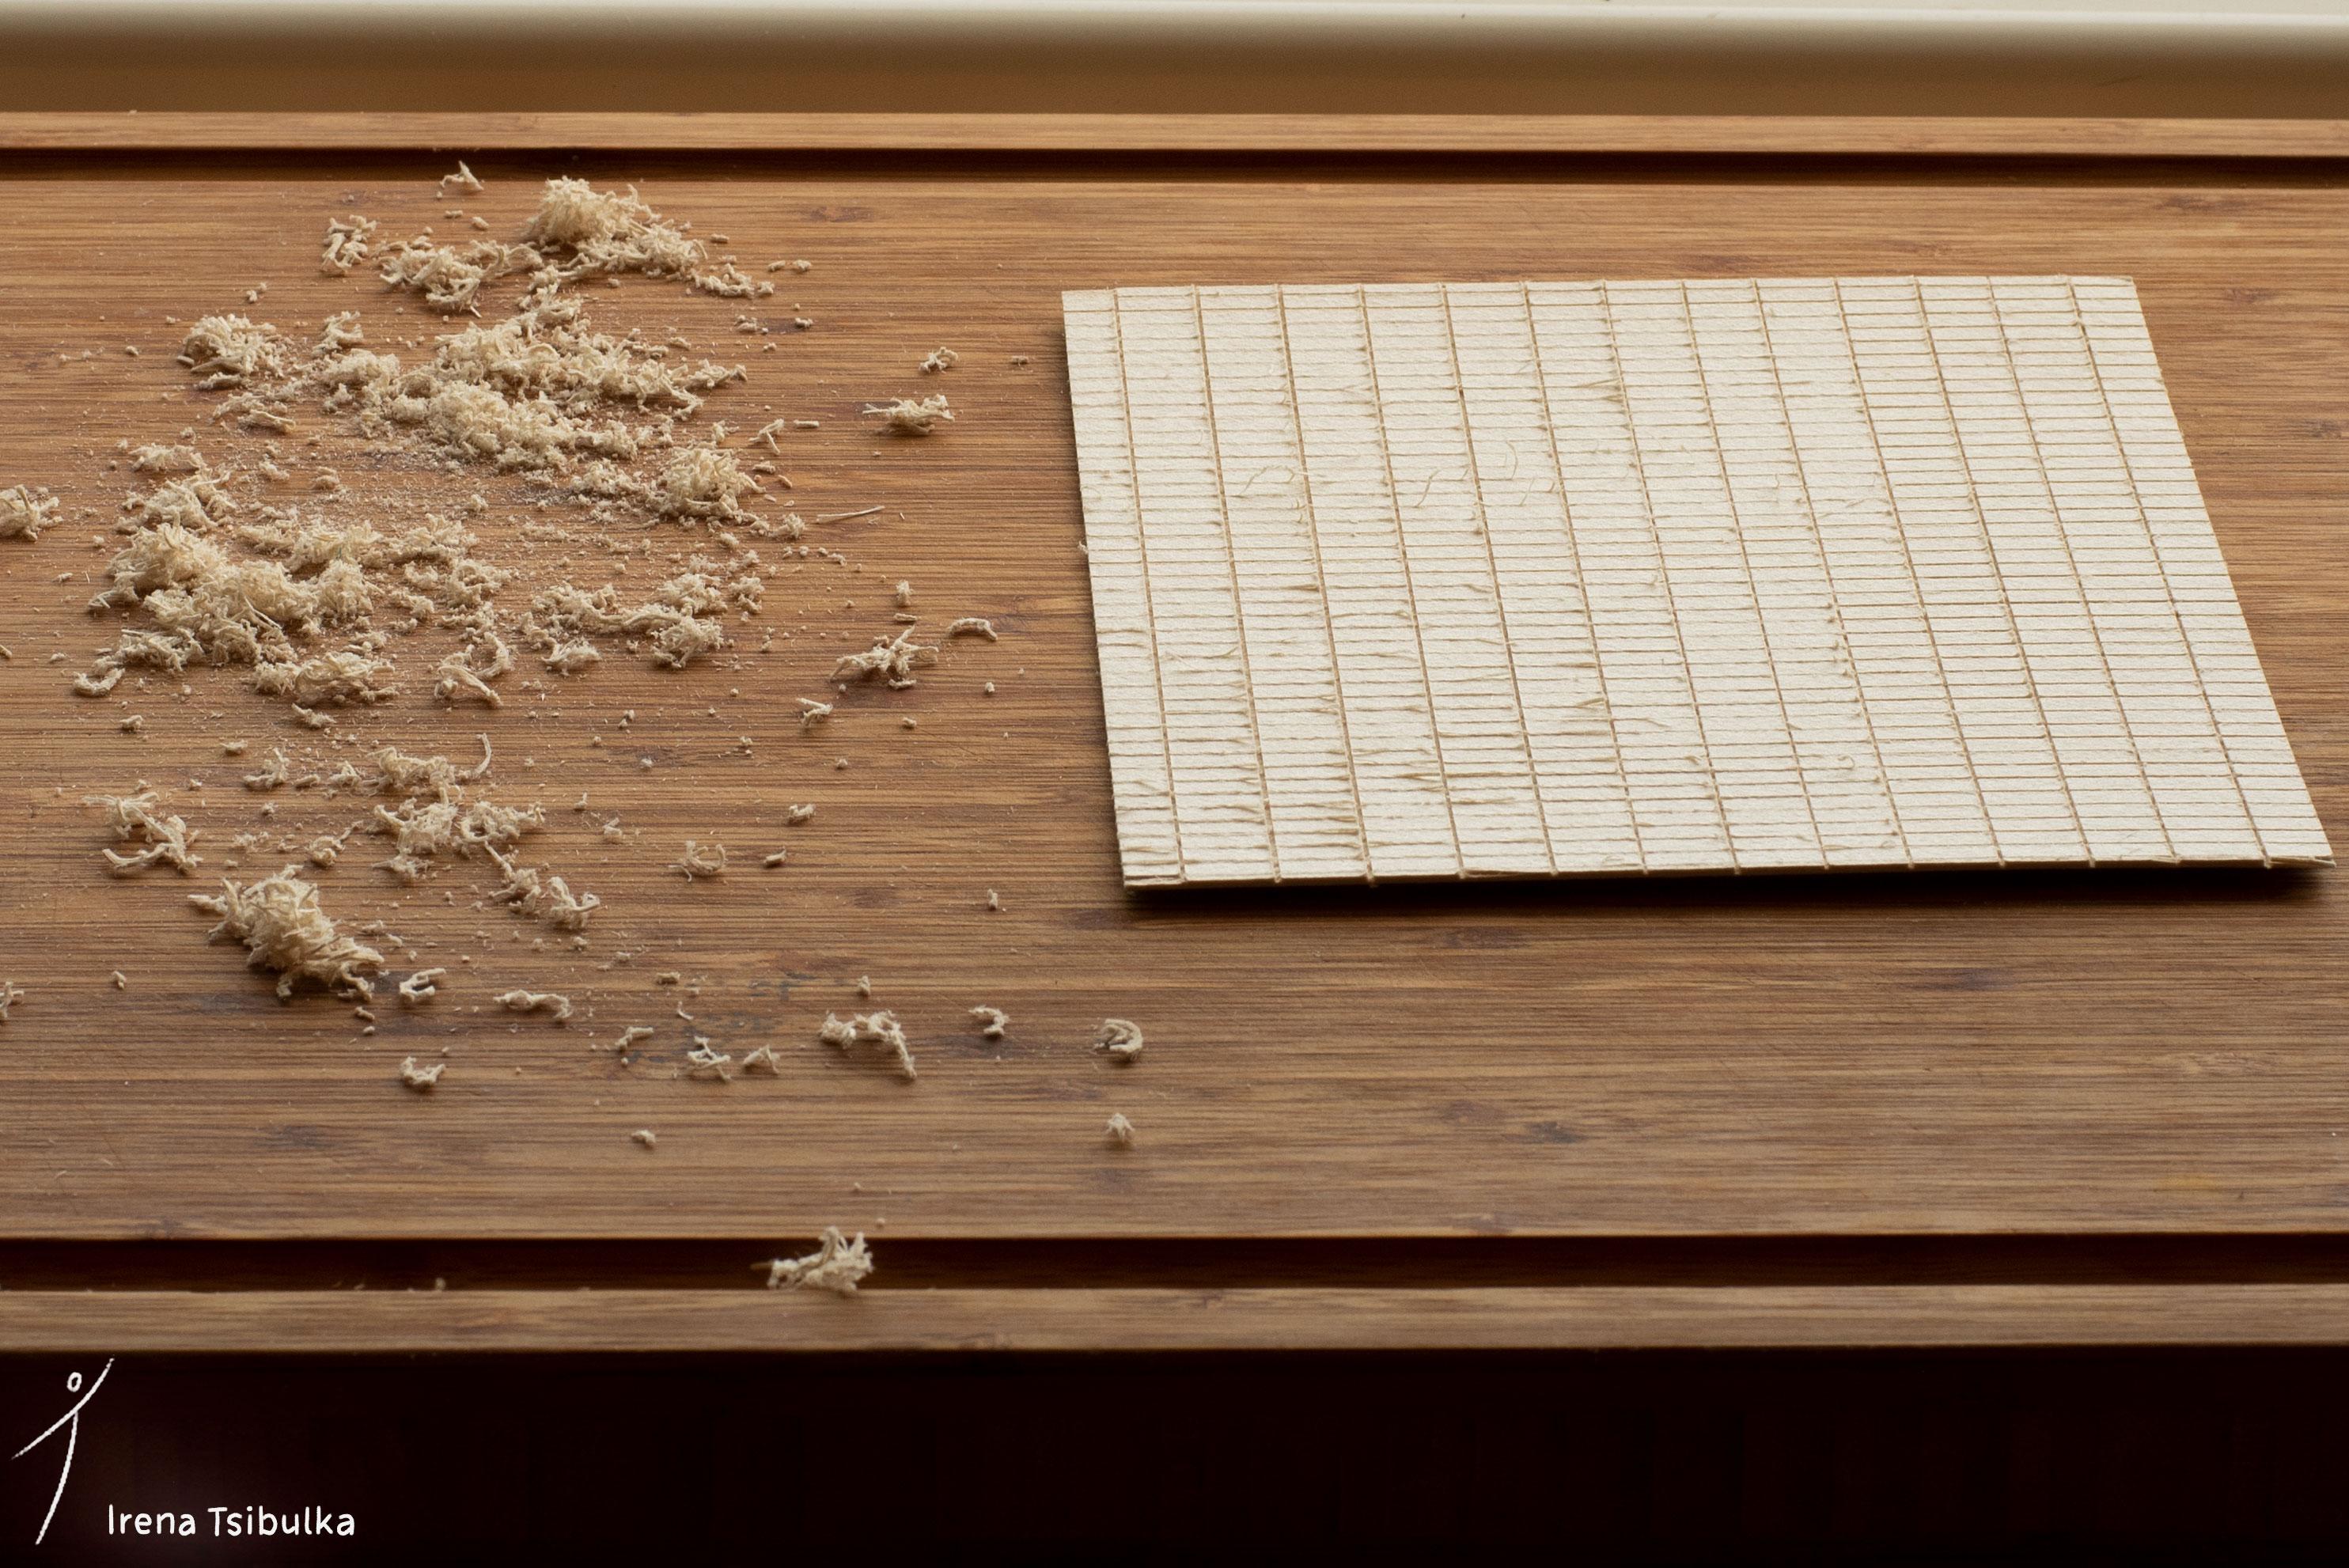
The vertical cuts should be made the same way. Some wood pulp will start to come off, this is totally fine since we are going to carve it out.
The cuts are the most tedious part, since your aim is to make them as parallel as possible. If you happen to have some sort of cutting machine, this could be perfect for this project! Just write in the comments the file format you need for it, I'll be happy to add it to this DIY.
Attached are 3 files that are 3 steps for a cutting machine:
- Horizontal shallow cuts
- Vertical shallow cuts
- Whole area deep cut
They all have a reference point in the bottom-left corner for a precise placement of them as layers on each other
CARVING

Clean the pulp from the gaps with a thin tool or use the back of your blade. This will create a Stack Bond, that has its style. We will continue the journey to the Stretcher Bond (Running Bond) wall.
STRIPS CUT

Numerate the strips at the back side of the task-board so that you will bring them back if they mess up.
Cut them straight along the carved gap.
OFFSET & GLUE

Use your preferred type of glue, on the image we can see a regular wood glue is applied at the back side of the first strip. Glue the strips onto another task-board or some card stock by offsetting each row of bricks.
Place a plain and heavy object onto the bricks, so they will dry flat. A hardcover book and some more on top of it, will do the trick. A marble slab, as in the picture, is OK too. Let it dry for a day or so.
Cut the board to the desired size, The Wall is ready.
Love the texture and color of this task-board, it has softness and sharpness at the same time!
EXTRA - SHOJI

This was a very delicate process.
Two different thicknesses were cut from the balsa wood.
2.2 x 1.5 x 13 mm for the frame.
1.5 x 0.3 x 13 mm for the inside of the frame.
A 45 degrees angle was cut at the ends of the frame strips, this was a personal choice since it creates more stability. The frame was glued using an angled ruler for a perfect corner.
Then the center horizontal line was glued. Micro notches were premade at the back side of the frame to accommodate this horizontal center line and make it flush with the back side of the frame.
A rice paper was glued to the back side of the frame.
Thin separators were glued onto the papers' front-side finishing the Shoji look. Two Shoji were made to make a better composition.
EXTRA - WOOD FLOOR

First the wood was sanded with a very fine sanding paper.
Wood strips were cut into, 8 x 50 mm. They were stained with a wood finish, lacquer of dark color. The pieces were glued to a task-board, sanded and colored again several times till the desired color deep was obtained.
__________________________________________________________________________
This way, of creating the bricks wall, made the gaps almost perfect, and also size customizable.
That's all folks!
Have fun!.