Cardboard WALL-E


Do you need a project or a way to recycle your stack of cardboard boxes? Yes?! Well, all you need is to follow this Instructable on how to make a cardboard WALL-E! Not only is this cute, but it also carries an important lesson on taking care of our planet.
Supplies
- Cardboard
- Hot Glue
- Exacto Knife
- Scissors
- Cutting mat (optional)
Body


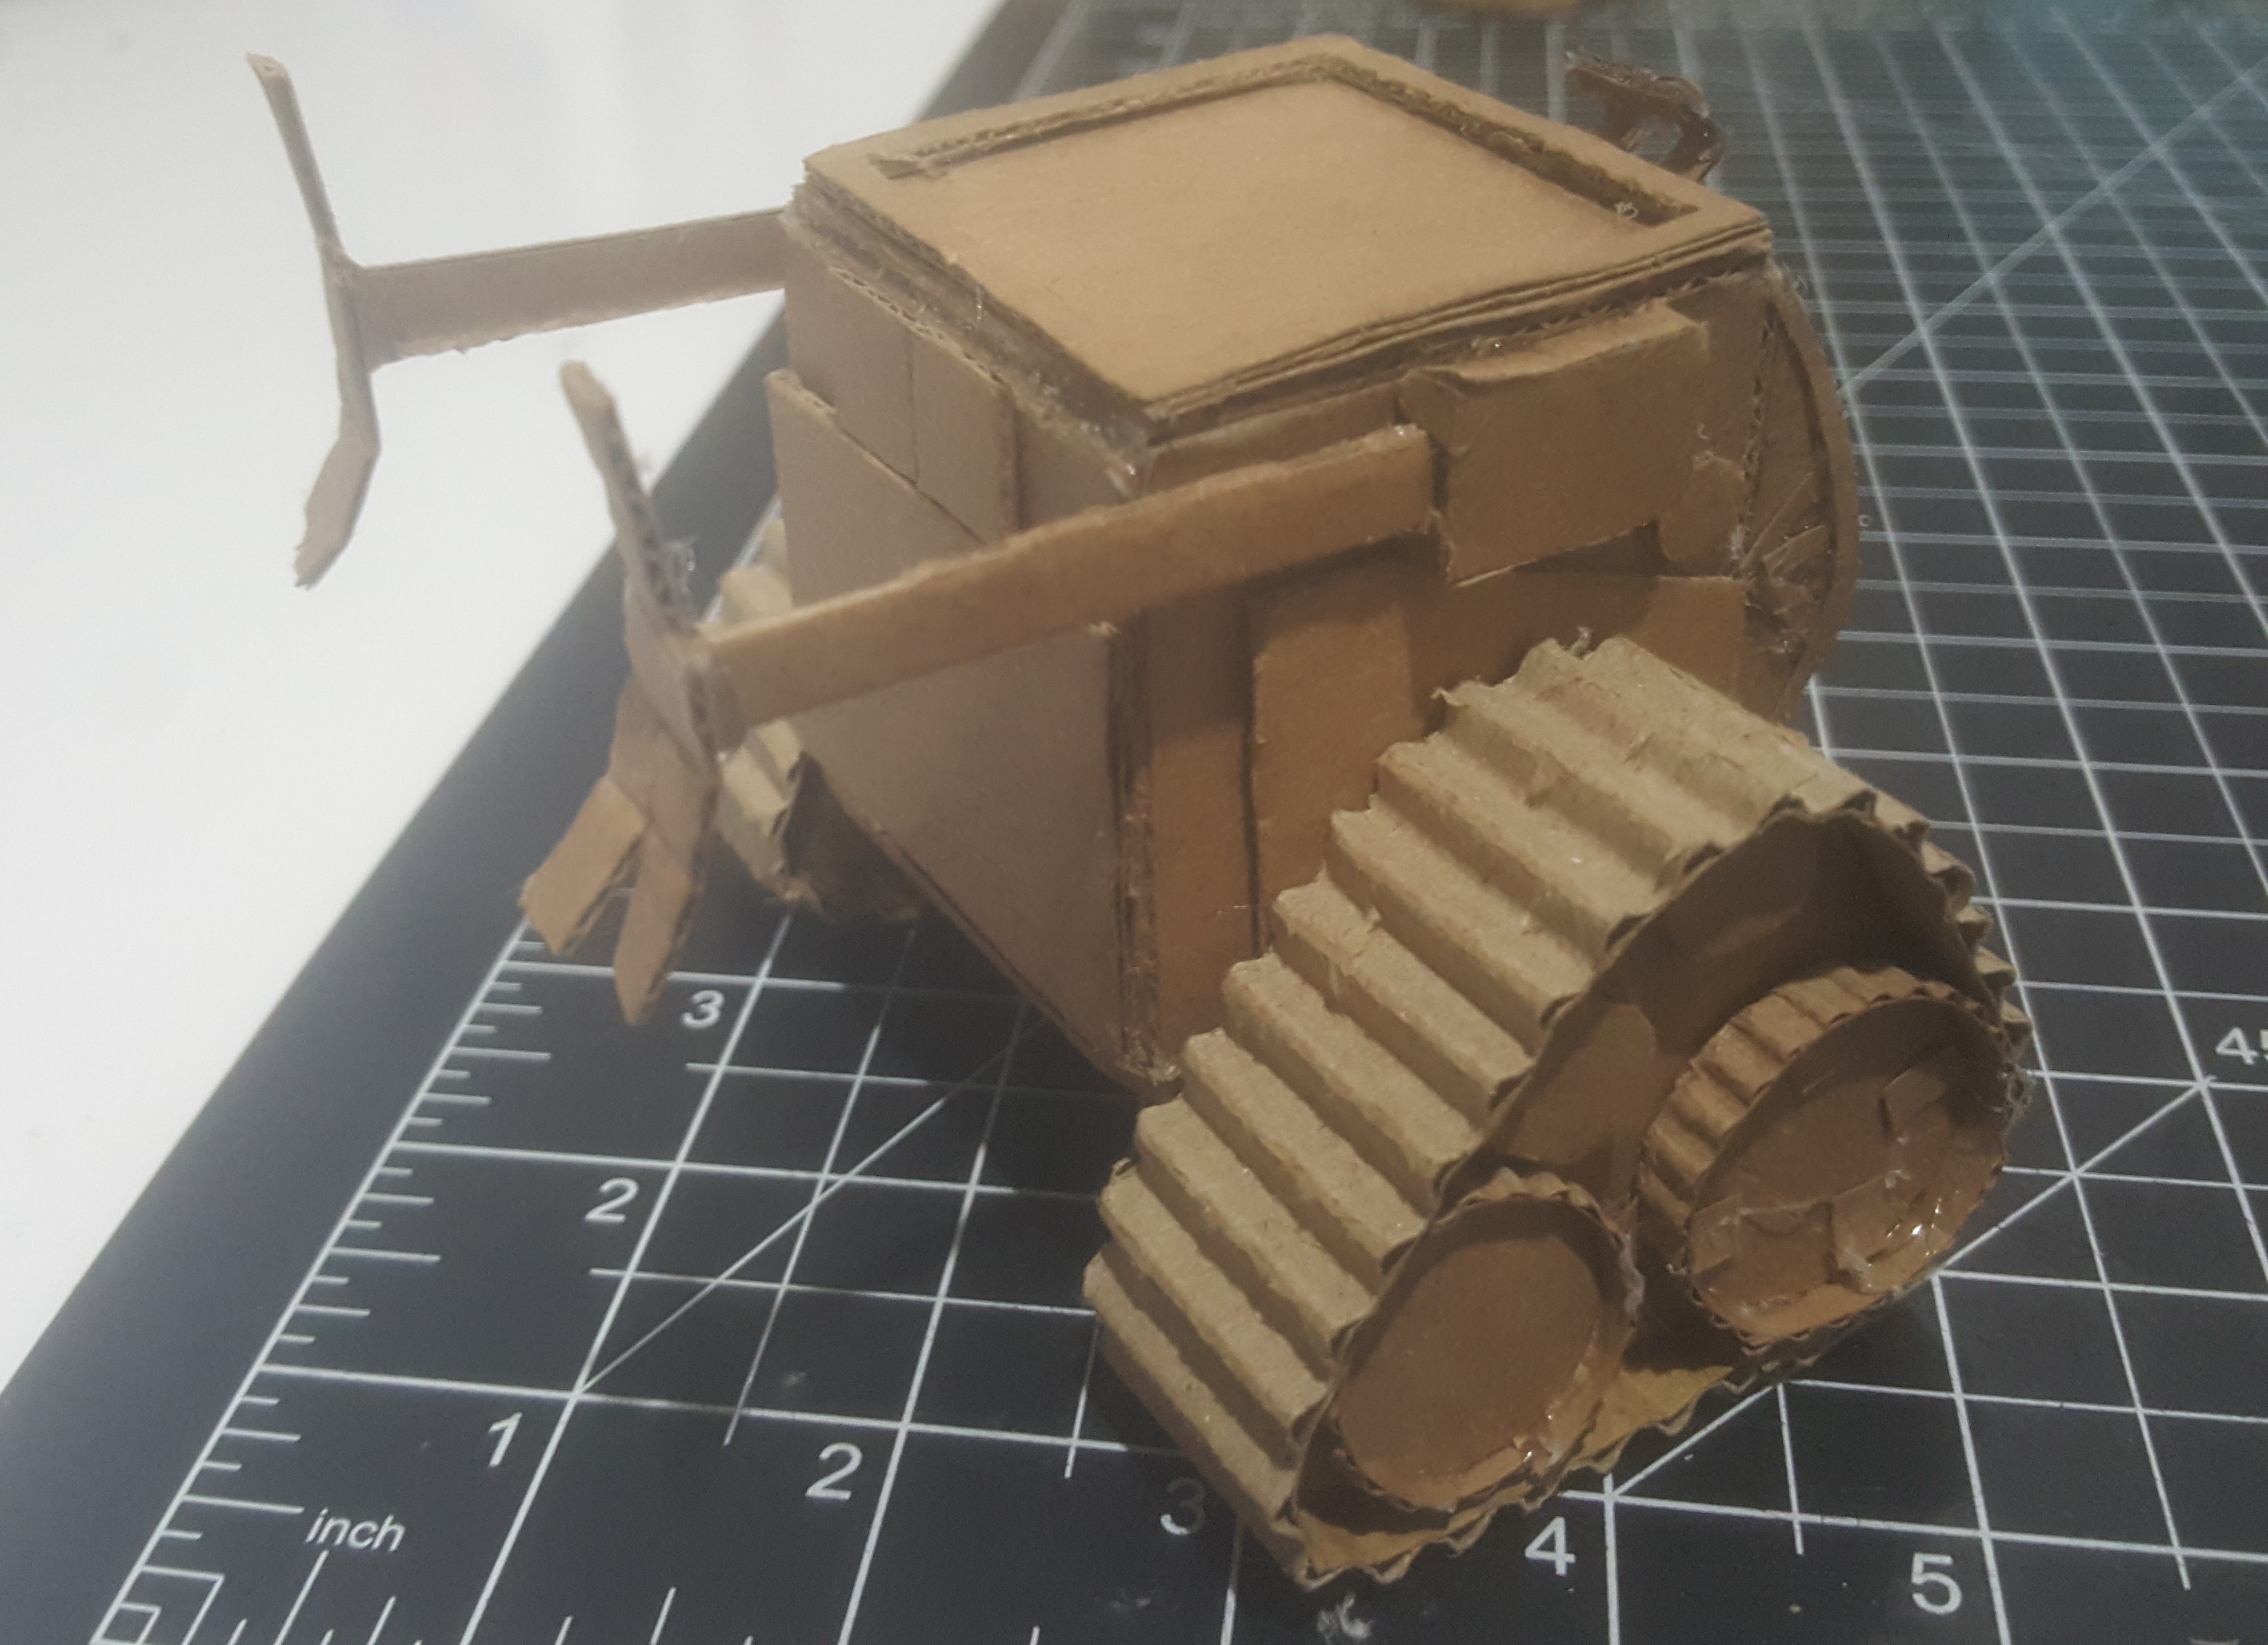
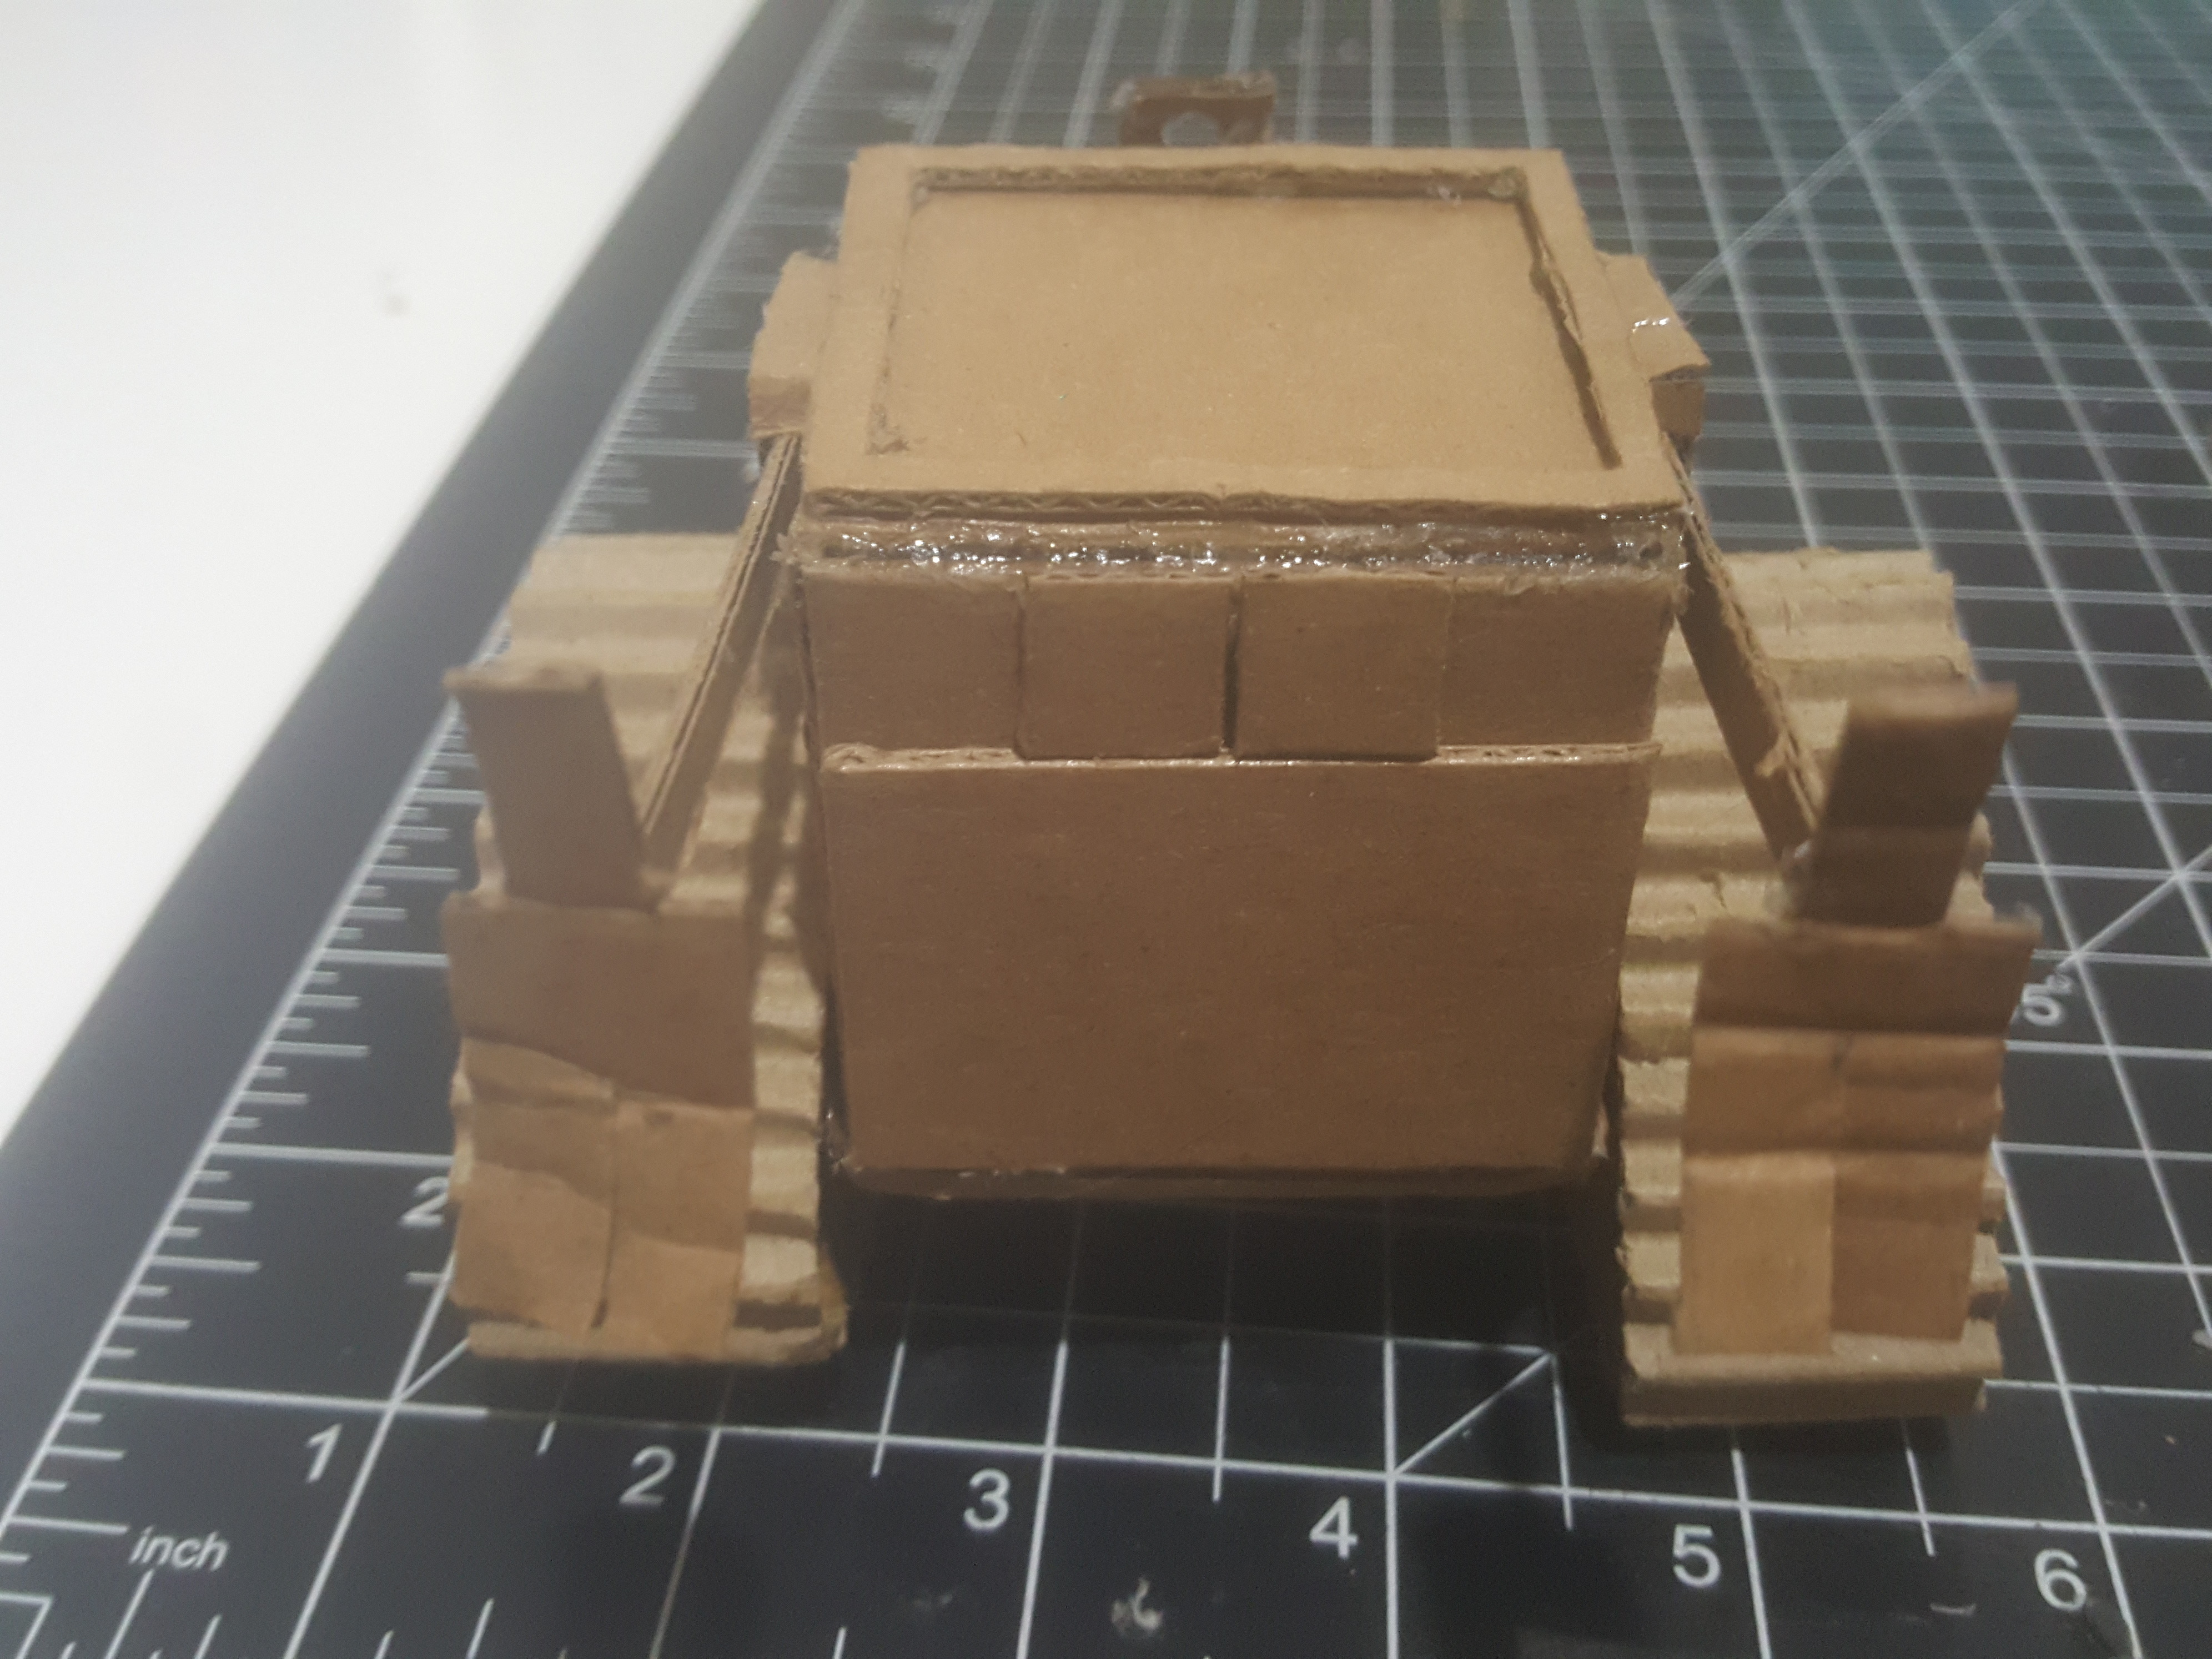
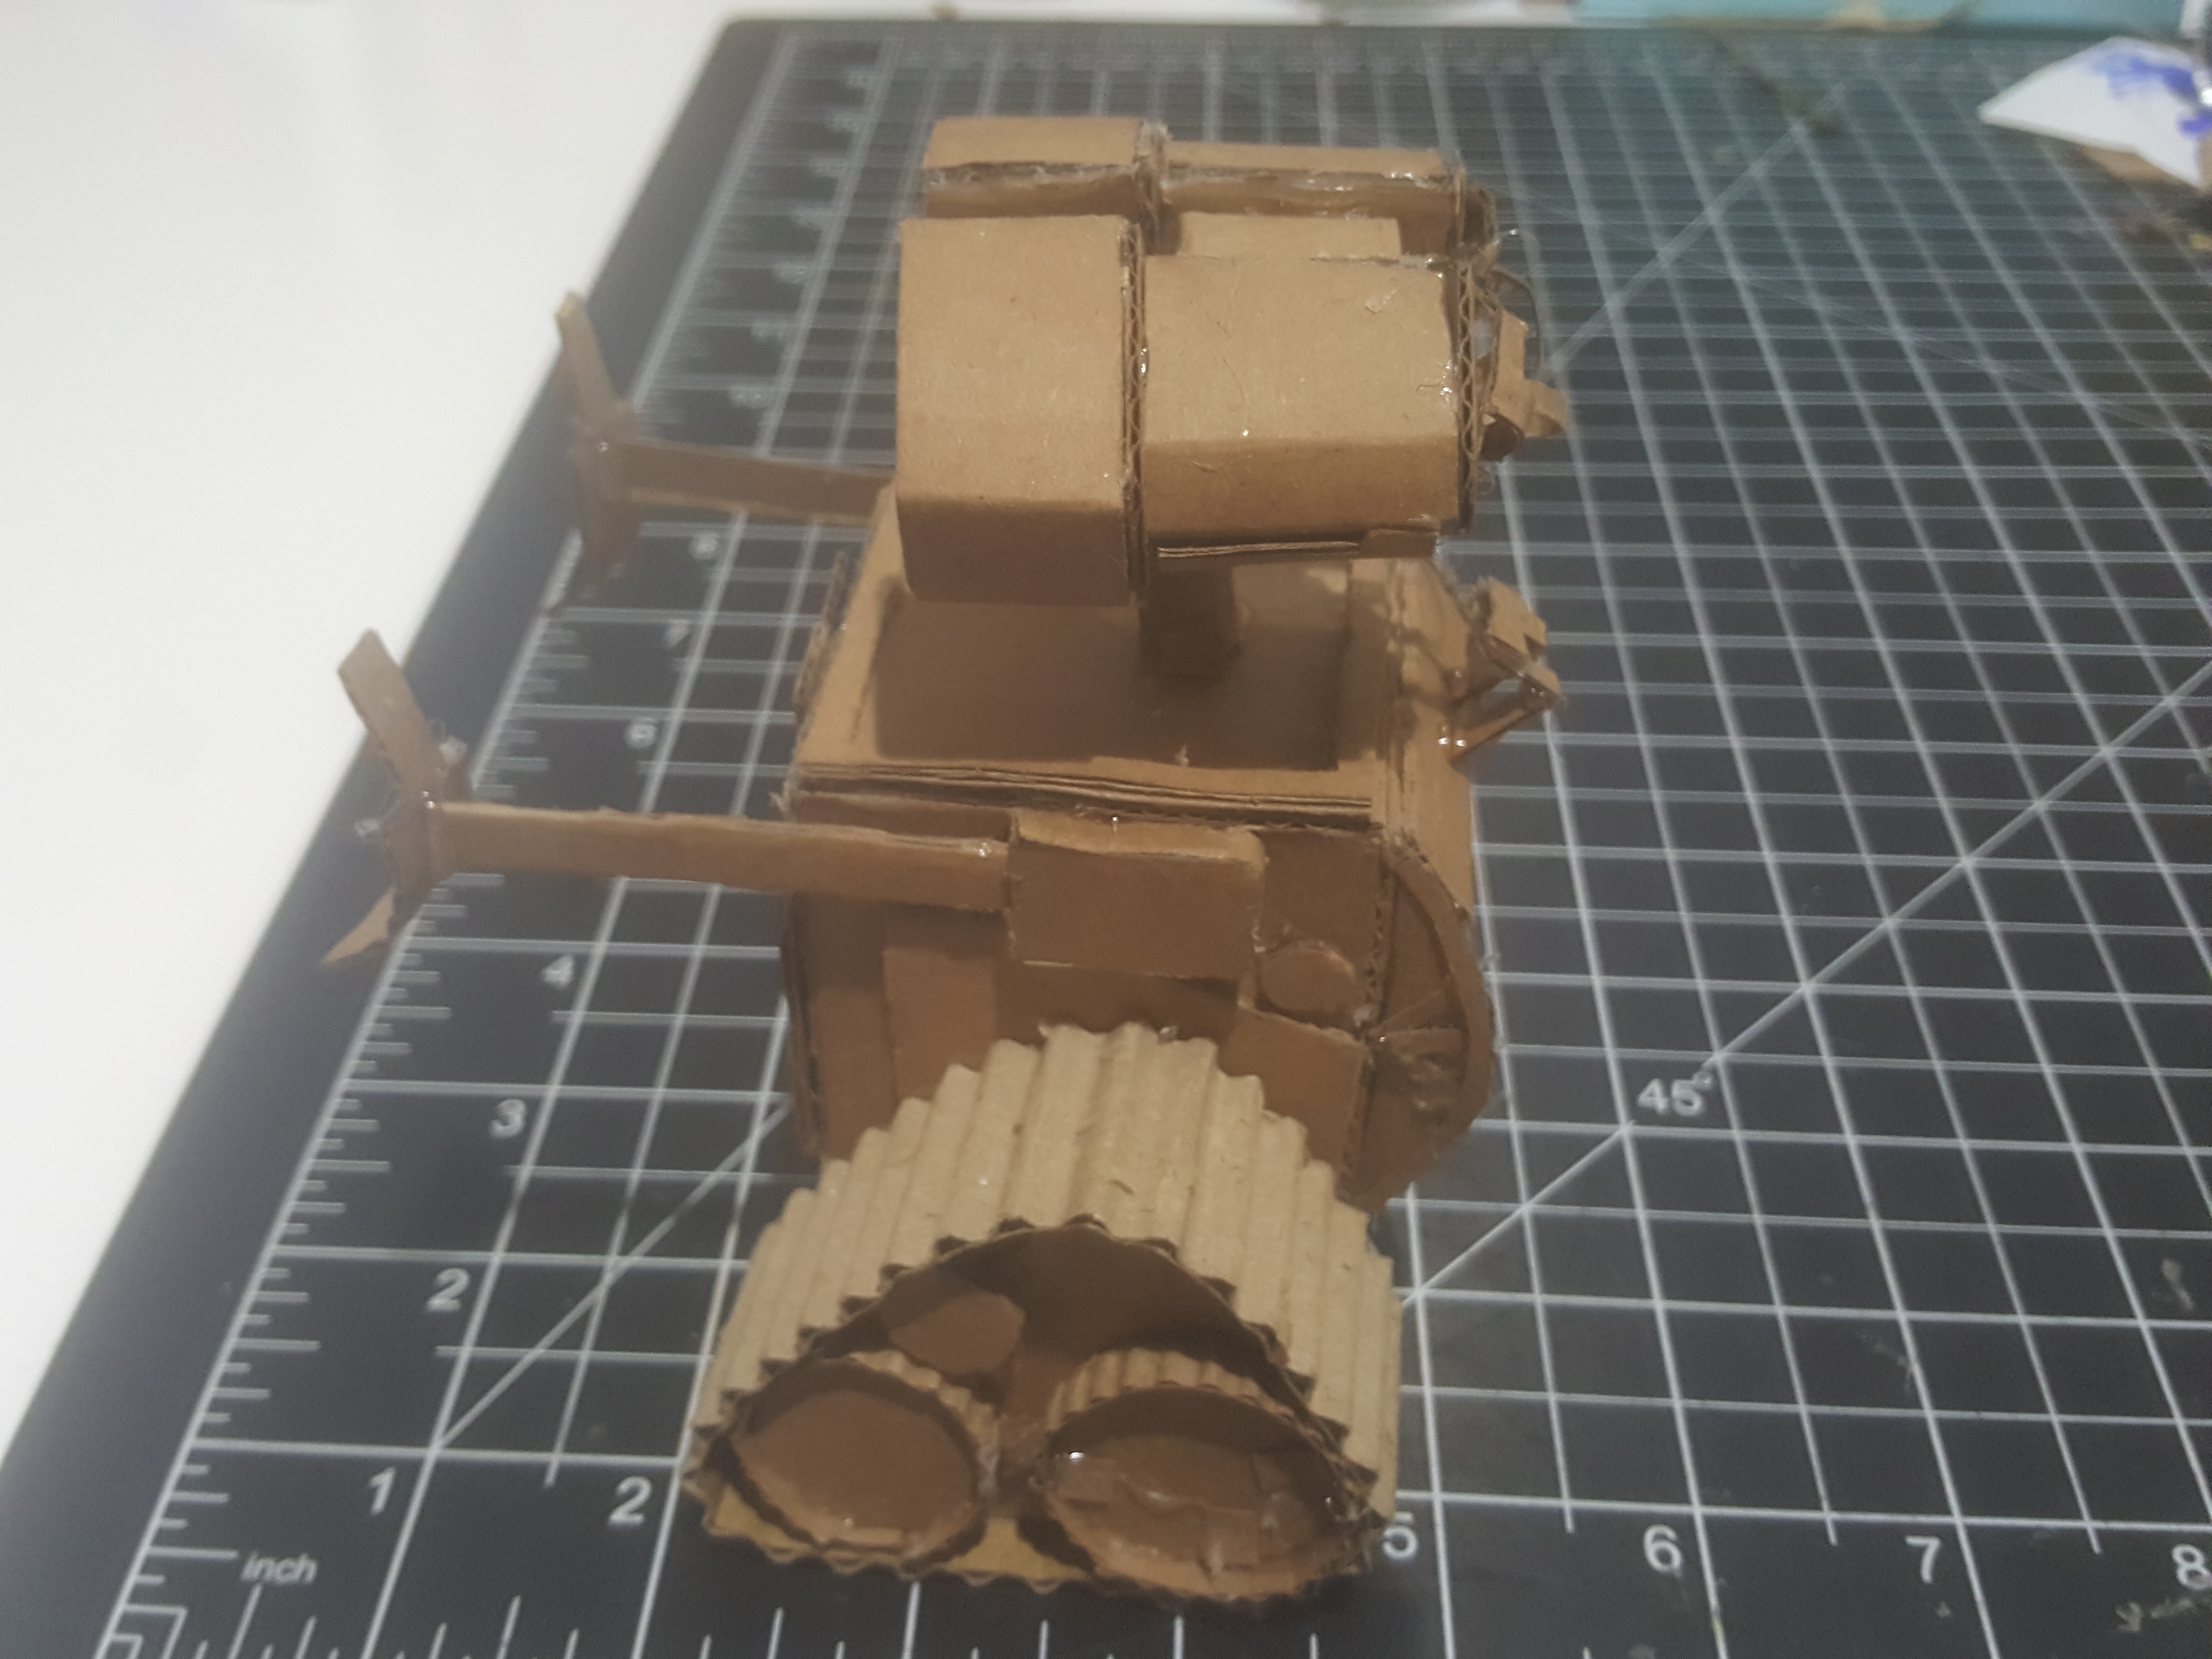
WALL-E consists of three main parts: the main body or cube, the wheels, and the head. Lets start with the body. First, cut out six squares and glue them into a cube. Then, using reference photos (easily found online) add details to the body. These details include the arms, the compactor and the front door.
Wheels


Next, make the wheels. These wheels are what WALL-E uses to get around and consist of a tread and several gears. To make the tread, remove the outside layer on one side of corrugated cardboard. This results in a tread-like texture. The gears are replicated by cutting circles out of cardboard and the cardboard from the treads. Then, glue the wheels onto WALL-E.
Head


Lastly, make WALL-E's head. Cut small pieces of cardboard to look like WALL-E's eyes and add details. Depending on what details you add, WALL-E can display different emotions, just like in the movie.
Put It All Together


Glue the head to WALL-E with a piece of cardboard as the neck. Add cardboard pieces as wires and get creative. You can paint or draw on WALL-E.
Display!


And you are done! Display your WALL-E in any style you like! I hope you enjoyed this Instructable and are motivated to make your own cardboard WALL-E!