Cell Phone Shelf

This shelf can be put on any wall and can be removed easily. It is held up by velcro on the back and the velcro can be removed from the wall with little to no damage. This shelf can hold up to two cell phones while charging or one small tablet. You will need the following materials and tools to complete the project:
Materials:
1 piece of plywood, 3/4" thick, at least 10"x10"- $8
At least 10 1.5"nails-100 pack at target is $5
Extreme outdoor velcro strips-$5
Paint (optional)- $5
Tools:
Saw
Tape measure
Straight edge
Paint brush (optional)
Hammer
Drill with 1 inch spade drill bit
Pencil
Measure

Tools: Tape measure, straight edge, pencil
Materials: 10" x 10" piece of wood
Obtain your piece of wood and measure out a 4” H X 8”L square. This will be the back piece of the cell phone shelf
Measure out and mark a 3” H X 8” L piece of wood. This will be the bottom part of the cell phone shelf.
Measure out 1.5” H X 8” L piece of wood . This will be the front part of your cell phone shelf
Note: Be sure to use the straight edge to assure the lines are as straight as possible. We also recommend making the measurements right next to each other as in the photo in order too make the cuts as even and straight as possible.
Cut

Tools: Saw
Materials: Wood with measurements
After you have made your measurements and have double checked them, you will need to cut the wood as in the photo above. We recommend using a table saw if possible. If not, a handsaw or a circular saw will work just fine. You will be cutting the wood into the three separate pieces that you have measured out.
Warning: make sure all loose clothing is out of the way of the saw and it is always recommended to use eye protection while using a saw. Keep your fingers out of the saws path and pay close attention while the saw is on or cutting and be sure to have your hair up.
Cut in the Charger Hole


Tools: drill, 1 inch spade drill bit, tape measure, pencil, straight edge
Materials: 3" x 8" wood piece
Take the bottom piece of wood measuring in at 3” H X 8” L and measure in 4" across and 1.5" down and make a mark directly in the center of the wood using your pencil. Once you have your mark, take the drill with the 1" spade drill bit (drill bit seen in photo) and cut a circle into the middle of the wood. This is where your charger will go through.
Warning: be sure to focus all your attention on the drill to avoid injury. It is recommended that you wear eye protection and keep all loose clothing away from the drill and keep your hair up.
Put It Together


Tools: hammer, 1.5 inch nails.
Materials: cut wood pieces
1st photo: Take the 4" x 8" piece of wood and stick in on top of the 3" x 10" piece of wood. You may need another person to help hold the shelf while you hammer in the nails but it is possible with just one person. Hammer in 1 nail on each end on the bottom of the 3" x 10" wood piece so that the nail goes into both pieces of wood, holding it together. Hammer in 2 more nails towards the middle to make the shelf more sturdy.
2nd photo: Take the 1.5" x 8" piece of wood and stick in on top of the 3" x 10" piece of wood. You may need another person to help hold the shelf while you hammer in the nails but it is possible with just one person. Hammer in 1 nail on each end on the bottom of the 3" x 10" wood piece so that the nail goes into both pieces of wood, holding it together. Hammer in 2 more nails towards the middle to make the shelf more sturdy.
Warning: Make sure nobody is within your hammer motion to avoid injury. Eye protection is recommended.
Note: You may also use a drill to drill in screws if you would prefer. Wood glue is also an option as well as an air nail gun.
Paint (optional)


Tools: paintbrush
Materials: paint
Once the shelf is together, you have the option to paint it any color or design you want. Just be sure that the paint it dry before you perform the last step.
Hang It Up!


Tools: none
Materials: velcro strips, put together shelf
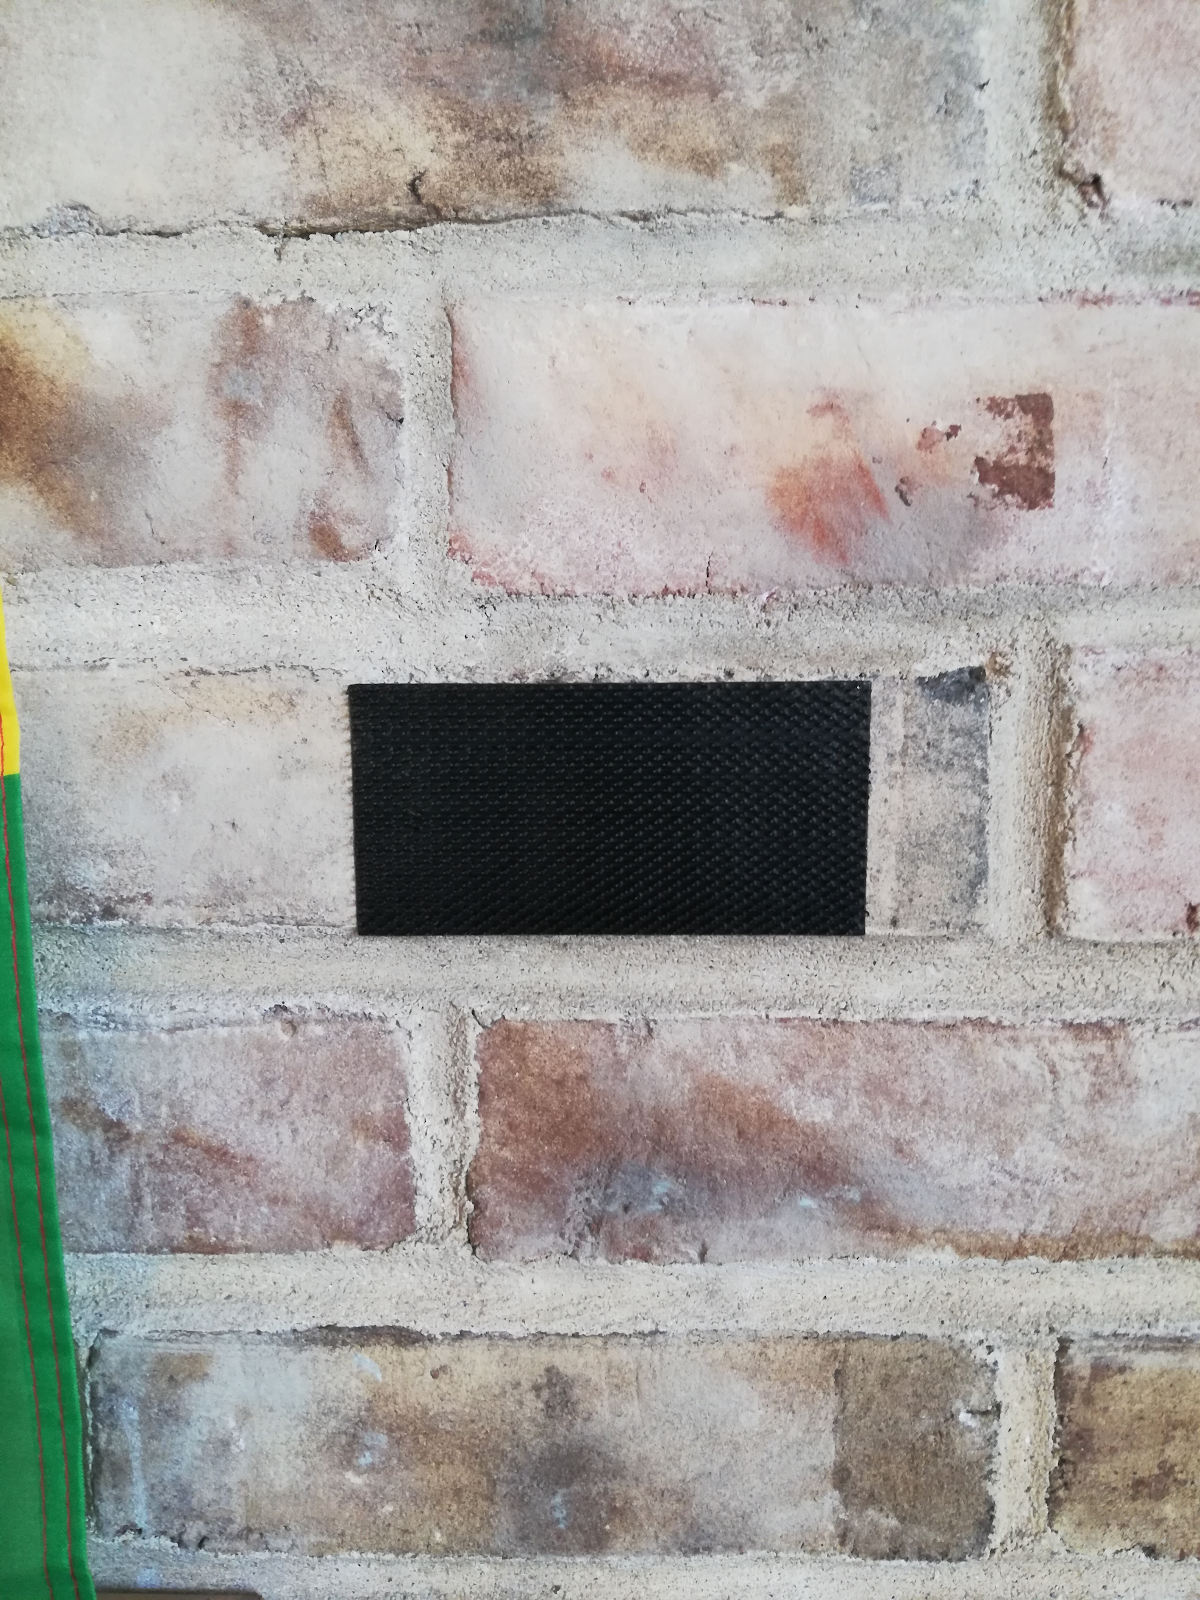
Once you design your shelf and you're sure that the paint is dry, its time to hang it up! Take one side of the velcro and stick it to the wall of your choice and take the other side of the velcro and stick it to the back of the 4"x 10" piece of wood. Once done, you can finally put your cell phone shelf on the wall! This shelf can hold up to two phones that can each be charging while on the shelf!