Checks Nail Art


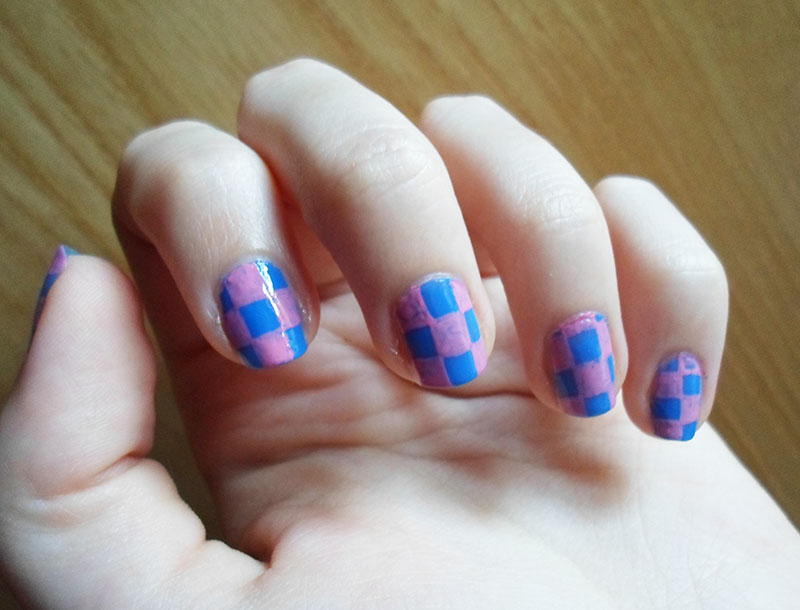
This is a very easy nail art, yet the final effect is really nice.
It can be done with any combination of colors you like.
I chose pink first of all, because I have a pink nail art pen, and I thought that light blue would have been a great contrast for the pink color.
The nail art pen makes it easier to draw but don't worry if you don't have one, you can use a very small brush with regular nail polish.
I hope you like this nail art! :)
What You Need


The first thing you have to do is applying the base coat on your nails.
This is a very important step for all nail arts: base coat will protect your nails.
Let it dry...
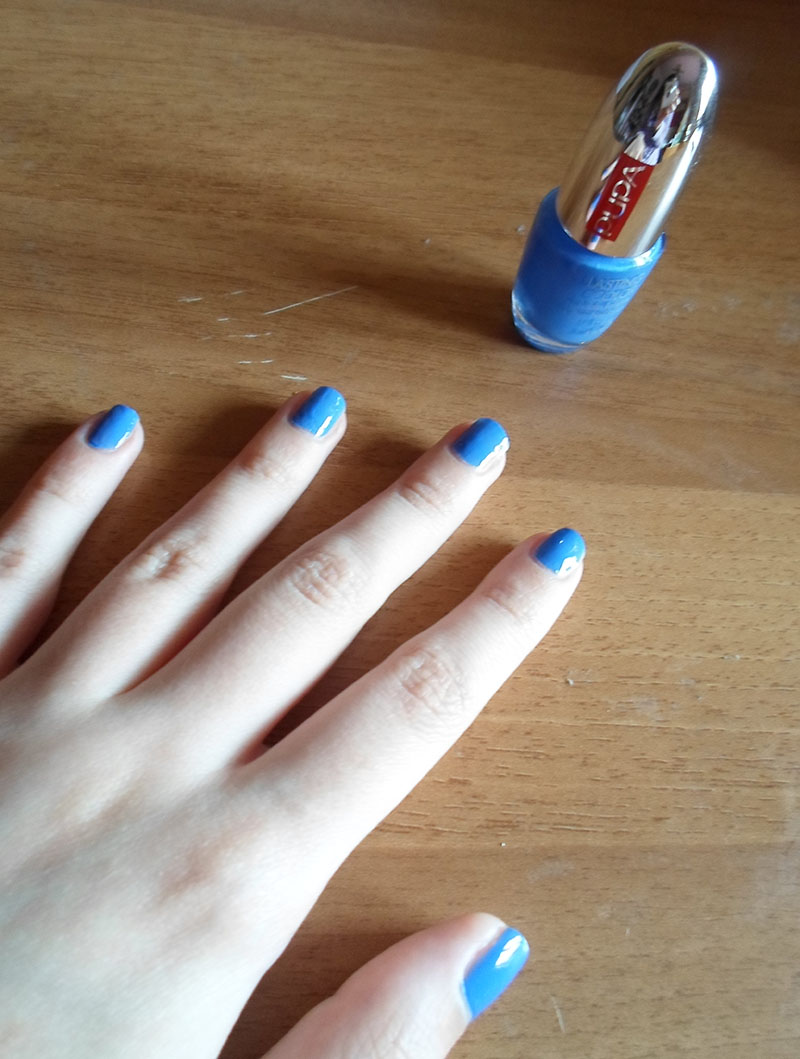
Now apply one or two layers of blue nail polish, depending on how the first layer is.
If you think that the color is solid, one layer is enough.
Let it dry.
This is a very important step for all nail arts: base coat will protect your nails.
Let it dry...
Now apply one or two layers of blue nail polish, depending on how the first layer is.
If you think that the color is solid, one layer is enough.
Let it dry.


Let's start with the decoration!
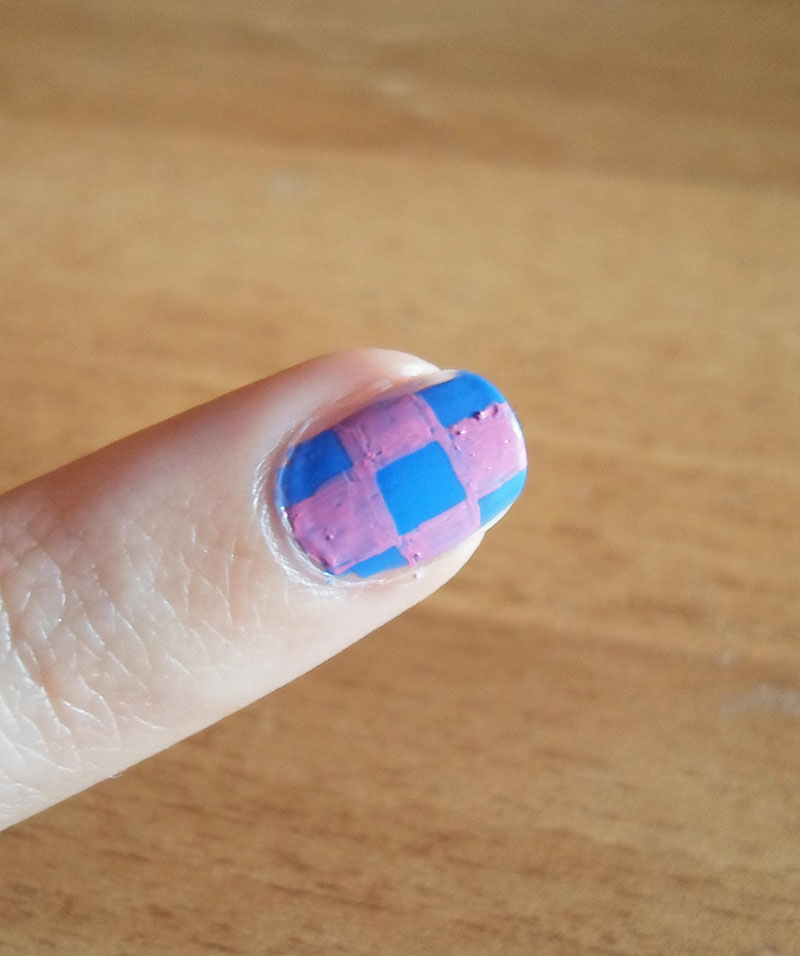
Take your pink nail art pen (or brush) and draw a grid on your nails.
You will form many small squares this way.
Keep using your nail art pen and paint one of the squares.
Paint other squares alternating colors...so, if you have just painted a pink square, leave the next one in blue and paint the third one, etc.
It's just like checks!
Do the same for all your nails.
This is how your nail art will appear!
Let them dry.


Finally apply top coat, let it dry and...you are done!!!
A fun idea would be trying different combinations of colors in every nail!
I think this would be perfect for spring and summer! :)
A fun idea would be trying different combinations of colors in every nail!
I think this would be perfect for spring and summer! :)