Compact Disc Jewel Cube Display Case
by WIKarts in Living > Office Supply Hacks
41639 Views, 102 Favorites, 0 Comments
Compact Disc Jewel Cube Display Case

A fun way to display artwork, photos, drawings, digital prints, literary musings, mixed media creations, or whatever you like using four easily rearranged CD cases!
Jewel Cube Display Cases require no tools or adhesives and look great when strewn about the home. The cost to create one depends on what you'd like to place within the display areas or whether or not you'll be buying new jewel cases - I made all my cubes for free!
I had the idea for this project while experimenting with a stack of empty jewel cases - just trying to see if they could fit together in some way because I wanted to use them rather than toss 'em out. I must admit I was pleasantly surprised that they'd snap together so perfectly into a cube shape with only a few simple steps.
- Inner dimension of each display area is approximately 5.25 by 4.5 by .25 inches (135mm by 115mm by 6mm).
Separating Jewel Case Pieces

Separate the three jewel case pieces and set aside the center CD holder.
- A relaxed approach is best when separating the pieces so as not to snap anything off and render your case useless.
Building a Cube Corner


Flip the front case piece so it's backwards, then connect it to the back case piece so it locks into place and forms a 90 degree cube corner.
You'll need to do steps 1 and 2 with four jewel cases - one for each corner of your cube.
You'll need to do steps 1 and 2 with four jewel cases - one for each corner of your cube.
- Every now and then you'll come across a CD case that doesn't fit with the rest (the little prongs inside the front cover on one case may not match the recesses in the back cover of another case - rare because CD case design is so standardized, but it does happen on occasion). If you have some that don't fit just switch the front case cover with the front case cover of another 90 degree cube corner and make sure the front/back case covers are paired with their original companions when building the cube. Or you could just get a different CD case - whatever you prefer.
Connecting Cube Corners

Place the item you wish to display between the front case piece of one cube corner and the back case piece of another, then connect the cube corners to each other to hold it in.
- The edge of the CD case will also provide a thin display area which can be useful with interesting 3-dimensional works, and can also be used for the title of the displayed piece, related anecdotes, or even your autograph!
Completing the Cube

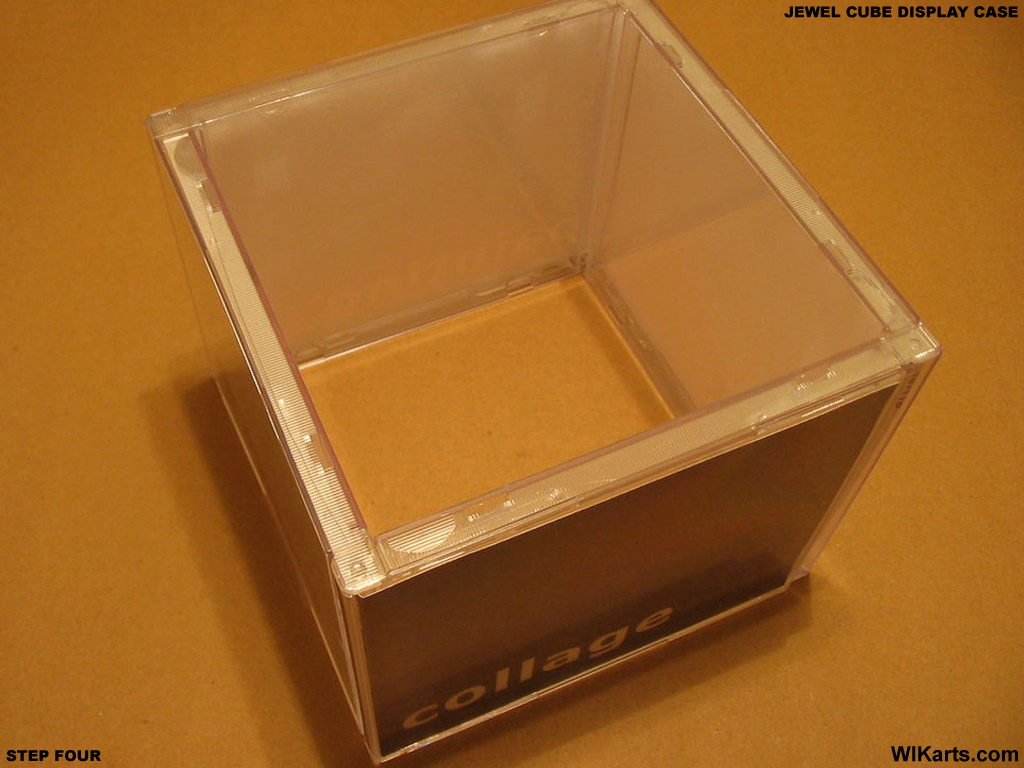
Repeat step three until you form a square.
- Be careful on the final cube corner connection - it takes a little finesse, but you'll get used to it!
Additional Ideas

You can even make a totem pole by stacking your completed cubes up and taping them together along the inside seams with packing tape. They won't support much weight but they'll stand up and look cool!
If you'd like something more stable you can build a totem pole like the one shown in my final photo. The supporting post within the totem pole was created using four 19.75 inch 2x4's arranged like a square tube and screwed together along the edges. I closed off the top and bottom ends by screwing on two 8x8 inch pieces of 1/4 inch birch plywood, then added a piece of adhesive felt on them to protect furniture and cover the screws. I also added thin strips of felt on the inner post to help keep the cases from rattling around.
(I'd estimate the materials for the extra sturdy totem pole to be around $12 to $15 depending on your location)
- When stacked the cubes can be placed so that the edges of each cube run in the same direction, or alternate like a zipper (as shown). If you're making a totem pole be sure to decide which you prefer before you insert your artwork/photos/etc. because with the zipper style you'll have to insert the displayed work in an opposite direction on every other cube. If using the edge title space you may have to rotate the text and/or place it on the opposite side of your displayed work as well.