Creepy Mechanical Baby (made From Broken Toys)
by M.C. Langer in Living > Halloween
5069 Views, 63 Favorites, 0 Comments
Creepy Mechanical Baby (made From Broken Toys)


This project is very easy! You only need a baby head (from a doll, of course), broken toys and basic tools (well, I consider my Dremel rotary tool as a basic tool. Basically, you need to drill a few holes and cut some plastic pieces). The result? A creepy toy you can use as a prank or just for fun (and here, Hollywood movies are not super popular, so nobody said "it looks like that spider toy from Toy Story!"... MUAHAHAHAHAHAHA!)
Materials:

- Head from a baby doll.
- Gearbox with a 3V motor, from any electrical toy (or a servo, if you want to spend more money. Seriously?)
- 2 gears from a dismantled printer.
- 2 AA batteries.
- Battery holder from a toy (I had one from a failed project, and it was great because it has two semicircles in each side, looking like some kind of "cradle").
- Cables.
- Switch.
- Various types of plastic pieces from broken toys.
- Superglue.
Tools: pliers, screwdrivers, cutters, hobby knife, Dremel rotary tool, soldering iron.
Battery Holder


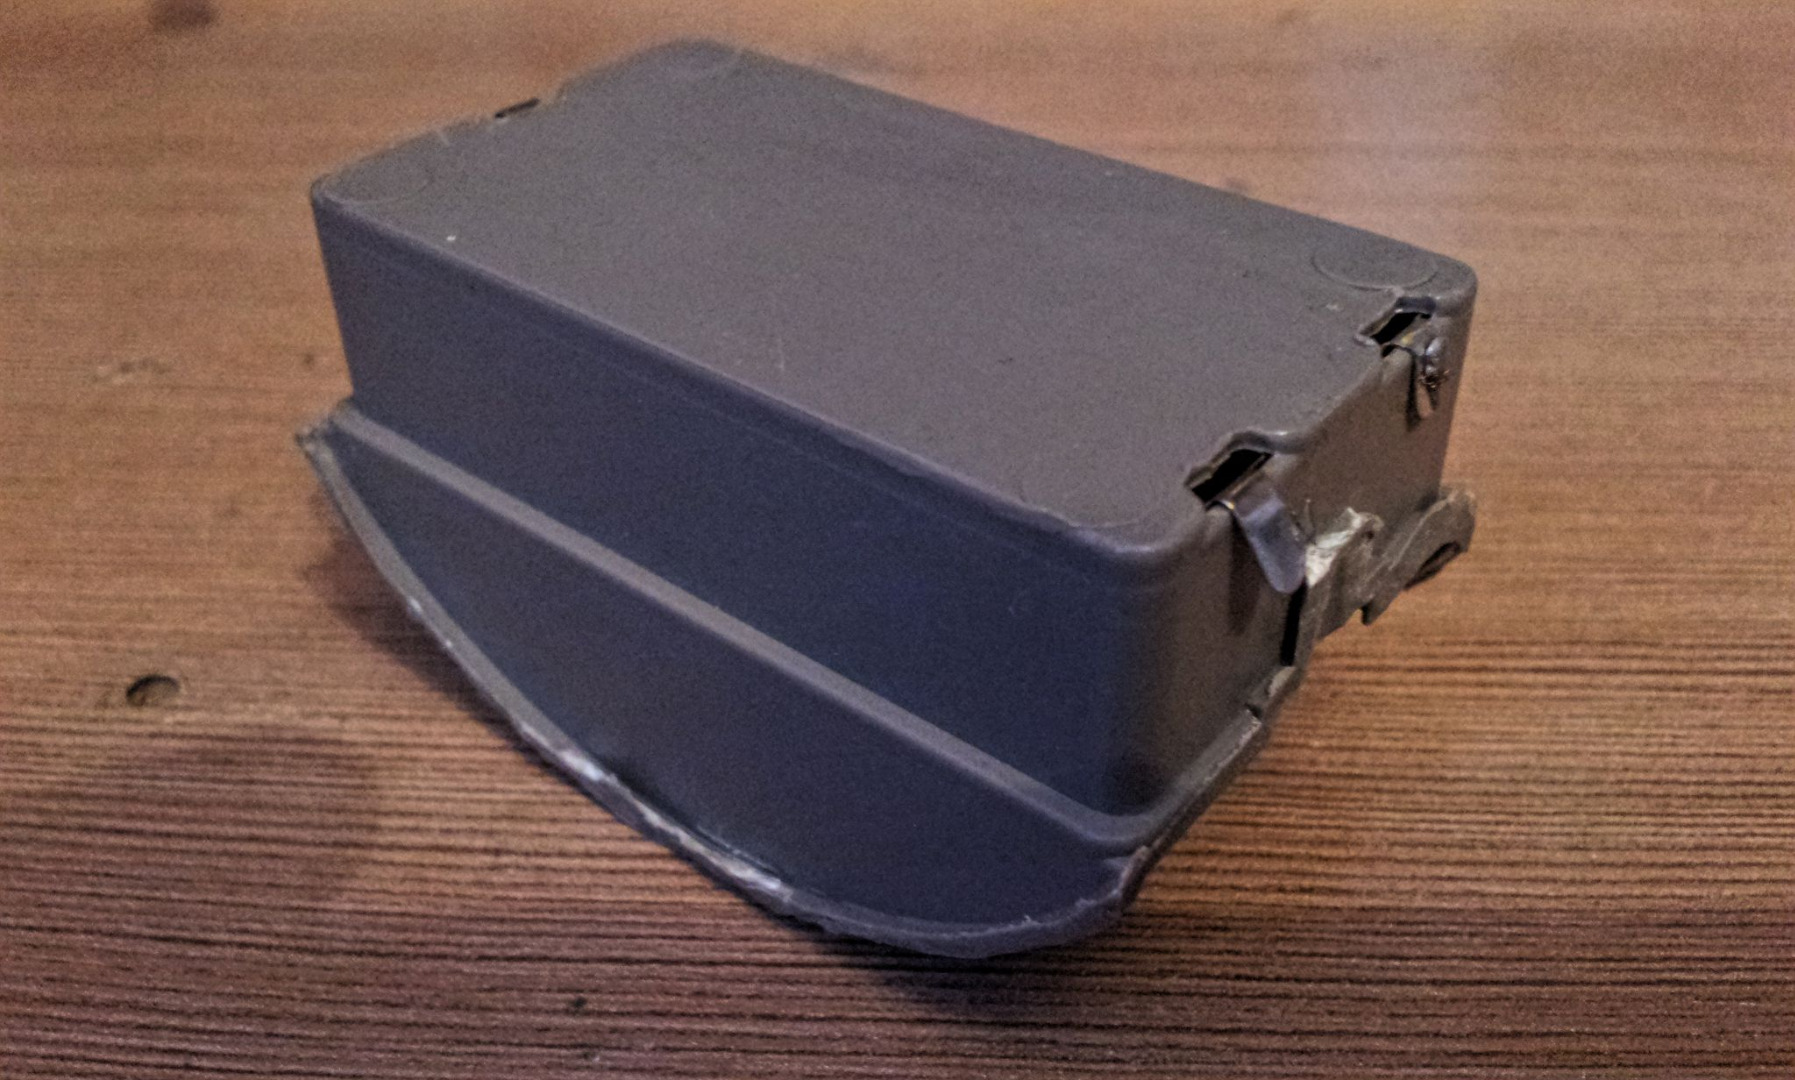
This was the "feet" (or "cradle" of the monster). Batteries are not only for energy, but for keeping center of gravity low.
Gearbox
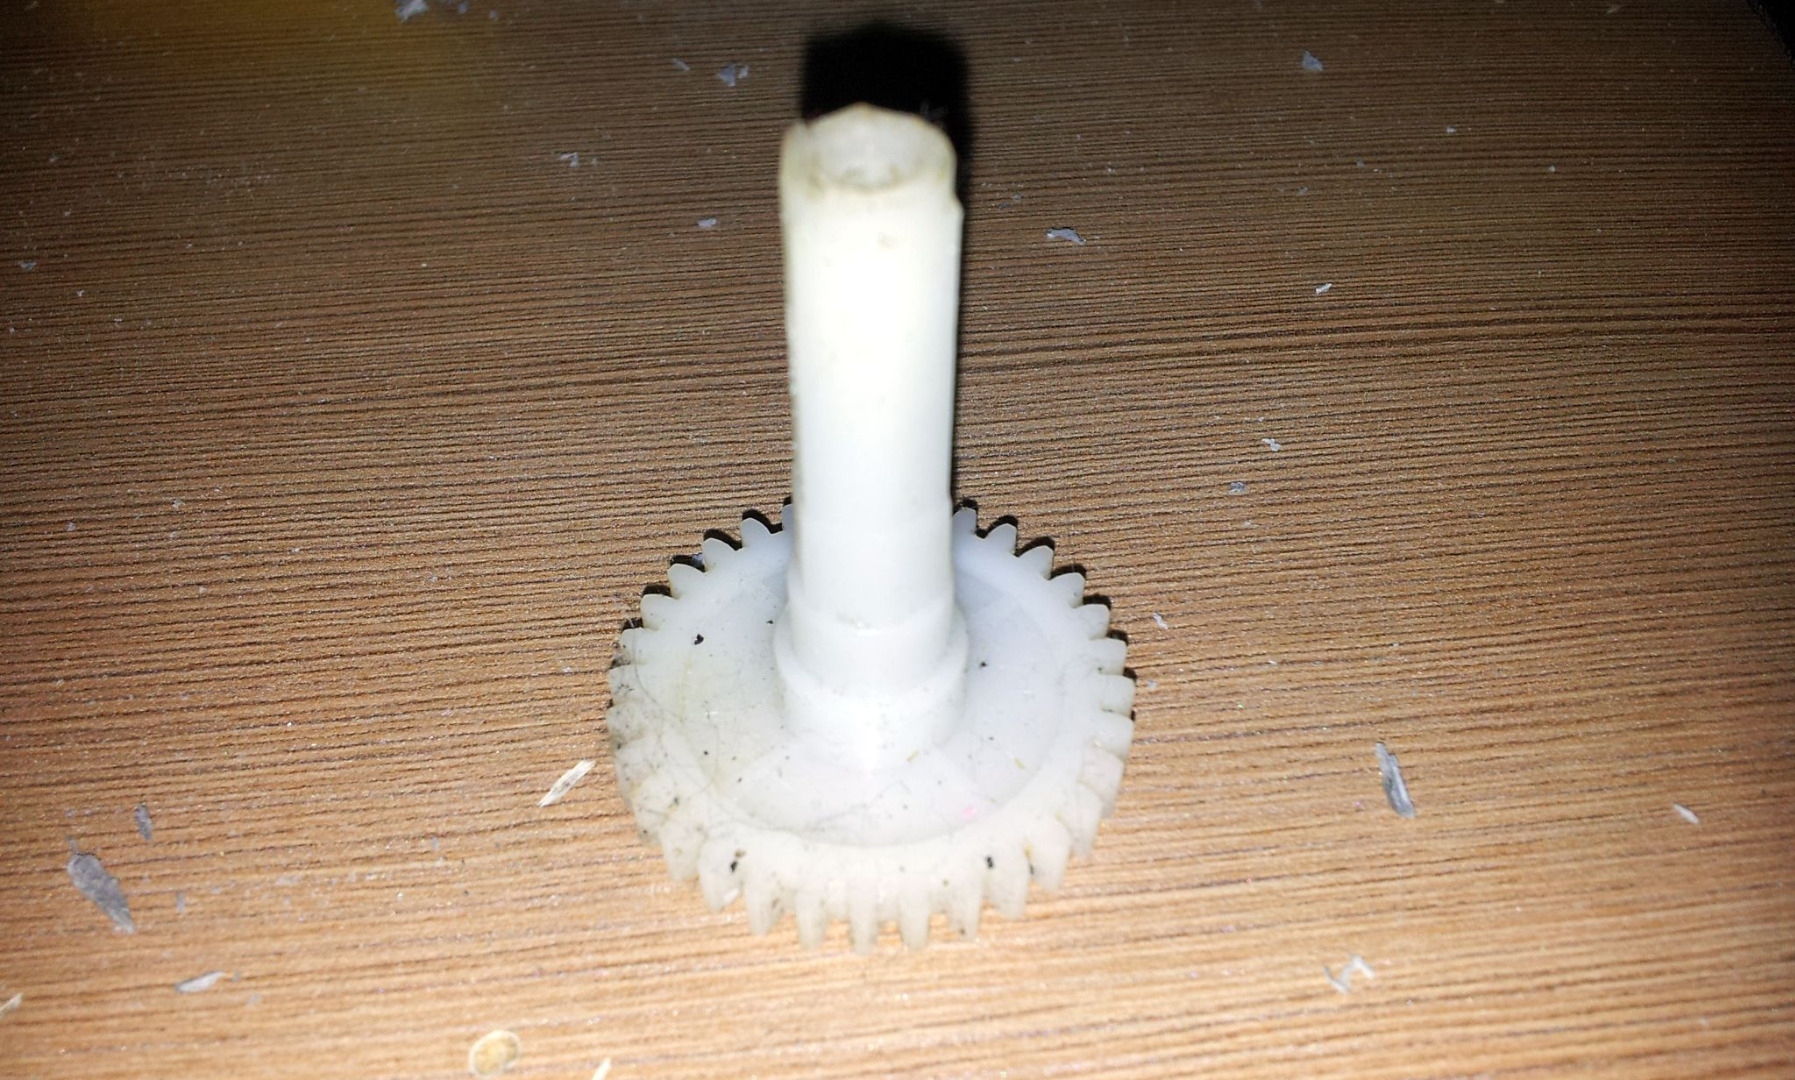


As seen in the photos, the long axis gear from the printer had to be glued to the gearbox. A black piece, with a hole that fits the axe, was inserted. It would be the shoulders of the baby.
Claws
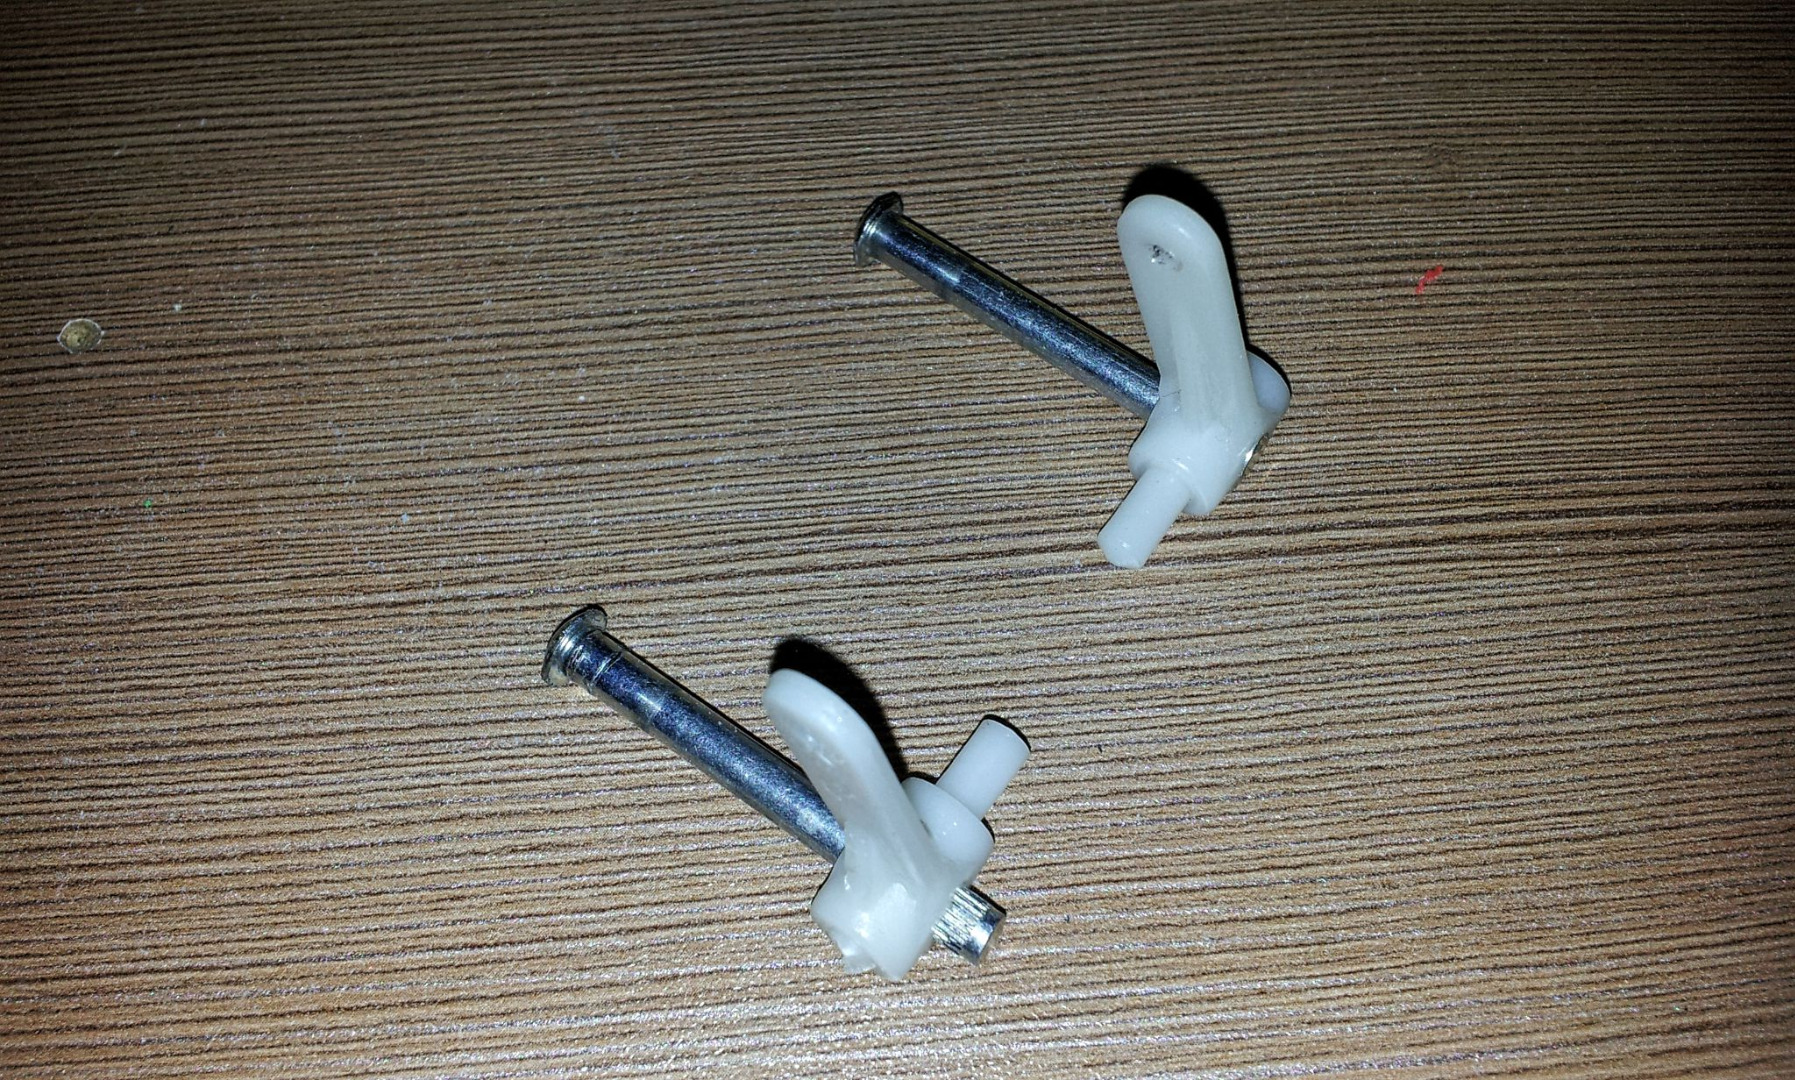


I took some plastic pieces from broken toys, and I shaped them using the cutting disc and the drill of the rotary tool, creating two claws our Baby Robot will use to crawl on the ground.
Arachnoid Arms


I attached the claws to the "shoulders" (black piece inserted in the axis of the printer's gear).
Crank Mechanism

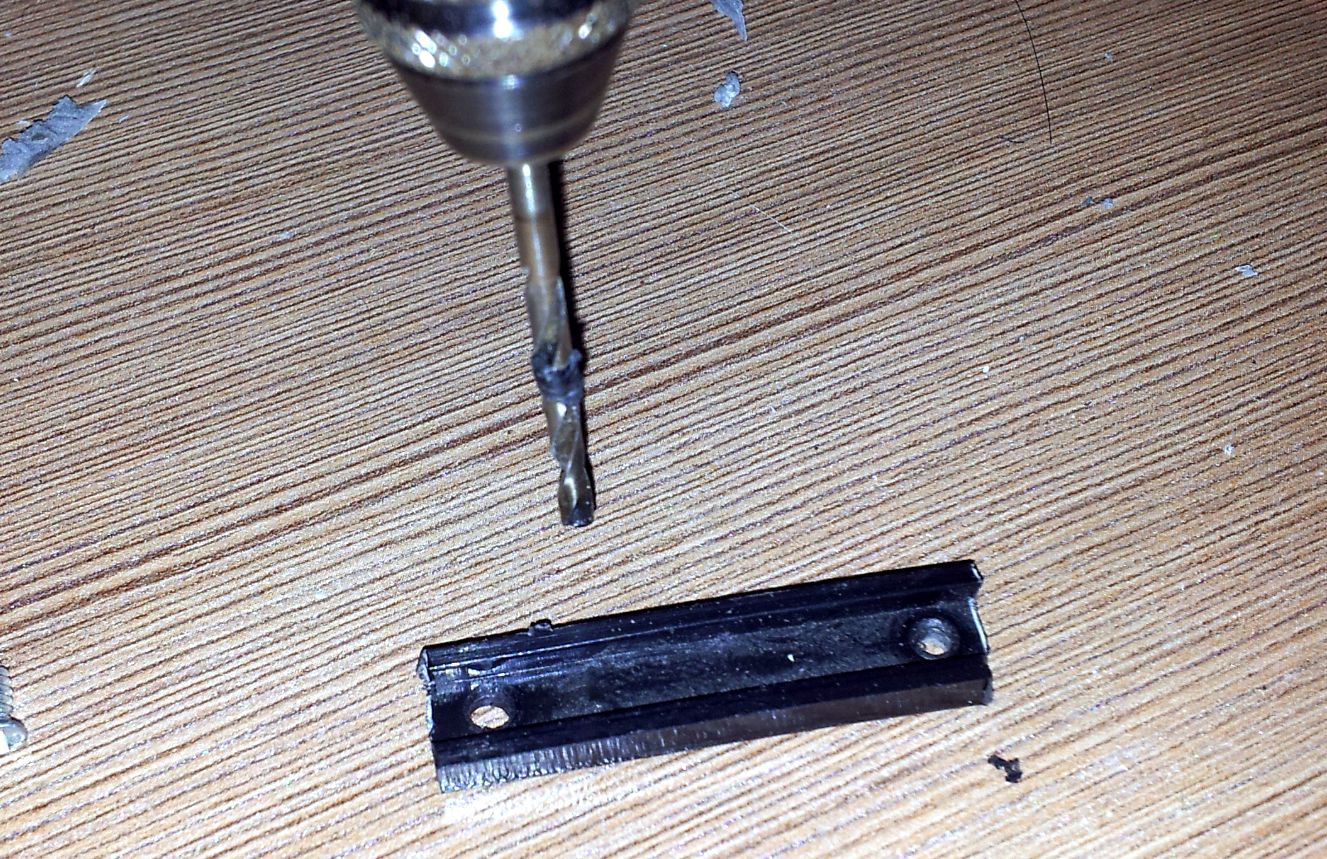

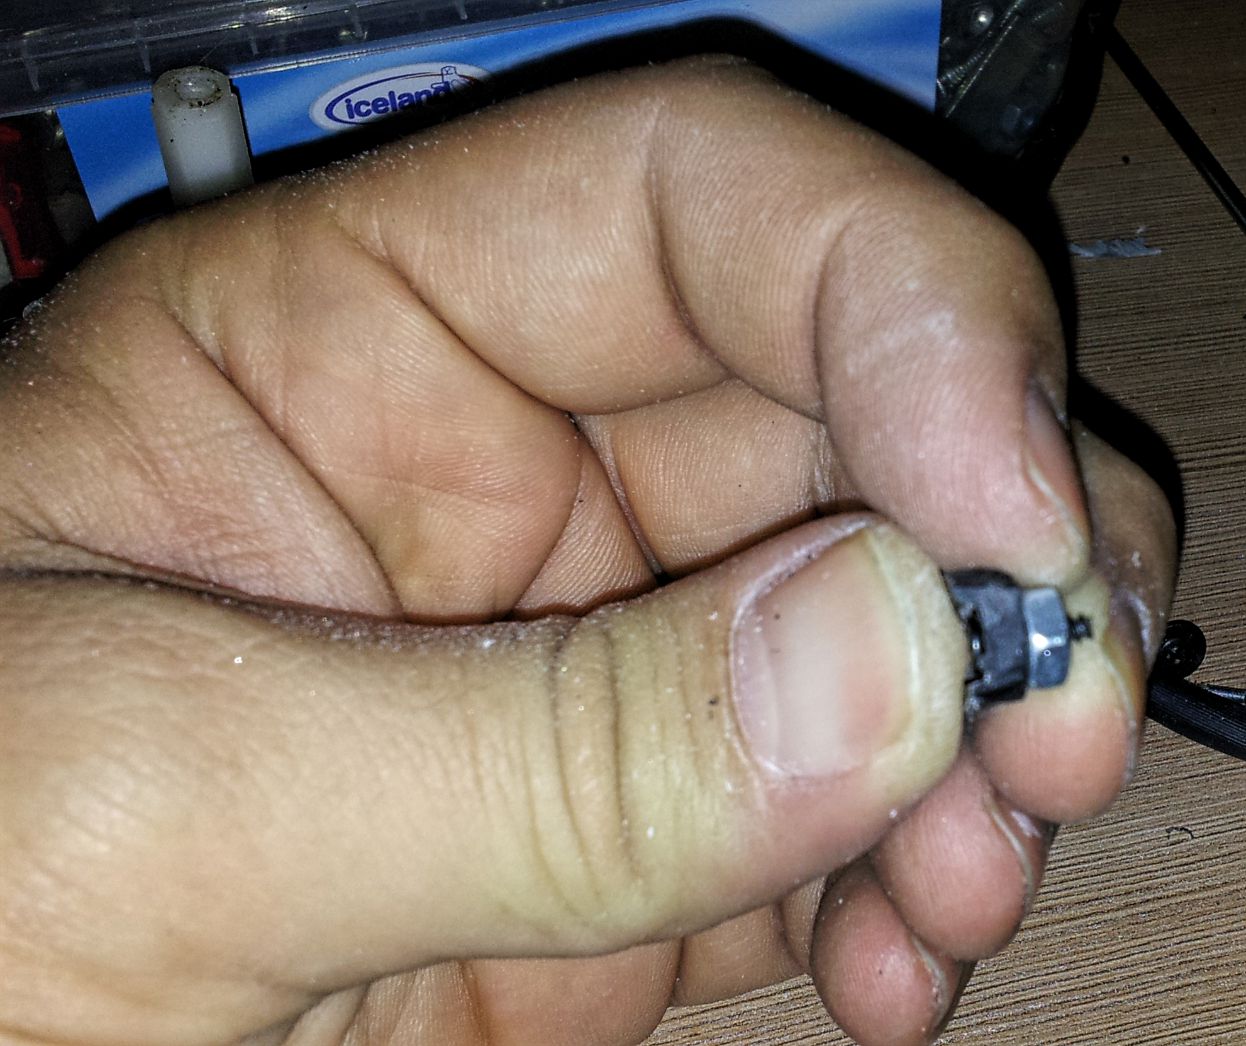


I took one plastic strip and I opened one hole in each end. Then I drilled a hole in the largest gear of the gearbox, and another hole in the shoulders. When the largest gear rotates, the plastic strip transmits the movement to the shoulders.
Baby Head


I inserted the head into the axle of the shoulder's gear, firmly attached but with enough space to the shoulders to allow a smooth movement.
Switch
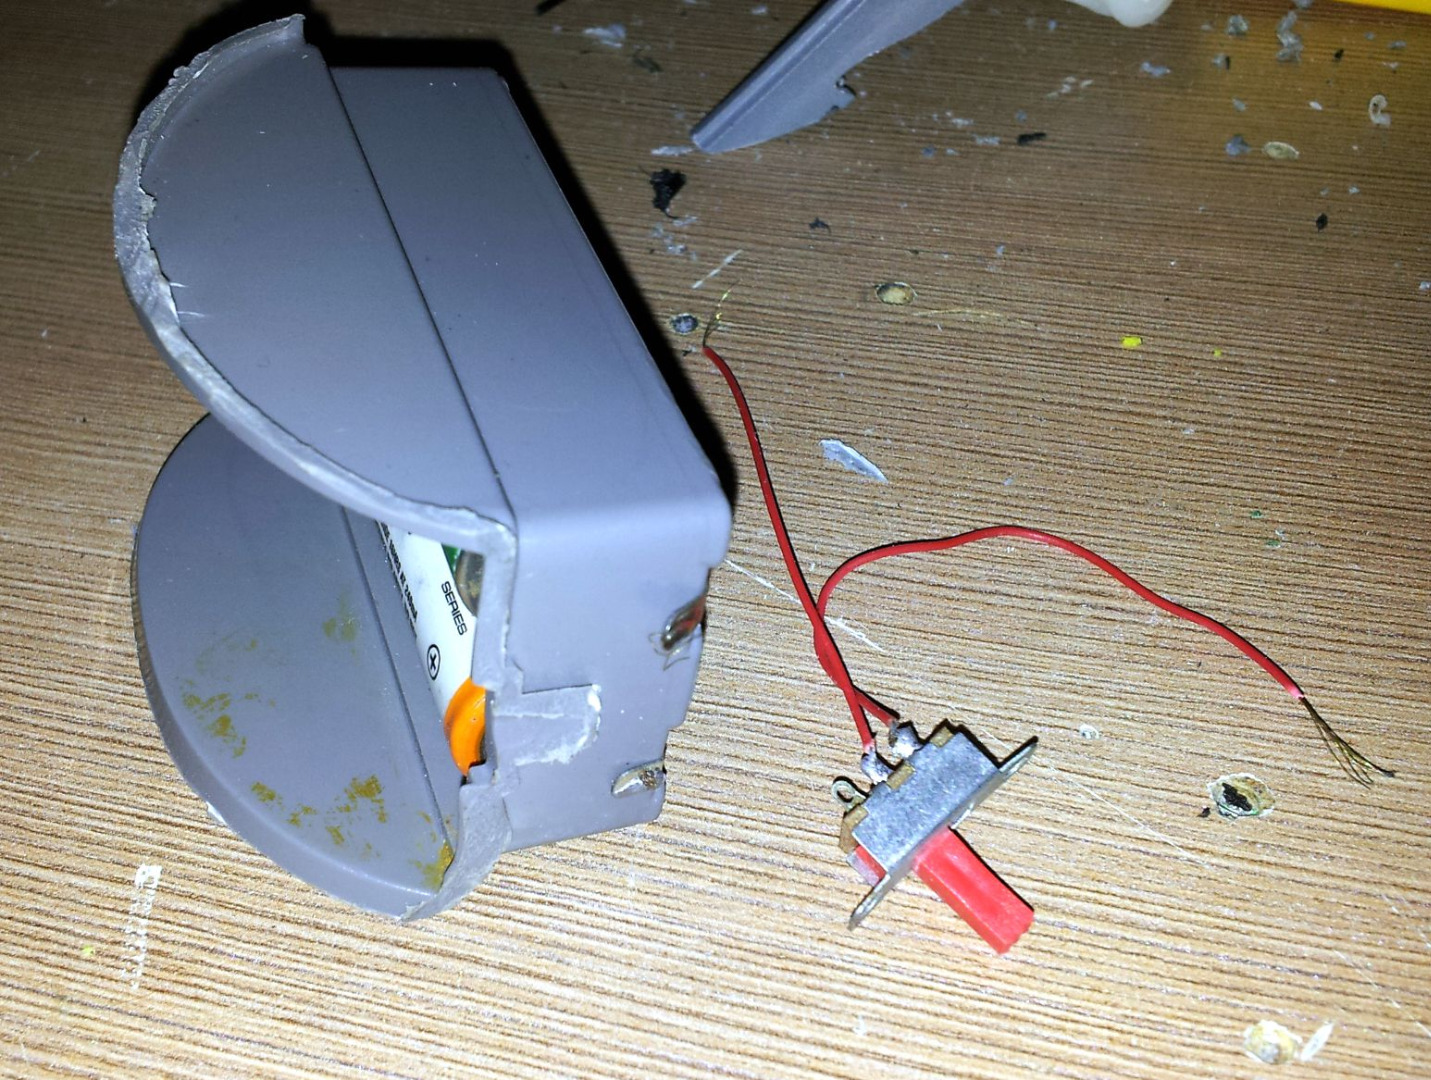


I took the batteries holder and out the batteries (for balance). Then I screwed a switch from a broken toy.
Completing This Hellspawn


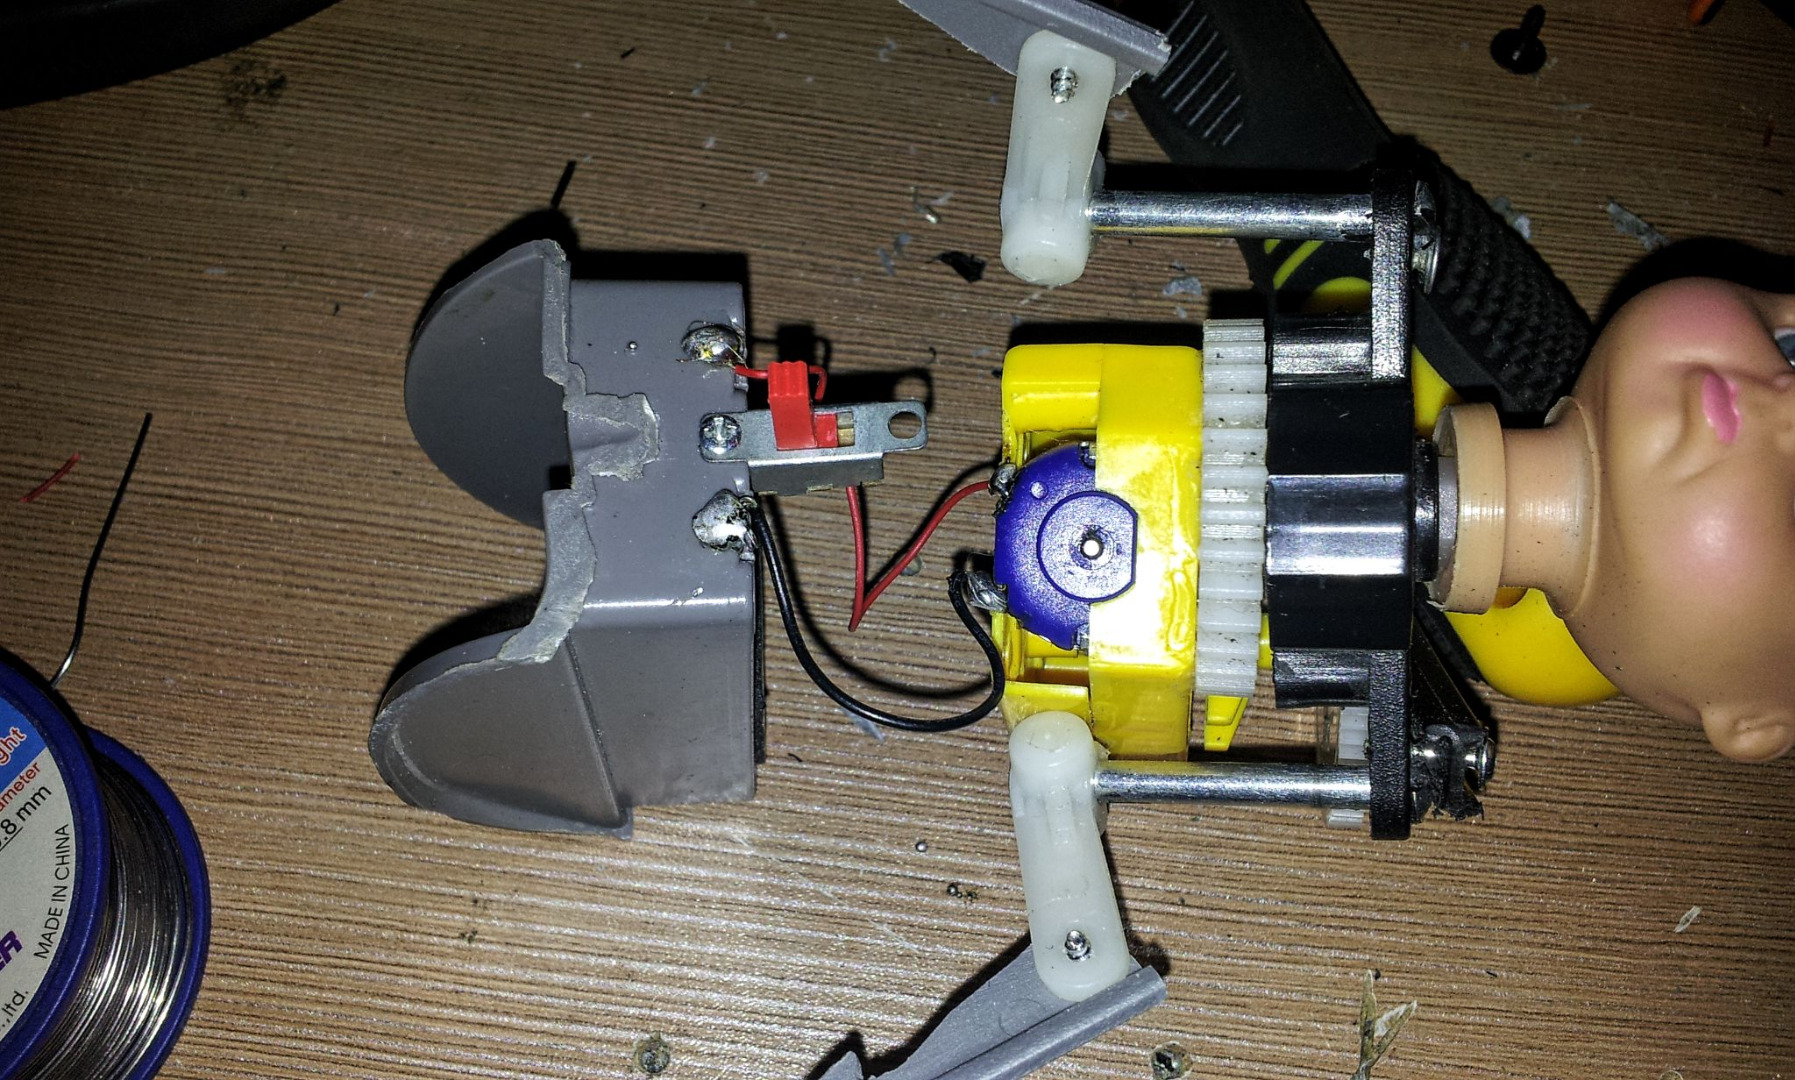


I connected and soldered the wires of the switch, one to one of the terminal of the batteries holder, and the other one to one of the terminals of the motor. I did the same with other cable, connecting the available terminals of the batteries holder and the motor.
With double face tape (you can use hot glue, too), I put together the batteries box to the body of the baby. Now it's ready to bring panic to the masses!