Custom Memory Map


Create a customized map of any place you can imagine! I will show an example of a small map but keep in mind that this can be done for any size. The simple base design gives your complete freedom to decide how much detail you want but remember to leave variation by creating both empty spaces and crowded sections. I suggest picking a smaller place such as a school campus or small town that you have memories in so your map can be detailed and include personal touches.
Supplies
Map Base
- Mixed media paper
- Water color paints in the color scheme of your choice
- A few sizes of small round paint brushes
- A thin black marker or pen
- tape
Optional Extra Embellishments
- Embossing heat tool
- Embossing powder
- An embossing pen
- Small gems or stickers
- Brush/calligraphy pens
Find a Map


Start by searching online or drawing the map you want to decorate. This can be done on any paper but it should match the size of your final project goal. Remember, you can make any type of map you want so use an image that matches the level of detail you like. If there are elements like road names that you do not like, you can still use the image and I will later explain how they won't be included in your final design.
After selecting your image, crop or rescale it to fit the size you want for your project. This might take some trial and error but once you are happy with your map print it out. The printout can be black and white or in color but make sure it is as clear as possible.
I decided to use a simple map of Bar Harbor, Maine. I found it online by searching "bar harbor map" and looking through the google image results. I picked this location because I went on vacation there with my best friend and I plan to give this map to them as a gift.
Trace Your Map Printout


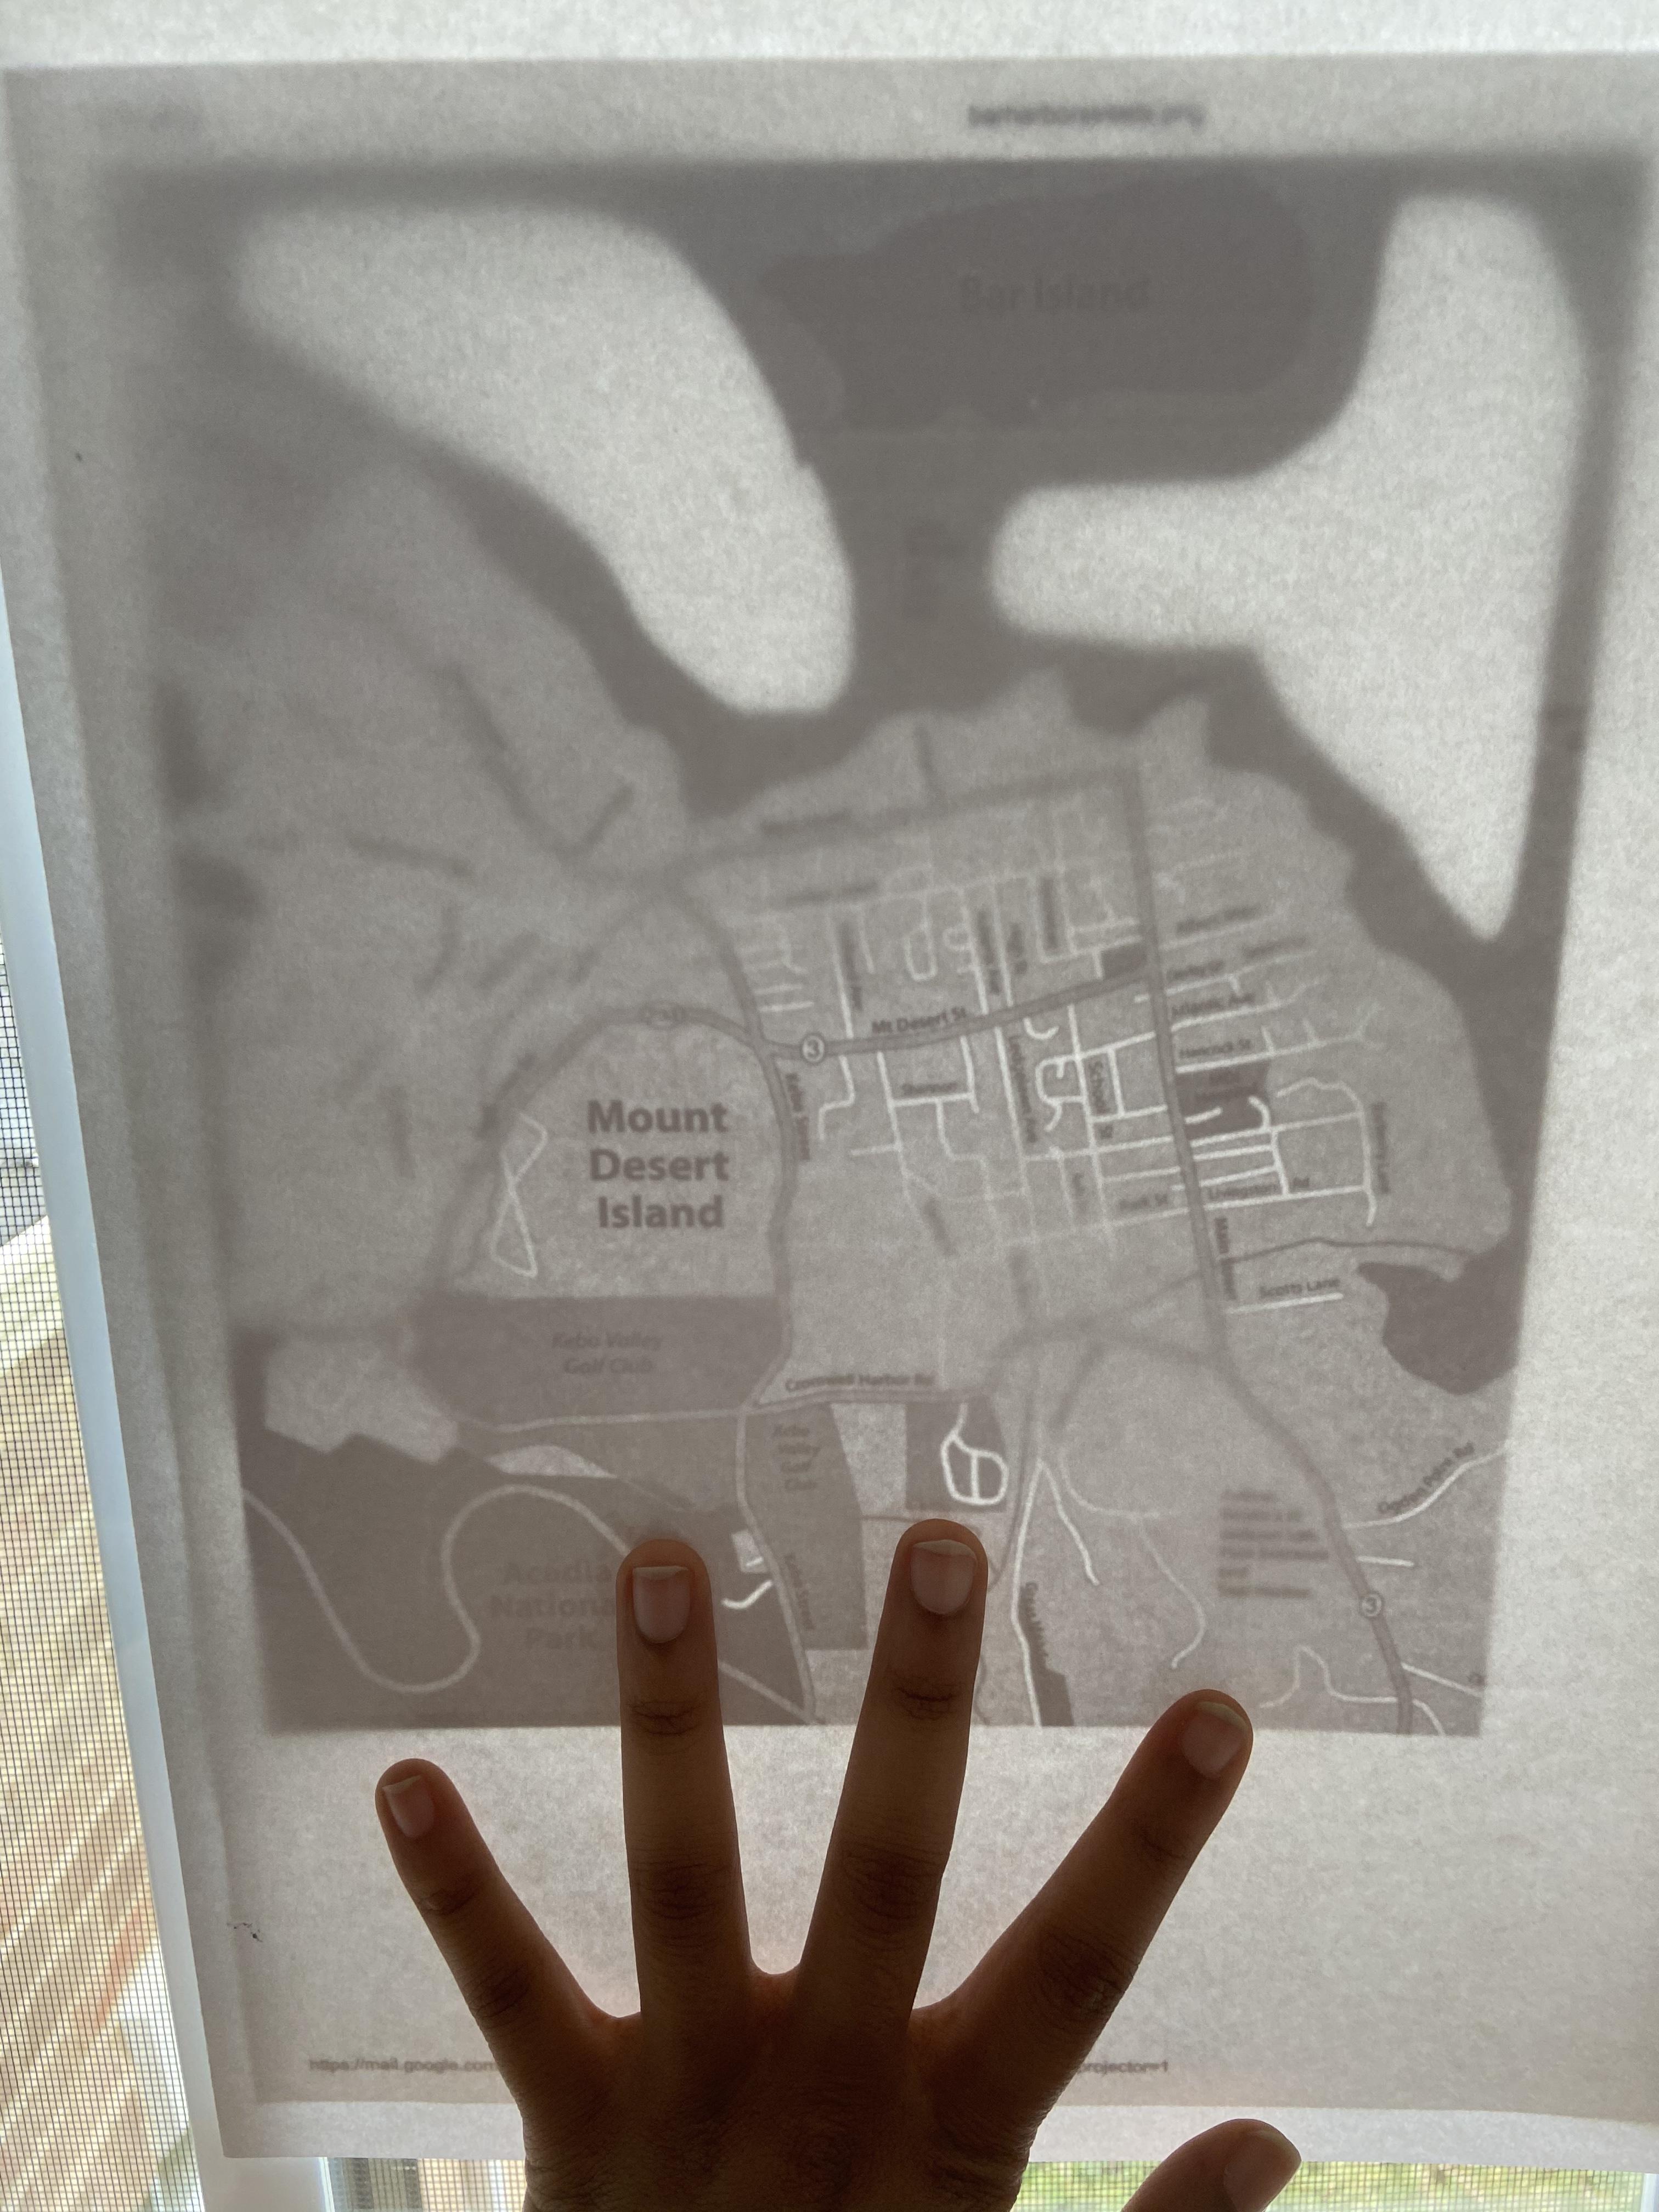
Tape your mixed media paper on top of your map printout and tape both of them to a window or other source of light. If the light is bright enough and the top paper is not too thick, you should be able to see the map through the paper. Using a pencil, lightly trace over all the parts of the map printout that you want included on your final design. I do not suggest tracing words since they usually look better handwritten but you can if you like the font. To preserve the placement of any words or other items on the map that you can't trace, make small boxes and number them so you can create a key for yourself before painting.
Because my map was so simple, I ended up tracing almost everything on it. I did not include any of the words but I have lines for all roads, buildings, and water bodies that I want to include. I did not have to label anything because I am going to use the original map for reference.
Trace Roads and Rivers


Using a combination of pens and an embossing heat pen, accent any lines such as building outlines or roads on your map. In general, simple is best when doing this to give your map a clean look. Make sure you go over all the pencil lines that you don't want seen. There shouldn't be any pencil lines left visible when you finish this step. If there are, check your reference map and decide if you want to trace over it or erase it.
How to use an embossing heat pen:
Using a pen made specifically for embossing, trace over a section of your map. For best results, I suggest only doing 2-3 inch sections at a time. Sprinkle embossing powder over the traced section and gently tap the excess off. Using the heat pen, hover over the powdered section until it starts to melt. Slowly move the pen over the area until the whole thing is melted. Try not to go over areas that already melted too much or the powder may become too thin and spread. The heat and metal may curl your paper but let it sit and it should mostly flatten.
Decorate!

Using whatever materials you like, decorate the sections created by your roads. You have complete freedom in how you decorate your map so brainstorm ideas and test different materials to see how they look together.
Ideas:
Watercolor paint - works well for large areas or light background colors
Scrapbook paper - cut out paper and glue it on top to cover large sections
Stickers - mark important or memorable places
Markers - good for small areas or details
Add Labels

Using a fine tip pen or marker, add names and labels for your map. Similar to the previous step, this can be done with as much or as little detail as you want. I suggest focusing on main roads, large locations/water bodies, and memorable places.
If you like, you can add a title or the name of the location somewhere on the side but if not, trip all the edges. If you do add a name, use a ruler to measure the space and trim accordingly. Remember, you can cut more but not less so make sure you don't accident trim part of your decorated map.