DIY Lipstick Organizer


If you're like me, you have more lipstick then you know what to do with!
And since you're busy buying all of this lipstick, you're probably as poor as I am too. Oopsie!
With all this lipstick laying around, we're going to need a way to organize it. Bags and boxes can become cluttered and finding the color you want becomes searching for a needle in a hay stack.
Here's an Instructable that can help you keep your lipstick neat and easy to organize. It's also eco-friendly because all you need is the box your lipstick came in!
Supplies


You will need:
- Lipstick packaging boxes.
- Double sided tape or craft glue of any kind.
- Scissors
Box Prep


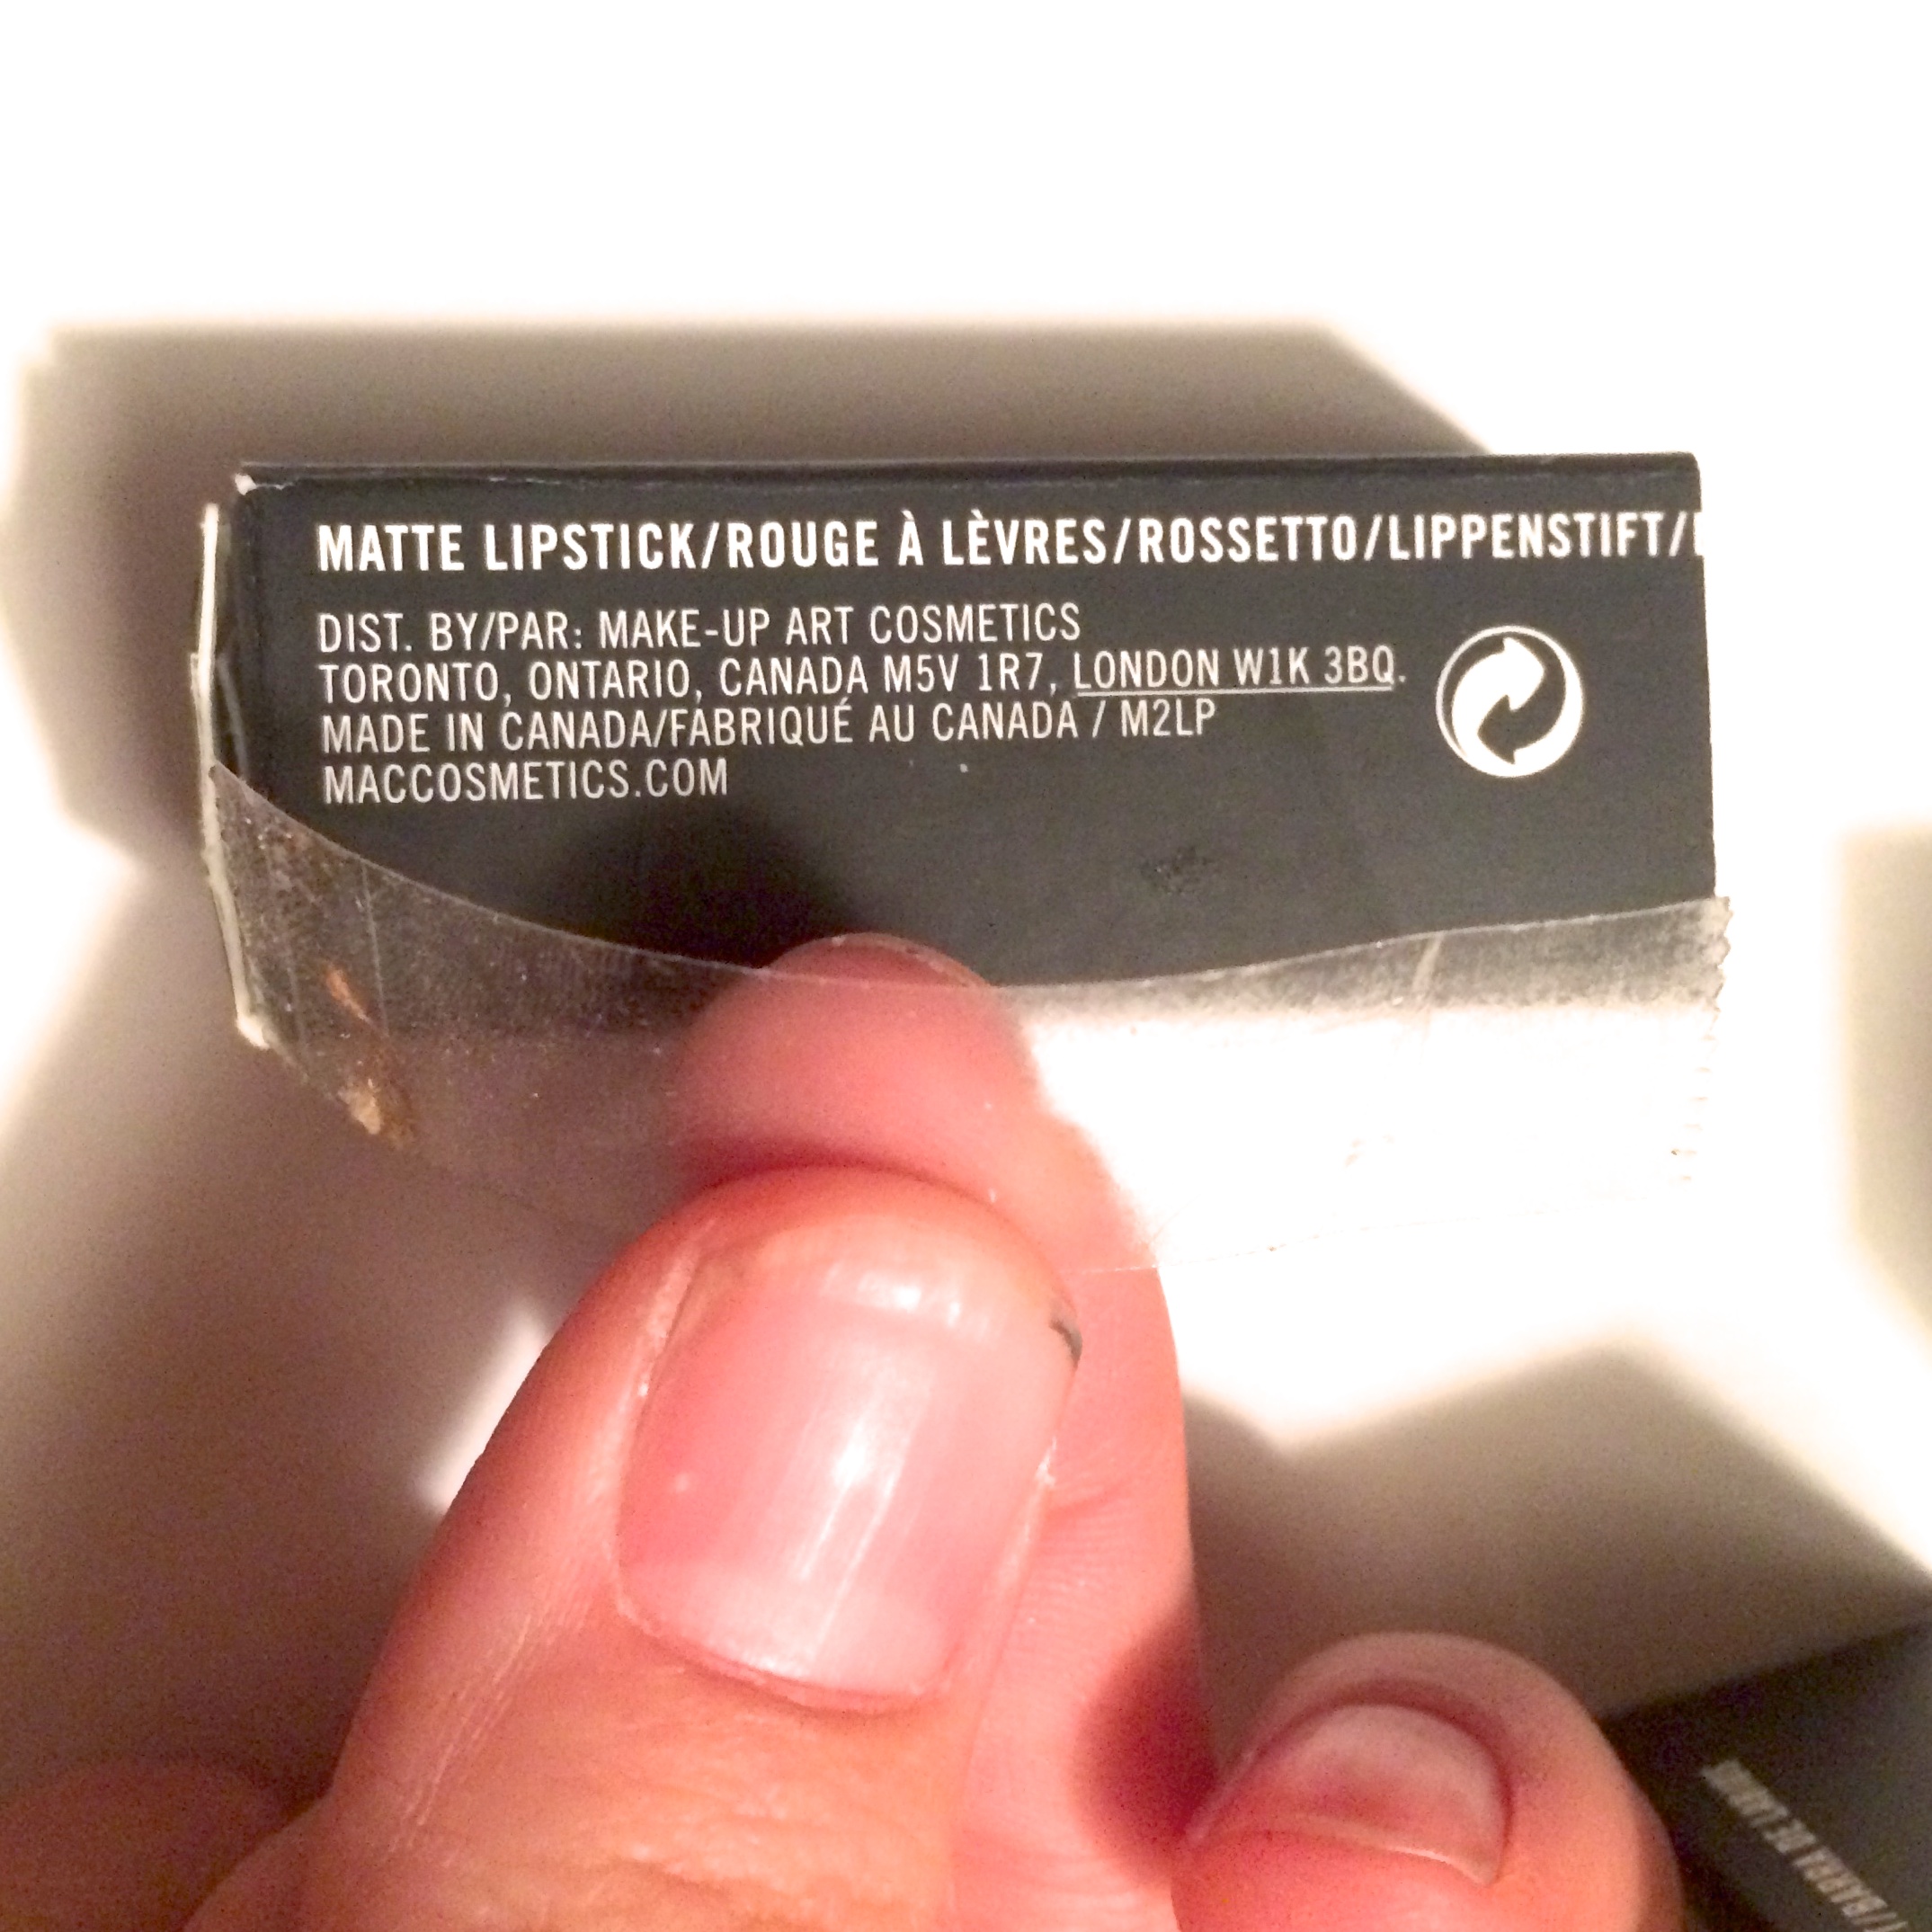
Empty your box and deconstruct the box neatly. You will need both ends of the box in tact so be careful when unfold it.
Once it's completely deconstructed, flatten the box.
Cutting

Cut the box in one of two ways:
- Directly in half, right down the middle.
- Or 1/3rd of the box.
NOTE: Cut from where the end of the box would be if it were assembled, not by the full length of the unfolded box.
Reassemble


Reassemble the two ends of the box. Repeat steps 2-4 for however many boxes you have.
The beauty is, for every 1 lipstick you buy, you'll get 2 lipstick holders out of it's box!
2 for the price of none!
Stick It to 'Em!


Tape or glue them together by their sides.
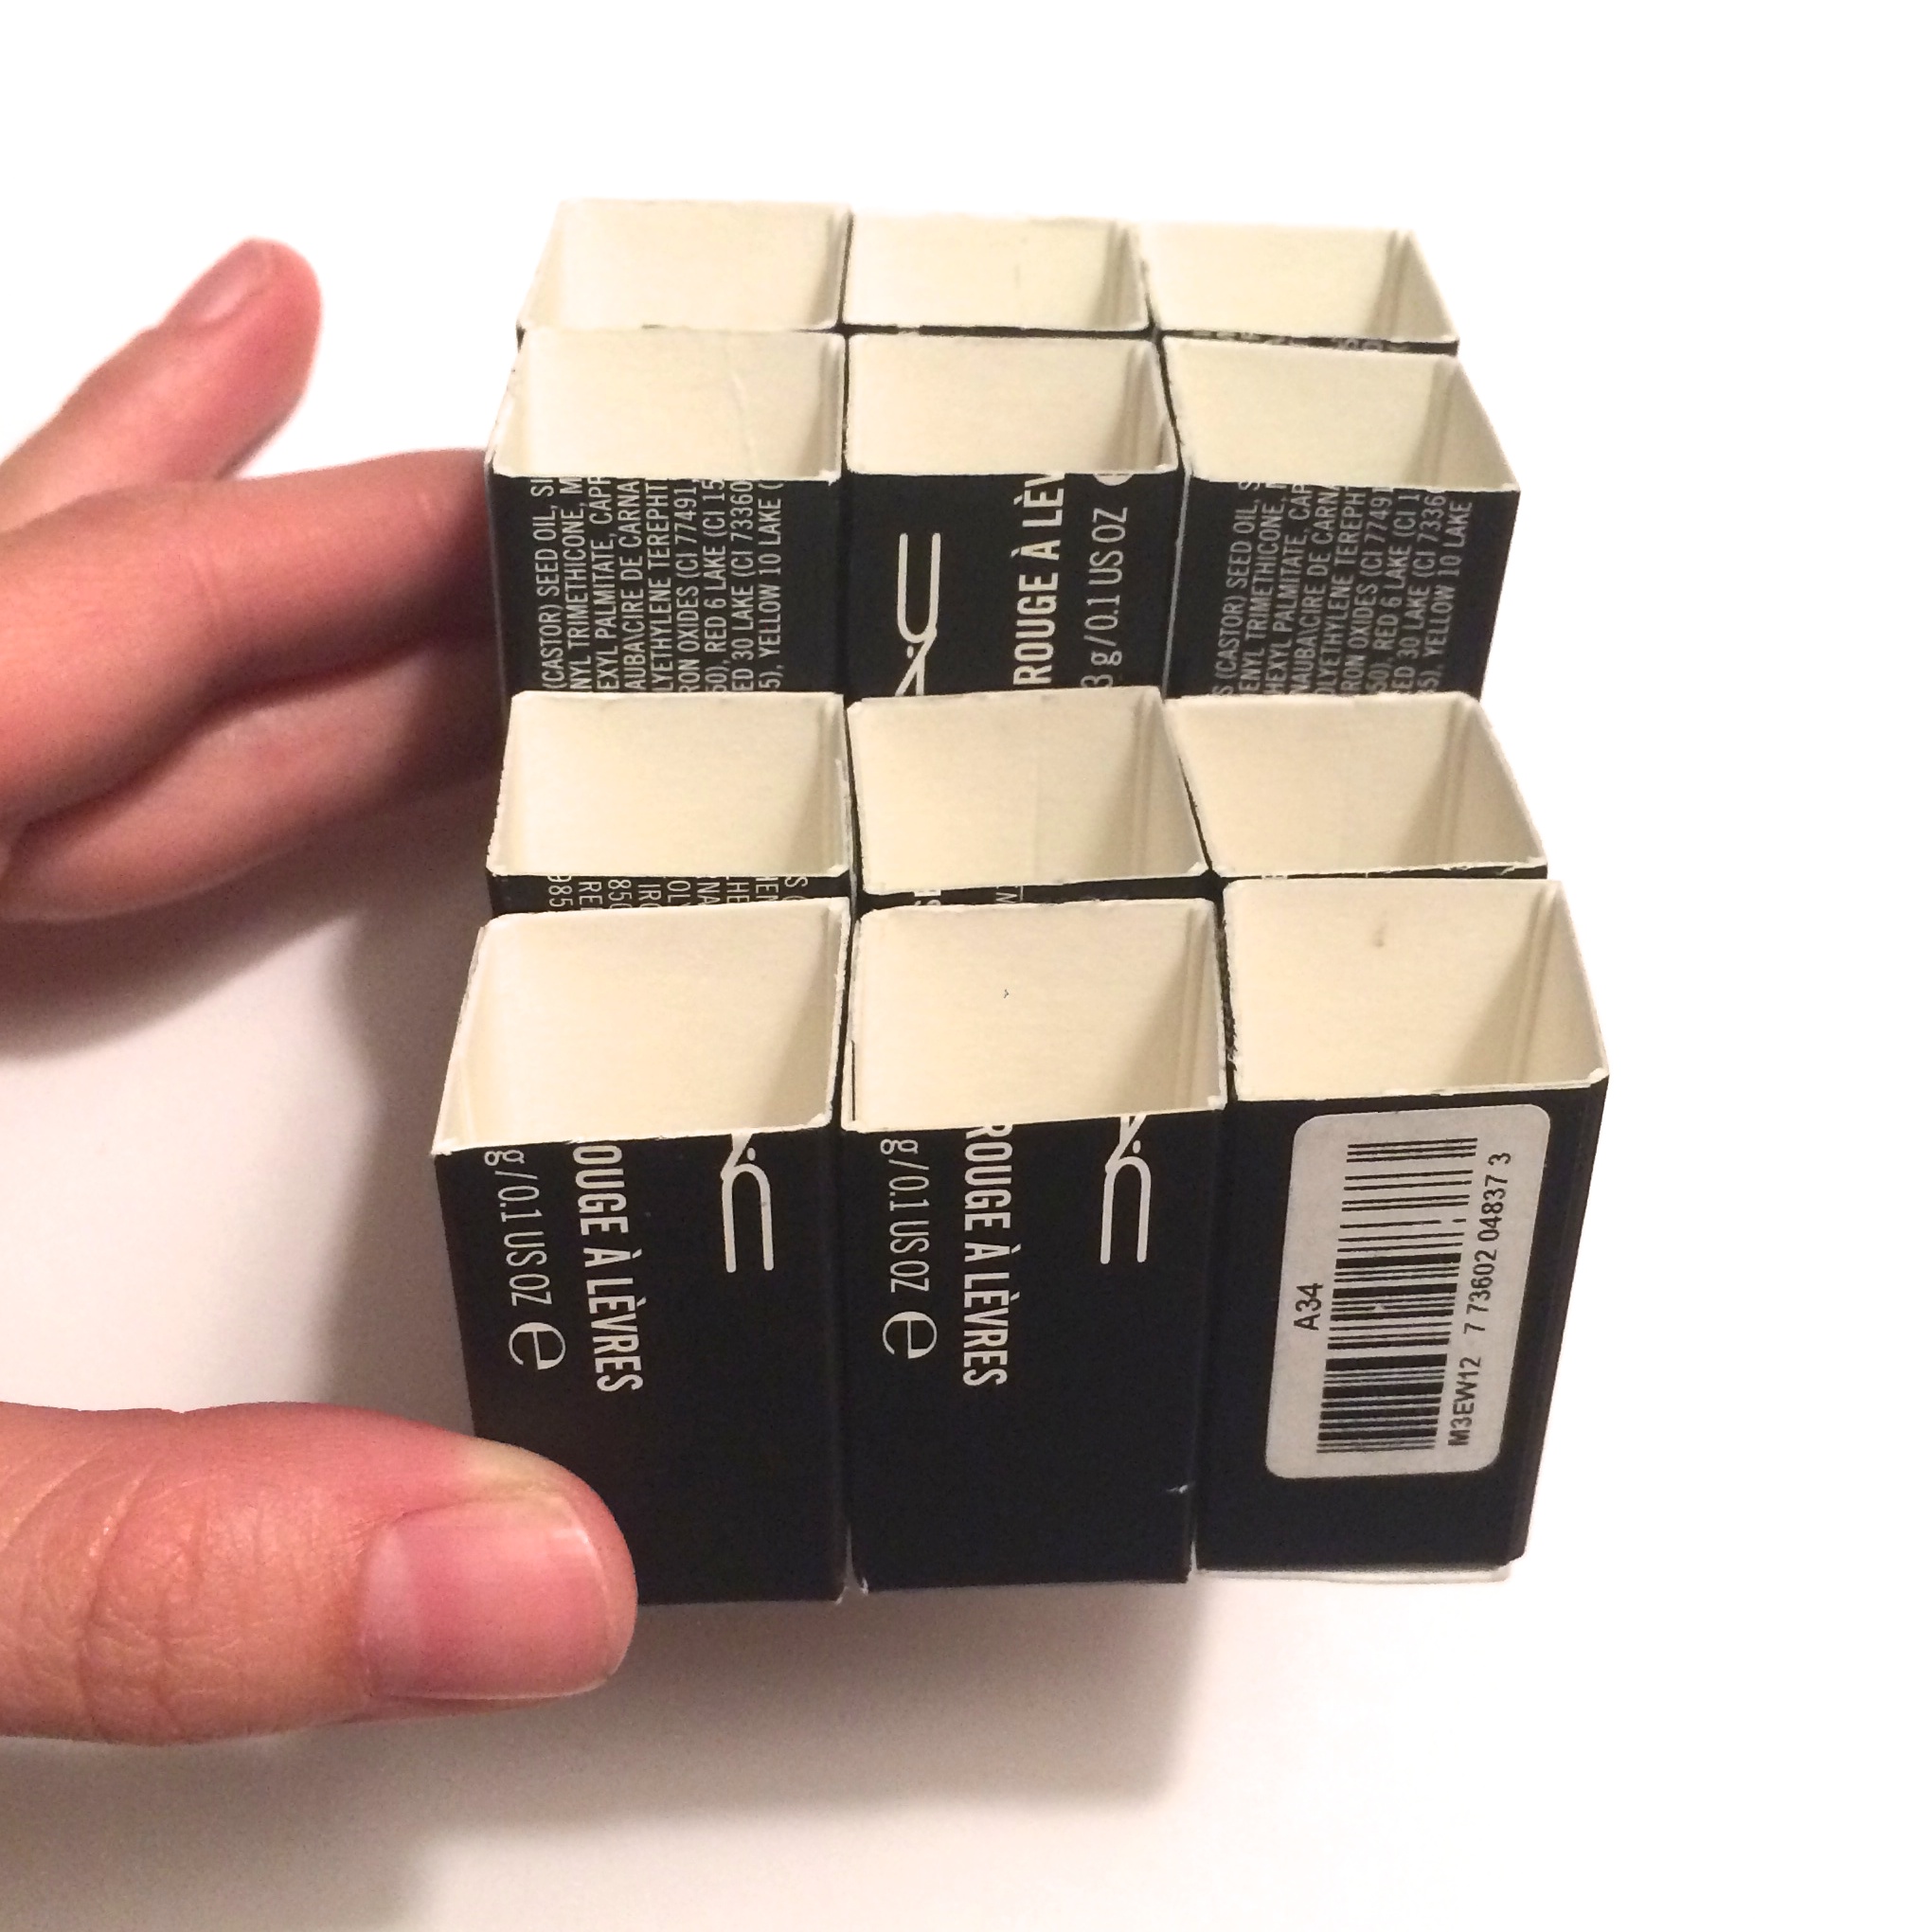
Stack them together however many long or wide you'd like!
Stack


If you cut the boxes in half, you'll get an organizer that's the same height.
You can give your stand levels if you cut it into 1/3rd and 2/3rd pieces and place them on either side of your half-cut pieces.
There You Have It!


Tada! You have an organizer for your many lipsticks!
Tips for your new organizer:
- Storing them upside-down keeps your lipsticks hydrated at the tip.
- If you store them upside-down and the label is on the bottom, they are easy to organize and identify.
- I recommend you use the same brand of lipstick for each organizer since lipstick and box sizes may vary.
- The smaller end of the 1/3rd cut can't store rounded top lipsticks upside-down so if you plan on storing them this way, stick to the half cut.
I hope you found this Instructable helpful!
Enjoy!