DIY Traditional Kashmiri Kanger
by Create_With_Arjun in Craft > Reuse
742 Views, 6 Favorites, 0 Comments
DIY Traditional Kashmiri Kanger


Crafting Warmth: DIY Kashmiri Kanger
Welcome to the world of DIY Kashmiri Kanger, a traditional handmade portable heater that has warmed the hearts and hands of Kashmiris for centuries. Rooted in the rich cultural heritage of the Kashmir Valley, the Kanger, also known as Kangri, embodies a fusion of artistry, functionality, and tradition. In this Instructables, we delve into the historical significance of the Kanger and explore the benefits of crafting your own, especially during the chilly winter months.
Crafted meticulously by skilled artisans, the Kanger traditionally utilized materials such as clay pots, wicker, and recycled fabrics. However, in our modern interpretation, we are embracing sustainability by crafting the Kanger with recycled materials like cardboard, maintaining the essence of tradition while minimizing environmental impact.
Its design is simple yet effective, providing warmth to the body when tucked beneath layers of clothing, particularly in the chilliest corners of Kashmiri households.
Beyond its practical utility, the Kanger holds deep cultural significance in Kashmiri society, symbolizing warmth, comfort, and hospitality. The craftsmanship involved in making a Kanger has been passed down through generations, preserving a timeless tradition that remains an integral part of Kashmiri heritage.
Crafting our own Kashmiri Kanger with recycled materials not only provides warmth but also offers an eco-friendly solution for staying cozy during the winter season. This project fosters creativity, sustainability, and cultural appreciation as we reimagine a centuries-old tradition in a modern, environmentally conscious way.
Downloads
Supplies


For the supplies you are required -
- Cardboard
- White glue
- tissues & paper
- POP Or White Cement
- paint and brushes
- Scissors
- Charcoal or wood chips (for heating)
Creating the Top


- Sketch out a blueprint for the main structure, considering the dimensions of the pot and the desired height of the Kanger.
- Using the ruler and pencil, mark the dimensions for the base, sides, and top of the Kanger on the cardboard sheets. Carefully cut out the cardboard pieces according to the marked dimensions.
- Cut out a cardboard piece to serve as the top of the Kanger.
- Apply glue or adhesive tape to the edges of the base piece and attach it firmly to a larger cardboard sheet to provide stability.
- Attach it securely to the top edges of the vertical strips, completing the circular structure.
Creating the Base


- Measure and cut cardboard strips to the desired height of the Kanger.
- Attach the cardboard strips vertically around the perimeter of the base, ensuring they are evenly spaced and secured tightly.
- Cut additional small cardboard pieces to reinforce the corners where the vertical strips meet the base.
- Glue or tape these reinforcement pieces securely in place to add stability to the structure.
- Ensure that the cardboard structure is sturdy and able to support the weight of the pot and heating materials.
- Make any necessary adjustments to the structure, reinforcing weak points or trimming excess cardboard.
- Once satisfied with the stability and appearance, our structure is ready for further insulation and finishing touches.
Prepare the Paper Mache


- Tear newspaper or recycled paper into small pieces and soak them in water for a few hours or overnight.
- In a mixing bowl, mix flour with water to create a thick paste consistency.
Making the Paste


- Mix equal parts of water and white glue in a large container or bowl. Stir well until the glue is completely dissolved.
- With a blender stir the mixture and let it absorb all the necessary ingredients.
- Once it absorb all the ingredients we are ready to do some messy work.
The Coating


- Dip strips of newspaper or recycled paper into the paper mache paste, ensuring they are fully coated but not dripping.
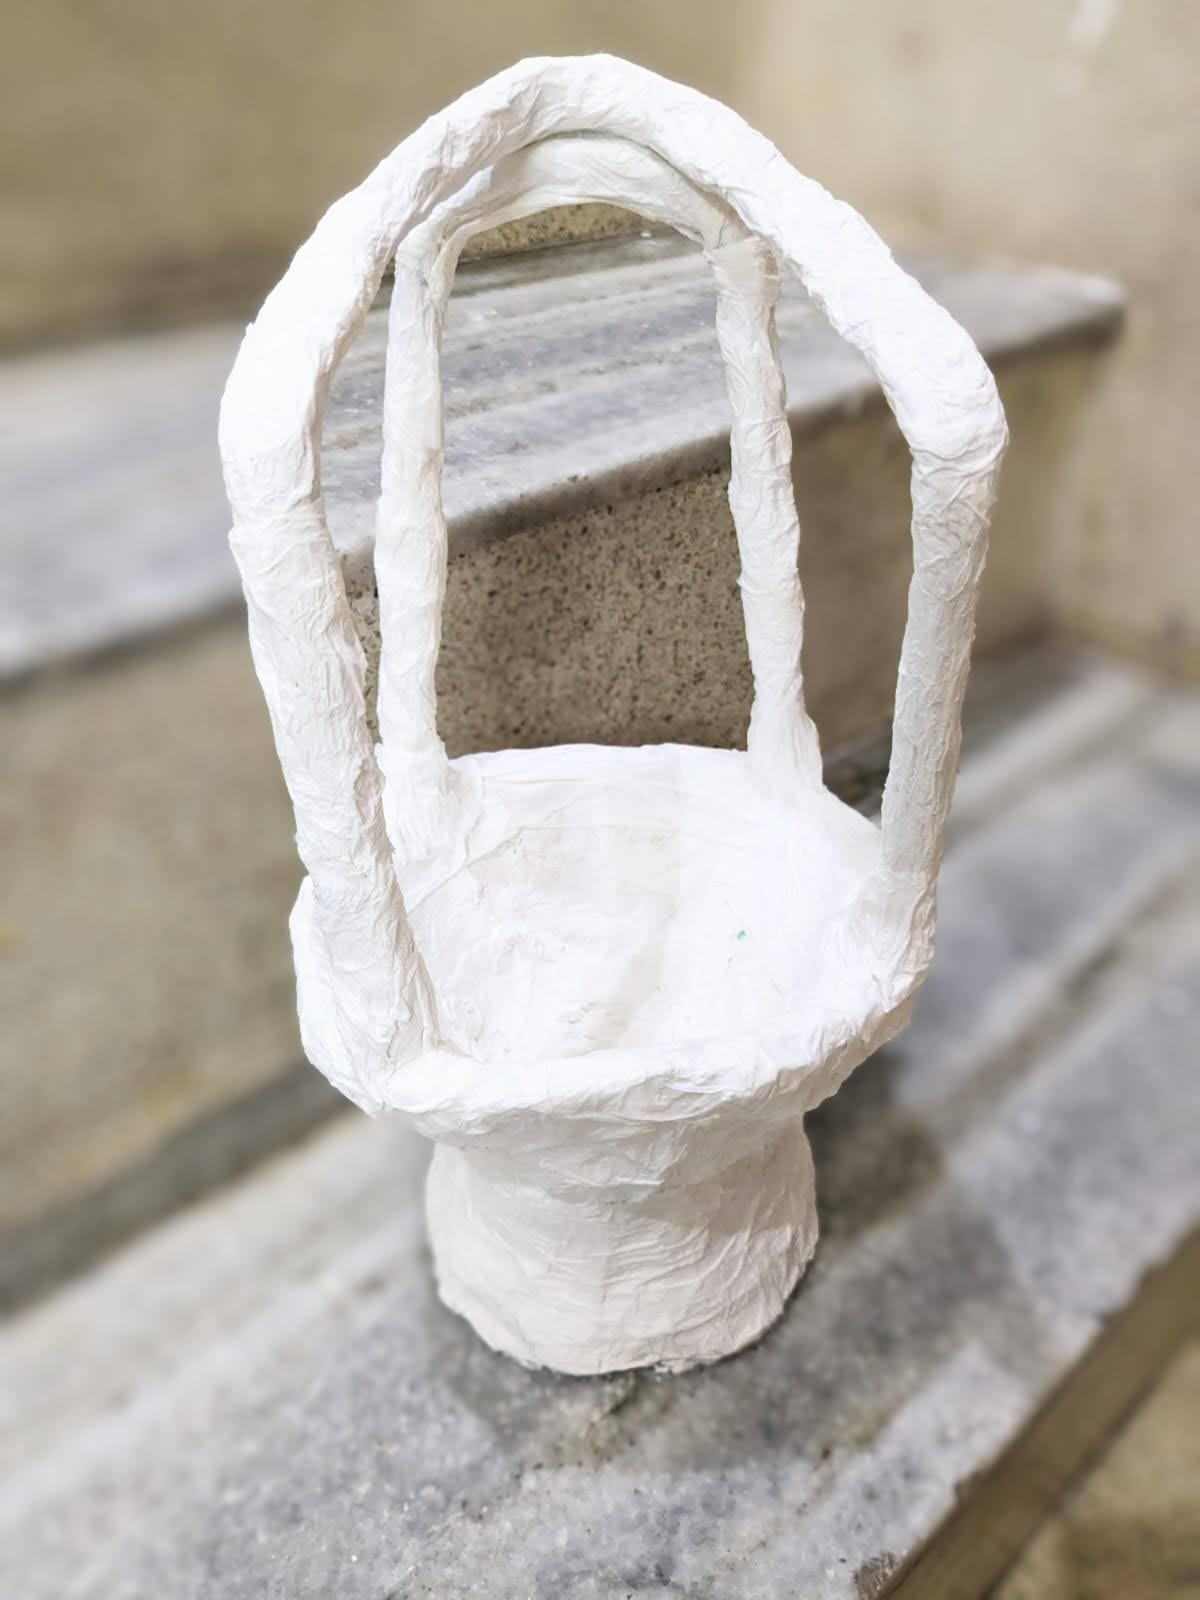
- Apply the paper mache strips to the base of the Kanger, overlapping them to create a strong, smooth surface. Repeat until the entire base is covered.
- Apply paper mache paste to the reinforcement pieces and attach them securely to the structure.
- Continue applying layers of paper mache to the sides of the Kanger, building up the thickness for added strength and insulation
- Ensure that the entire structure is thoroughly coated with paper mache, smoothing out any rough areas and allowing it to dry completely.
- Once the paper mache coating is dry, test the stability of the structure to ensure it can support the weight of the pot and heating materials.
The Handle


- Determine the desired length and shape of the handle for your cardboard structure. A simple curved or looped handle design works well for carrying.
- Using the utility knife or scissors, cut the cardboard or wooden dowel to the desired length for the handle. Ensure it is long enough to comfortably grip and carry the structure.
- Decide on the placement of the handle on the cardboard structure. This is typically centered along the top edge for balance and ease of carrying.
- Apply glue or adhesive tape to one end of the handle material.
- Press the glued end firmly onto the designated spot on the cardboard structure, ensuring it is securely attached.
- To provide extra stability, add additional glue or tape around the joint where the handle meets the structure.
Decorating and Painting


- Shake the copper spray paint can vigorously for a few minutes to ensure the paint is well mixed.
- Hold the spray paint can approximately 6-8 inches away from the cardboard structure.
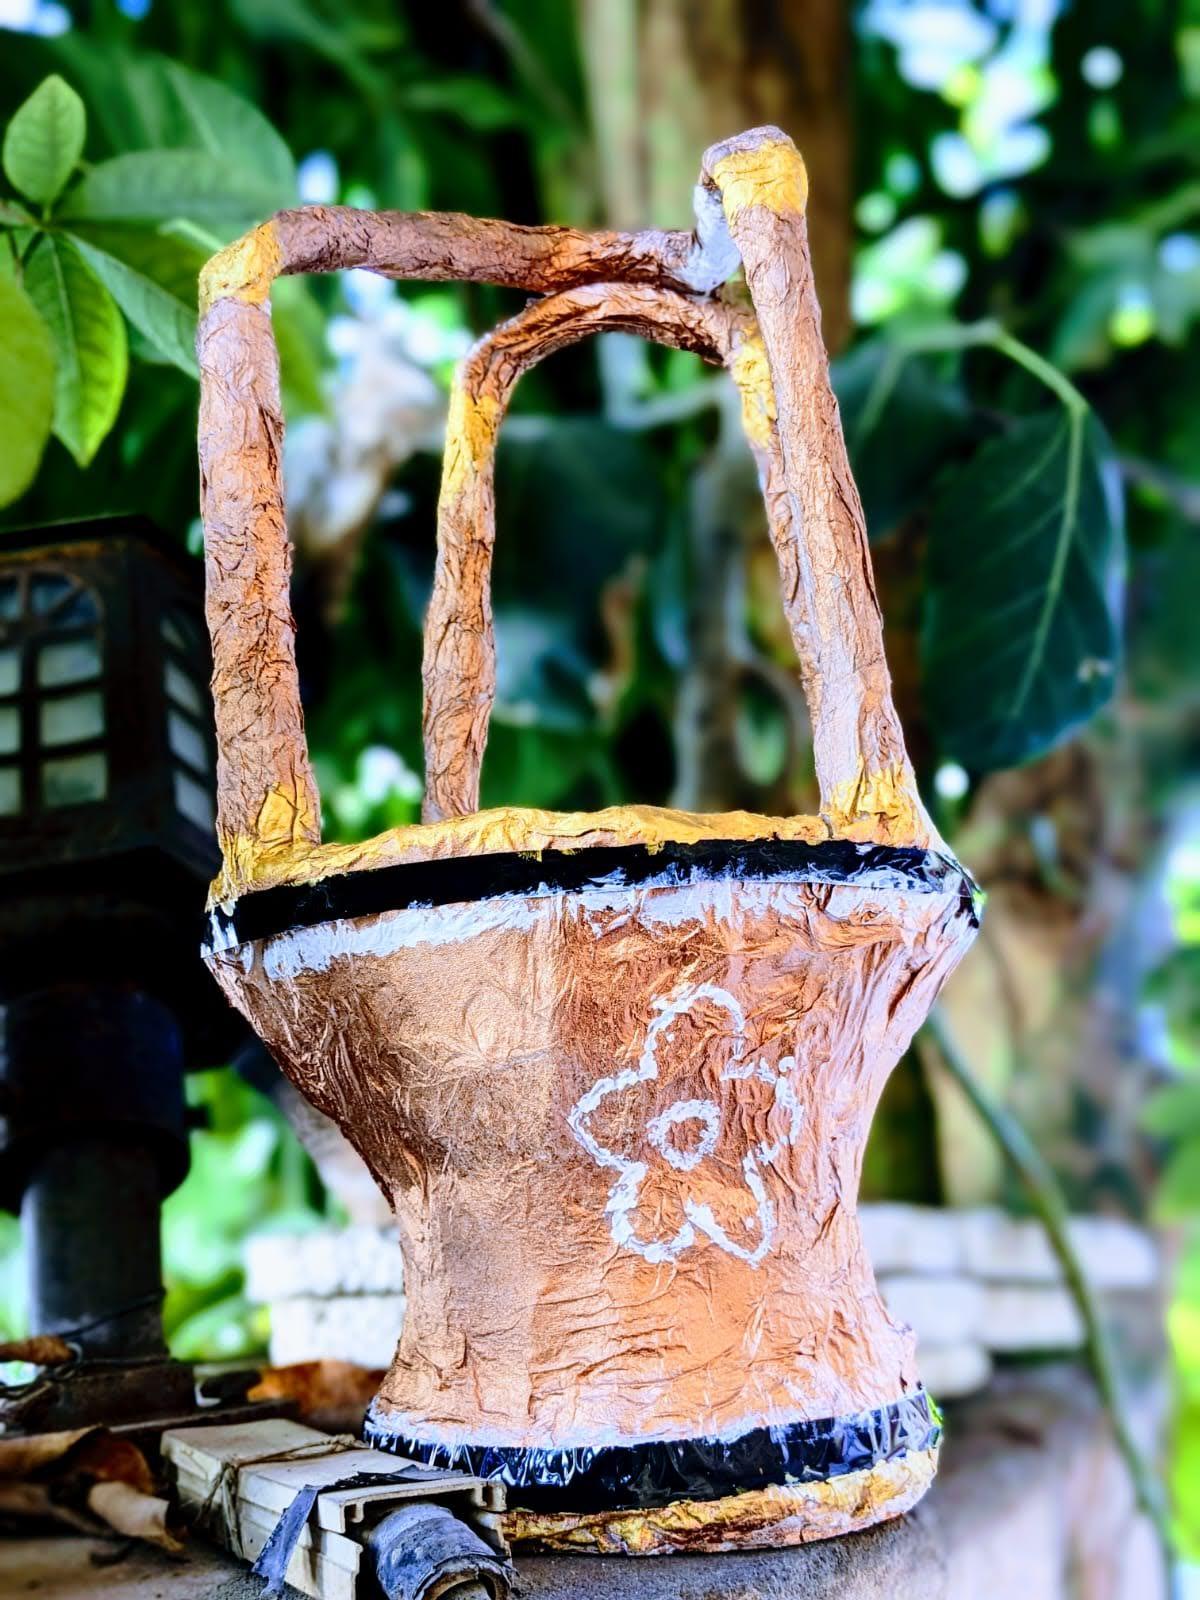
- Apply a thin, even coat of copper spray paint to the entire surface of the structure, moving the can in smooth, sweeping motions.
- Allow the first coat to dry completely according to the instructions on the spray paint can.
- Apply additional coats of copper spray paint as needed until you achieve the desired coverage and finish. Be sure to allow each coat to dry fully before applying the next.
Adding the Details


- Once the copper spray paint is completely dry, use gold and black acrylic paint or paint pens to add detailing and accents to the cardboard structure.
- Use painter's tape to create clean lines and mask off areas where you want to apply the gold and black paint.
- Apply the gold and black paint carefully and precisely, using thin brushes or paint pens to create intricate designs, patterns, or borders.
- Allow the gold and black paint to dry completely before removing any painter's tape.
Final Assembly


- After the gold and black paint has dried, inspect the cardboard structure for any areas that may need touch-ups or additional detailing.
- Use a fine paintbrush or paint pen to make any necessary touch-ups or add final details to enhance the overall appearance of the decoration.
- Once all paint has dried completely, allow the decorated cardboard structure to cure for at least 24 hours before handling or using it to ensure the paint has fully cured and adhered to the surface.