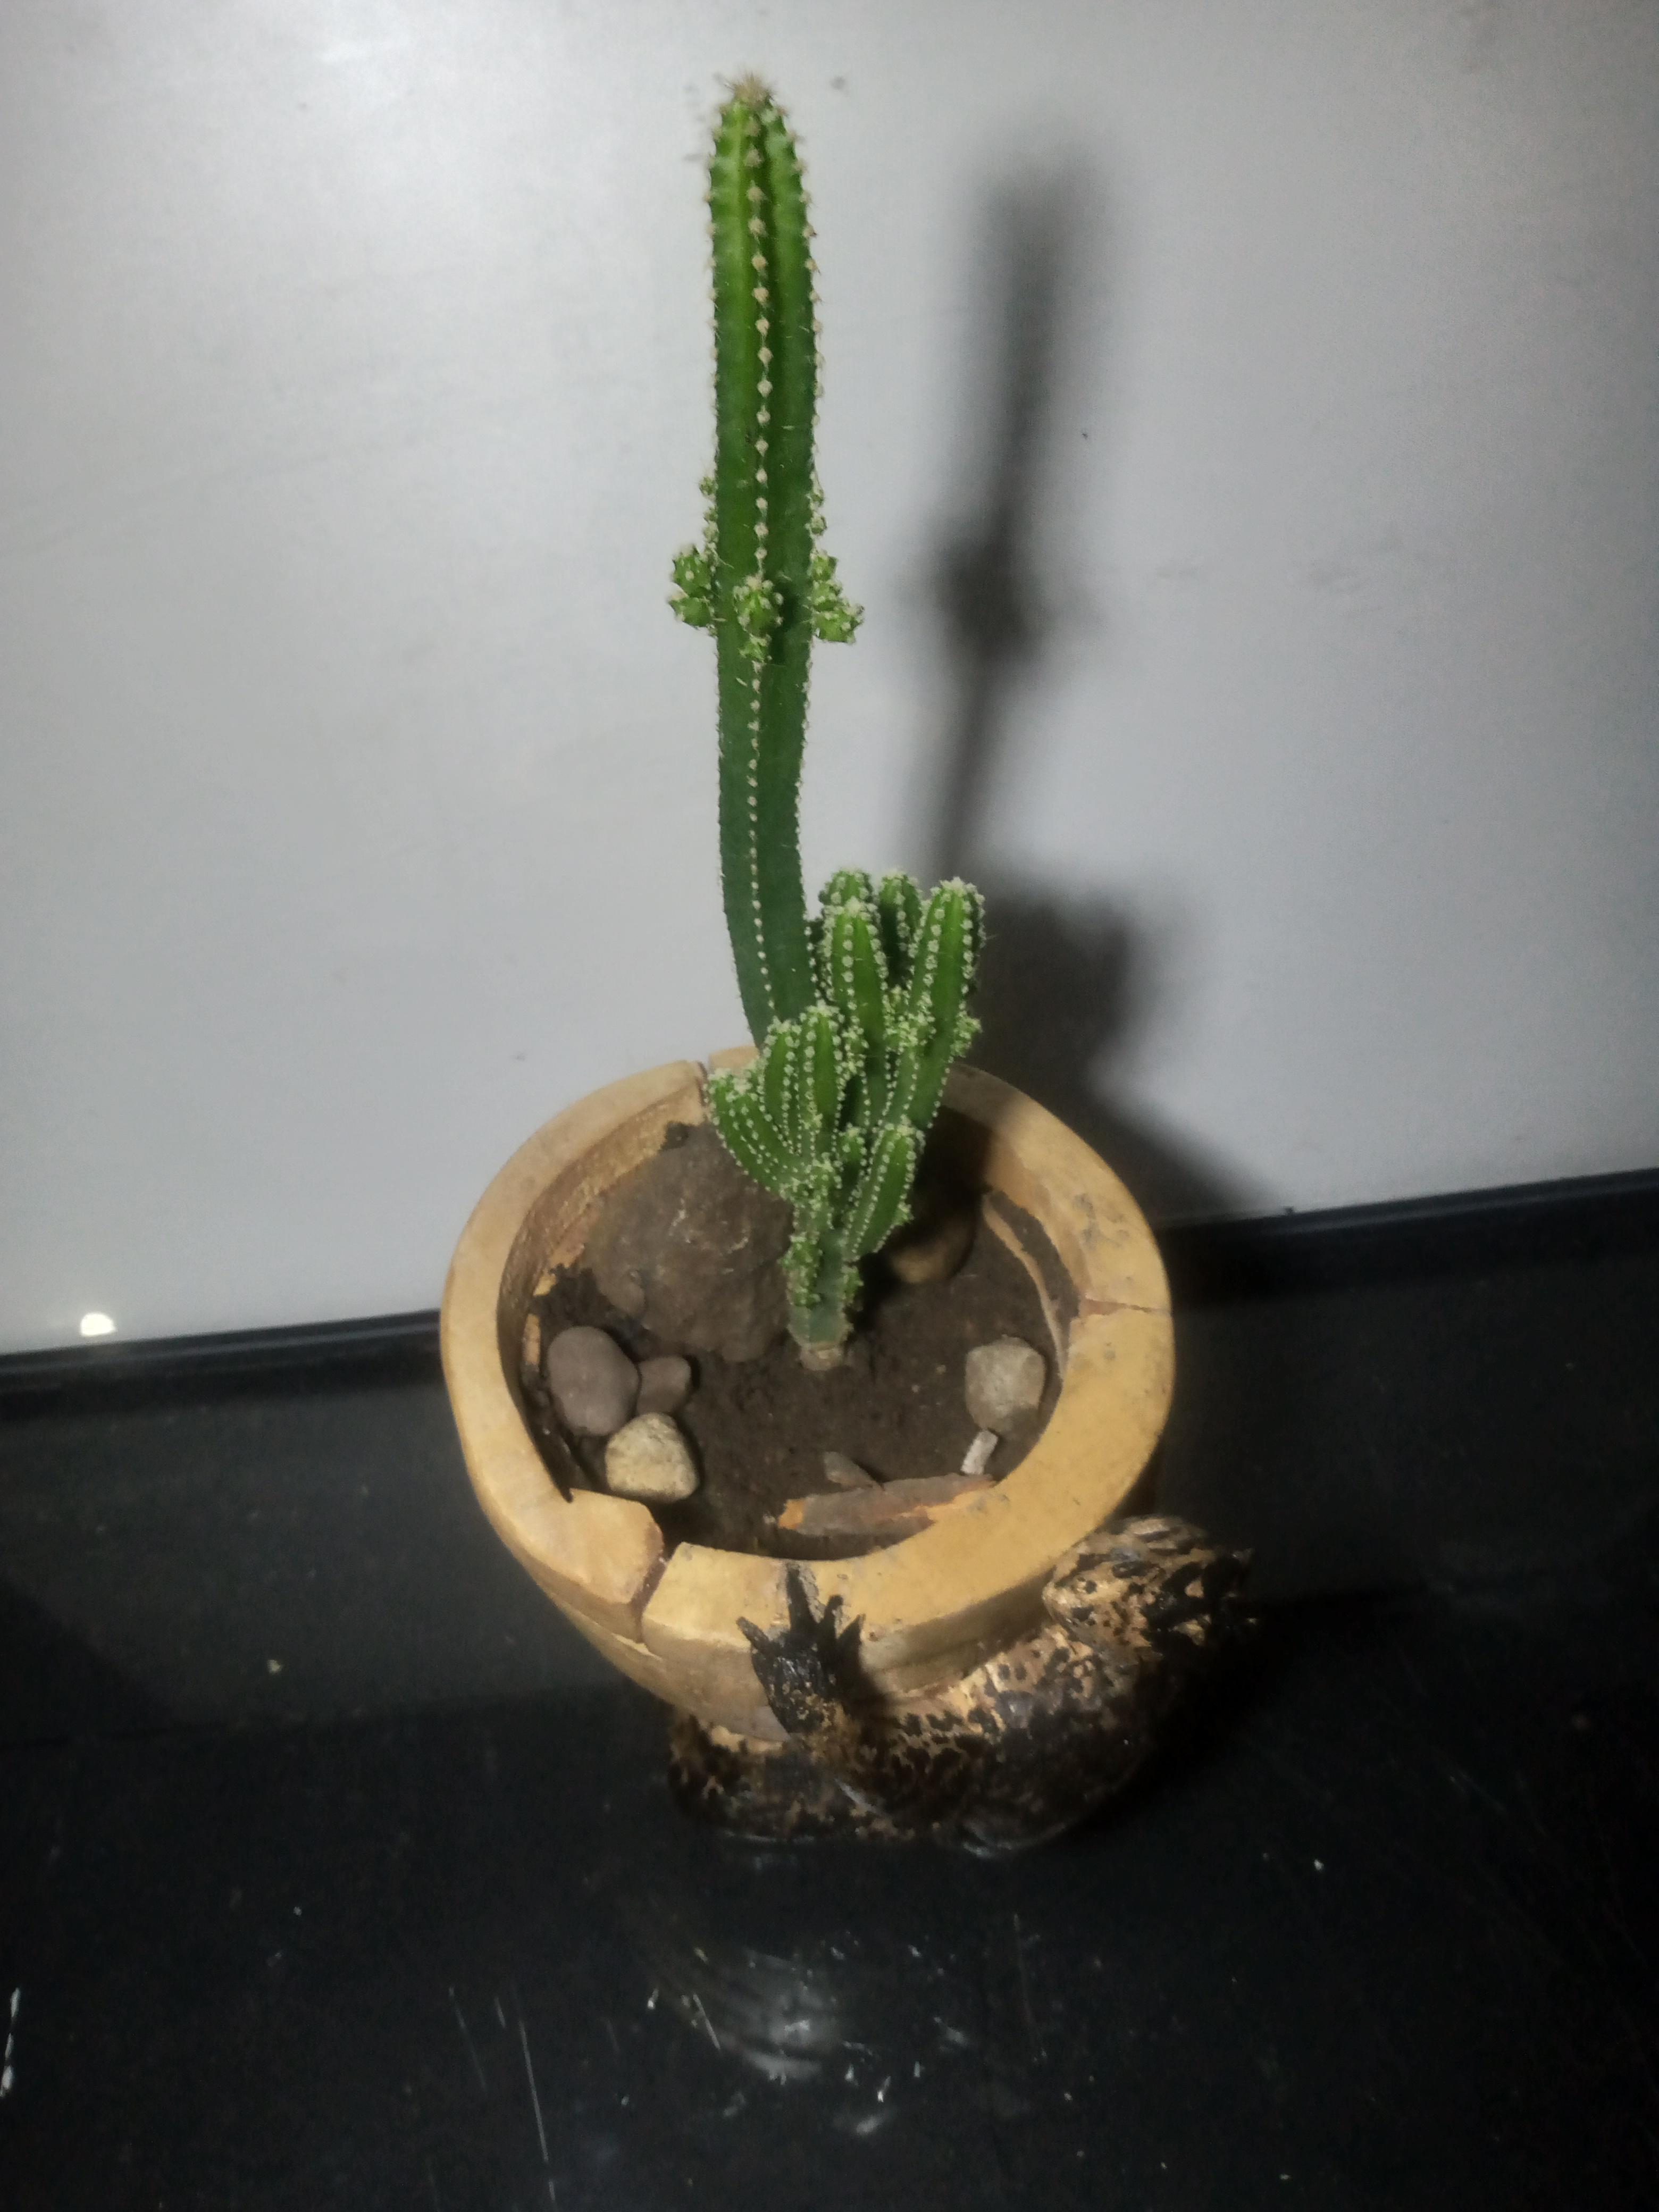
Desert Plant Pot


Hi everybody, this contest is special for me, because it´s a great challenge. This contest avoid me to show you, what you can do with simples tools, scrapwood and a good design; i hope that this proyect like to you. And as Mandela said: "It always seems imposible, until it´s done".
Supplies
- One pallet board.
- Sheets.
- Pen.
- Knife (or carving tools).
- saw.
- Glue.
- Sandpaper (N° 60, 80, 140, 220).
- Wood sealer.
- Black marker
A Good Design


For making this plant pot with a pallet board we need to separe the pot´s shape into diferents levels, as you can see in the pictures, i drew many circles, every circle represent a part of the pot and starts from a small circle to a bigger one.
The two last circles are diferent to the others, because the others are like rings. This challenge consist in use a only one board, then we need to cut the superior rings in three parts as you see.
Electric or Handtools?


Now, with the pencil we draw the circles and rings in the board, we shouldn´t wasted the space that we have, later you have to make a decision, electric or hand tools jajajaj matter of time; hand tools are cool, but electrical too.
Glue and Sandpaper


At the moment of draw the rings, you will need number the pieces, for keep the order and later join it. Put all the pieces in order and join its with glue. let it dry and then use de sandpaper in order, first 60, 80, 140 and 220.
ALL the Board


This is challenge, well with the other pieces we can do something more, i decided to put in the pot a captus, because the pot´s design, then i thinked : this pot needs something more, something like a..., yeah, a black desert lizard.
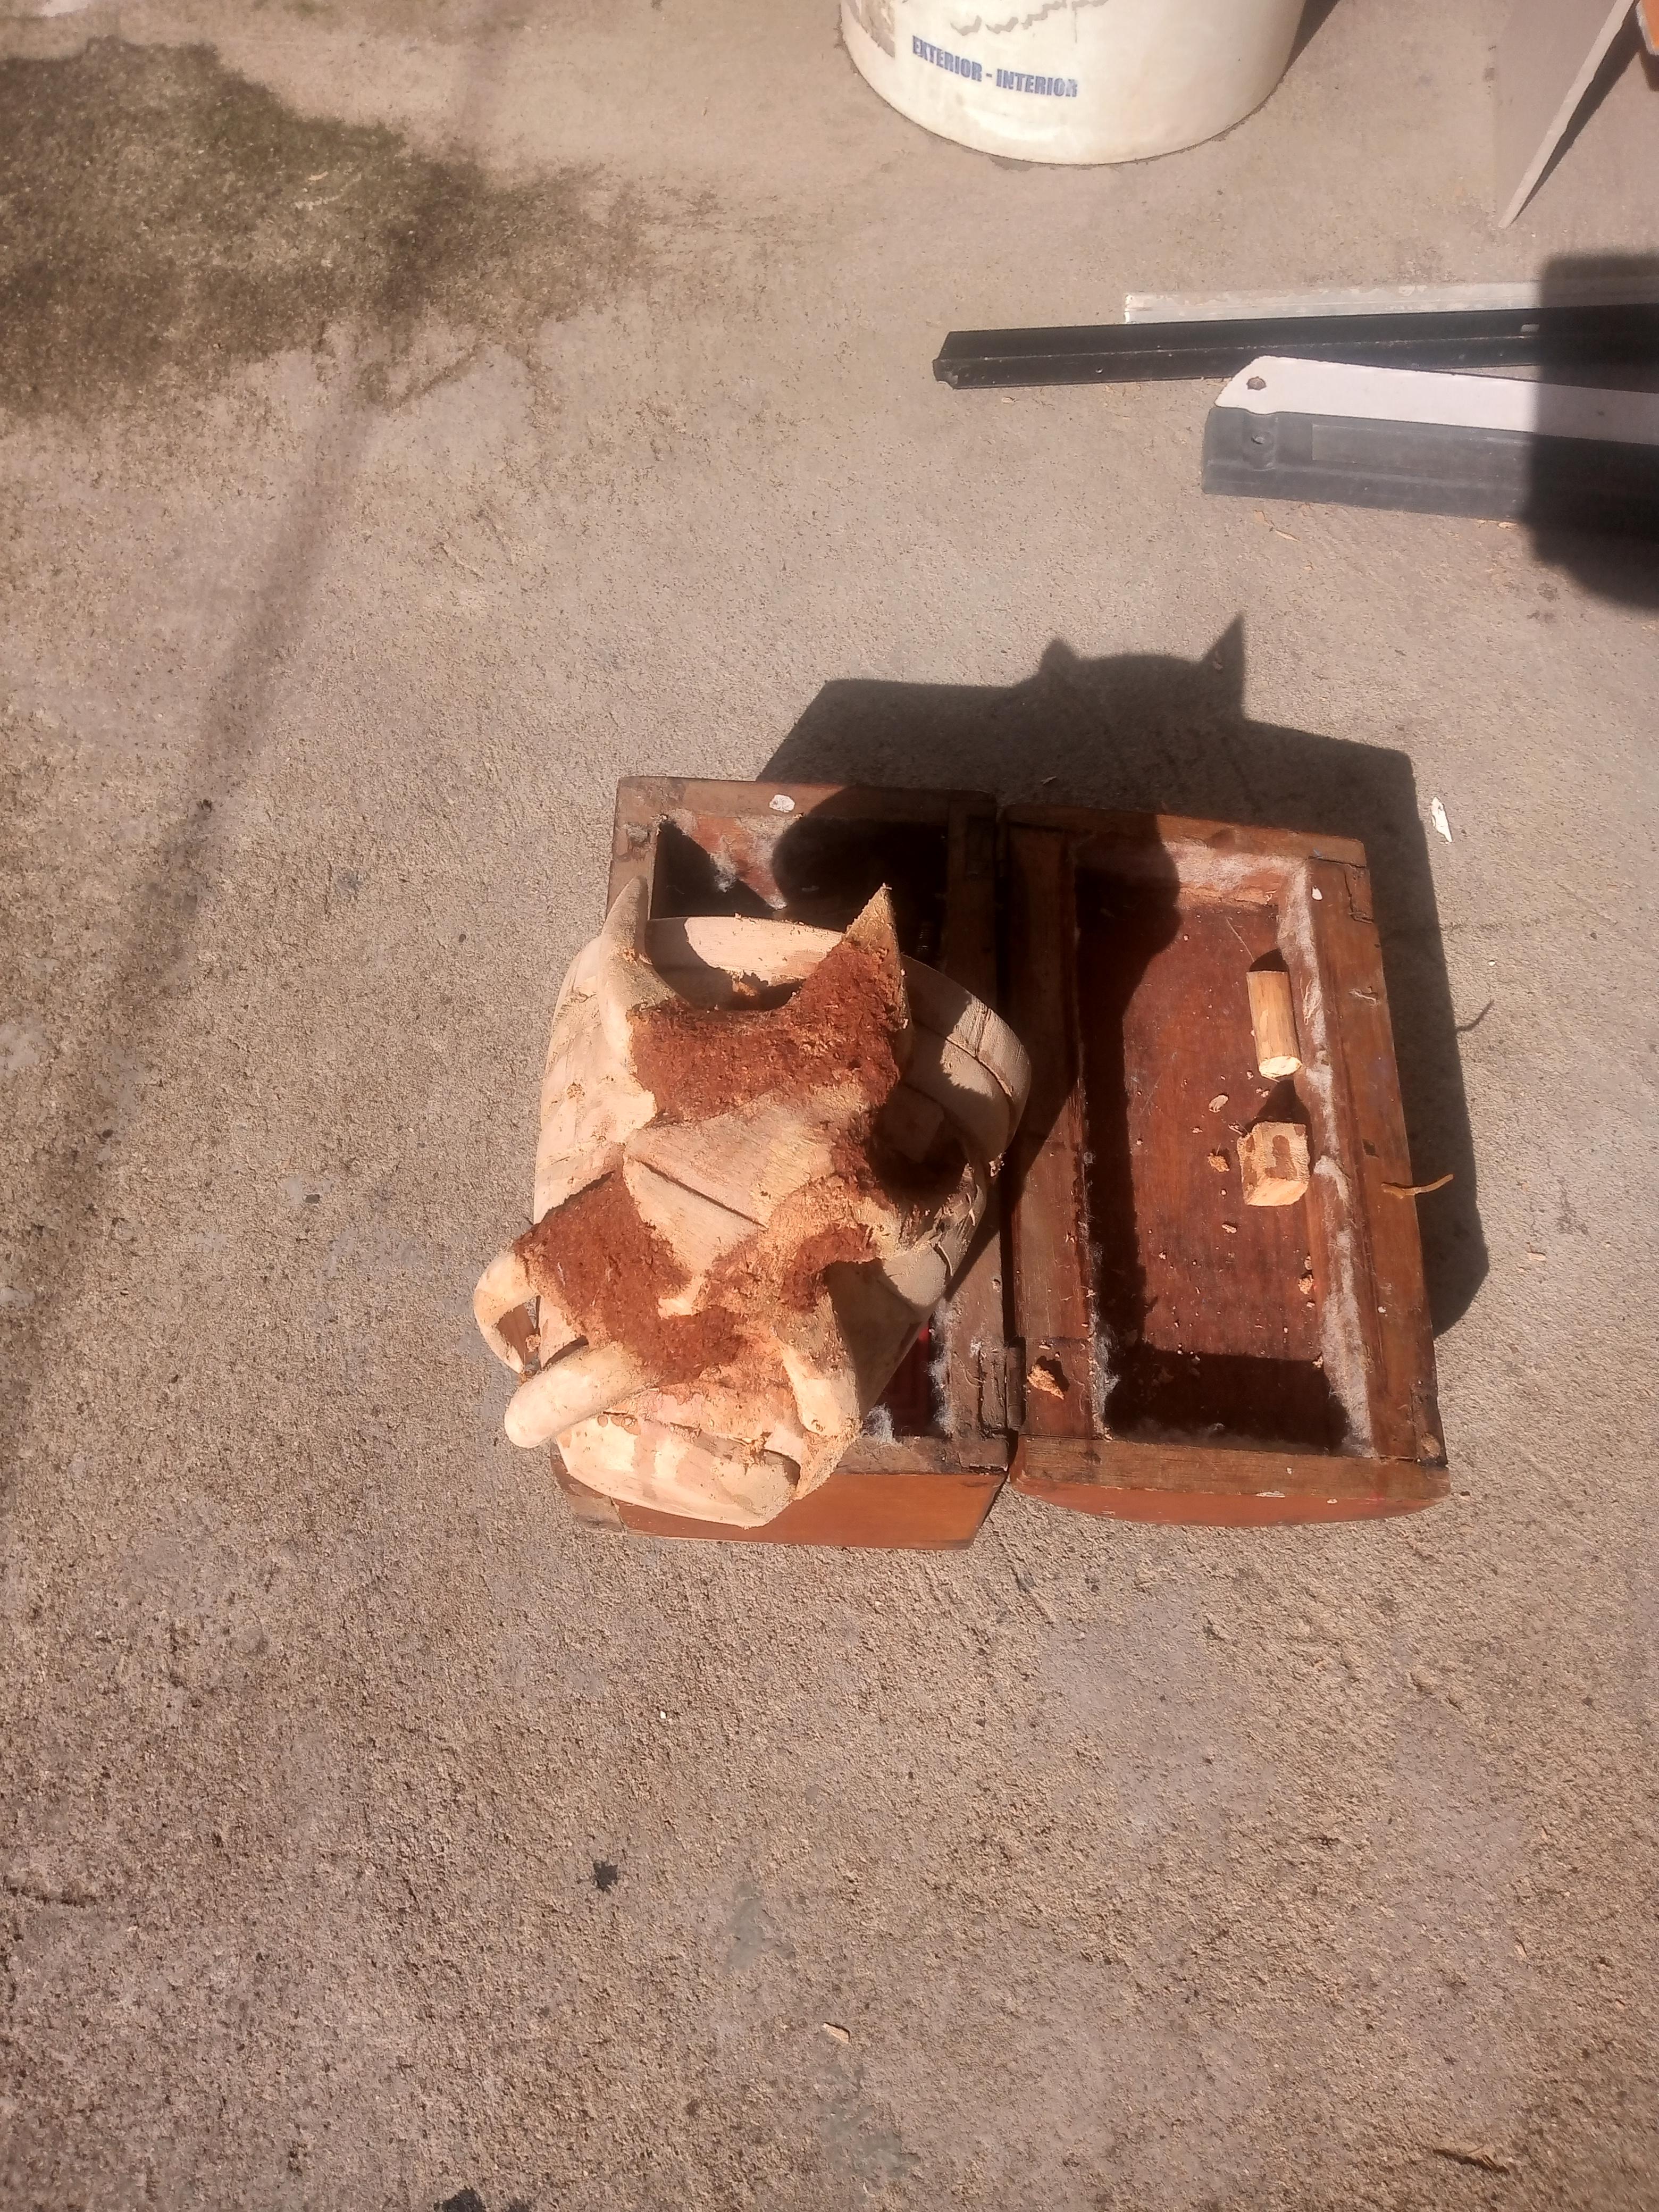
First of all we draw the shape and later, with the leftover wood and glue give it the (abstract) shape of a lizard.
Carving


I made it with a knife, but you can use carving tools, the first ist round off the corners, legs and body; you can use the sandpaper number 60 and 80 too. The wood that i used isn´t good for carving, but it is possible to carve it, also you will need make mastic for cover the holes and imperfections, let it dry and later use the sandpaper 140 and 220.
Wood Sealer and Paint


Now is time for a first coat of sealer, again, let iti dry and use the sandpaper 220, paint the lizard whit the marker and aply a second coat of sealer, you can aply a third if you want. Now check it out! you made a pot with a pallet board.
THank you for wactching my proyect.