Drawing a Still Life From Observation
1397 Views, 3 Favorites, 0 Comments
Drawing a Still Life From Observation

Have you ever wanted to draw a scene from sight? This Instructable will teach you how to do just that, with a list of materials, explanation on how to compose your still life, and guide on how to draw it.
Compose Your Scene & Gather Your Materials


Ideally, your composition should follow the rule of thirds so that it is as appealing as possible to the eye. (If you do not know what the rule of thirds is, imagine drawing a grid that divides your composition into equal ninths. Your elements should align as closely as possible with the lines that divide these fractions in order to properly orient your composition.) Gather drawing/bond paper, compressed charcoal, vine charcoal (of varying lengths and widths), a kneaded eraser, vinyl eraser, and if available, blending sticks and/or a chamois (a disposable tissue or two can stand in for these, or even one's finger).
Tape & Tone Your Paper


Using painters or drafters tape, tape down an even border around the edges of your paper. I like to press down the tape into something fuzzy a few times first (typically my jeans) to remove some of the adhesive so that the tape will not rip the drawing when it is being removed at the end. Keep your border even and the tape flat when putting it down. Then, gently scribble over the entirety of your paper with the compressed charcoal and blend with the chamois, or a disposable tissue if you do not have a chamois.
Sketching Guidelines

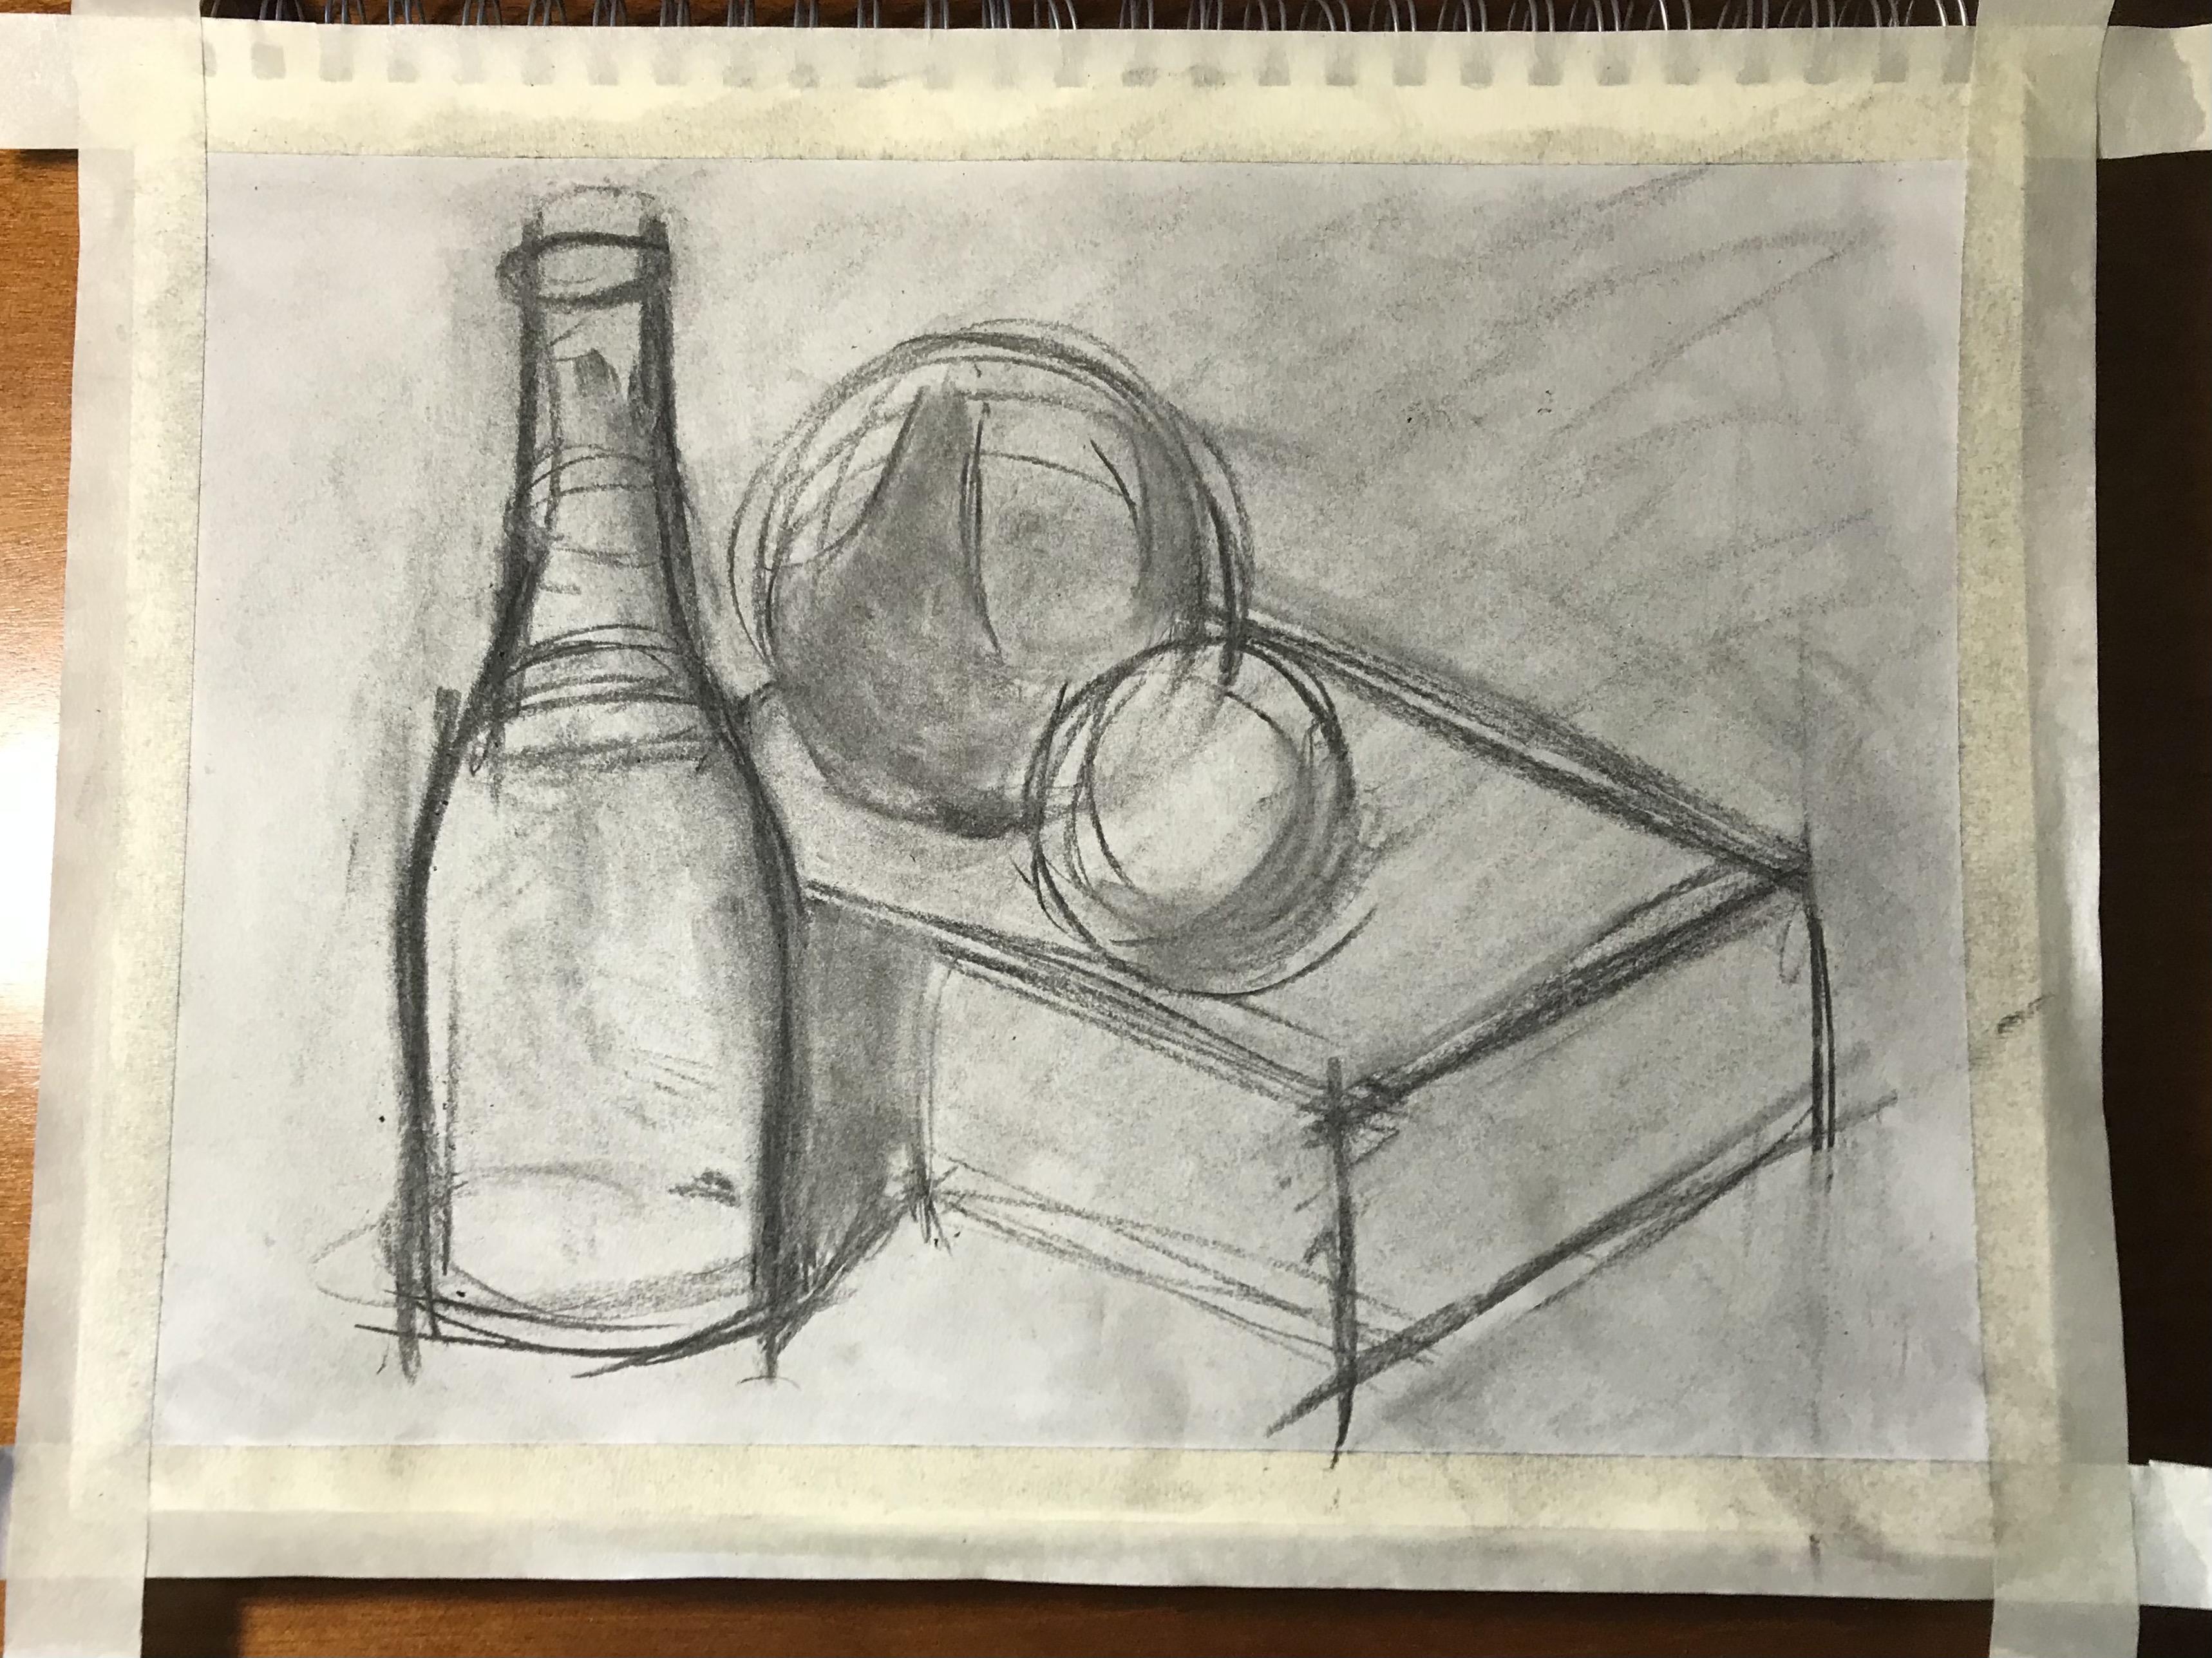
Sketch in your general shapes in vine charcoal. (From here on, assume that one is using vine charcoal unless stated otherwise.) Keep these very simple, as they are more guides than anything else, and will most likely be blended as shading is added, or toned down if remaining prominent near the end. Reduce the objects to their simplest forms - the book becomes a rectangular prism, the fruit spheres, and the bottle a somewhat sloping cylinder.
Foundational Shading

Begin to shade. I typically start with the shadows within the composition (cast shadows that fall on other objects, internal shadows, etc.) and block those in first. Simply cover the area you would like shaded with charcoal and blend it to be even. Again, these shadows should be rough, as they will be darkened and shifted throughout the process of layering the drawing.
Continued Shading

Continue shading. Cast shadows that fall on the background should be added, internal shading can be further developed. Guidelines should be finalized for the most part at this point, as it will be much harder to move an object once more definitive shading has begun to be added.
Layering

Choose an object to focus on and begin shading. Look at your subject matter; which areas are lighter, which are darker? Apply an appropriate amount of charcoal to reflect this. Use blending sticks or a disposable tissue to even your tones and their transitions, and make sure to keep reevaluating your drawing and its accuracy as you go.
Continued Layering

As you continue to refine your first object, move on to others as well. Repeat the prior step in application to these new elements. Continue to adjust any parts of your drawing you see unfit or inaccurate. Remember to utilize your kneaded eraser if the drawing becomes too dark, and your chamois/other blending materials if your lines become unruly.
Detailing

Add in any details that might’ve gotten blended over or forgotten earlier here. (For example, notice my addition of the fruit stems and shading of the book pages. Even minute details, such as the darkness of the orange shadow compared to the bottleneck shadow on the back wall, will make a difference and add depth to your piece.) Look back at your composition, make sure your lights and darks match that of the reference. If you find any discrepancies, now is the time to fix such.
Continued Detailing

Once you are satisfied with your shading, go back and make sure to redefine highlights with your vinyl eraser and extremely dark shadows with compressed charcoal within your study. These will help your piece pop, and add contrast to charcoal’s monochromatic style.
Finishing + Sealing Your Work


Remove your tape, sign, and spray your work. It is extremely important that you pull away from your drawing (as shown above) when taking off the tape, that way, if the paper rips at all, the rips will be on the border and not pull off pieces of your work. Having removed some of the adhesive from your tape earlier should, however, prevent any major ripping. Once this is done, carefully sign your piece without getting any charcoal on your borders, and spray your piece with a workable fixative spray if you have it. If you do not have workable fixative, most household hairsprays will work as a substitute. However, if you opt to use hairspray, I suggest spraying over/above the piece as opposed to directly at it, so that the piece will not be stained by the spray. For those using fixative, do so outside if possible. If you are spraying indoors, do so under a working fume head, or in a well ventilated room with the windows open. Let your piece sit for a few minutes after having exited the room and closing the door (it is not healthy to inhale fixative for a long period of time). A similar procedure is suggested with hairspray, although it is not as dangerous to inhale as fixative is. Once your drawing is finished, you may do as you like with it - remove it from your sketchbook, hang it up, or gift it. Show off your work!