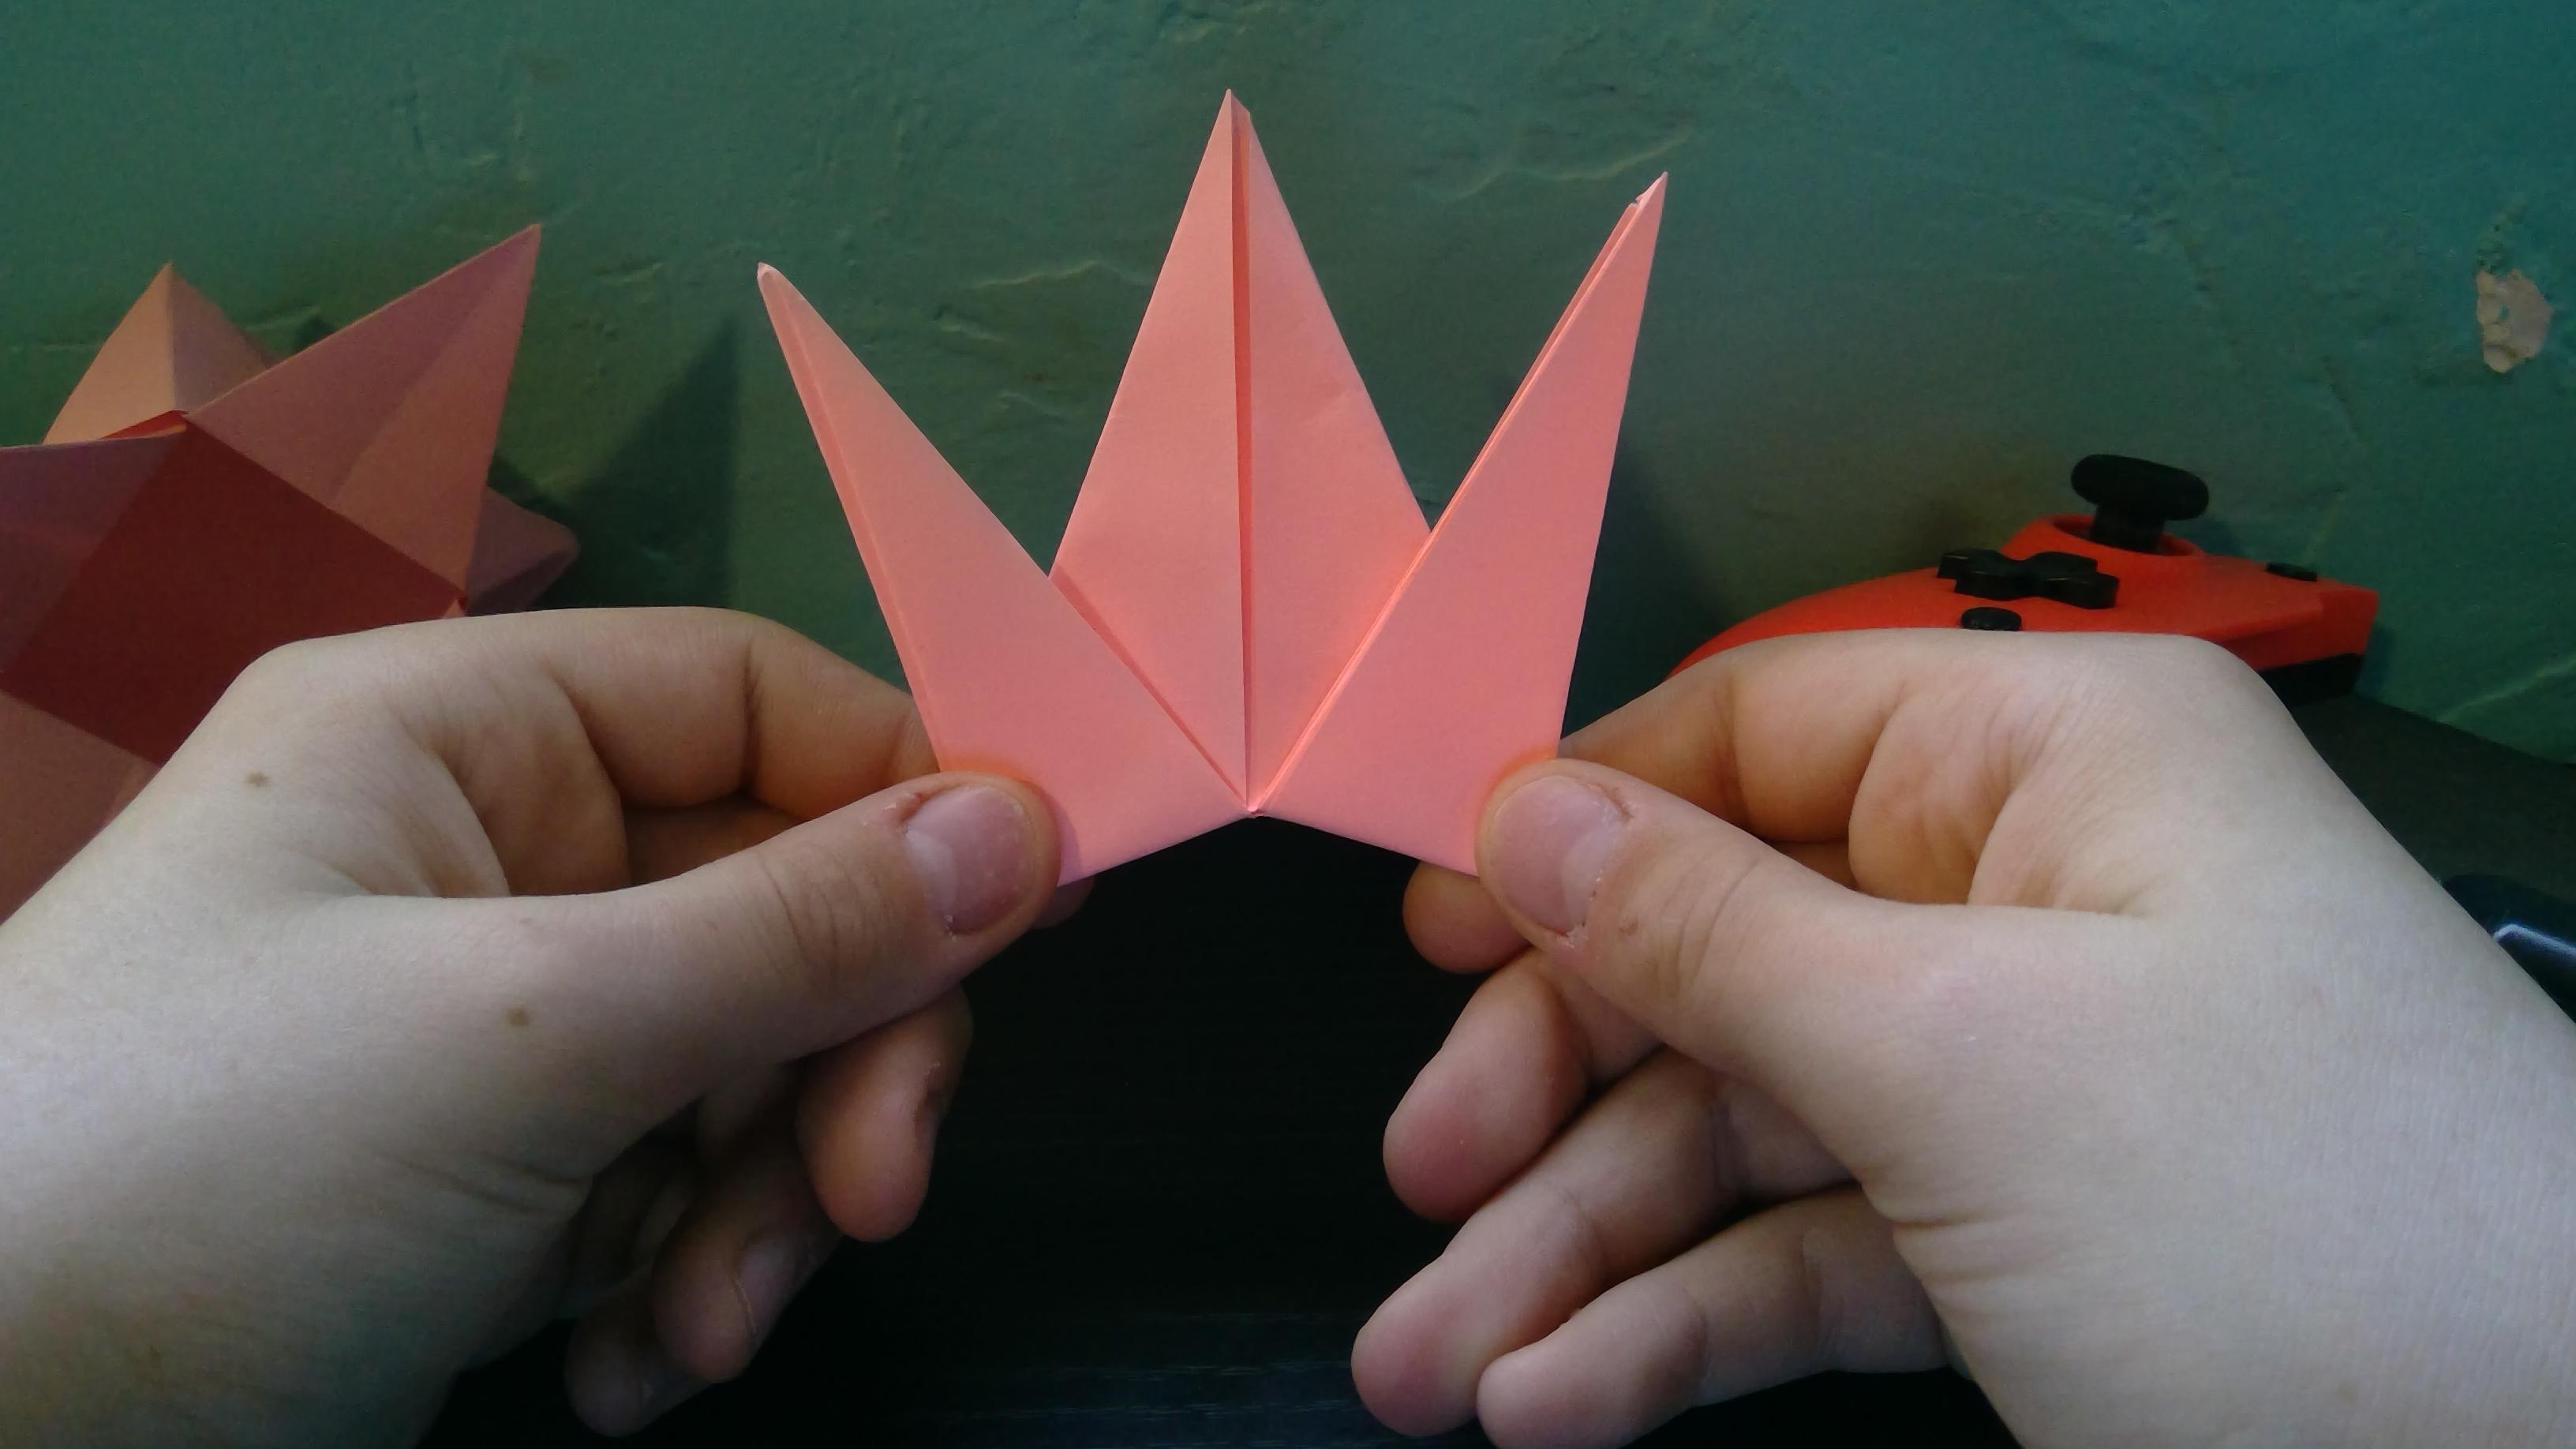
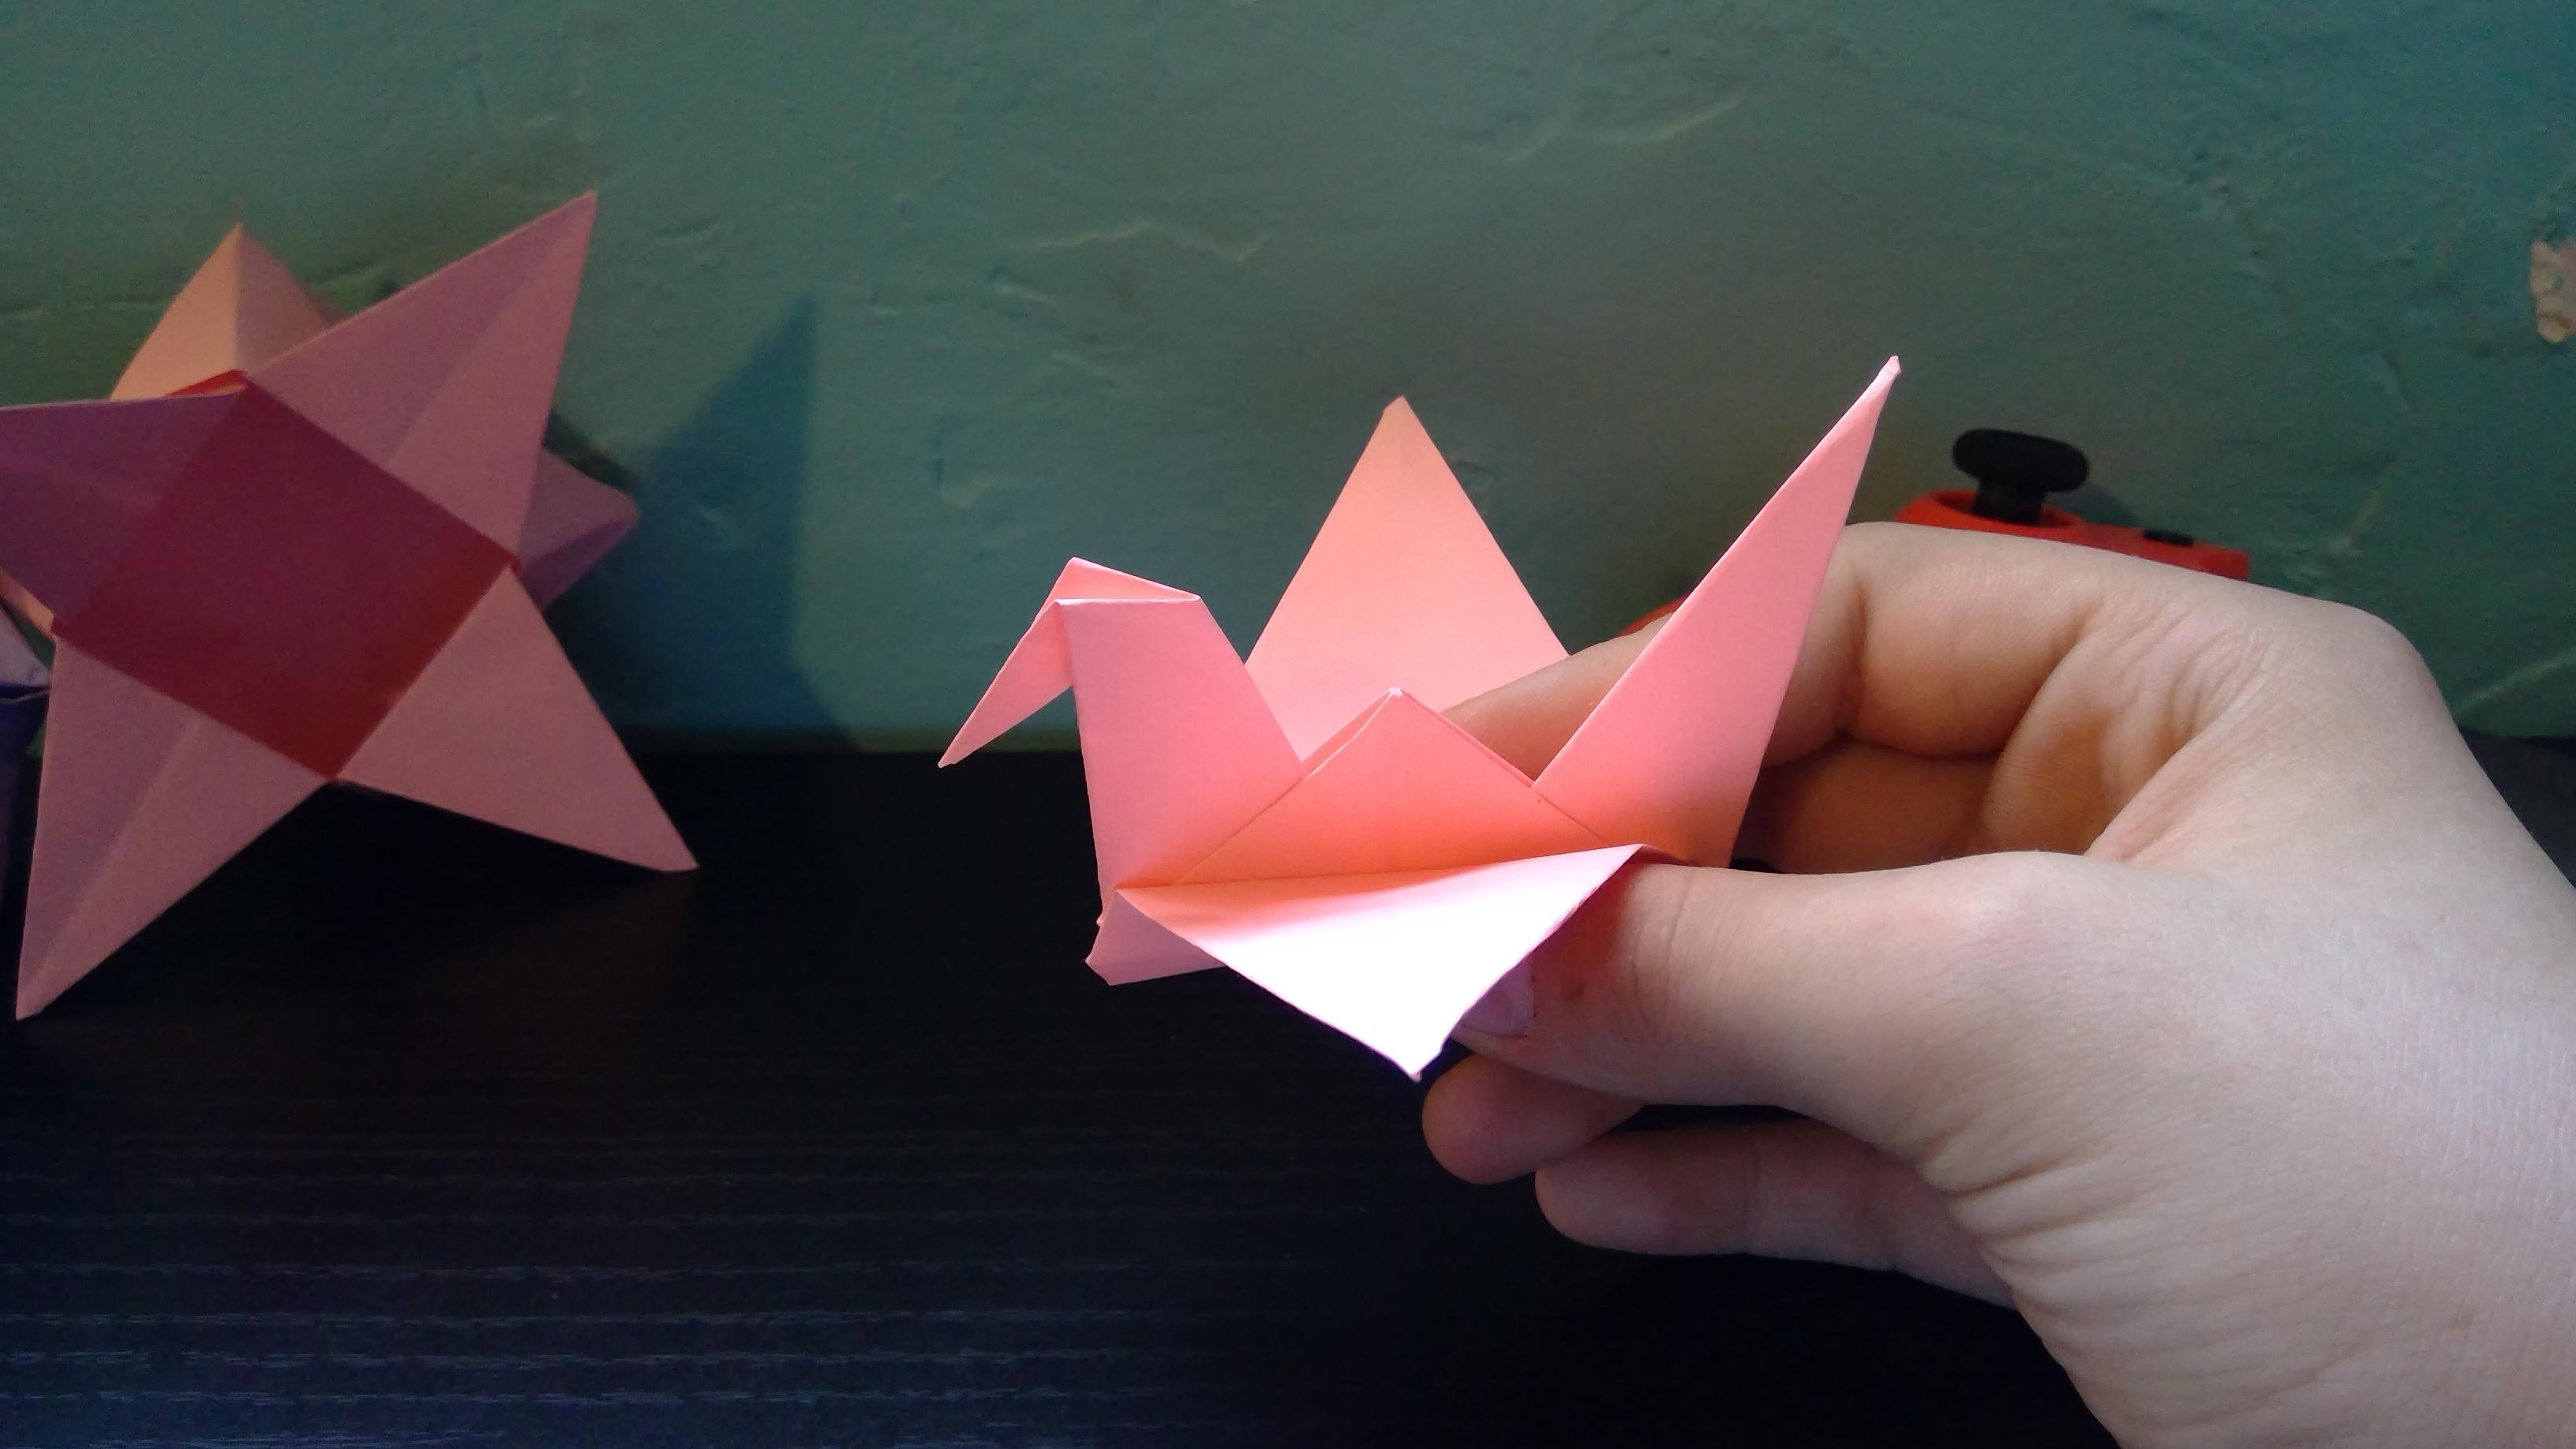
Easy Origami Crane Tutorial

Today, I'm going to show you how to make an origami crane. It's not too challenging, but still looks good.
Supplies
- Square piece of paper
- (Optional) Pens, pencils, markers, etc. for decor
Make an X


First, fold your paper diagonally, from the top left corner to the bottom right one, then unfold. Then, fold from the top riht corner to the bottom left corner, as shown.
Make a Plus


Next, flip your paper over, then fold your paper in half from left to right, then unfold. Then, fold from top to bottom.
Fold Into a Square
Now, slowly push the sides up. Now, you should see 4 pockets. Fold 2 together on each side, as shown. (Look in the download this time)
Downloads
Orientation


Before you do any more steps, I need to show the proper orientation. First off, your square should be rotated so the corners are pointing straight up, down, left, and right as shown in the first picture. Then, look at your corners. You should have a corner that has nothing connected to it, as shown in the second picture. That corner should be the bottom corner.
Kite Fold


Ok, now that you have the proper orientation, kite fold the top layer, folding the left and right corners into the middle, as shown.
Repeat

Flip your paper over and repeat step 5. Your paper should look like the picture.
Fold Top


Now, fold the top corner down, until the crease is right next to the top of the kite fold. Unfold.
Petal Fold


This part is the trickiest step. unfold one side's kite fold, then slowly bring the top layer's bottom corner up as high as it will go. The left and right sides should start to fold inward; flatten them out as shown.
Repeat


Repeat Step 8.
Fold Flaps


Now, fold the bottom flaps up as shown, then fold one of the flap's tips down, as shown.
Invert
Unfold Step 10's folds, then fold inward, as shown (look in the download). Do this on both sides.
Downloads
Fold Head


Slowly push down where you made the fold for the head, then close up, as shown.
Fold Wings


Fold the wings down, as shown. Then, fold the wings up slightly, as shown.
(OPTIONAL) Fold Stand


If you want your crane to stand on its own, just fold the bottom pieces, as shown.
Decor!

Now, you can decorate your crane however you like! I personally like to leave it blank, or use pattern paper, but it's up to you ;)
Enjoy!
