Fix Your Belt, Don't Toss It.
by FrenchCrawler in Craft > Fashion
65301 Views, 9 Favorites, 0 Comments
Fix Your Belt, Don't Toss It.


Many people will just throw out a perfectly good belt, just because it seperated from the buckle. Don't toss it, fix it.
I'm not going to bother warning you. If you can't be trusted with scissors, don't do this.
I apologize for the already cut belt, but I was making a fence at the time my belt broke and didn't think at the time to take pictures cause I was in a hurry to get back to the fence. But hopefully you'll get the idea.
The only materials you need are:
Scissors and a small flat head screwdriver
(I marked them in the picture in case you get confused)
Cut Loose and Unwind


1. Cut the belt, with the scissors, a little ways after the torn up end. Try to keep a straight cut.
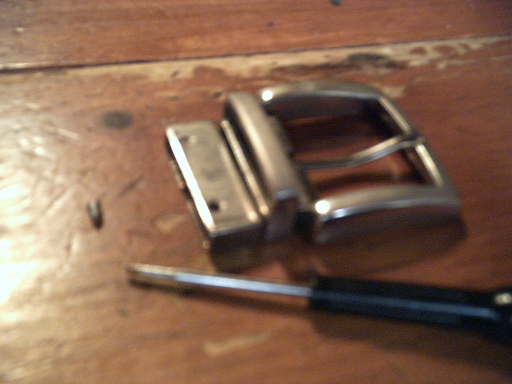
2. Take the screwdriver and unscrew the two screws found on the belt buckle.
3. Click next step.
2. Take the screwdriver and unscrew the two screws found on the belt buckle.
3. Click next step.
Position and Screw...


1. Position the cut belt inside the belt buckle as shown in the picture.
2. Put the screws back into the buckle and tighten them. They'll cut the new holes into the belt.
3. Put the belt on and give yourself a pat on the back. You just saved some money.
2. Put the screws back into the buckle and tighten them. They'll cut the new holes into the belt.
3. Put the belt on and give yourself a pat on the back. You just saved some money.