Getting Started With the Heat Press
by jocomakerspace in Craft > Fashion
5518 Views, 17 Favorites, 0 Comments
Getting Started With the Heat Press

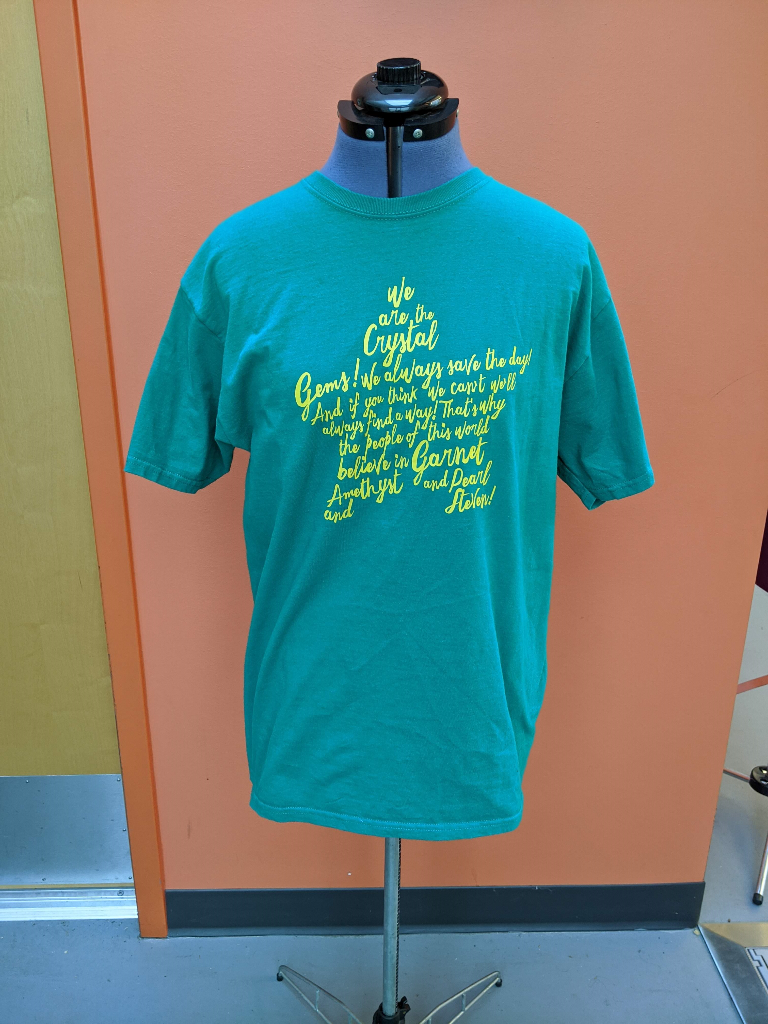
The heat press is one of the latest additions to our MakerSpace equipment, and goes hand in hand with our vinyl cutter. Use it to transfer vinyl designs cut out of heat transfer vinyl (or HTV) to fabric, opening the door to custom tee-shirts, hand-made merch for your band...Or whatever you could dream of customizing!
This guide will teach you to:
- set up the heat press,
- choose the best temperatures for your fabrics,
- transfer your designs for the best possible finish.
Let's get started!
Supplies
- A vinyl cut design of your choice
- A roll or a few sheets of heat transfer vinyl
- Something to customize (a tee-shirt, a hoodie, anything flat-ish)
- Some parchment paper
Getting to Know the Heat Press


First things first, power on the heat press with the switch on the right-hand side. The screen will turn on and the heat press will start heating up to the current target temperature.
The screen is showing you a lot of useful information:
- the temperature scale it's currently using: you can choose between the Farenheit and Celsius scales;
- the target temperature it's currently set for: this depends on your fabric and your heat transfer vinyl;
- the target press time it's currently set for: just like temperature, this depends on your materials;
- the press time countdown: it does just that;
- the general counter: it shows how many times the heat press has been used.
On to the rest of the heat press!
- The top and bottom platen: they sandwich your materials on foam cushions and make sure to give your vinyl a nice, even heat for transfering;
- the pressure knob: it adjusts the pressure on the platen and your material. You usually won't need to adjust it unless your material is really really thick - rightie-tightie, leftie-loosie;
- the teflon sheet: it helps make sure no glue transfers to the foam on the top platen, and gives a smooth finish to your heat transfer design. It's held in place by a few very powerful magnets so we can remove it easily.
- the release button: if you need to open the heat press before the countdown is over, just push it!
If your material is very thick and the pressure for the top platen is way low, you will need to press and release by hand: the heat press platen will not lock and release on its own (and it's perfectly normal).
Getting Started With the Vinyl Cutter

Since most people use the heat press for heat transfer vinyl designs, now is a good time to work on a design of your own! If you have little to no experience with vinyl cutting or vector design, check the Vinyl Cutter page on the MakerSpace website! It'll tell you all about our vinyl cutter, what it can cut, how to make your own designs...And there's even an in-depth online tutorial to get you started!
Once your design is prepped, cut out and weeded, it's time to set up your heat press!
Setting Up the Heat Press
Now that you know everything about the heat press, let's set it up!
You will be using the OK button to cycle through the different settings available, and the UP and DOWN arrows to cycle through the different options available for each setting.
- Turn on the heat press with the power switch;
- press OK once for the temperature scale setting: press the UP and DOWN arrows to choose between Farenheit and Celsius scale;
- press OK once to move to the target temperature setting: we will get into it more in the next few steps, but 180 degrees Celsius/356 Farenheit for cotton, and 150 Celsius/302 Farenheit for synthetic fabrics are a good place to start: adjust the temperatures with the UP and DOWN arrows;
- press OK once to move to the target press time setting: again we will get into it more later, but 5 seconds for cotton and 2 to 3 seconds for synthetic fabrics is a good rule of thumb: adjust the timer with the UP and DOWN arrows;
- That's it! Press OK once more to validate your settings.
If the heat press was off or cold, it will take up to 15 minutes to reach your target temperature. Plenty of time for you to read or reread the instructions for your heat transfer vinyl, and make sure you have correctly identified the fabric for the clothes you are customizing!
Pre-heating and Center-crease Your Clothes


When it comes to custom clothes, many people like a nicely centered design. Here's how to center your art the easy way! This trick works for both cotton and synthetic fabrics - just make sure you have right temperature for the right fabric!
- Pre-heat your heat press to the correct temperature;
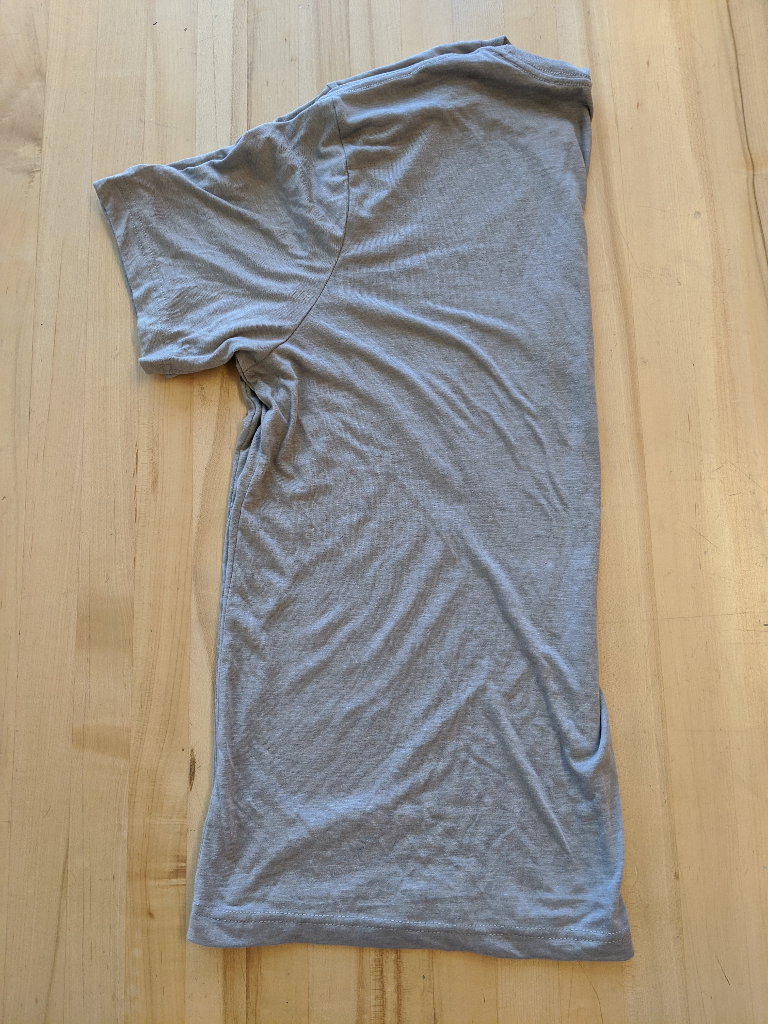
- fold your piece of clothing in half down the middle and line up the edges as much as possible;
- put your tee shirt in the middle of the platen;
- press for 2 to 3 seconds;
- unfold your garment and lay it on the platen.
That's it! You now have a crisp center crease you can use to position your design.This works from pretty much everything, from tee-shirts to hoodies.
Working With Cotton
Cotton fabric is relatively robust when it comes to heat-pressing, but the following temperatures and press times are only suggestions. Refer to the temperature and press time instructions that came with your heat transfer vinyl, and experiment with samples of fabric and vinyl to try and find a balance between the two!
First, set the press to heat up to 356 Farenheit/180 Celsius. Then, pre-heat and/or pre-crease your garment for 2 to 3 seconds.
For a single layer design:
- slide a piece of parchment paper inside your garment, covering as much of the vinyl area as possible between the front and the back;
- line up your heat transfer vinyl on your garment;
- press for up to 10 seconds;
- following the instructions for your vinyl, try to peel off the transfer sheet. If it peels relatively easily, peel everything off;
- if you're happy with the vinyl's finish, stop there! If not, press for up to another 5 seconds.
You're done!
For a design with multiple layers:
- slide a piece of parchment paper inside your garment, covering as much of the vinyl area as possible between the front and the back;
- line up your heat transfer vinyl on your garment;
- press the first layer for 2 to 5 seconds. Peel off the transfer sheet and let cool down;
- line up the the next layer and press for 2 to 5 seconds. Again, peel and let cool down
- repeat the above to transfer each layer;
- when you have transferred all your layers, press the final design for up to 5 seconds or until you're happy with the finish.
You're done!
Working With Synthetic Fabrics
Compared to cotton, synthetic fabrics are pretty fragile in the heat press! They might change color or texture, sometimes even adding a "shimmer" that was not there before. For projects on synthetic fabrics, you will be using much lower temperatures and much shorter press times. The settings below are just a suggestion - experiment with samples to find a balance with the instructions for your vinyl.
Did we mention synthetic fabrics are super fragile in the heat press? Always give your fabric plenty of time to cool down between presses!
First, set the press to heat up to 302 Farenheit/150 Celsius. Then, pre-heat and/or pre-crease your garment for 2 to 3 seconds.
For a single layer design:
- slide a piece of parchment paper inside your garment, covering as much of the vinyl area as possible between the front and the back;
- line up your heat transfer vinyl on your garment;
- press for 2 to 5 seconds;
- following the instructions for your vinyl, try to peel off the transfer sheet. If it peels relatively easily, peel everything off;
- if you're happy with the vinyl's finish, stop there! If not, press for another 5 seconds.
You're done!
For a design with multiple layers:
- slide a piece of parchment paper inside your garment, covering as much of the vinyl area as possible between the front and the back;
- line up your heat transfer vinyl on your garment;
- press the first layer for 2 to 3 seconds. Peel the transfer sheet and let cool down;
- line up the the next layer and press for 2 to 3 seconds. Again, peel and let cool down;
- repeat the above to transfer each layer;
- when you have transferred all your layers, press the final design for up to 2 to 3 seconds or until you're happy with the finish.
You're done!
Taking Care of Your Heat-transfer Design
Congratulations on your heat press design! To make it looks great for a long time, here are a few pointers:
- don't wash your garment right away: the glue that worked its way into the fabric needs at least 24 hours to cure, maybe even more: check the instructions that came with your heat-transfer vinyl!
- Wash your garment inside out: it will keep your transfer protected;
- iron your garment inside out: you don't want that hot iron to risk melting your design!
This guide is just enough to get you started, there is a lot yet to learn! Fine-tune your heat press settings for different fabrics, different vinyl brands, write everything down so you don't have to re-discover everything every time - and have fun!
What's Next?


Congratulations on your heat press design!
To make it looks great for a long time, here are a few pointers:
- don't wash your garment right away! The glue that worked its way into the fabric needs at least 24 hours to cure, maybe even more: check the instructions that came with your heat-transfer vinyl!
- Wash your garment inside out: it will keep your transfer protected; iron your garment inside out: you don't want that hot iron to risk melting your design!
This guide is just enough to get you started, there is a lot yet to learn! Fine-tune your heat press settings for different fabrics, different vinyl brands, write everything down so you don't have to re-discover everything every time. Try some of our other vinyl cutter tutorials and adapt them for heat-transfer designs! Facilitator Thomas used our tutorial on Custom Sticker Silhouette at https://www.instructables.com/id/Custom-Sticker-Silhouette/ to make tee-shirts inspired by Japanese manhole covers.
Have fun!