Glidebot

We're creating climbing robots. Here's a chance to watch a robot glide and come up with all kinds of predictions and theories on how and why the robot can move this way.
Supplies
- Markers, crayons, or colored pencils
- Pencil
- Scissors
- Tape
- Ruler
- Drinking straw cut into 1 1/2" pieces
- String, fishing line, or thin yarn
- Two pony beads in any color
- Colored cardstock
- Optional: Brass Fasteners
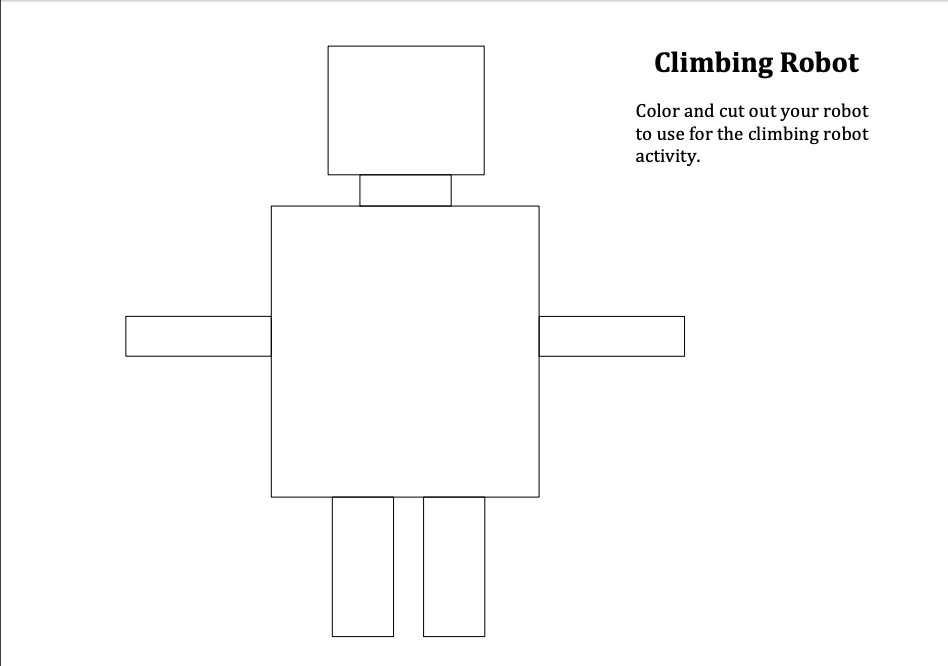
Optional: Print Template

Here's the template to print for easy cut and color. Tip: Printing on cardstock keeps your robot sturdy.
Downloads
Gather All Materials


Cut the Bot Body Shapes

Take the colored cardstock and begin to cut out the body of the robot. Follow the measurements below:
Head
1 1/2" x 1 1/2"
Neck
1" x 2/8"
Arms (2)
1 1/2" x 1/2"
Body
3" x 3 1/4"
Legs (2)
1 1/2" x 3/4"
Assemble the Bot

Place all the bot body pieces where they should be. Then tape the all the bot pieces together to assemble the robot.
Bring the Bot to Life

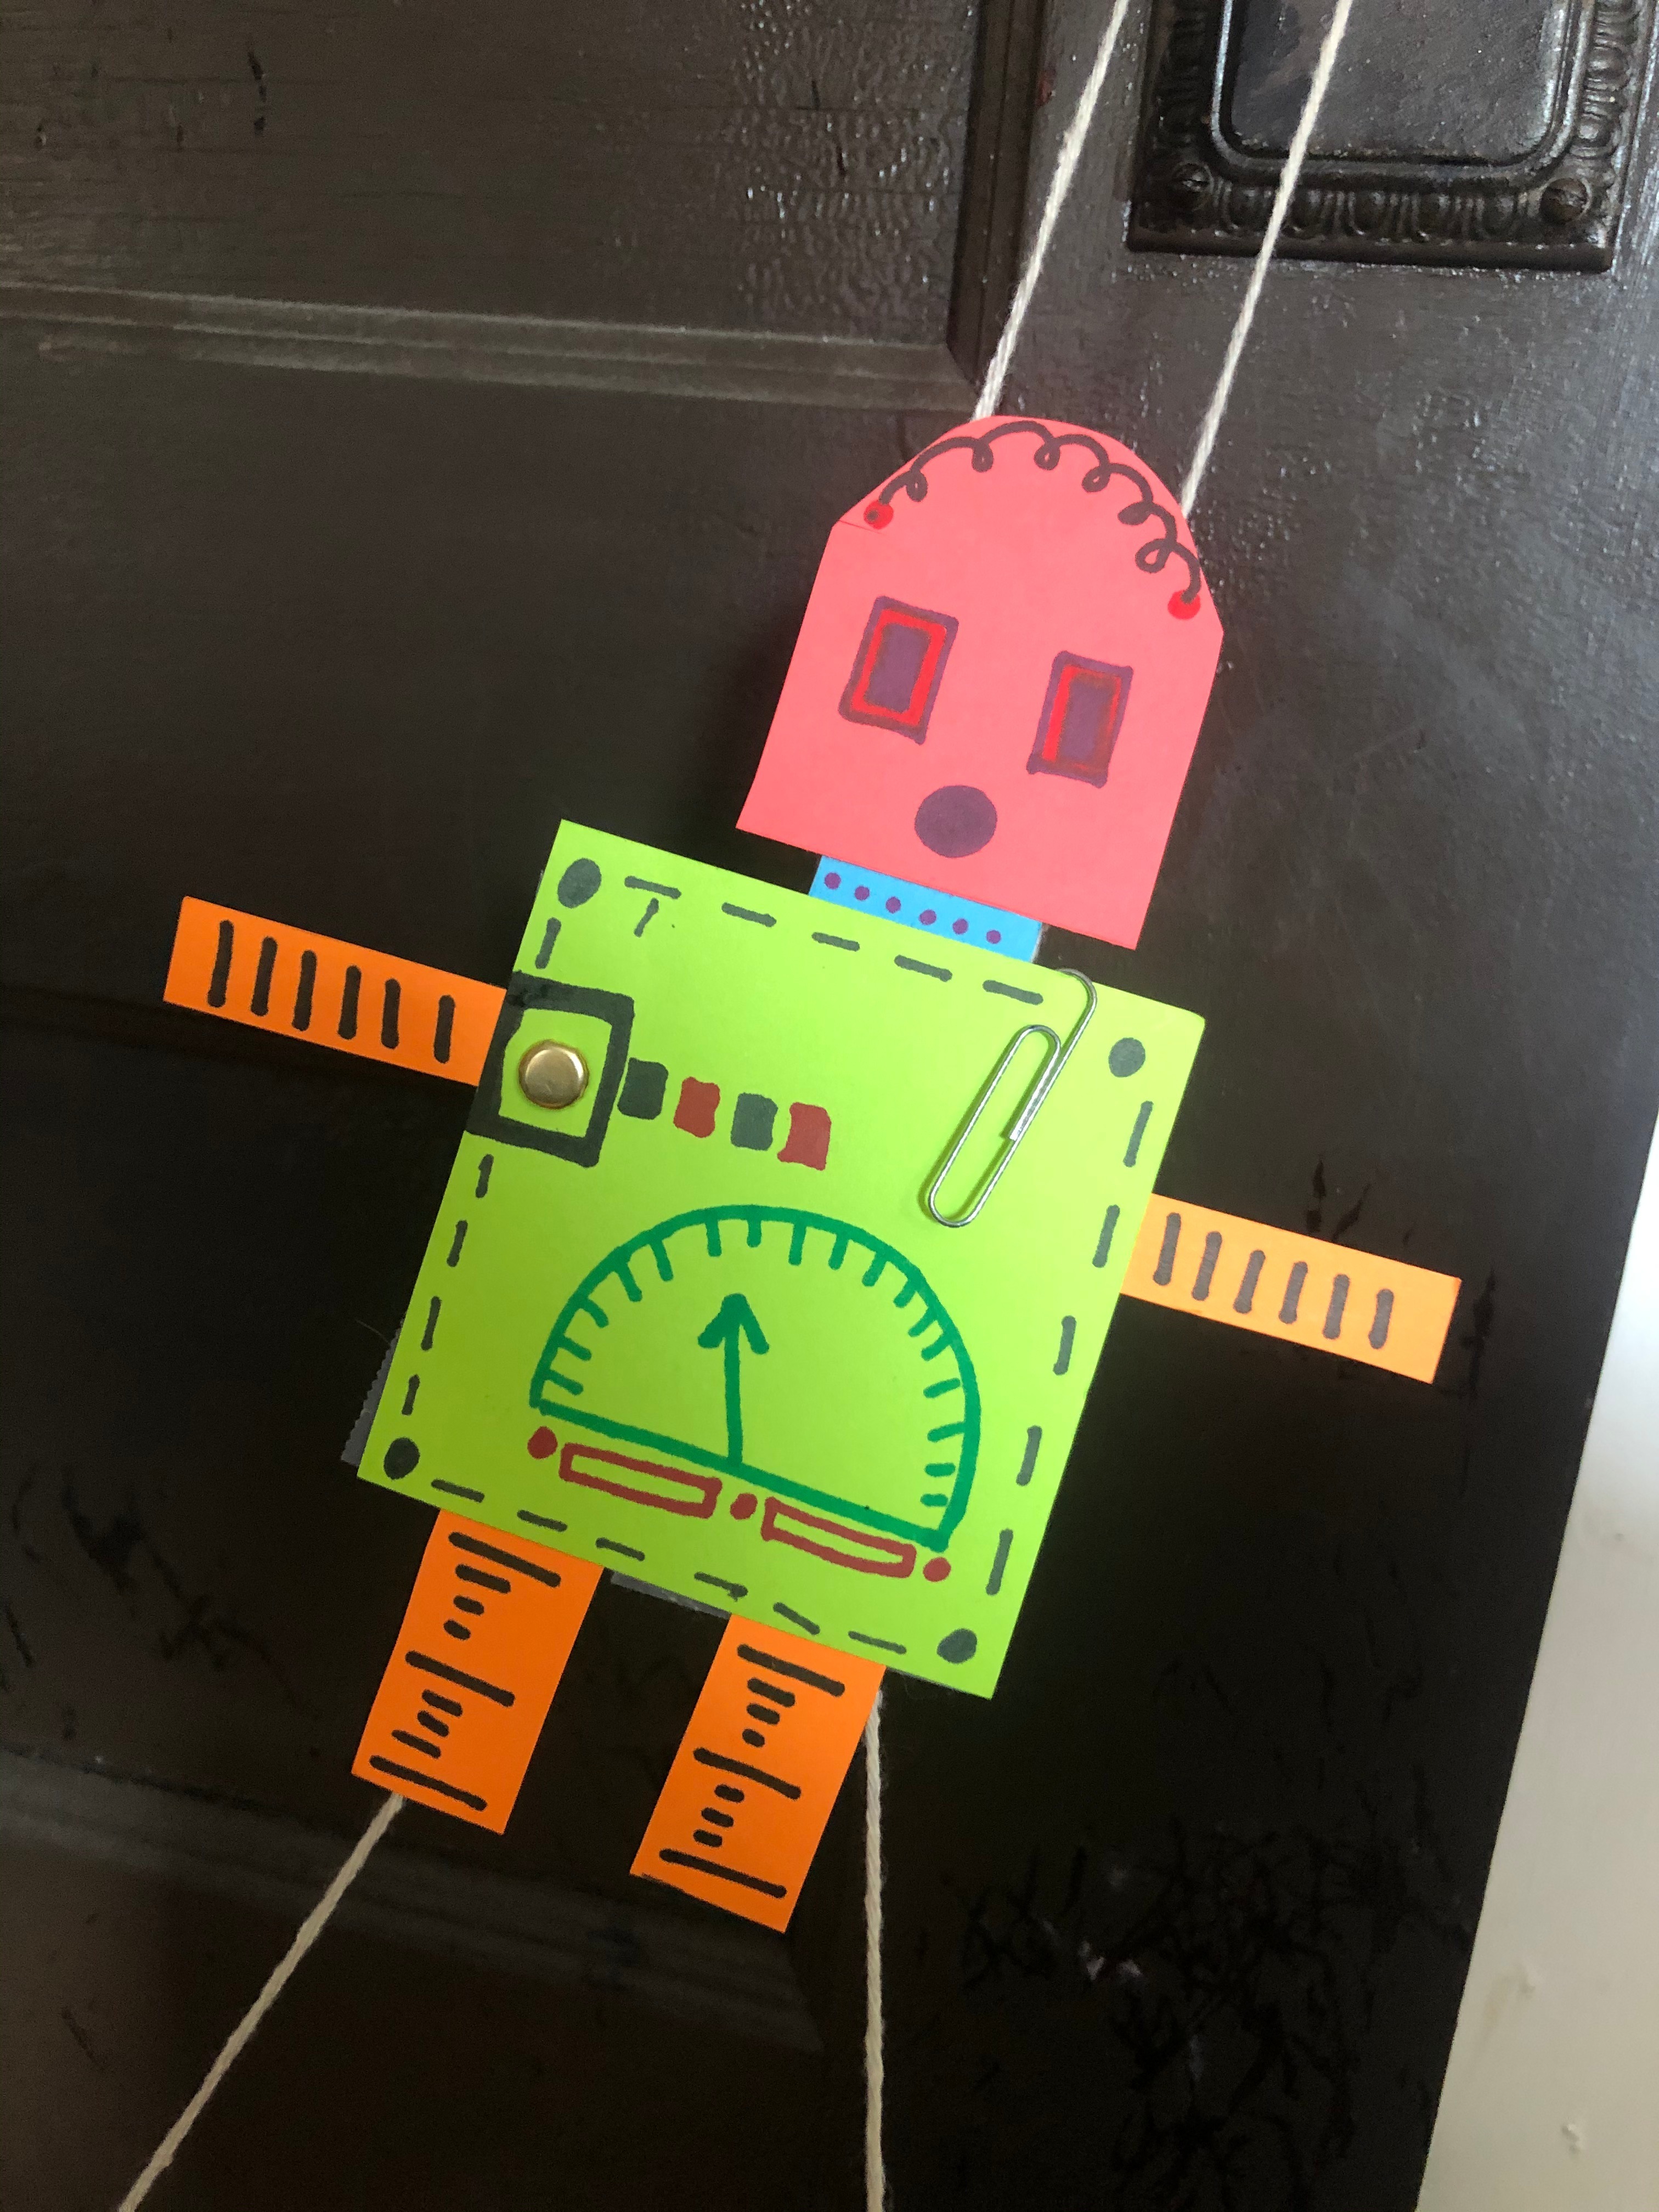
Color the robot with markers, crayons, or colored pencils. For more of a creative flair, add other items like paper clips, toothpicks, smaller pieces of paper, beads, tacks, pom poms, or whatever can be found in the house.
Add Straws to the Back

Take the two 1.5 inch pieces of straw and tape them onto the back of the robot. Make sure they're a good equal distance apart.
Thread the String


Take a piece of string about 4 feet long and thread both ends through the two straw pieces so that a giant loop forms above the robot.
Tie a Bead

Tie a pony bead onto each end of the string to keep the string from coming out of the straw pieces.
Hook the Bot

Hang the gliding robot onto a doorknob or from the ceiling.
Watch It Glide

Grab one bead in each hand and pull out and away from the robot.