Glowing Energy Levels

Hi!
I am a Physics teacher who works at the Schwartz/Reisman Science Education Center, and as part of my work there I crafted a demonstration showing the connection between energy states and wavelength.
I hope this simple instructable will inspire other teachers.
Supplies
A board - I used a 60*90 cm MDF 10 mm thick.
White paint
Glow in the dark paint
A paint roller
Two Screws and a דברק'
3 Laser pointers colored Red, Green and Blue
A 3D printer
A dark room with curious students
(mostly) Painting


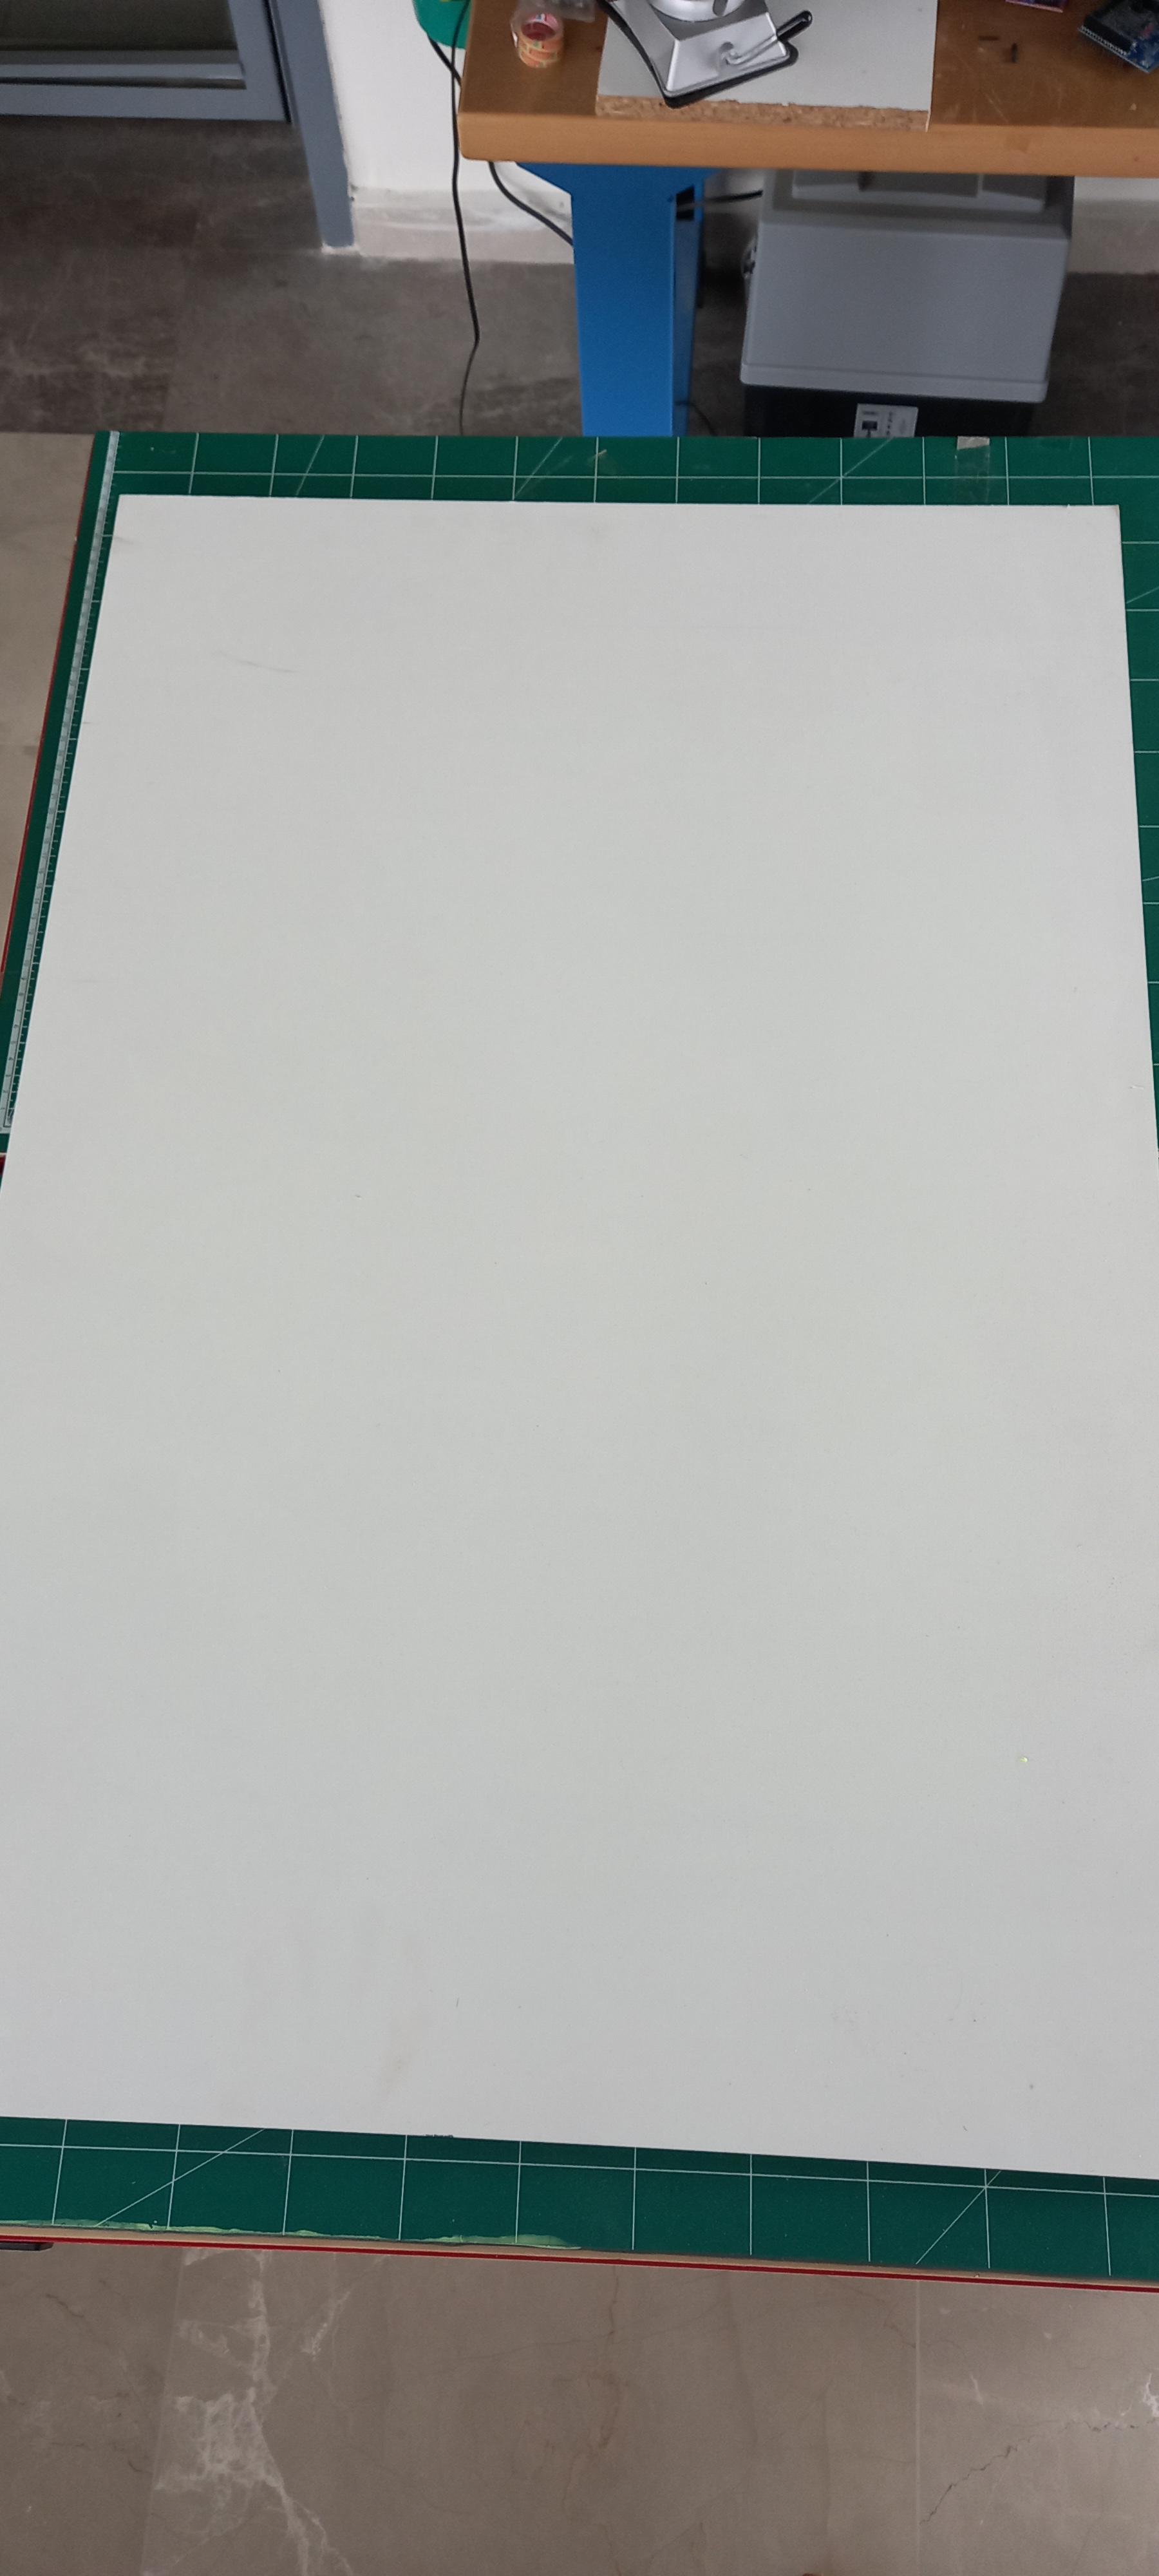
This is straightforward - paint the board with white paint as a base coat and let it dry.
Next, paint with glow in the dark paint - I applied 2 coats.
The white paint is important in order to see the glow properly.
After all the paint has dried I screwed the two screws to the back of the board, near the two top corners, as a means to hang on a classroom whiteboard.
3D Print

I used Tinkercad to print a nifty laser pointer holder.
I added the STL file and you can print it as is - no supports or raft needed.
The holder also gives the illusion the red laser is longer than the blue one - just like their wavelengths.
Bigger isn't always better...
Downloads
Showtime!


In a dark room I shine the painted board with red light - nothing happens
I then move on to a shorter wave length - green. Nothing happens.
Only the blue light causes the florescent paint to glow, due to its short wavelength.
You can then draw on the board with light, and after a few minutes it fades away.
What is going on?
The florescent chemical in the paint needs a sufficient amount of energy to glow.
The demonstration shows that as we "move" towards the bluer part of the light spectrum, light has more energy.
The shortest wavelength (blue) causes a reaction, much like the energy levels in an atom.
More information can be found here
This is a simple and elegant way to demonstrate a fundamental phenomenon in modern physics - I always prefer to visualize my explanations in the classroom, and I hope other educators would too.