Halloween Decoration 101
![IMG_1763[1].JPG](/proxy/?url=https://content.instructables.com/F1S/0NS1/IWGPI8D4/F1S0NS1IWGPI8D4.jpg&filename=IMG_1763[1].JPG)
![IMG_1766[1].JPG](/proxy/?url=https://content.instructables.com/FAS/HQWR/IWGPI7OR/FASHQWRIWGPI7OR.jpg&filename=IMG_1766[1].JPG)
This project was designed to show the skills involved with soldering metal and wiring lights while making it aesthetic and ready as a Halloween decoration.
Materials needed
Plastic spider template, motherboard, soldering iron, 4 led lights, connector wires
Step 1

Heat up the soldering iron to 350 and prepare to solder.

Match up with the mother board.

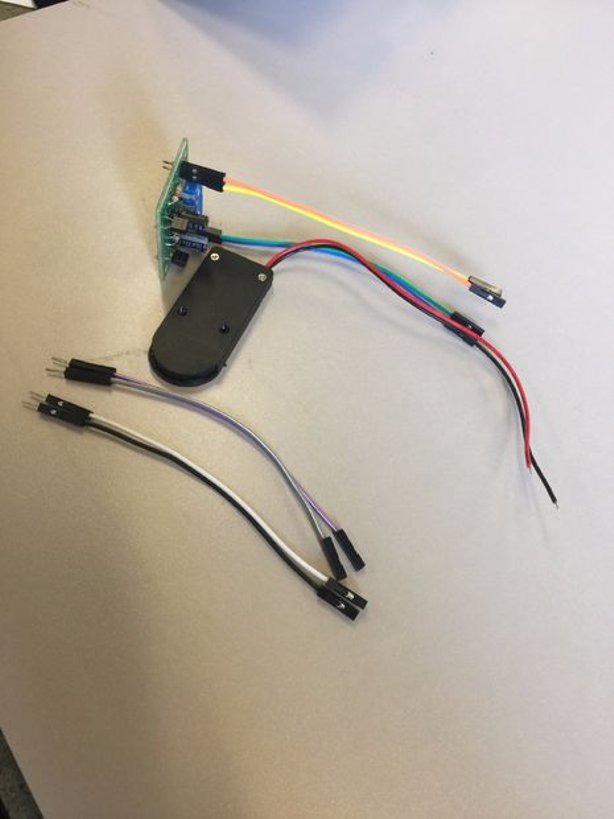
Connect the jumper wires to the mother board. Positive is on the outside and negative on the opposite.


Begin soldering and make sure you have everything aligned and ready to go.
Lastly you connect all the jumper wires together

Add lights by the longest end to shortest. Longest goes into the positive and negative goes into the shortest.
![IMG_1762[1].JPG](/proxy/?url=https://content.instructables.com/F96/GVME/IWGPI8UI/F96GVMEIWGPI8UI.jpg&filename=IMG_1762[1].JPG)
Add lights to the prop and put holes to fill them with the lights.
Here is the final product!