Hay Bale Gardening

I read up on this a few years ago and decided to make my own and seeing as there are no instructables on it I had to make one!
I have a really big gopher issue and them eating my tree roots and any flowers or vegetables I plant. this set up doesn't "eliminate" the pests but it doesn't feed the. now either. Also it will be easier to maintain as there are little to no weeds to pull and sitting on your knees to plant, fertilize, and harvest is nice since everything is at chest level and you don't have to bend over. plus you can sit on them and work if you like too!
Choosing a Bale Type and Amount
your will need to choose bales that are easy enough to move around and place into a permanent position as once they get wet they will be near impossible move. As well as bales that contain little to no weed or bale seeds. this will cut down on weeding. lastly how many bales you will need. depending on your space its safe to say you can get 2 large plants (squash,cucumber, etc) 4-5 medium plants (peppers,beans,etc) or 2 rows of plants (carrots, corn, radishes, etc) so you will need to have an idea of what you want to plant and how much of it you plan to plant then just like any in ground garden just space them out as you like.
good bale choices are:
1-straw...has no weeds in it , light weight, about $8-12
2- grass/pasture mix...dense, some grass weeds,about $2-8
3- oats....some oat seed in it but not bad, about $8-12
4-wheat...has some seeds but easily stopped early on. about $8-15
5- alfalfa...DO NOT USE!!! HIGH SEED COUNT OF BOTH WEED AND ALFALFA. NOT RECOMMENDED! about $10-16
Prepping the Bales
the bales you have chosen will need to be placed and left to "rot" for a few months prior to planting. I got a grass/straw mixture bale and let them sit in the mid summer sun to early spring time. now some people will put organic fertilizer on top during this process to help the plants grow and some will use store bought stuff. that is all personal choice. me is did absolutely nothing but let them sit.
Planting Tools

I uses a few small tools to just open up the bale where I plan to plant seeds and put in my soil and seeds. for rows like corn and carrots I used a large cutting knife from the $.99 store to cut across the bale grain and then dug out the "guts" of it to put my soil in and plant
Making a Map of Plants


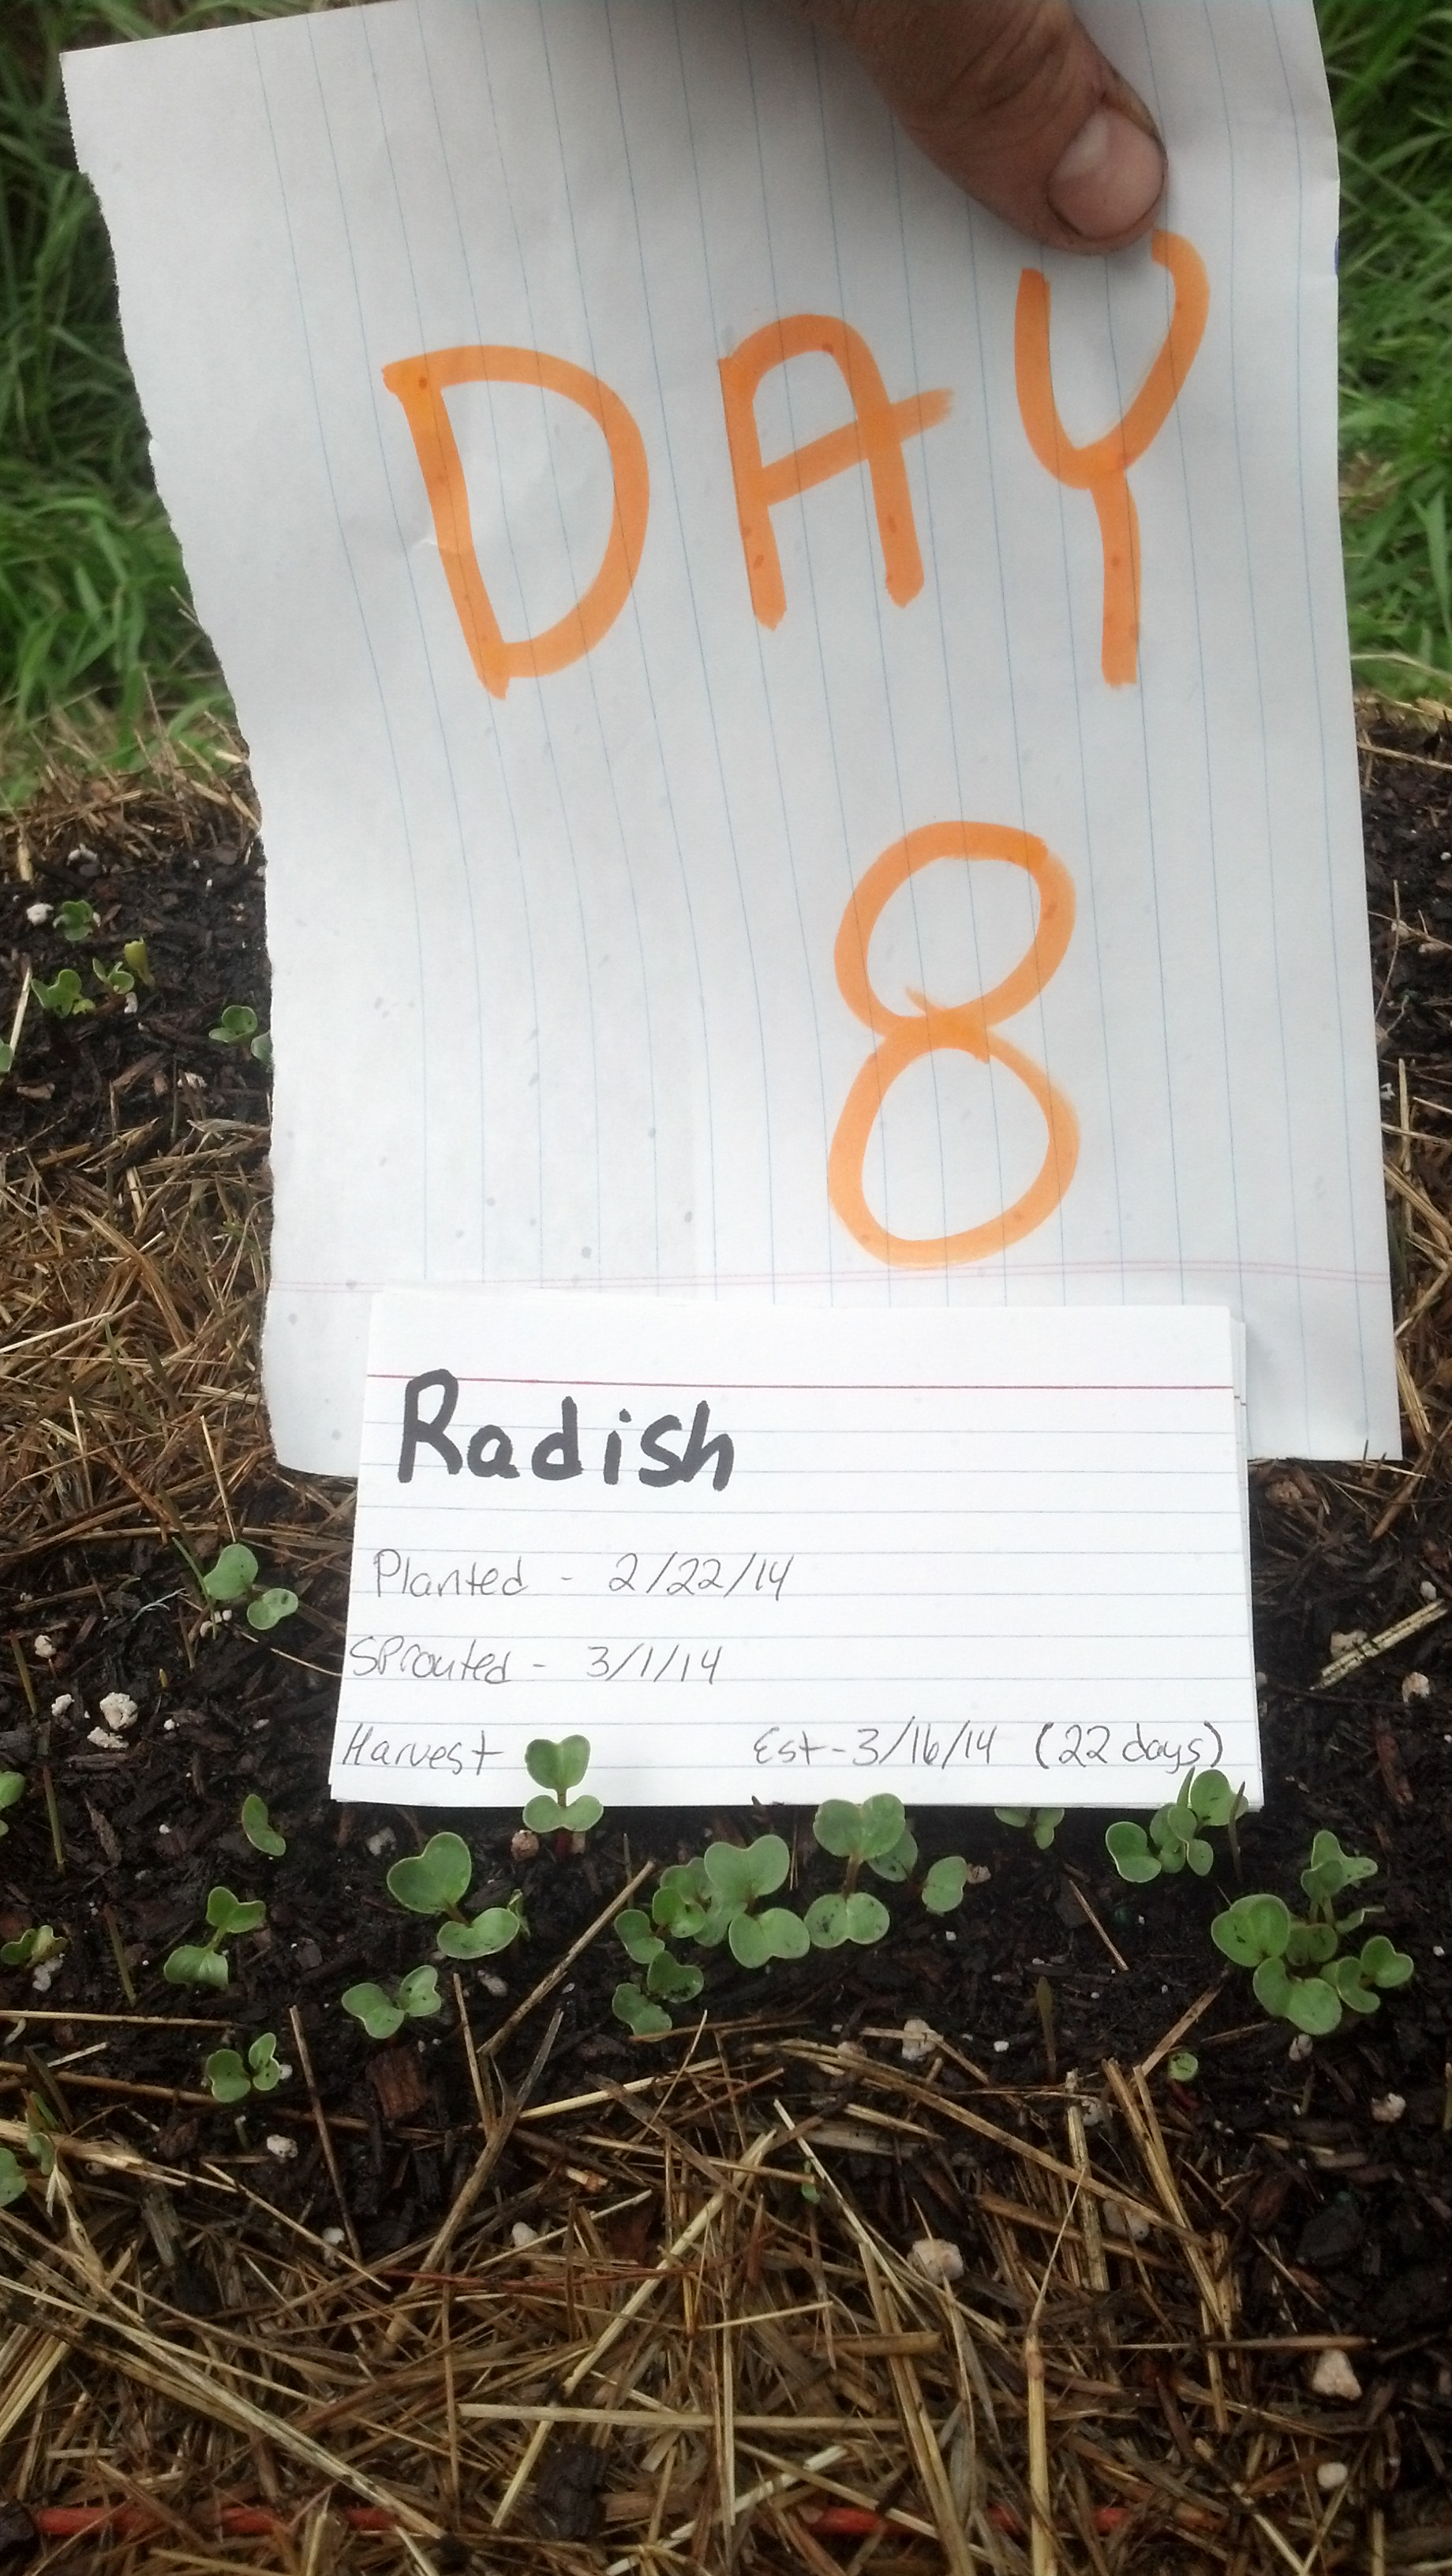
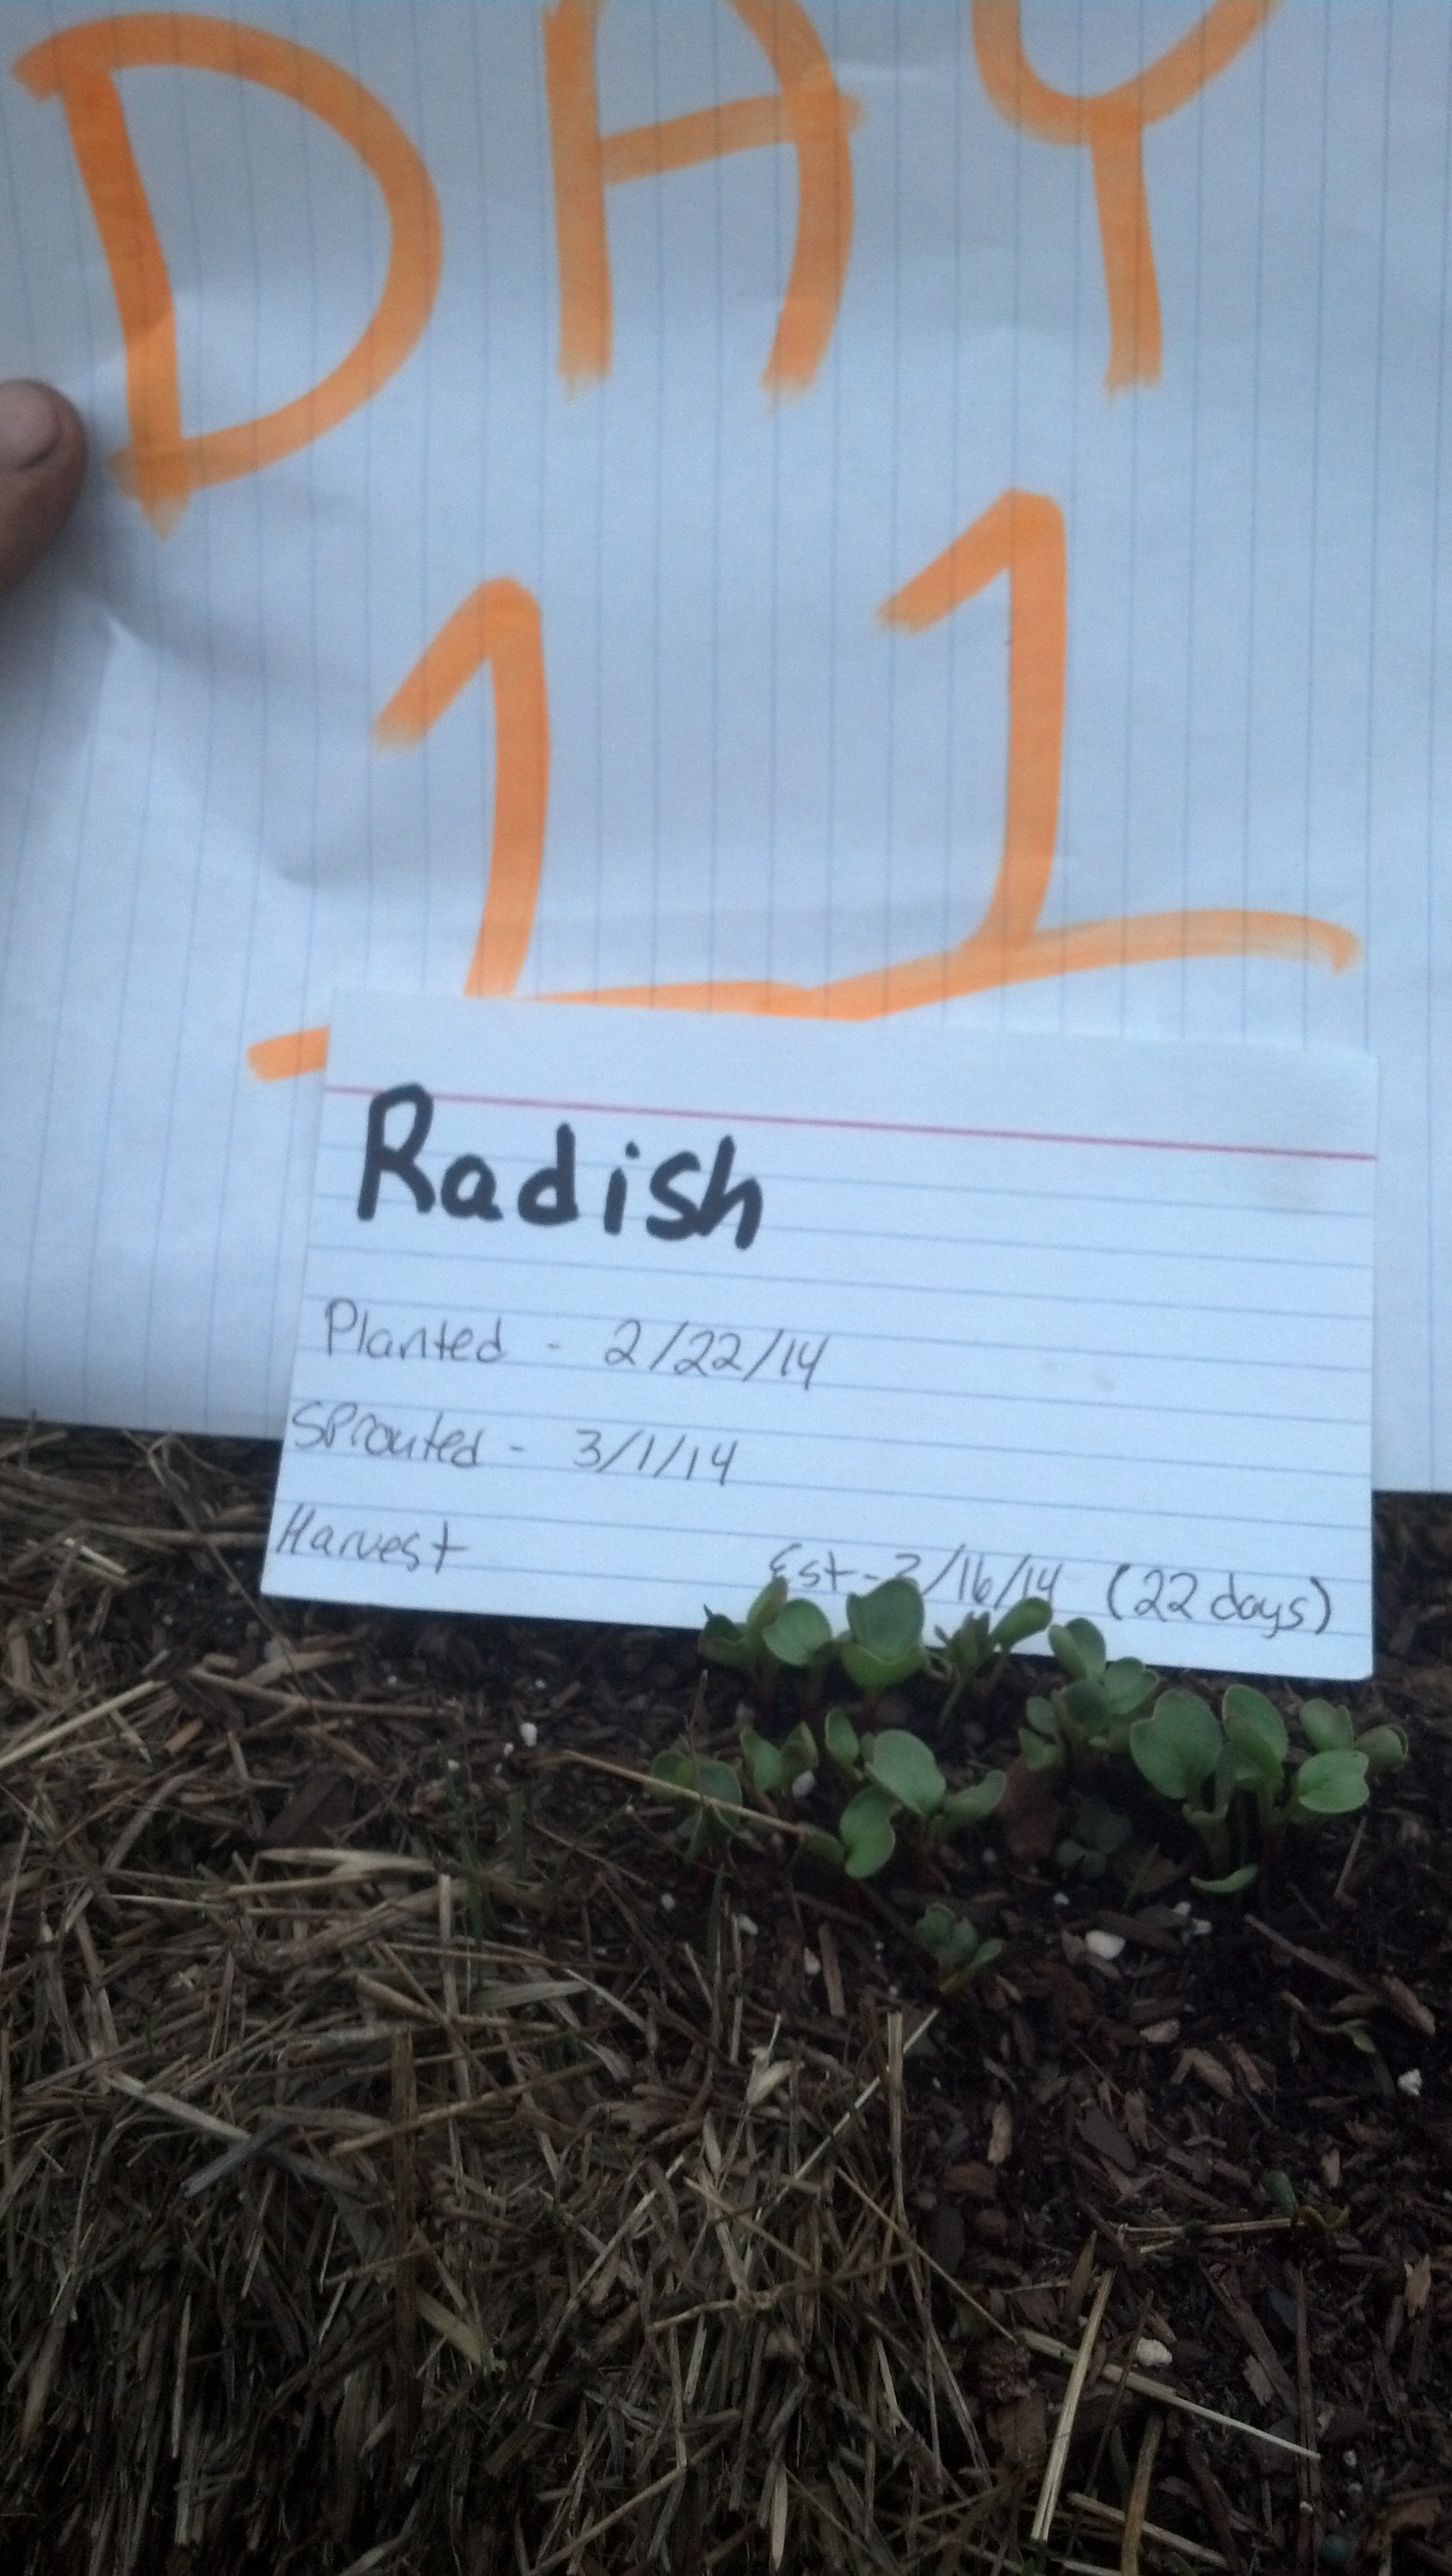
I drew a map/layout of my bales prior to planting so I could put on the layout what went where so I knew what was sprouting. simple easy reliable. I also made flash cards of what seeds I planted with the name, date planted, date sprouted, date harvested, est harvest date and days to maturity of each seed type I planted.
Tracking Progress 3/2/14


I used my flash cards to show what was growing and how many days since planting so I can track the progress of it for my self and you guys. so I will be updating this inatructable often in the season of growing.
Storing Second Season/round Seeds


I put each packet in its own snack size zip lock baggie so if the seeds fell out of the packet they wouldn't get scattered all over because I don't want to fold the packets to I can refer to them as needed if I want to compare dates and such. $.99 gets you 60 baggies
Criticism Time
I am open to all feedback from questions to people who may have done this and have ideas or know of better ways to do something. so please leave question, comments, and suggestions below and I will add them to this ible when I can. thanks and happy gardening!
Update Pics 3/5/14


my beans must be jacks magic beans! they came out a day ago just barely and today they are 1.75" tall! so far everything is growing great and hassle free. aside from some grass that is growing on the bales its working beautifully. the bales stay nice and luke warm inside and I have not used any chemicals or fertilizers other than the potting soil I started the seeds in.