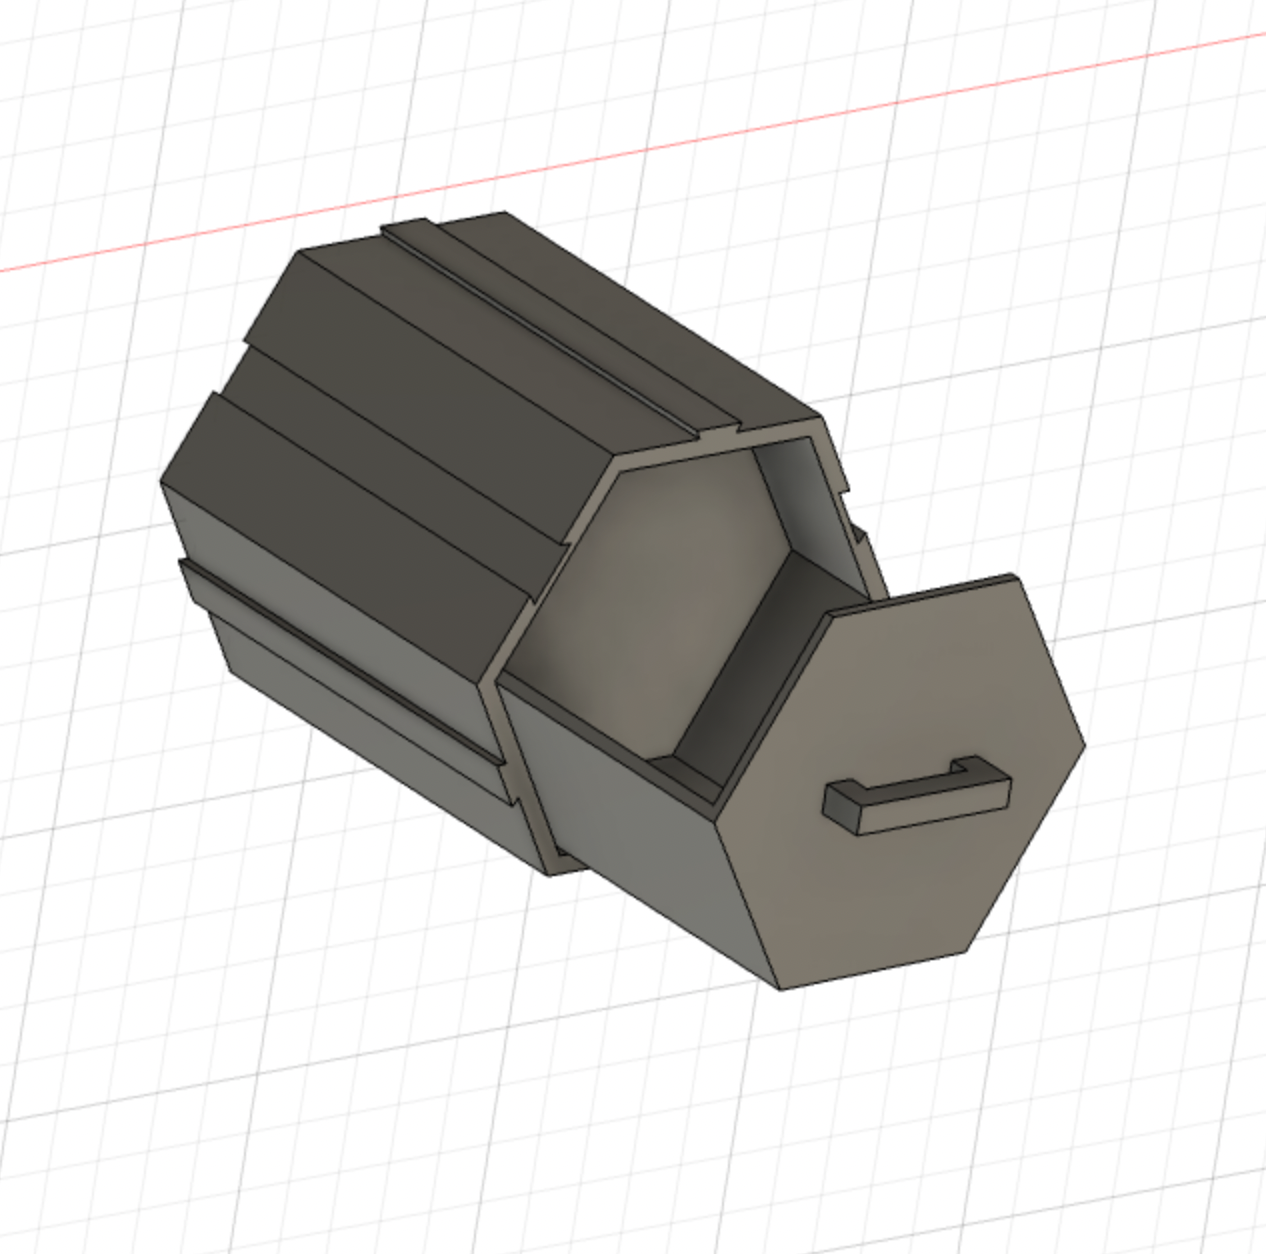
Hexagon Drawer

I had the Idea to make this project when I noticed i had no space in my desk left, which brought me the idea to make a cabinet
Supplies

All the supplies you currently need are 3D printer and a computer to use Fusion360 on.
Create the Shelf

This is the easiest step of them all, first create the hexagonal shape, make it 42 mm And make length 80 mm to finish the hexagonal prism. To make the actual hole for the shelf, press shell option and make the hole 76.80 mm deep.
Connectors (optional)

If you are willing to connect more than one of these hexagon pieces, you can make these connectors I made to do so. First make make 6 trapezoids with the measurements of the picture above. Extrude it so it will be 80 mm long. select 3 of these objects and scale down the X and Y variable by 0.9 using the Scale tool. Now align them all to the middle of each face of the hexagon, and you have your connectors. You can now connect each of the shelves to each other.
the Drawer


Now it is time to make the inside of the shelf, the drawer. Start off by creating a hexagonal shape of course and make it 37mm wide. Extrude the hexagon to 75mm up to make it fix inside the box. Select three of the top faces and use the shell function, clearing the inside of the box and making space to put stuff in, I personally made the inside wall thickness to be 2 mm so it is sturdy.
Now what I did to make it easier to open and close the drawer is to make a handle. It is pretty easy the size doesn't matter on this one. Create three cubes and make two of them the small but with the same size and one of them to be long, I personally made mine 30 mm long. Take the two smaller ones and put them on the ends of the rectangle, the side which the sides are pointing out are aligned into the front of the shelf and you are done with your customizable shelf.
The End

This is how I made my shelves and I hope you all could too, if needed you can make the shelves longer and maybe wider to maybe fit pencils and more. Thank you for reading this tutorial :)