How to Change Strings on Floyd Rose Guitar
1788 Views, 4 Favorites, 0 Comments
How to Change Strings on Floyd Rose Guitar


This is an in-depth guide to changing the strings on an electric guitar with a locking nut Floyd Rose bridge, however the steps may be applicable to other floating bridge systems. Floyd Rose guitars have wammy/tremelo bars that can be pulled up or down and have a clamp on the nut of the guitar to keep the strings from moving when you use the bar. They typically will have the words Floyd Rose embossed on the metal plate of the bridge.
The process outlined here is lengthy and at times frustrating, however your extra time spent in changing the strings with care and attention will be rewarded when your guitar stays in tune longer as you use the tremelo bar and your guitar's tone is rejuvenated by a fresh set of strings.
Please note that you should unplug your guitar from any amplifier or digital interface and remove any shoulder straps before starting the string change.
Supplies
New strings
Guitar with Floyd Rose
Allen wrench that came with instrument (2.5mm)
Phillips head screwdriver
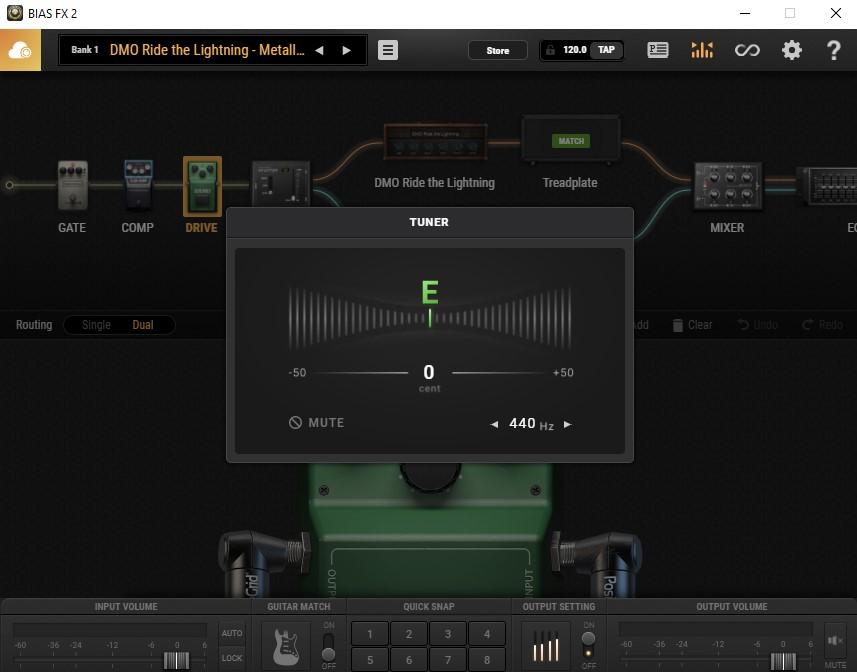
Tuner (I will be using my amp simulator for tuning which you will see screenshots for)
Wire cutters
Dowel rod or another piece of wood or similar material (I used a spare piece of floor trim I had lying around)
Something to cut the wood with (handsaw, circular saw, etc.)
Optional: string winder, neck rest (to make it easier to access)
Preparing the Guitar


Remove string clamps on the nut of the guitar using the allen wrench.
Preparing the New Strings


Remove the new strings from the packaging and use the wire cutters to cut off the ball end of the string. Be sure to cut enough off so that the end is a clean cut (see picture). These can be discarded.
Blocking the Springs


Remove the tremelo bar by twisting the base with your fingers counterclockwise. Then flip the guitar over and remove the back cover on the guitar using the phillips screwdriver. Measure the approximate distance between the claw and the block and cut 2 pieces of the dowel rod to this length (it’s better to be too long than too short). Insert them anywhere you can so that the springs to not contract and pull the bridge back.
Unwinding the String

Using the string winder if you have one (or by hand if you do not), unwind the tuner for the low E string, the thickest one (or whatever string you are on). Remove it from the post.
Remove String From Bridge


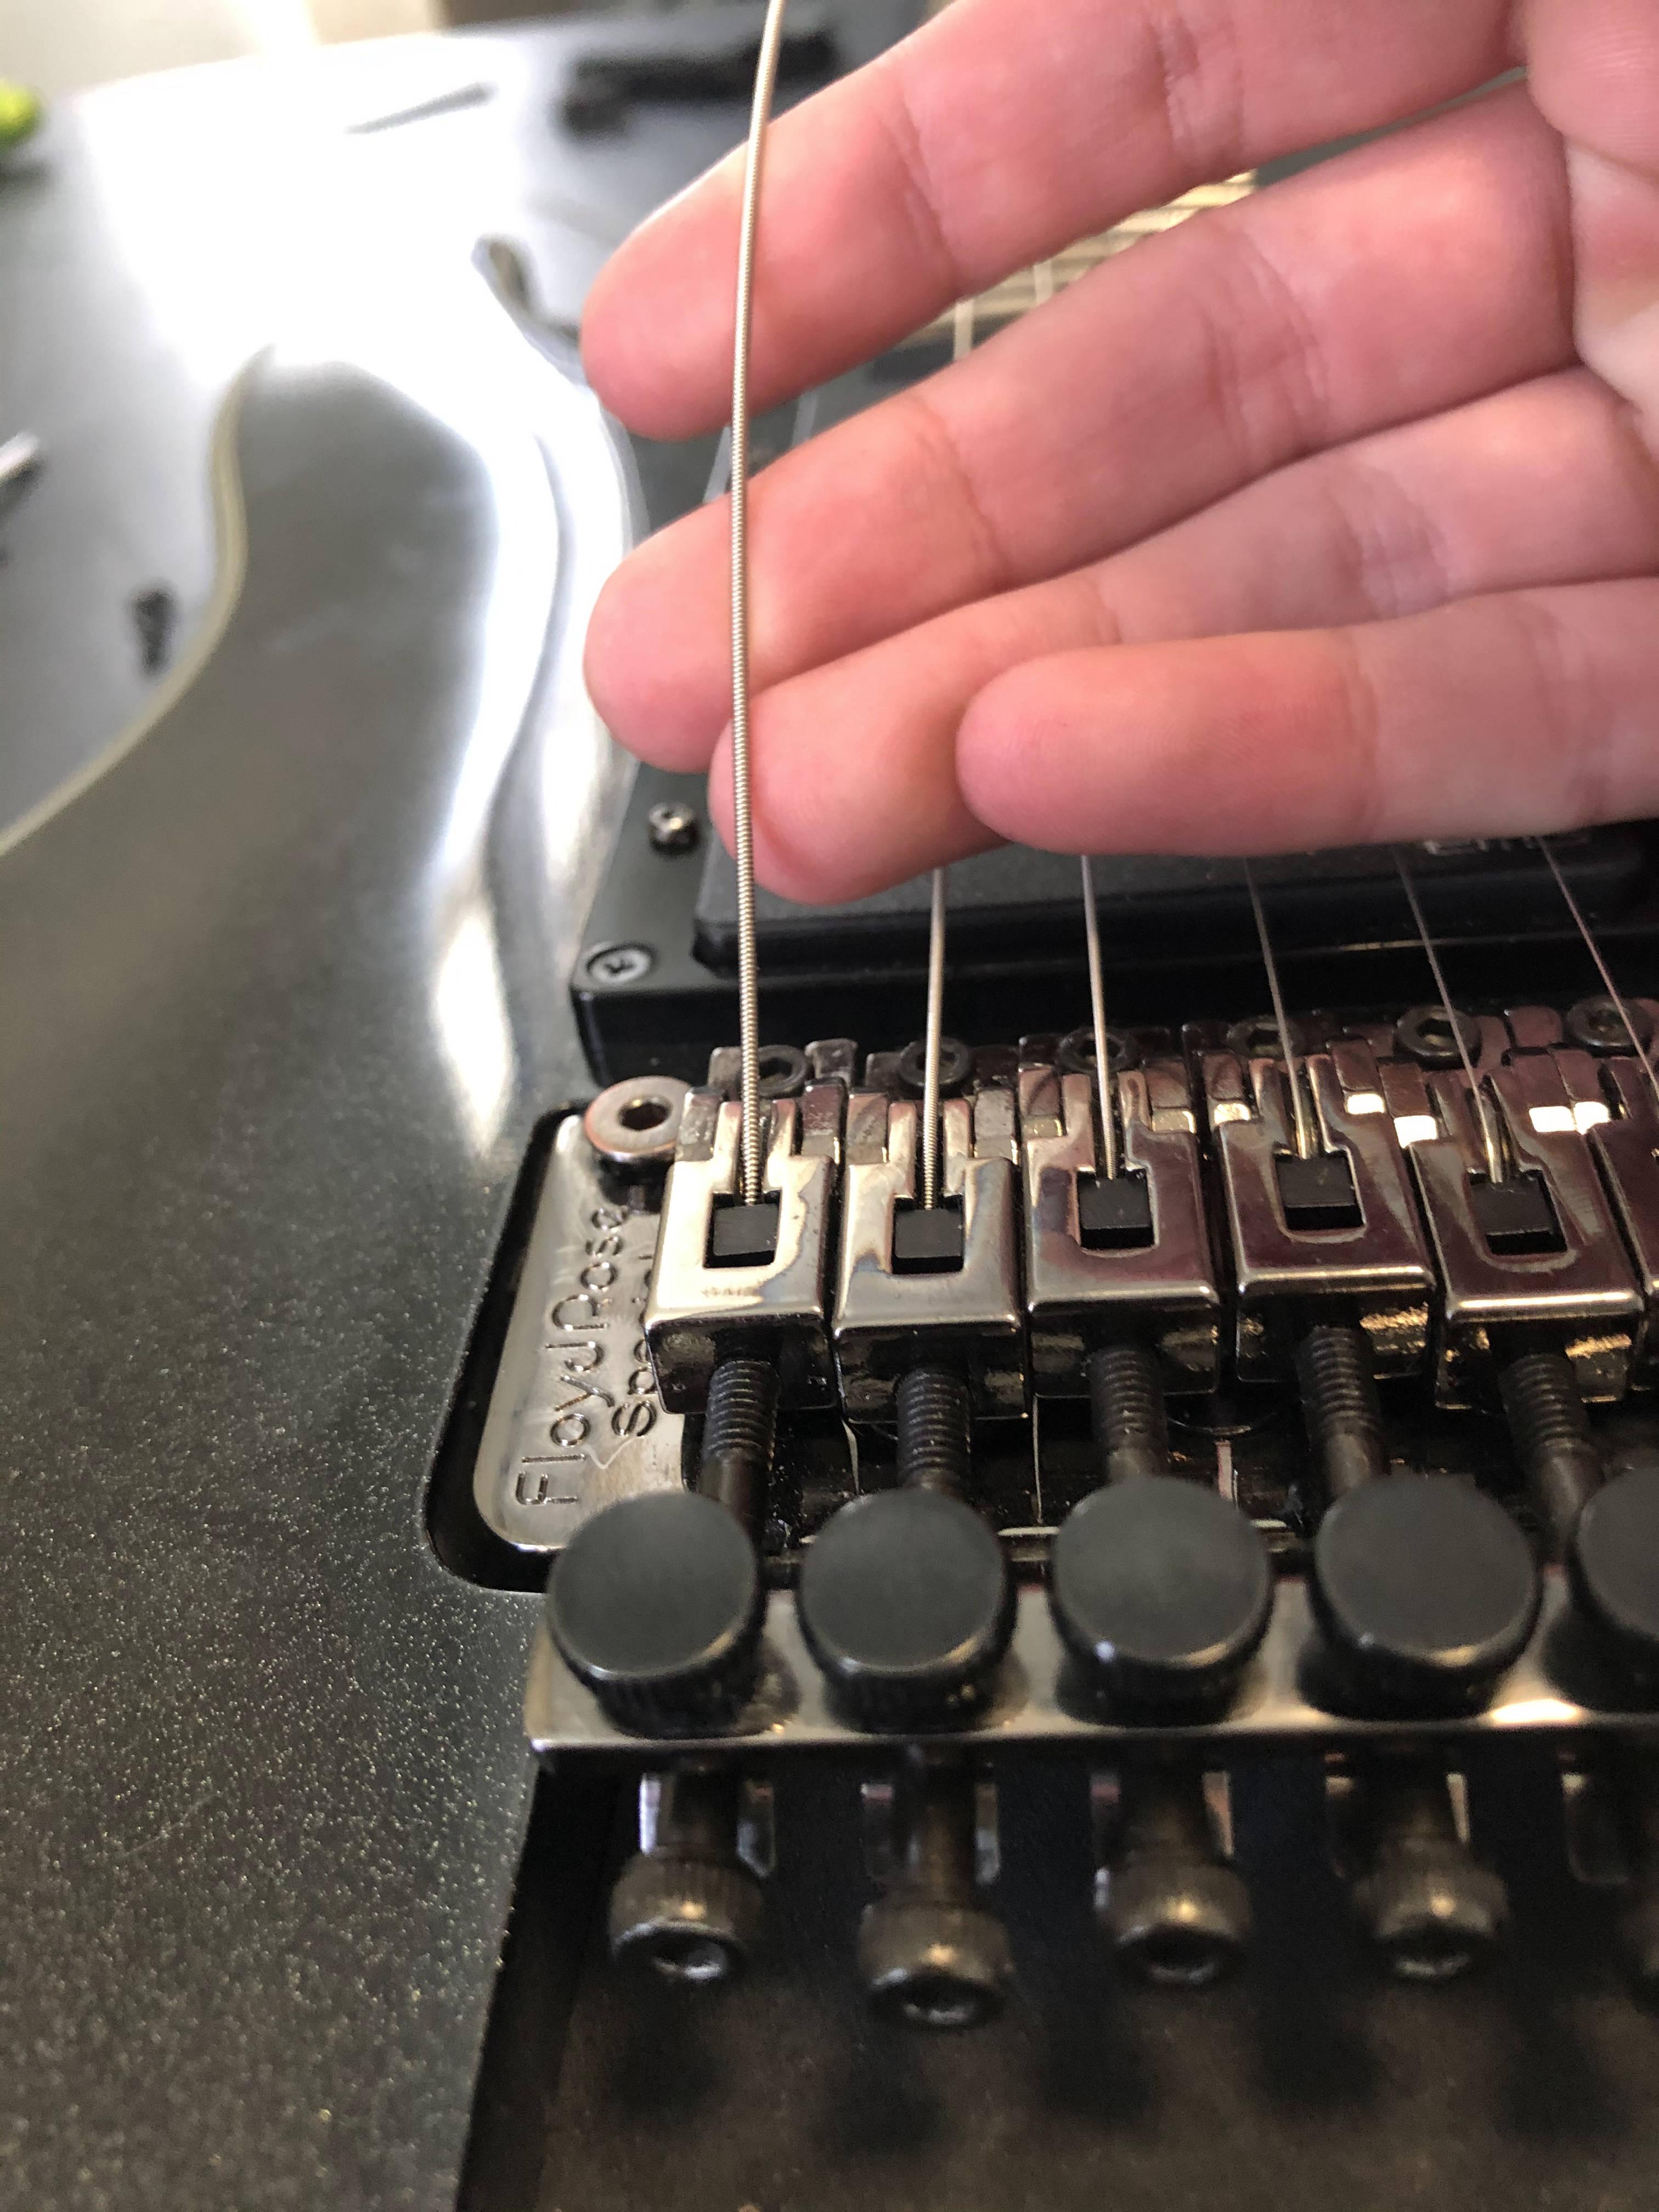
Using the allen wrench, unscrew the bolt that holds the string in the string saddle until the string just barely falls out. Do not unscrew it all the way as the small metal piece inside could fall out. Take care that the guitar does not flip upside down when you have loosened any of these bolts as the small metal pieces are very hard to find once lost.
Insert New String Into String Saddle


Inspect the ends of the string and insert the end with the cleanest cut into the gap in the string saddle where the old string was. Hold it in position as you tighten the bolt. Do not overtighten the bolt, however it should be snug. Lightly pull on the string once tightened to ensure it is secure. Then bend the string over the saddle so it points generally towards the headstock.
Winding New String


Insert opposite end of new string into tuning post, being sure to keep it underneath the string retainer. While pulling the string tight, pull about one frets-worth of slack back towards the bridge. Then bend the string past the tuning post. Now you can begin to wind, making sure the string winds in a perfect spiral underneath the hole in the post. Tighten until close to the correct pitch (does not have to be accurate yet, this is just to keep tension on the springs.) Use the wire cutters to clip off the extra string length, leaving a few millimeters in case of slippage.
Repeat Steps 4-7 for Every String

Move on to the second lowest string (A) and continue in order until all are changed. Ensure that the strings each go in their respective nut slots and are wound in the correct direction around the tuning post and are underneath the string retainer. The correct winding direction for your guitar may differ, however if your guitar has a 3x3 arrangement like the one pictured then low 3 strings will be wound counterclockwise around the posts and the high 3 strings will be wound clockwise.
Getting Guitar Ready for Tuning


Once all new strings are on, reattach the tremelo bar and move it so that the dowel rod(s) fall out. Save these for the next time you have to change strings. Then let go of the bar so that the strings hold the bridge in place. Replace the string clamps (only tightening til snug) and move the tremelo bar back and forth a few times. This will stretch the strings out and make it easier to tune later. Once this is done, remove the string clamps and let the guitar sit for 30 minutes or so. This will give the strings time to stop moving so it can be tuned.
Warning: As you are moving the bridge back and forth, turn your head away from the guitar in case a string were to come loose.
Note: At this stage it is ok if the bridge is not flush with the guitar body.
Tuning the Guitar Part 1


After the waiting period, loosen fine tuners all the way. Then, using the tuner, tune the guitar one string at a time using the tuning machines on the headstock. Once you are done with the 6th string, go back to the 1st string that you tuned and tune it again. It will probably not be where you tuned it to. Repeat this process a few times until it stays relatively in tune.
Tuning the Guitar Part 2

Replace the string clamps and note how much the guitar went out of tune and whether it was sharp or flat. Remove string clamps and adjust each tuning machine to compensate, tightening the string if it’s too high (sharp) or loosening the string if it’s too low (flat). You will want to lean on the side of leaving the string too flat as this can be adjusted with the string clamps back on using the fine tuners.
Tuning the Guitar Part 3

Replace string clamps once again and check tuning. If each string is just a little bit flat, then use the fine tuners to correct it. If this cannot be achieved with the fine tuners alone, then repeat step 11 until it can. Check the bridge plate (the piece of metal where everything connects to and probably says Floyd Rose on it) to ensure it is flat with respect to the body of the guitar. If you used the exact same kind of strings as were already on the guitar (gauge and brand), then you will probably not have to adjust the spring tension and the string change is complete. You can reinstall the cover on the back of the guitar. If it is not flush, continue to step 13.
Adjusting Spring Tension

1. Take note as to whether the bridge is pulled closer to the headstock or if it is pulled away from the headstock.
2a. If pulled away, loosen the spring screws found in the back cavity of the guitar until the bridge is flush. Remove string clamps and retune using steps 10-12.
2b.If the bridge is pulled closer to the headstock, then tighten the spring screws until the bridge is flush. Remove string clamps and retune using steps 10-12.
The tuning process will probably have to be repeated multiple times for it to stay in tune and the bridge may have to be adjusted again. Adjusting the bridge and retuning should be repeated until the bridge is flat with respect to the body and the guitar stays in tune. Note: Ensure that the string clamps are not tightened when adjusting the spring screws or when tuning with the tuning machines on the headstock as this may break the strings. Once tuning and bridge angle are adjusted to preference, the string change is complete.