How to Create a 3D-Printed Zoetrope
by tsorjonen in Workshop > 3D Printing
217 Views, 2 Favorites, 0 Comments
How to Create a 3D-Printed Zoetrope

Creating a Zoetrope: One of the earliest forms of animation
Supplies
- Wooden board to create base
- 2 standard-size poster boards to create walls of zoetrope
- Ruler or measuring device to check proportions of frames to base
- Cutting supplies (Xacto knife, scissors, laser cutter, etc.)
- Free TinkerCAD account or some other kind of 3D printing software
- 3D Printer Access
- Hot glue to attach 3D printed objects to board
- Acrylic paint and paintbrushes to paint 3D objects, board, and walls
- Record player to spin zoetrope
Brainstorm and Create Concept in 3D Printing Software


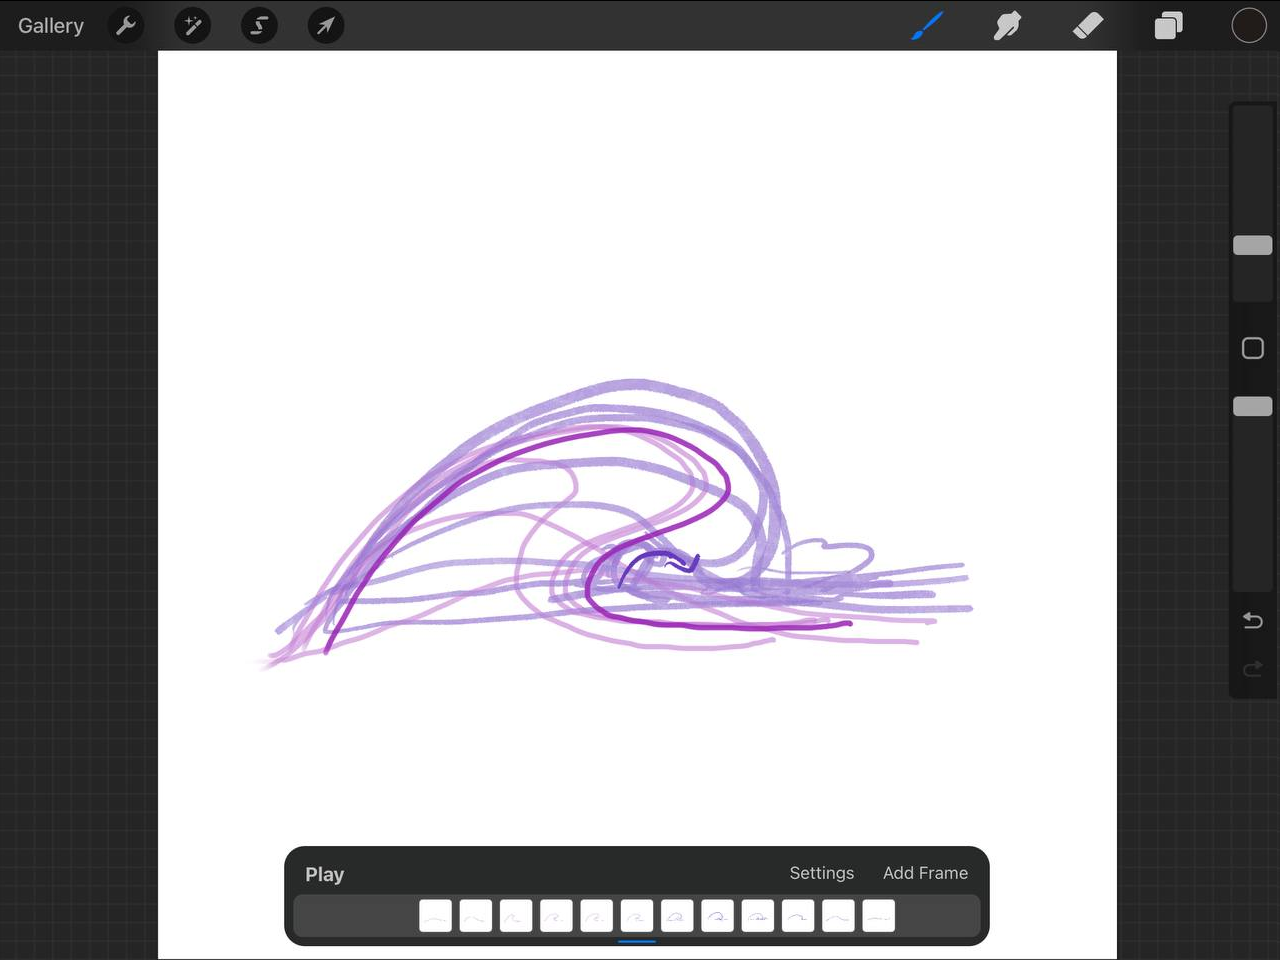
To begin, brainstorm a concept, action, or object, that can create an amination-like loop. To familiarize yourself with what this loop might look like, looking up examples of zoetropes on YouTube can be helpful. Once you have an idea of what loop you want to create (above is an example of a crashing wave), create your objects in a 3D printing software like TinkerCAD, seen in the second image. In the process, make sure to consider how many frames you want to have and how many can fit on your base board.
Cut Base Board and Walls


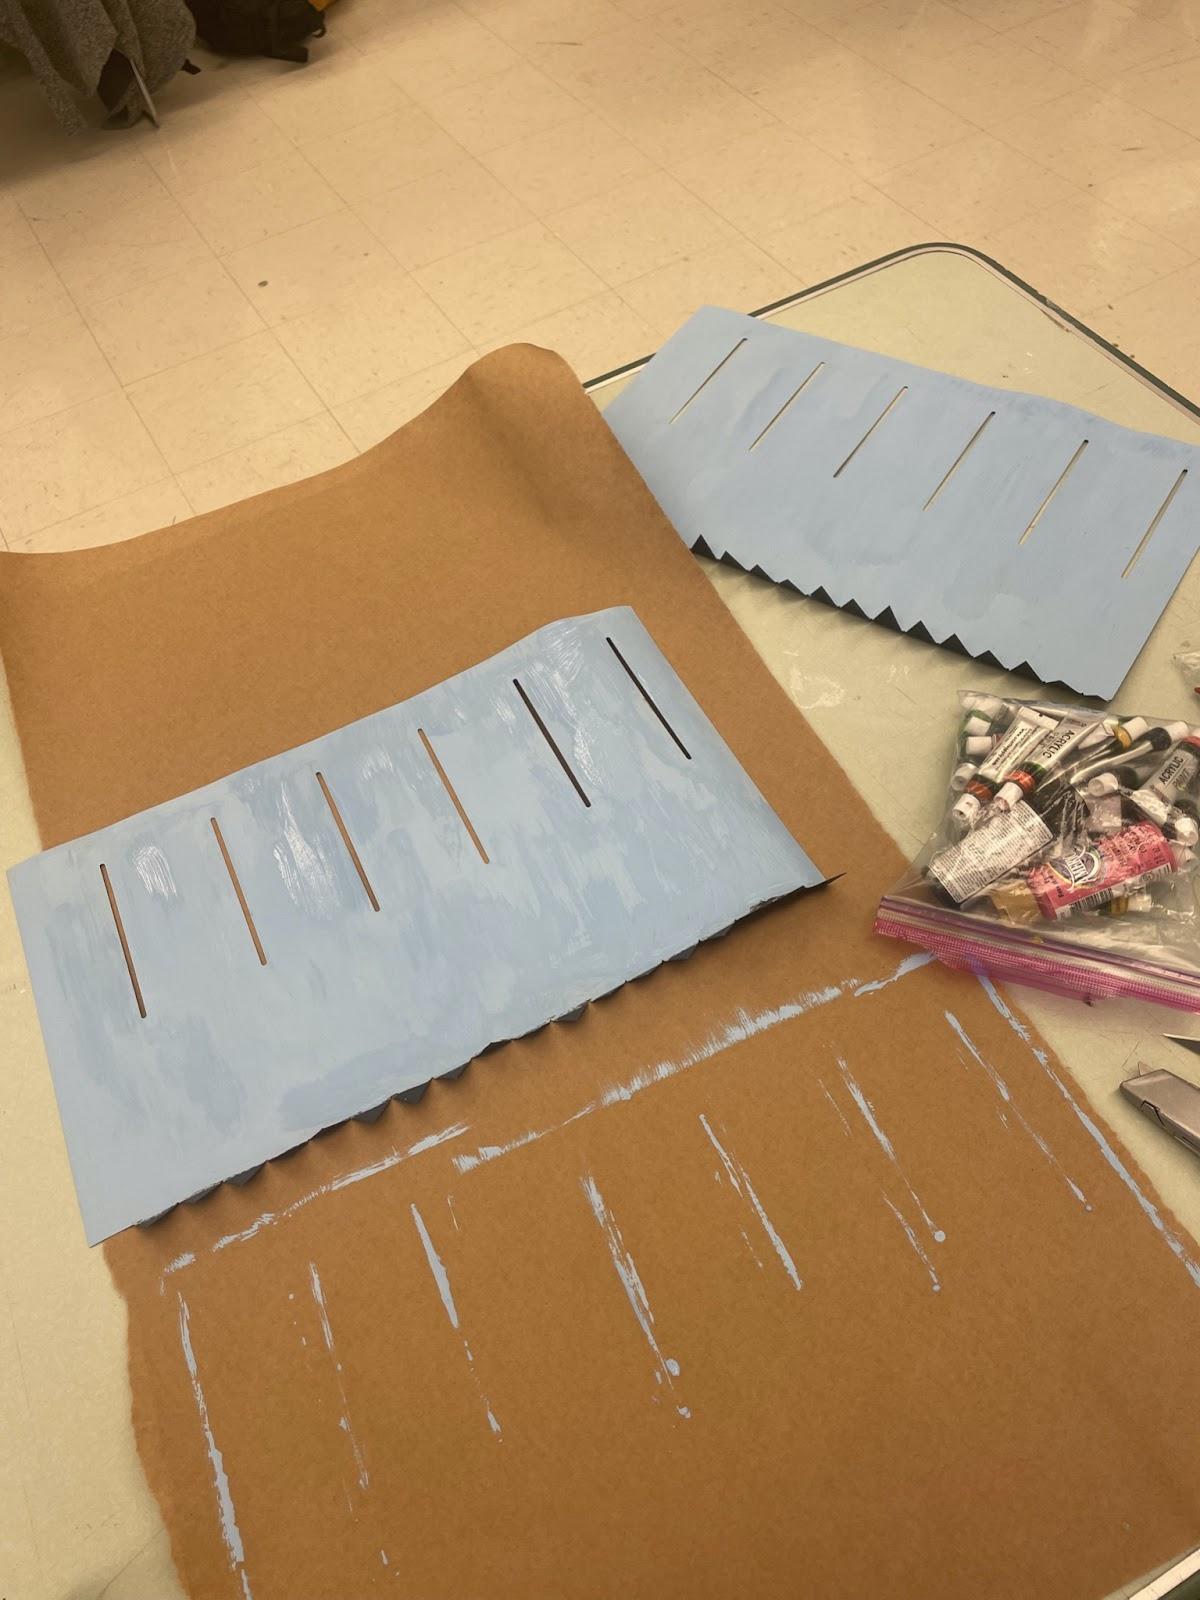
Cut out the poster boards to have spikes at the bottom (as seen above, you'll use these to attach the walls to the base board at the end) and equally spread out slits where a viewer will look through to see the zoetrope animation come to life. The board should be circular with a hole in the middle to be fit onto a record player. Laser cutting the wood is fastest and most precise if it available to you.
Print and Paint


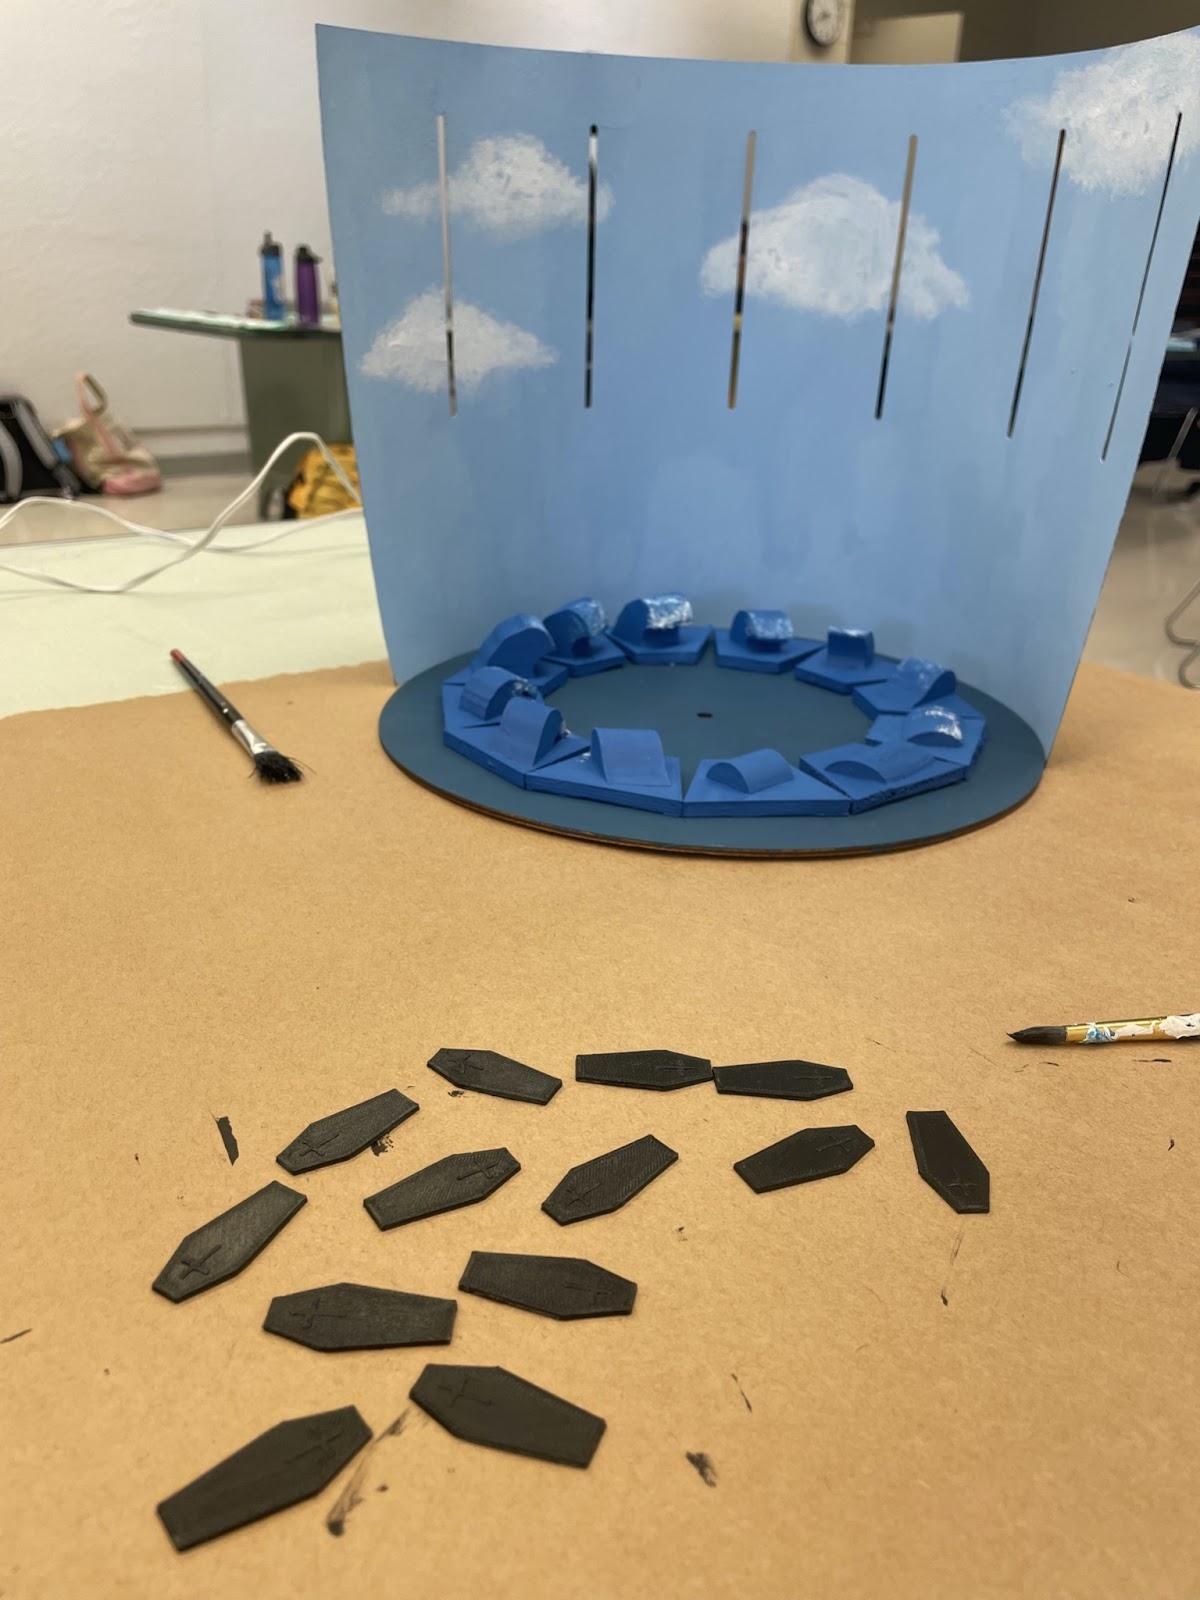
Print your 3D printed objects and paint them with your board and walls. For maximum cohesion and sensical animation, coordinate the design of your walls to your overall concept/theme. Acrylic paint works best for this process (particularly with the 3D printed objects) because it is made from plastic and will help fill any holes or gaps in the 3D printed design.
Add Details and Assemble


Add cohesive details throughout your design to enhance the animation and assemble these parts on your base board. Once everything has been put together, add the poster board walls by attaching the spikes to the bottom of the board using glue.
Spin on Record Player

For the final product, place your fully assembled zoetrope (both walls attached) onto a record player. In a dark room, turn on and adjust speed as needed based on the model of record player. To view the final zoetrope, place a bright light on either the side of the zoetrope or above (or experiment with both).