How to Design a Shelf Space (and Make It Your Own)
142 Views, 1 Favorites, 0 Comments
How to Design a Shelf Space (and Make It Your Own)


Create a space that reflects you!
Supplies
-shelving kit
-screws
-drill
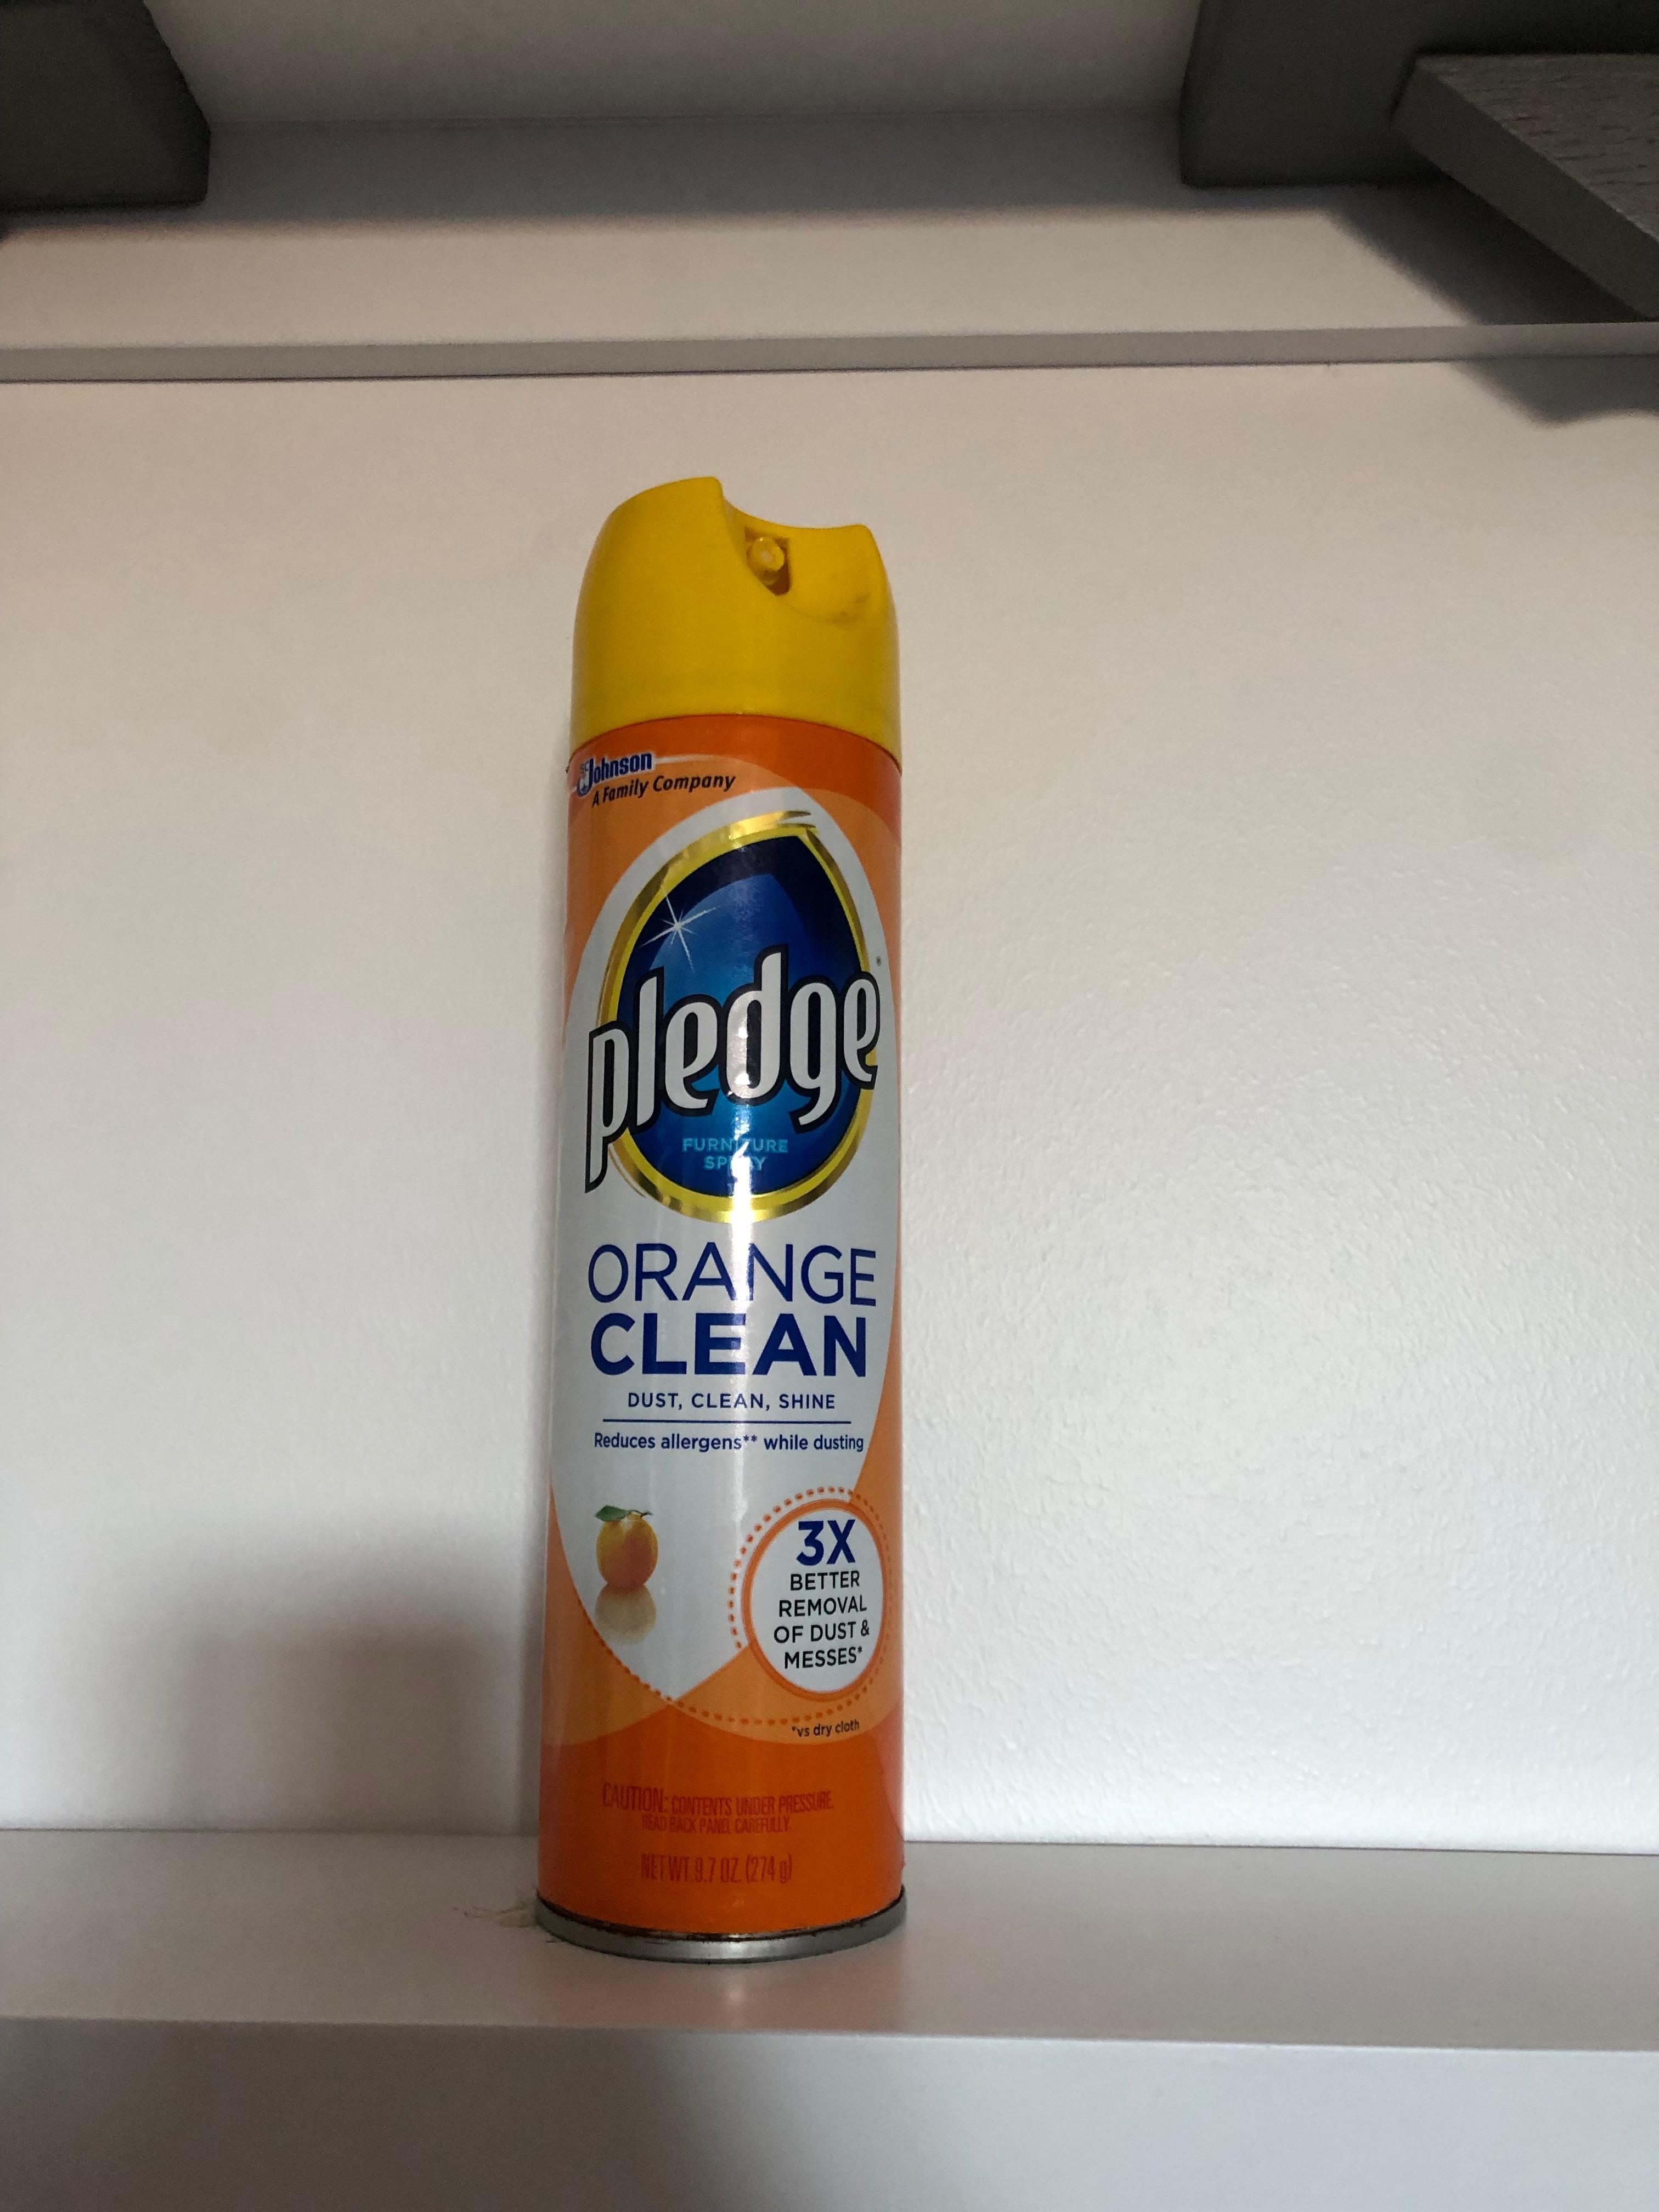
-dusting spray
-rag
-wall where you will place the shelves
-measuring tape
-wall marker (pencil)
-desired items to display
Step 1: Pick Your Wall

Pick out the wall where you are going to put your shelves. I chose the space above my desk.
Step 2: Measure Wall / Get Wall Dimensions

Step 2: Get the dimensions of the wall and decide how many shelves you want. I was able to fit two. This will vary based on the user's space.
A tape is best for this practice but can be substituted with a ruler.
This is also the point where you should use a pencil to mark the wall so you know your shelves are placed where you want them later.
Step 3: Pick Your Shelves


Step 3: Pick out what type of shelves you want from any department store or make your own. Look at your room décor and see what would match. I chose white floating shelves so the objects I placed on them stood out.
Step 4: Gather Materials for Getting Shelf on Wall
Step 4: Once you have your shelves (most will come with a kit for installation) get a drill, something to mark the wall with to ensure your shelves are placed correctly, and all the screws from the kit.
Step 5: Get Shelves on the Wall
Step 5: If you need help installing the shelves, find someone who is able to help you. I always ask a family member or a friend with this part of the process.
Step 6: Clean Shelves

Step 6: Once the shelves are installed, clean them with dusting spray or a disinfectant wipe. There will be dust left over from the installation.
Step 7: Gather Display Items


Step 7: Next, choose what you want to display. You can play around with colors, textures, art, object, and aesthetic.
Step 8: Try Different Display Combinations

Step 8: Once you decide what you want to display, try moving things around and trying different combinations until you find one you are happy with. I chose my cameras and a gift from a friend on the bottom shelf.
Step 9: Put Away Unused Objects
Step 9: When you are happy with your combo, put away the unused objects until it is time to redecorate, I like to keep all of my unused décor on one shelf in my closet to keep organized.
Step 10: Change It Up!

Step 10: Change up what you have on your shelves every so often. It doesn’t need to be an exact schedule, but a room should change as your interests do.