How to Draw a 3/4 Face Profile

MATERIALS: If you could, get a tablet and a stylist, and a drawing app. I personally use IBIS Paint. But, if you don't have access to those, grab a sheet of paper and a pencil.
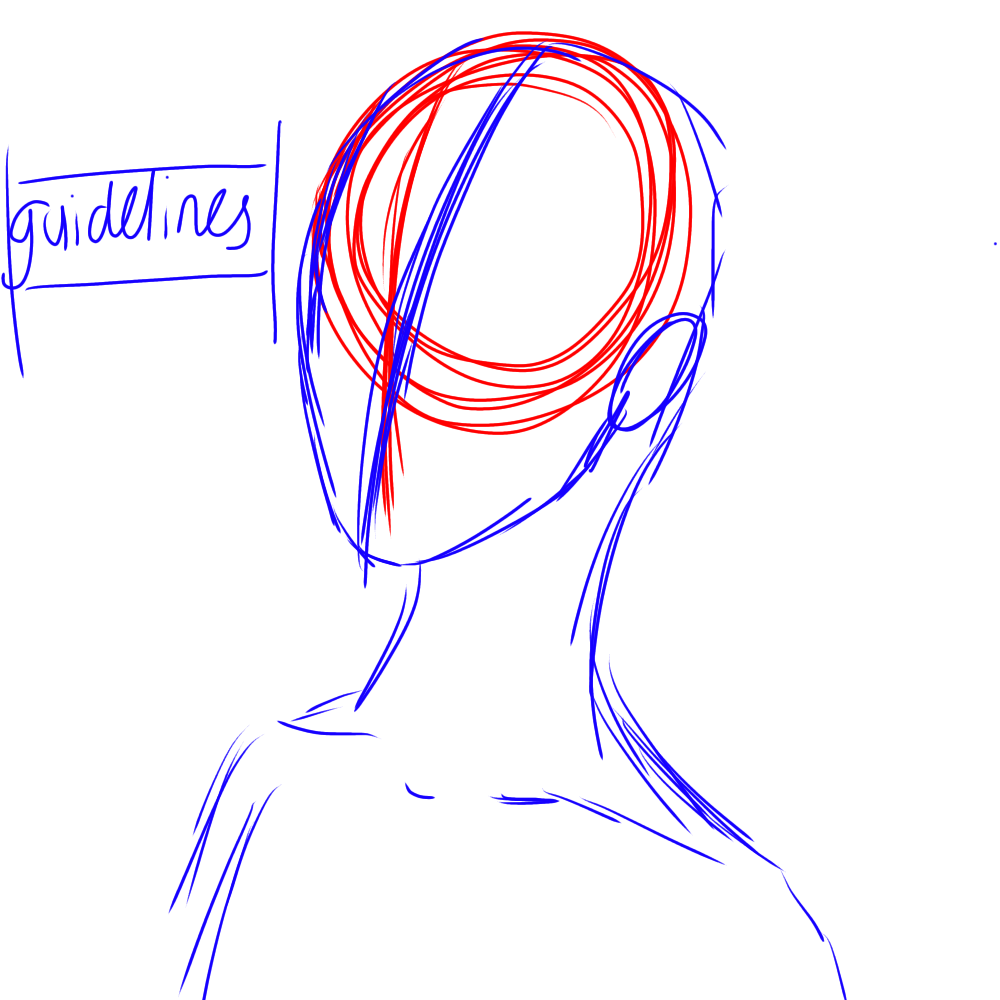
STEP ONE: You must start out with a circle, the circle is important because it makes out where the top of your head will be, and will help you with the head shape later on.
STEP TWO: Draw a line in the middle, left, or right to the face, depending on what side profile you want. 2/4 would be to the right, 3/4 would be to the left. Today, I'll be showing you 3/4's profile.
Step 3: Guidelines

STEP THREE: After you've marked out and decided what profile you want, you made yourguidelines. The easiest way to do your guidelines is by following down the side of the circle that you had made earlier on, the line in the middle will help you figure out where your nose and mouth will line up. Make a line across the center of the vertical line and then there you'd have your eye refrences, or where the eyes of the drawing would go.
Step Four: Rough Draft Your Drawing

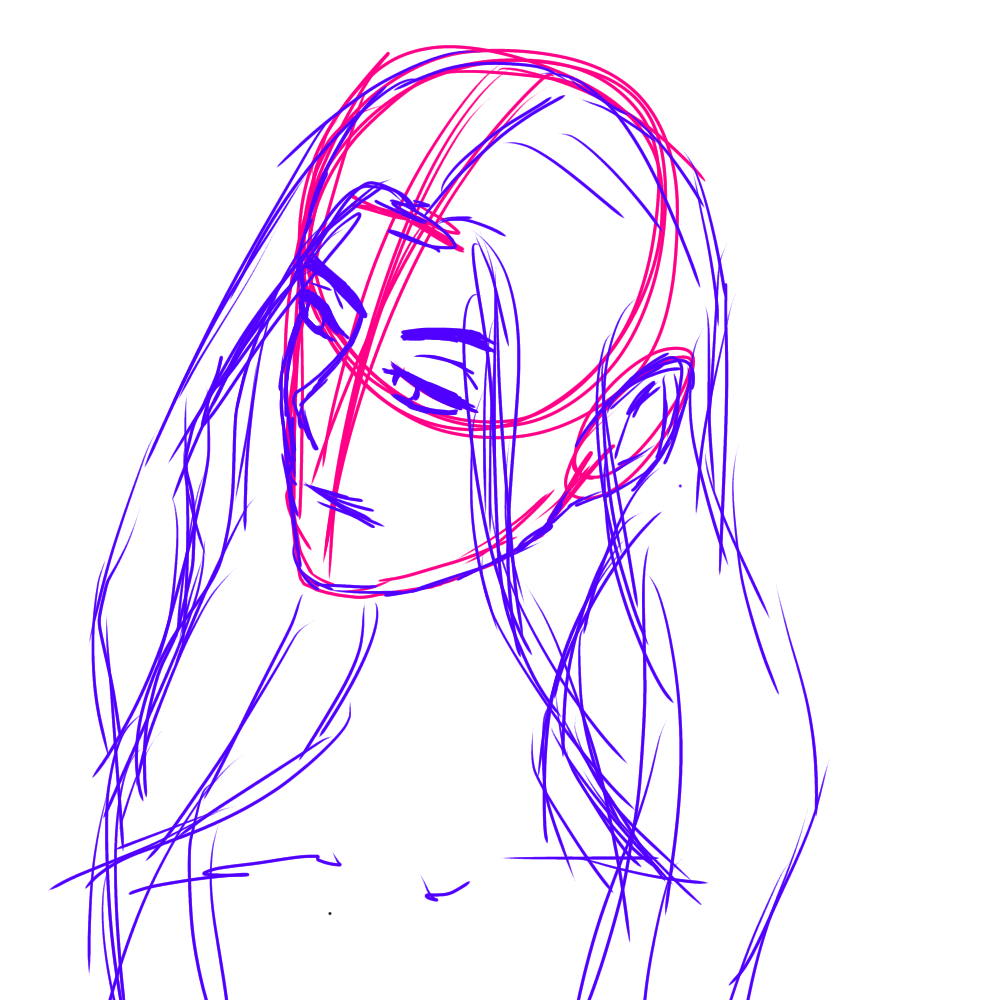
STEP FOUR: Your drawing should be looking rough by now it's okay, trust the process. Begin to roughly sketch our where everything will go, it's okay if it's not perfect. The eyes should go along the horizontal line you made earlier. Lips and nose should align with the vertical that you made at first. Mark out where your hairline will be and then move out the hair from there--you could make the hair shorter if you'd like!
Step Four: Line Art

STEP FOUR: Once you are satisfied with the results of your rough draft, you're ready to move on to the lineart! Lineart is one of the most important steps when drawing and it could definitely make it seem really different if you don't do it correctly. (TIP: Don't use the same sized brush for the whole thing! Try to make thinner and thicker lines depending on what and where you're lining over.)
Step Five: Shading/Coloring/ETC + TIPS

STEP FIVE: This part is optional, you could stop at the lineart if you'd like, but if you want to add a bit of flare or boldness to your drawing, add some colors to it!
TIPS:
1. Pick a solid color, (Blue, pink, red, purple.. etc.) and use different shade ranges of them to color, it makes it easier!
2. Use the blur brush for clean blending. (Or use a tissue paper to blend if you're doing your drawing traditionally.)
3. If YOU like it, then it's perfect. It doesn't matter what others think of the drawing as long as YOU like it.