How to Make Your Own Cornhole Boards
by jhill152 in Outside > Sports
40677 Views, 80 Favorites, 0 Comments
How to Make Your Own Cornhole Boards

"Cornhole" as it is known across America is becoming one of the most popular games for outdoor activities or sports tailgaiting events. The boards and bags can be purchased together in a growing number of sports and retail outlets. But why buy them when the sets are so easy to make and with a little paint and creativity the designs are completely customizable to match the colors or logos of any sports team or any other theme you might like.
The materials can be purchased at most hardware stores but the tools you may need to borrow or use at a friends house if you dont want to purchase them, as they can be very expensive. The tools needed and materials used will be on separate list.
The materials can be purchased at most hardware stores but the tools you may need to borrow or use at a friends house if you dont want to purchase them, as they can be very expensive. The tools needed and materials used will be on separate list.
Materials List

To complete this project you will need the following materials
1.) 1/2″ thick sheet of plywood – one 4’x4′ or two 2’x4’s
2.) 8′ long 2×4′s (4)
3.) 4 1/2″ long 3/8″ diameter carriage bolts (4)
4.) 3/8″ flat washers (4)
5.) 3/8″ wing nuts (4)
6.) 2 1/2″ wood screws (1 box)
1.) 1/2″ thick sheet of plywood – one 4’x4′ or two 2’x4’s
2.) 8′ long 2×4′s (4)
3.) 4 1/2″ long 3/8″ diameter carriage bolts (4)
4.) 3/8″ flat washers (4)
5.) 3/8″ wing nuts (4)
6.) 2 1/2″ wood screws (1 box)
Tools List
Here are the tools you will need to build your project
1.) circular saw (alternative: table saw or hand saw)
2.) mitre saw (alternative: hand saw with a mitre box)
3.) measuring tape
4.) clamps (optional but very handy)
5.) power drill and assorted bits (up to a 3/8” bit in size)
6.) sandpaper (coarse, medium, and fine grit or at least medium)
7.) hammer
8.) compass
9.) jigsaw
Basic Dimensions

Your basic dimensions, or measurements, shown are for the standard size cornhole boards. There are other variations, but this set of instructions will focus on the accepted standard for most players. Some more specific measurements are not listed here but will be included in the assembly description.
The face-up portion of the board should measure 48 inches long by 24 inches wide. The hole in the center should have a 6 inch diameter, with the center located 9 inches from the highest edge of the face-up portion of the board and 12 inches from either side of the slanted edges (directly in the center). The "leg" of the board should have the highest edge of the board be 12 inches from the ground.
The face-up portion of the board should measure 48 inches long by 24 inches wide. The hole in the center should have a 6 inch diameter, with the center located 9 inches from the highest edge of the face-up portion of the board and 12 inches from either side of the slanted edges (directly in the center). The "leg" of the board should have the highest edge of the board be 12 inches from the ground.
Assembly- Platform Box
To construct the Platform Box...
1.) Cut the plywood into two 2’ x 4’ sections. These will be the tops of your platforms.
2.) Cut the 2x4s for the support box for the platform. You will need 2 21" boards and 2 48" boards for each box
3.) Fasten the 2x4s into a box with the 21-inch pieces inside the 48-inch pieces to form a 2’ x 4’ box.
4.) Lay the plywood on top of the box, use the plywood to square up the 2x4 frame.
5.) Fasten the plywood onto the frame with 1-5/8” screws.
6.) Repeat for the second platform box
Assembly-Legs

To construct the Legs...
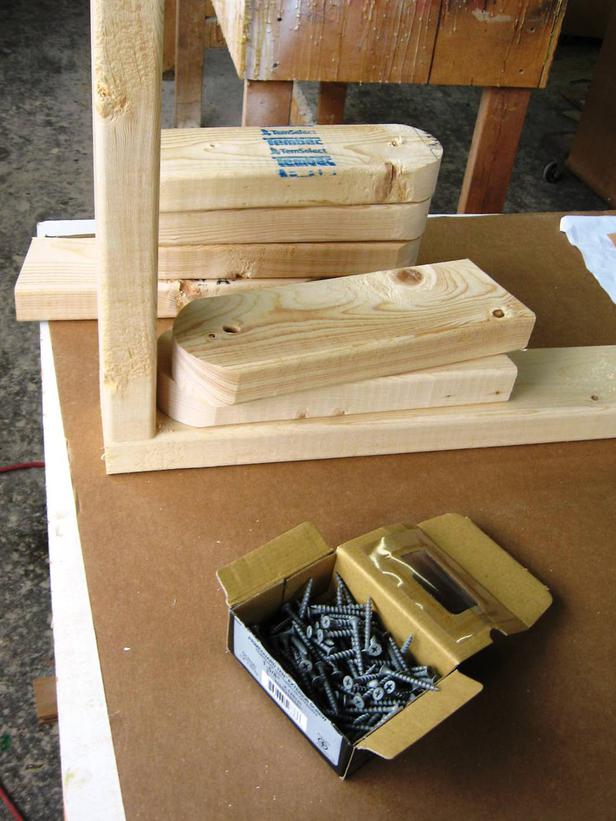
1.) For the four legs, cut a 2x4 to 11-1/2”
2.) Make a full 3-1/2" radius cut on one end of each leg. To make the cut, measure 1-3/4" down the length of the 2x4 and draw a line across it. Place a compass point centered on that line then draw the arc. Use a jigsaw to make the cut
3.) Turn the box upside down; lay a leg parallel, flush up against one of the top corners with the radius side in the corner. Clamp into place
4.) From the inside of the box, make a mark in the center of the 2x4 vertically inside the radius. Drill a 1/2-inch hole through the side of the box and through the support leg
Assembly-Legs (Cont.)
Working on the legs takes a little trial and error to get perfect
1.) Install the carriage bolt through both holes (of the side of the platform board and the legs) and attach with a washer and a wing nut.
2.) Make sure the legs can fold up and down inside of the platform. If the legs are getting stuck, you may have to sand the circular edge until there is just enough friction to keep the legs in place and not moving freely. Repeat for the other legs.
Assembly-Standing Up the Legs


Here you will determine what angle to cut the bottom, or non-circular edge, of the legs at an angle that props the hole end of the platform 12" off the ground. The best way to do this is to...
1.) Postition the platform on top of a table with one leg hanging off the edge but making contact with the table. Pull the leg back so it forms a 90 degree angle with the platform edge.
2.) Find an object that will be tall enough to hold the platform edge 12" inches over the tabletop, and stable enough to support the weight while measuring
3.) Mark a straight line on the leg where it meets the tabletop. This will give you the angle to cut the bottom of the leg
4.) Cut the bottom of the leg and attempt to stand it up on its own on the tabletop to confirm the height of the back of the platform from the ground (12"). Some sanding may be necessary
5.) Repeat for other leg
Assembly- Hole

To make the hole that points are scored with...
1.) Measure a point 9 inches from the top of the board and 12 inches from either side
2.) Set compass to 3 inches and draw a circle from the point you just marked. You should have a 6 inch diameter circle.
3.) Drill a hole off the inside edge of the circle for the jigsaw to go through
4.) Use the jigsaw to carve the rest of the hole
Finishing Touches


Now that you have finished constructing the boards, the only thing left to do is sand the entire board and cover in primer. This will help when you get around to painting.
How you paint is entirely up to you, with possibilities limited only by the amount of time/effort you wish to put in. As long as the dimensions of the boards are correct, you can paint or design whatever you have the time or energy to do.
An effective but simple method is to paint one or two basic colors and use large stickers or decals intended for cars.
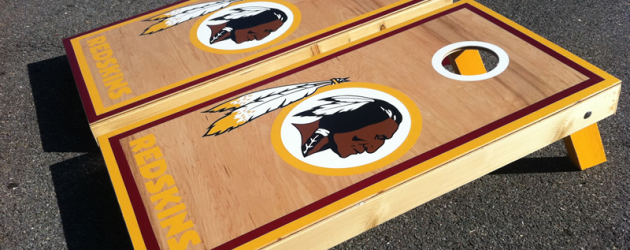
As you can see, people can be very creative....Enjoy!