How to Make: a Dutch Draw-Leaf Dining Table
by Franco Laverde in Workshop > Furniture
5515 Views, 13 Favorites, 0 Comments
How to Make: a Dutch Draw-Leaf Dining Table


How to make a draw-leaf dining table, feel free to comment any questions you might have.
Supplies
+Milled lumber
+Table saw
+Router table
+Round over bit
+Flush trim bit
+1" Straight bit
+Jointer
+Planer
+Router sled (if you do not have the previous two)
+Orbital sander
+Smoothing hand plane
+Wood glue
Jointing & Planing


The first step is to prepare lumber to be square stock that you can handle and work with, one key advice is to let it dry for at least 3 weeks after resawing to prevent cups, bows or warping of any kind. After resawing your will get to plane to the final thickness. I let it be 18mm or 3/4" for the tabletop and leafs.
Preparing the Main Structure


Then you will need to cut the legs, which I made 6x6cms or 2-1/2x2-1/2" then I used my router table to cut mortises of about 1-1/4" deep to then assemble the stretchers using mortise and tenon with glue. Also make sure to cut the notches in the stretchers before you assemble it, to do so, use the crosscut sled in the table saw with the desired blade height, in my case it was 1" tall.
Panel Assembly


After all your stock is planed to final thickness, use some panel assembly cauls and clamp them together by adding a thin coat of glue on each edge. To add clamping pressure I used wedges, just make sure to not over tighten since that may cause each board to warp a bit, resulting in an uneven panel.
With help of winding sticks, check for a dead flat surface and fine tune it with the smoothing plane until you get it, then sand progressively starting with 80 grit, then 60, then 200 and end up with 600. After done I made a mitrered external frame to add a fancy touch and achieve my final overall dimensions. As a design feature I rounded the edges using the hand-held router.
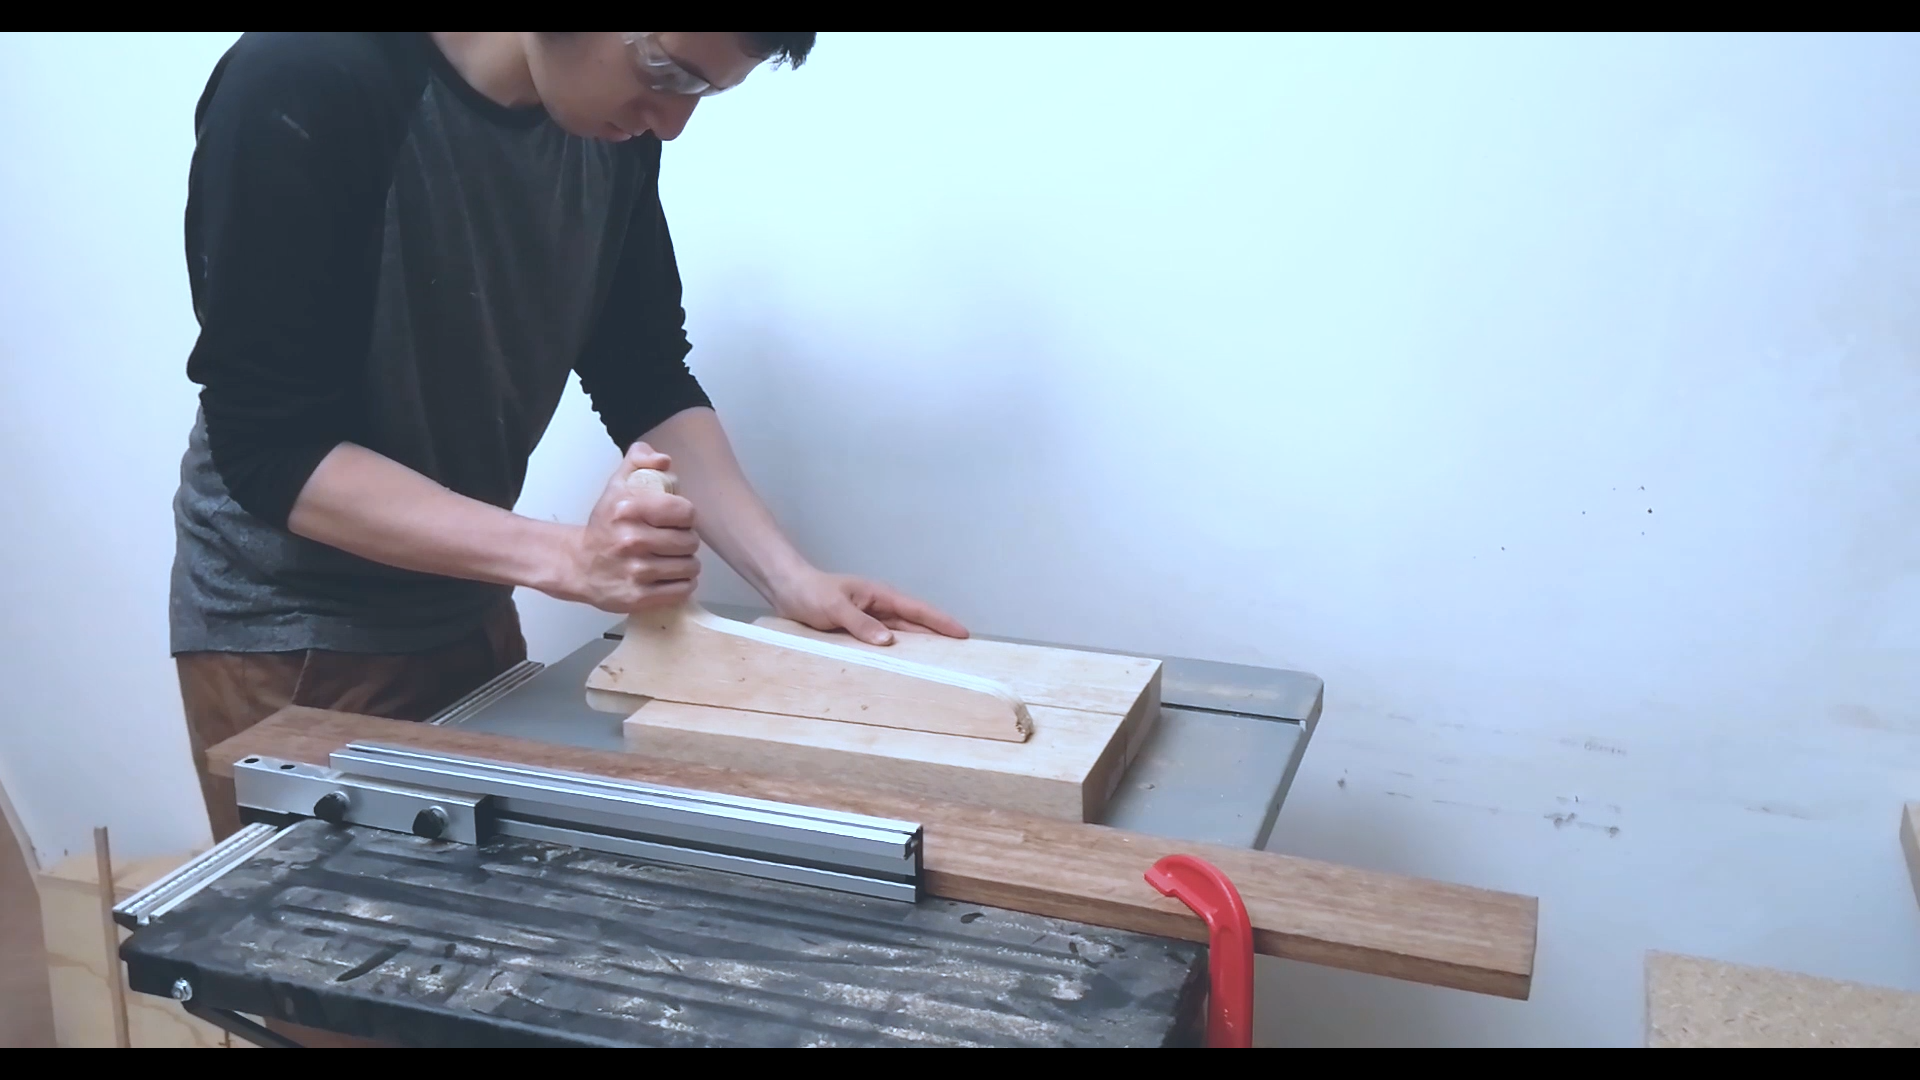
To make the sliders for the draw-leaf mechanism I used a taper sled for the table saw and adjusted the final angle that needed for the leafs to be leveled with the main top, a tip is to always use scraps first to test these things since the angle is hard to find and may require multiple attempts.
Final Assembly Tips


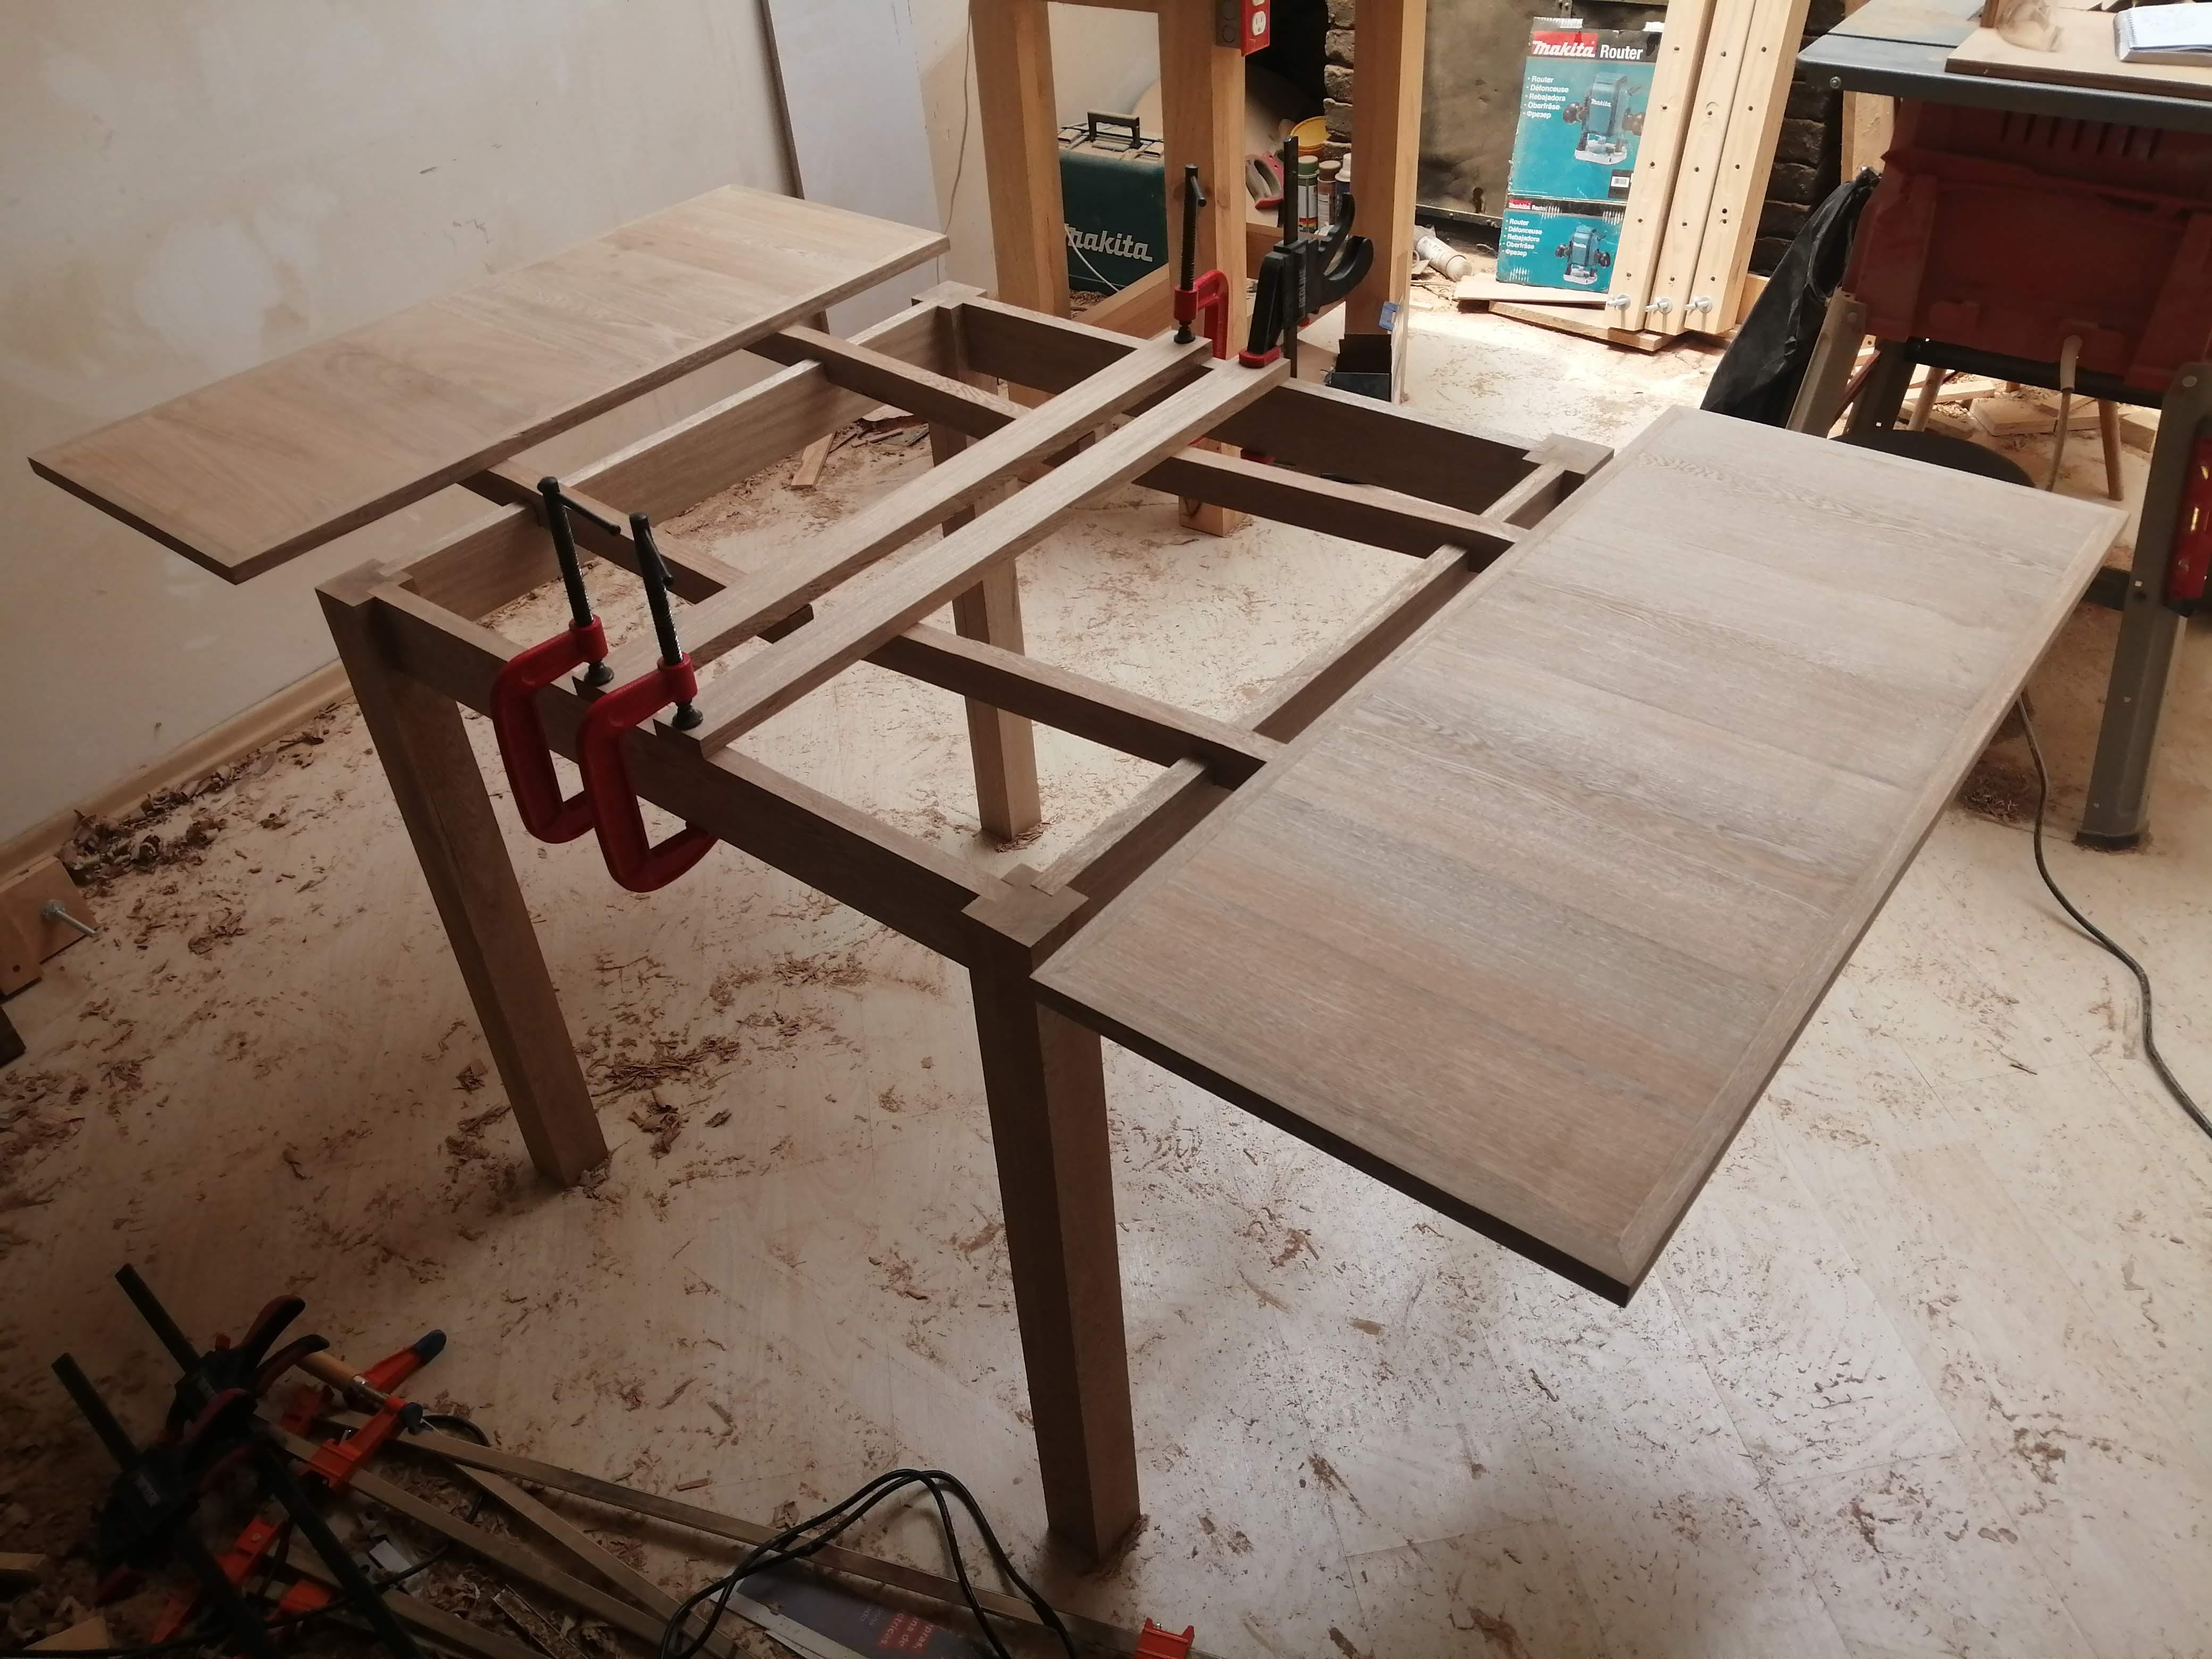
Once you achieved the previous steps, the structure should look like this. To attach the leafs to the sliders use 1", 1-1/4" and 1-5/8" woodscrews spaced evenly along the slider. Add a dowel in the central stretchers to align with the main top.
Having almost completed the project, this design leaves a clearance between both leafs once you contract the table, for aesthetic purposes a filler is usually added by screwing it to the main top from below.
Place the finished top over the structure fastened only by dowels and you have finished the hard-tool part.
For this piece I used an Oak species native to the northern region of South America finished with beeswax mixed with boiled linseed oil, although I would suggest applying an extra coat of a water resistant finish as well.
You Have a Draw-leaf Dining Table


To watch how it wall works in motion, check out my YouTube video on how to build it.
Enjoy.
Franco.