How to Make a Leather Costume Hat
by The Rambler in Craft > Leather
1417 Views, 6 Favorites, 0 Comments
How to Make a Leather Costume Hat


This is the second leather hat I've completed. My first was a sort of stylized take on a more traditional top hat. This one is even more interesting since it's from an anime. The anime is called Black Blood Brothers and it's about a vampire named Jiro. This is his hat.
Because of the features on this hat it didn't make sense to me to make it using only leather so this instructable will cover both the construction of the hat, which is made from leather, as well as the hat band, which I constructed out of foam.
Even though this build is for a specific hat this method can basically be applied to any type of hat featuring a brim, crown, and top.
For those unfamiliar with the anime here's a reference picture:
Supplies

For a standard leather top hat I would recommend using a 3-4 oz veg tanned leather. Because of the rather floppy look this hat has I opted to use a slightly thinner leather and went with 2-3 oz. Below are the materials you will need to create your own leather hat. The "optional" items are things you will need to create this specific hat or to do this the exact way I did it but otherwise you can get by without them.
Materials:
- Leather
- Thread
- Leather Dye or Acrylic Paint
- Gum Tragacanth
- Leather Sealer
Tools:
- Straight Blade/Scissors
- Pencil
- Hole Punch
- Edge Beveler
- Edge Slicker
- Needles
- Glue and applicator
Optional:
- Craft Foam
- Spray Bottle
- Clamps
- EVA Foam Floor Mats
- Contact Adhesive
- Rotary Tool
- Black Plasti-Dip
Drafting a Pattern/Experimentation


I started by drawing out my pattern on a roll of brown paper I got at the dollar store. For the crown I started by drawing out a cone (albeit without the point) with a base that fit my clients head. I had already measured his head with a cloth measuring tape so this part was pretty simple. To mimic the way the crown slopes inward I ended up cutting the sides in a little about halfway up. You can see what I mean in the second picture in this step. The top piece was pretty simple. I measured the width of the top of the brim and then noticed that it looked pretty close to the inner circumference of a roll of tape sitting on my desk. Surprise! It matched exactly so I just used it to trace a circle and I had the top.
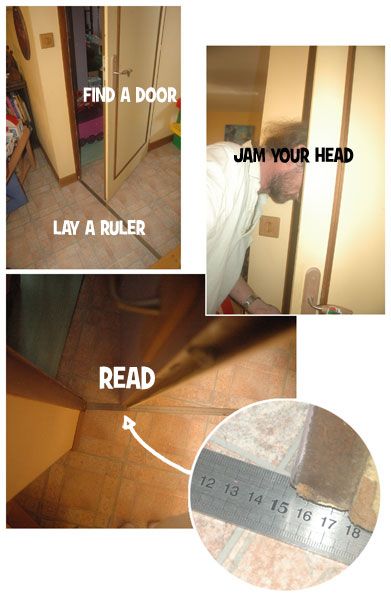
I drew out the brim several times until I came up something I liked. Sometimes it's hard to translate something from an anime (where they frequently cheat and draw things that are unrealistic) into real life so it took a little finagling to get it to look right. Basically I ended up with a sort of "Christmas star" shape with one point longer than the other three. The hole in the center was a little tricky. I knew the circumference of the head it needed to fit but if I just did a round hole it wouldn't fit well. The best way to figure out the diameter of your head is detailed in the picture below courtesy of JFCustoms over at The RPF.
Once I had the diameter and the circumference I just had to make an oval that fit those measurements. Rather than freehand it I drew a rectangle and used an old technique I learned for drawing curves using straight lines. You can check out how to do it here.
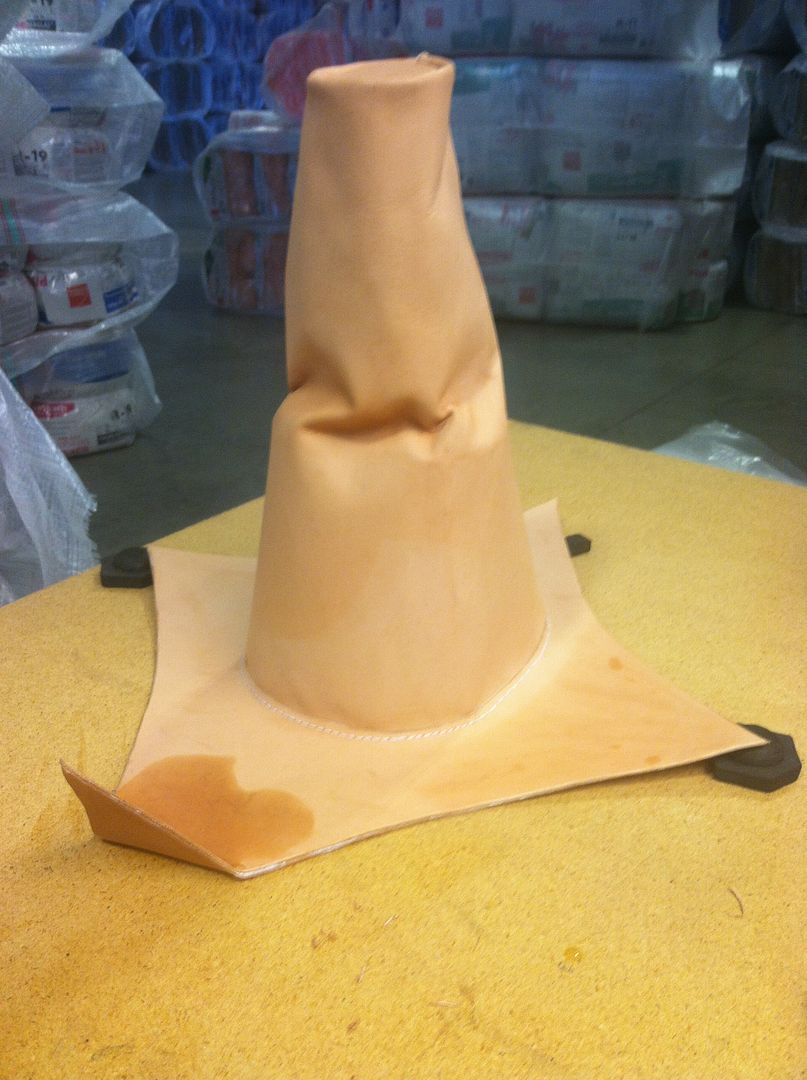
Once I was satisfied that I had a good pattern I transferred it all to craft foam. With the craft foam I could get a better idea of how it was actually going to look as a hat. I went ahead and glued the crown together and glued it to the brim. I also took a heat gun and softened it about halfway up the brim to see what it would look like with the creasing from where it "flops" over in the anime. Everything looked good so I traced it onto the backside of my leather. I had to trace the brim twice since I wanted it to be smooth on both sides and the thin leather I was using wouldn't support it's own weight with just one layer.
Assembling Your Pieces


Once you have all of your pieces cut out you get to punch a bazillion holes! YAY! You need holes around the top, around the hole, and on all four sides of the crown. For this I used a four prong diamond hole punch, my rawhide hammer, and a cutting board dedicated to getting messed up doing leatherwork. I made sure to count holes so that each side matched up properly. Sometimes I had to kind of jimmy one over to fill a gap or squeeze one in where it didn't look like it should fit.
After punching holes comes stitching them. Normally I would use a waxed thread but I knew this hat was getting painted and I didn't want the thread to repel the paint for any reason so I used a thick unwaxed white cotton thread. While I stitched I wore a rubber dipped glove on one hand to help push the needle through the holes. It worked out really well and I wish I had done it for previous projects.
I started this part like I did on my previous hat. I sewed the top on inside out, soaked that section of the hat, then flipped it right-side out. Then I stitched down the side and sewed the brim on.
The hardest part of this step was definitely stitching the brim onto the crown. Sandwiching the crown between the brim layers and getting the needle through all three holes is no small task. I found the trick was to keep the stitching loose where I was working so that I could push the needle through each hole individually and tighten it after I was passed the area.
Detailing

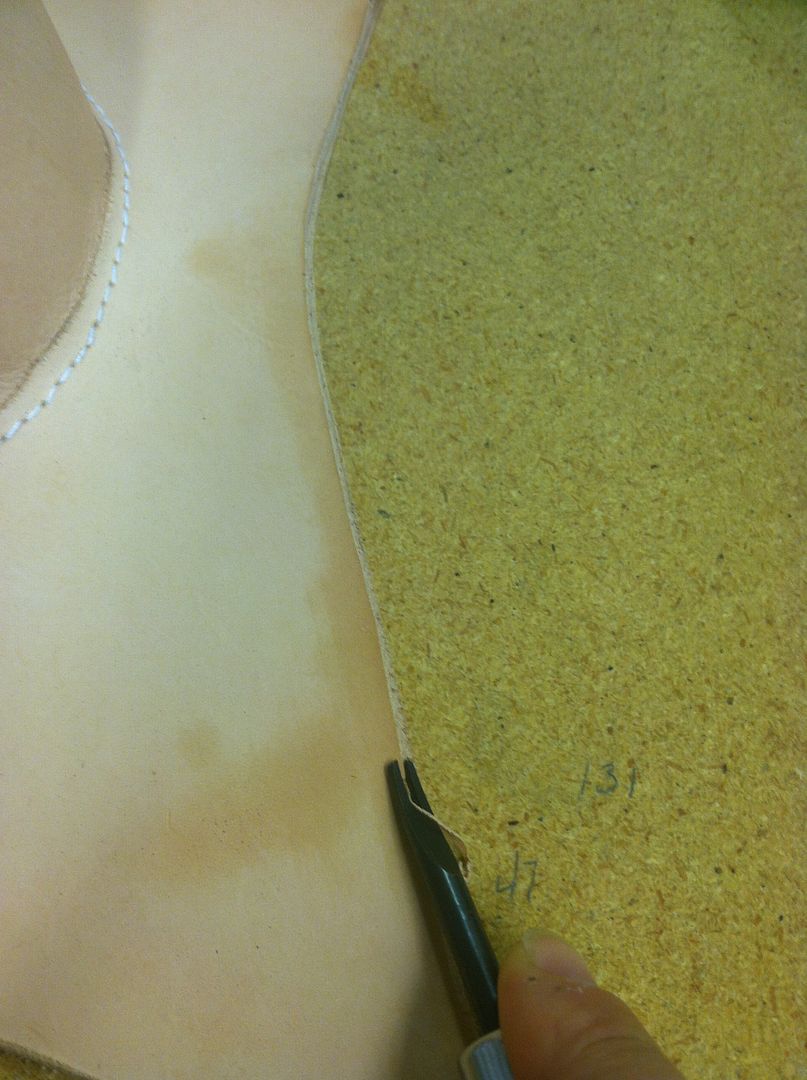
With the hat assembled I did some edge finishing on the brim. I used my edge beveler and edge slicker to give it a better finish and then set to forming the brim.
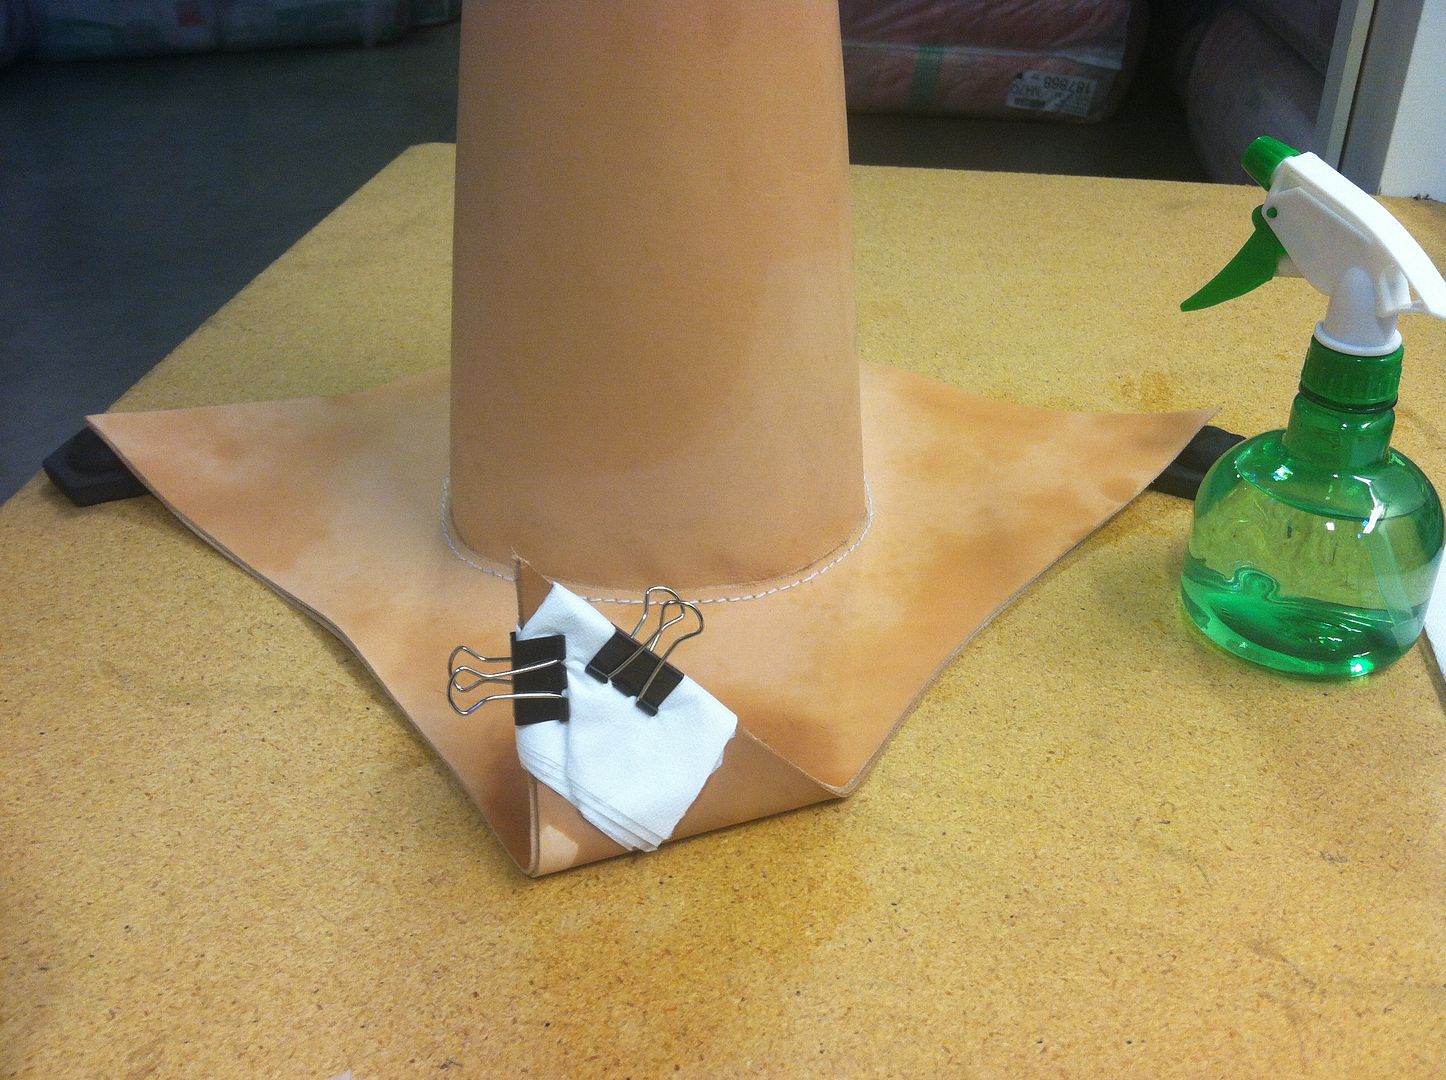
The leather glue I have is water based and the front point on the hat would require wet forming so I was a little uncertain of how this part was going to work. I decided to wet form the point and then glue it afterwards. I dampened the leather, folded the point up at a jaunty angle and clamped it with some binder clips, using paper towels as cushions to keep them from imprinting in the leather.
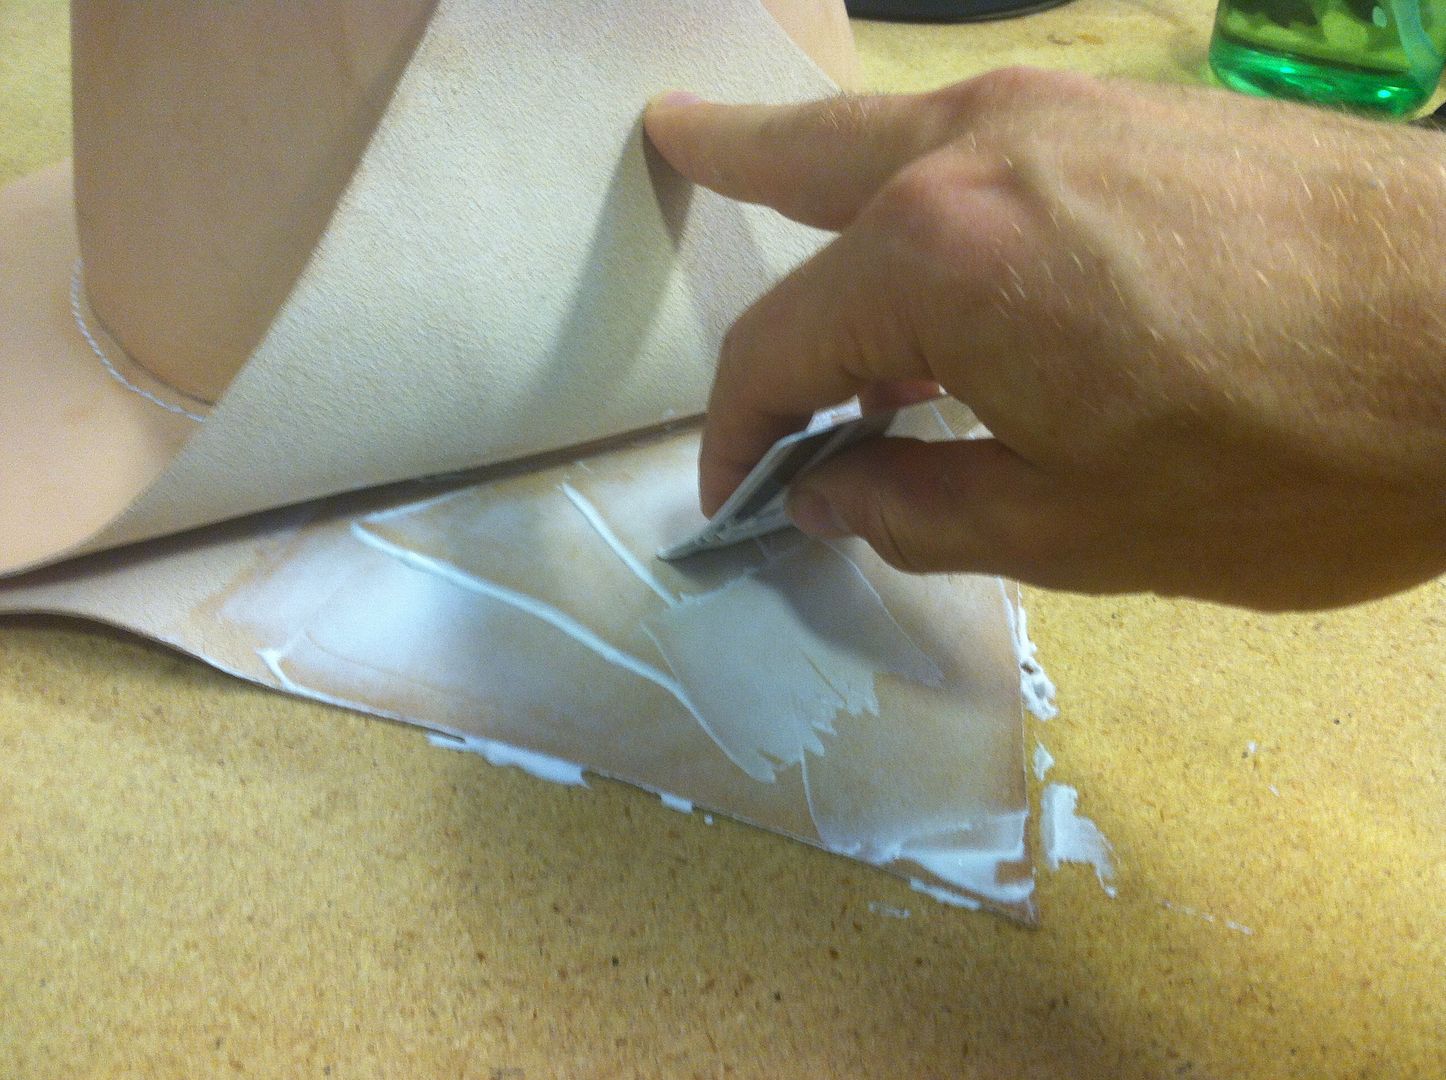
While the point was drying I went ahead and began gluing the other points. I spread the glue on both sides with an old gift card and pressed the leather firmly together. I glued it in four parts, gluing and pressing a quarter of the brim at a time. The last section I did was the point, after it had dried.
Once the brim was completely dried (okay mostly) I sprayed the front center area of the crown to soften it up and then pulled it forward to give it that creased look. It took a bit of prodding to get it to where I thought it looked good but I think it turned out pretty darn good.
Before I glued the layers of the brim together they had been pretty floppy which worried me a bit. I thought I was going to have to insert some sort of reinforcement or bake it to give it some rigidity but as soon as I glued the layers together it stiffened right up.
Painting


I didn't actually do the painting part of this project. I handed it back to the client so he could paint it to match the rest of his costume. That being said I know it wasn't a complicated process. The employees at our local Tandy Leather recommended acrylic paint so that's what he used. There's no special technique either, just paint it on then seal it.
Bonus Foam Bits


or: Crimes Against Leather
The band around the crown presented an interesting challenge. It was far too thick to make out of leather so I decided to try EVA foam, or foam floor mats.
Since I already had the foam pattern that I used for the crown (and I probably wouldn't be making another one of these) I just cut the bottom part off of it which gave me roughly the right size I needed for the band. I say roughly because you have to make it longer than the pattern when you cut it out due to the thickness of the foam. Unfortunately I didn't cut it quite long enough and paid for it later so make it longer than you think it needs to be! I found the center of the band and used my roll of tape from earlier to draw a half circle for the cut-out. It wasn't big enough, so... I kind of fudged it. I basically just used the tape roll to get a nice rounded curve by outlining a bunch of half circles and then sort of connecting them with more half circles for one super half circle. There's probably a better way. Like finding a jug or something bigger to trace around.
For the bolts I freehanded a hexagon and traced a circle using a cardboard tube. The circles I then rounded over with my dremel. I also gave the back of the hexagons an inward curve so they would adhere better to the band since it would be curved once it was on the hat.
For the thinner piece that goes across the half circle cut-out I just used a scrap piece of black craft foam.
I also cut a rectangle for the piece that holds the ring which I then rounded with my dremel and cut a groove in the back.
Once I had all of my pieces I started gluing them together using contact cement. First I carefully glued the ends of the band together. Then I glued the pieces of the bolts together and then glued them onto the band. At that point I tried it on the hat and realized that it was a little too tight so I used my dremel and a sanding block to take some of the material off the inside so it would fit. Once that was done I also carved out an area on the inside to glue the thinner cross piece so it would sit flush with the rest of the band.
For the metal ring I decided to use some scrap Worbla rather than try to find an actual ring in the right size. I cut a thin strip, heated and rolled it, then I reheated it and bent it around a Tootsie roll bank (anything with the right diameter would work I suppose). Then I gave it a coat of this appliance spray paint I had on hand to try and get rid of the texture. I think it would have worked better if I had more time to give it more coats but at this point I was kind of in a rush. Then I painted it gold.
I gave the band a couple coats of black Plasti-dip and once it had dried I put the ring in.
Finishing It Off


You're done! Put it on your head. Wear it around town, or to go trick-or-treating, or to a Halloween party, or an anime convention.
But most importantly! Duck when you go through a doorway because this thing is stinking tall.
