How to Make an Origami Collapsible Box.
by Project1011 in Craft > Paper
843 Views, 5 Favorites, 0 Comments
How to Make an Origami Collapsible Box.


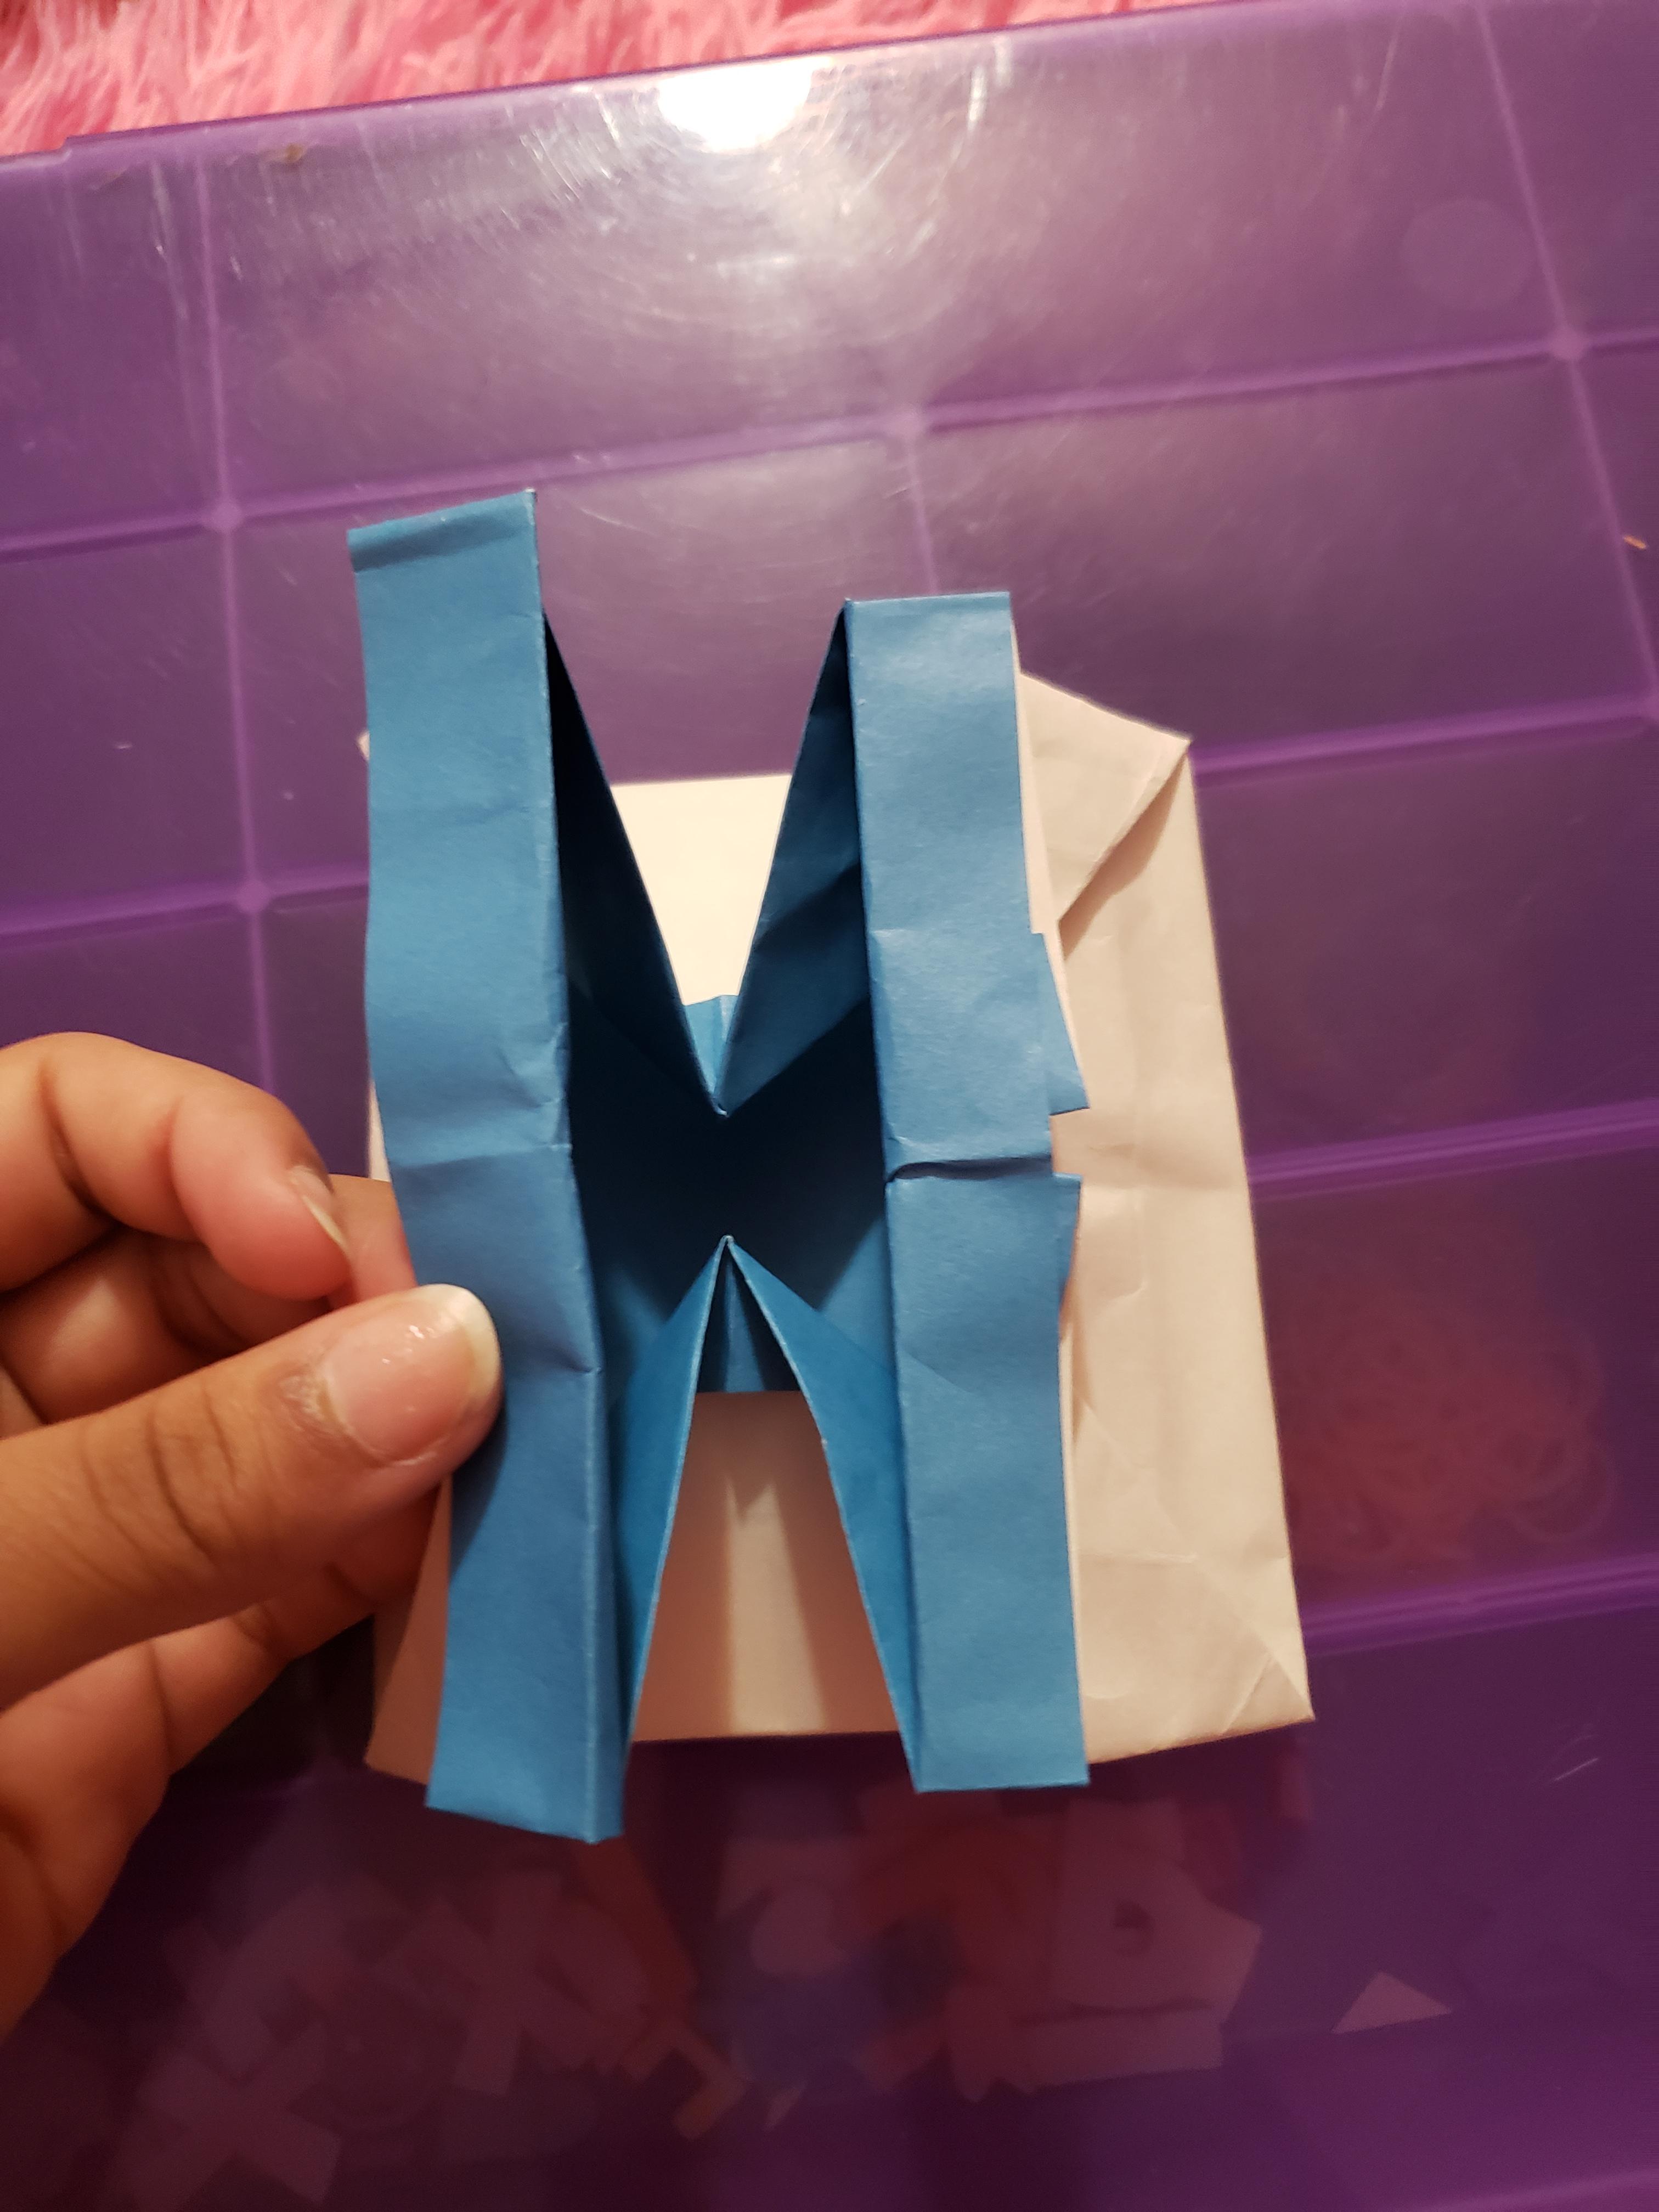
I love to make this box so much. It is so cute and I can close it so that none of my stuff falls out.
Supplies
•paper 9 ¾ x 9 ¾ or smaller as long as it is square.
Folding


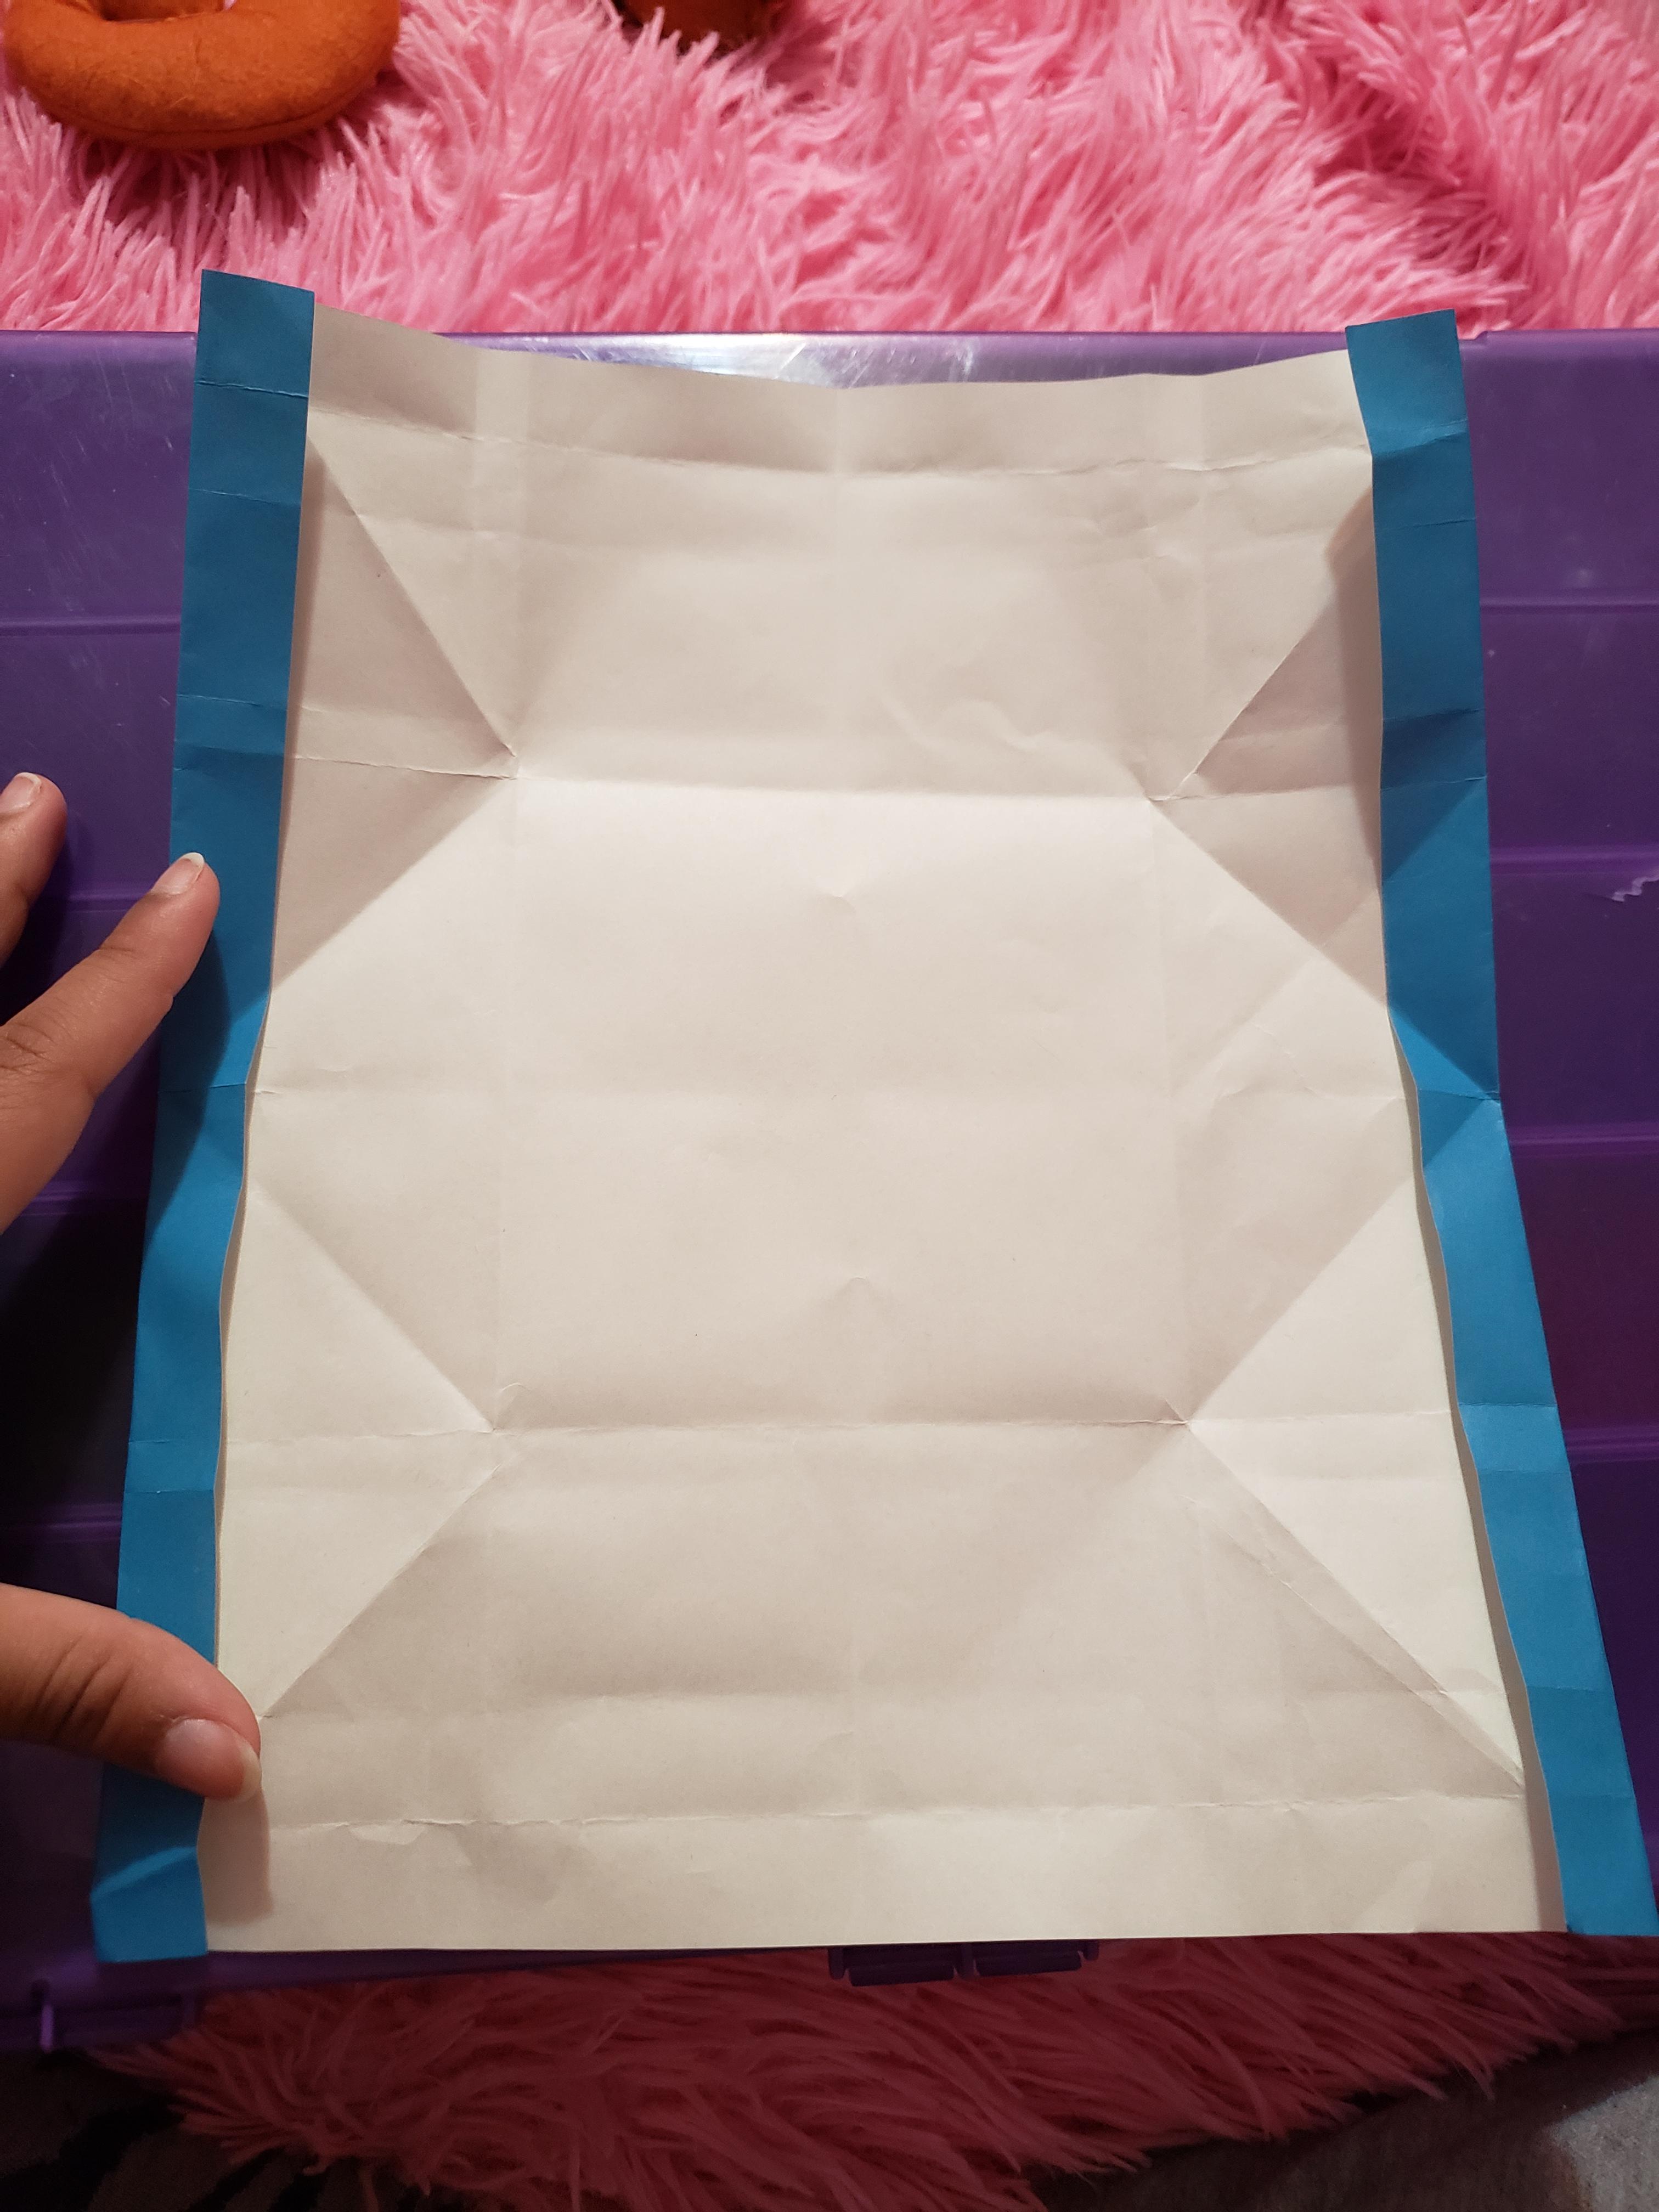
Start with the side that you want to be on the outside face up. Align the bottom and top. Crease the. Corners. Unfold. Now bring the top and bottom up to the middle crease. Crease those edges. Unfold. Do this two more times. On the last one keep it folded. Now bring the bottom and top up to the middle crease and Crease the edges. Unfold. Now unfold the bottom fold.
Folding


Repeat the same steps that you did but going vertically. Once you get to the part where you are supposed to unfold the smallest crease that you have made do not do that. Instead flip the paper over.
Folding


Fold the sides into the middle. Unfold. Bring the side crane into the side top crease and crease the middle. Note that you will have to make the paper 3-d to make these folds. Make them on all of the corners.
Folding


Flip your paper over. Fold the sides in just like you did before just above it and in the opposite direction. Do this on both of the sides. Now bring down the line that is on the top from your corner fold and bring that down to the diagonal line that you just made. Do this on both sides. Unfold them all.
Folding


Squash fold the top down using existing creases. Now fold in the edges to line up with the sides of the edges. Now fold up the bottom of the flap as far as you can go. Rotate the model until this is on the bottom. Repeat these steps on that side.
Unfolding- Ish


Rotate the model until the flaps are on the side. Put your fingers inside the box and gently pull. Now you have your collapsible box. If you take the flaps and push them in you can close your box.