How to UPGRADE Your ORGANISERS | Revamp Box Files, Mini Drawers & a Tape Holder!
3451 Views, 79 Favorites, 0 Comments
How to UPGRADE Your ORGANISERS | Revamp Box Files, Mini Drawers & a Tape Holder!


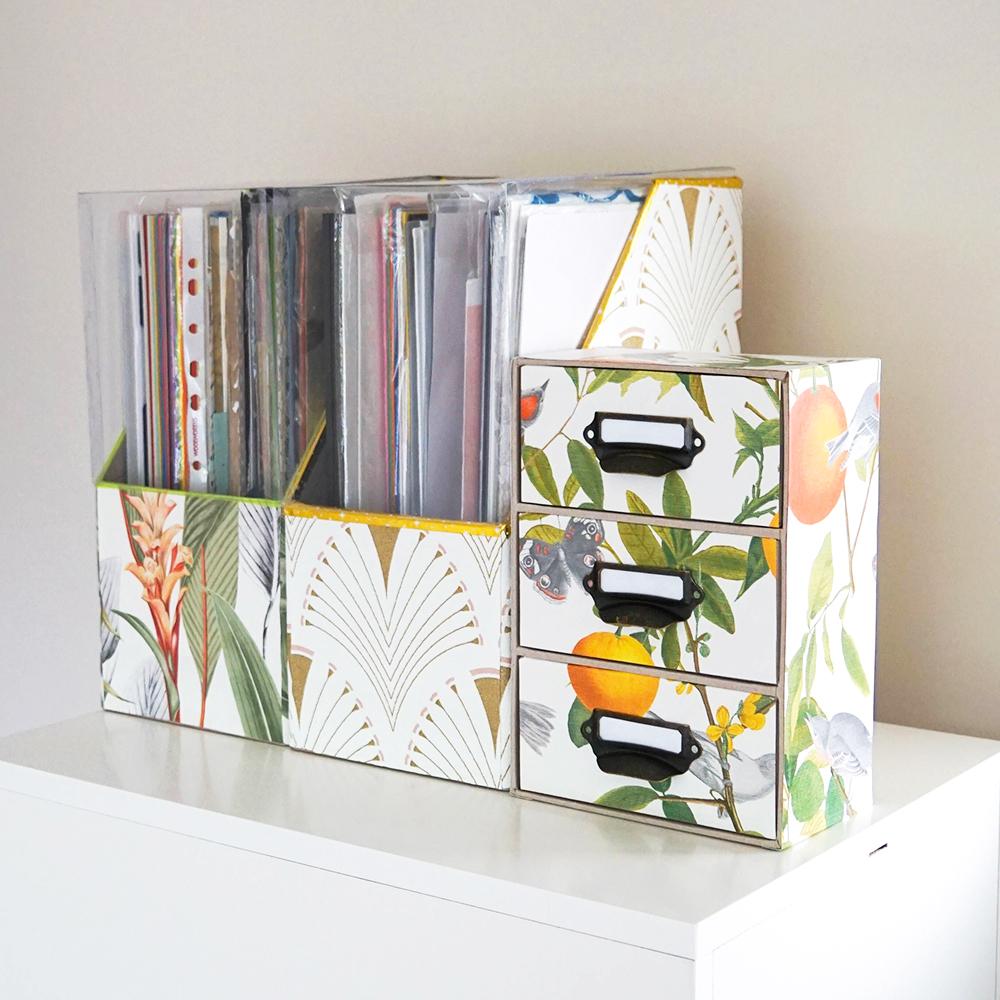
I've recently been re-organising my craft supplies (well...let's say it's an ongoing project) and I bought some basic cardboard box files, mini drawers and an MDF tape holder. All brown and plain and boring. So I thought I would show in this Instructable how you can easily upgrade the look of these without spending much at all.
I hope you enjoy seeing the before-and-afters, and how these simple changes can make so much difference :)
Supplies


- Plain Cardboard Drawers & Box Files: I found mine at Paperchase (UK)
- Wallpaper Samples: or other decorative paper. I had samples left from some recent redecorating, and they're so useful for projects like this.
- Wooden Tape Holder: I found this on Amazon, but if you have basic woodworking skills it wouldn't be difficult to make from scratch.
- PVA Glue
- Wood Glue
- Strong Clear-Drying All-Purpose Glue
- Primer & Paint: I used Gesso and a white spray paint. You'll also need a breathing mask if using spray paint.
- Scrap Cardboard
- Small Brass Drawer Pulls with Label Frames
- Craft Knife
- Cutting Mat
- Masking Tape
- Double-Sided Tape
- Cheap Paintbrush
- Acetate Sheets & Dry Erase Marker
- Small Piece of Thick Felt
- Ruler
- Scissors
- Decorative Tape to match the paper you're using.
- Pencil
Tape Holder - Painting


For the tape holder, I received 2 sides, a back and 4 rectangles that will form the angled shelves. All in MDF.
To start with, you'll need to prime the MDF. To do this, I just applied white Gesso all over with a brush - except for in any areas that will later be glued.
You'll see I didn't paint the back, and this is because I'm going to cover it with paper...however, I learned that even with thick paper it's not entirely opaque so my advice is to paint everything even if you will be covering it!
Then take all the pieces outside, put your breathing mask on and spray paint all of the pieces. Again, don't paint the parts which will be glued. To avoid painting these areas, just cover them with masking tape.
I used a white Plastidip paint because that was the only white spray paint I had, but any type will do.
At this point, take the time to check that all the pieces fit together easily, as you may need to do a little sanding now if they don't.
Tape Holder - Paper


I kinda did this step and the next step all in one go, and, even though it worked for me, I think it's probably best to take a different approach.
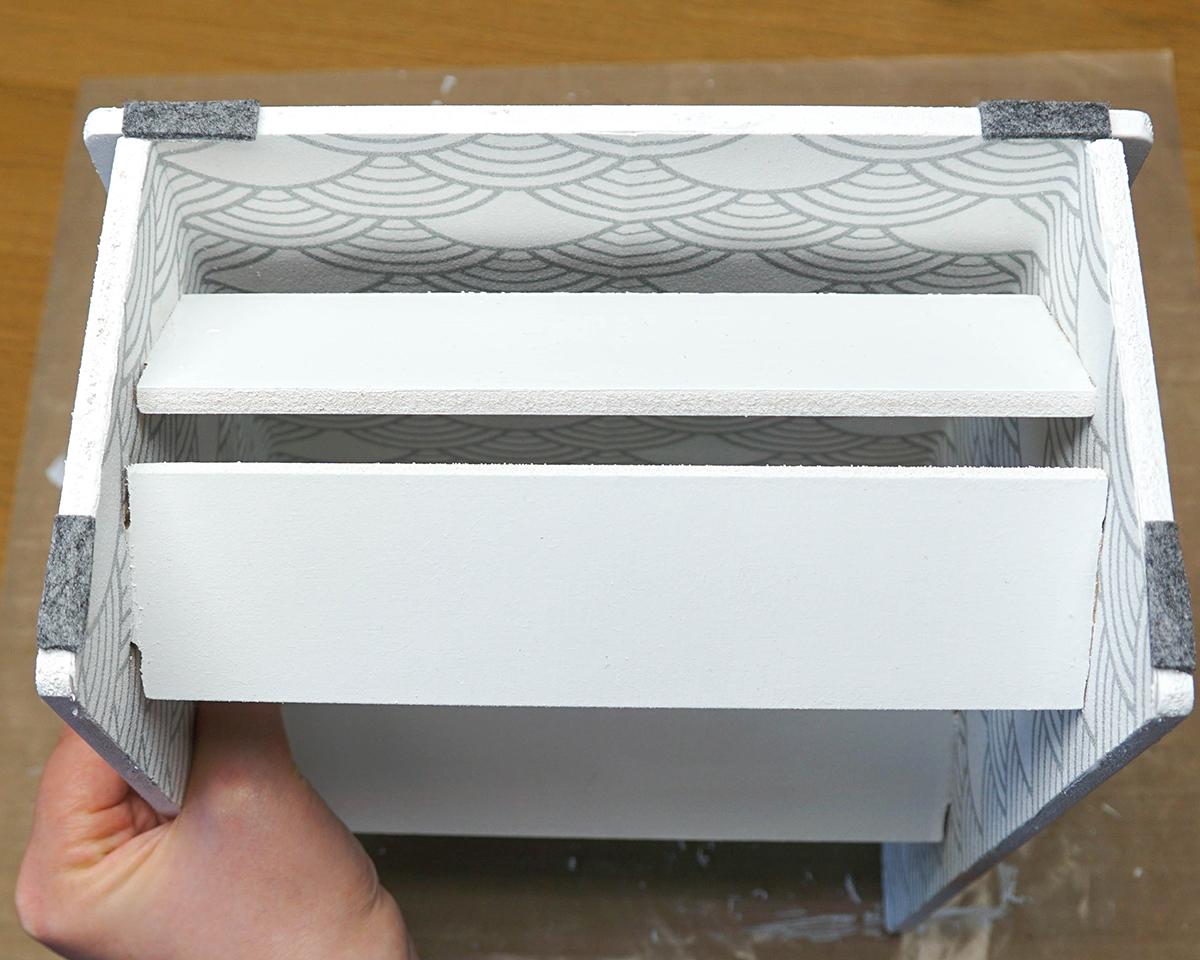
You can see that I used a single sheet of paper to cover the inside of 3 pieces, just after I had glued those pieces together, and then I attached the shelves (which took a bit of force since I'd already put the sides in).
However, what I suggest is that you cover the inside of the back and sides with separate pieces of paper first - using a clear all-purpose glue to make sure it sticks strongly - and making sure to not add paper where the pieces will be joined together. Then use a craft knife to cut the 'slots' out of the paper where the shelves will go, glue one wooden side into place (with wood glue), then the shelves, then the other side piece.
Note that I'm using wallpaper for these projects so it's relatively thick, and can take glue without the paper being damaged and without the glue coming through to the front of the paper. But if you're using thinner paper, you may need to use a different glueing method - for example, PVA glue, decoupage, or just double-sided tape.
Tape Holder - Glueing & Trimming


Leave the glue to dry whilst a heavy weight is on top.
My shelves didn't butt up against the sides as closely as I expected them too, so I then needed to paint the edges with Gesso since they can now be seen.
Then all you need to do is use your craft knife to trim off the excess paper.
To do this, first cut (with scissors) from the edge of the paper up to a corner of the wood. Then, making sure your craft knife is sharp, drag the knife through the paper whilst against the edge of the wood. Do this carefully and use a slicing motion.
Tape Holder - Feet & Finishing


Cut a few small rectangles of thick felt out and attach them to the base of the tape holder using strong double-sided tape or glue.
And that's it, the display is finished!
Box Files - Sides


Time for the box files now!
Firstly, spread a thin layer of PVA glue onto one large side using a paintbrush.
Then lay your piece of paper onto this side and press down all over. You'll want to have at least a few cm excess paper at each edge.
I think it's a good idea to use a stronger glue around the outside edges to make sure the paper is stuck down well.
Repeat for the other side.
As mentioned above, you may need to use a different method of attaching the paper depending on the paper you''re using. If glue is going to seep through it, you would need to either decoupage the paper or attach it with double-sided tape instead.
Box Files - Front & Back


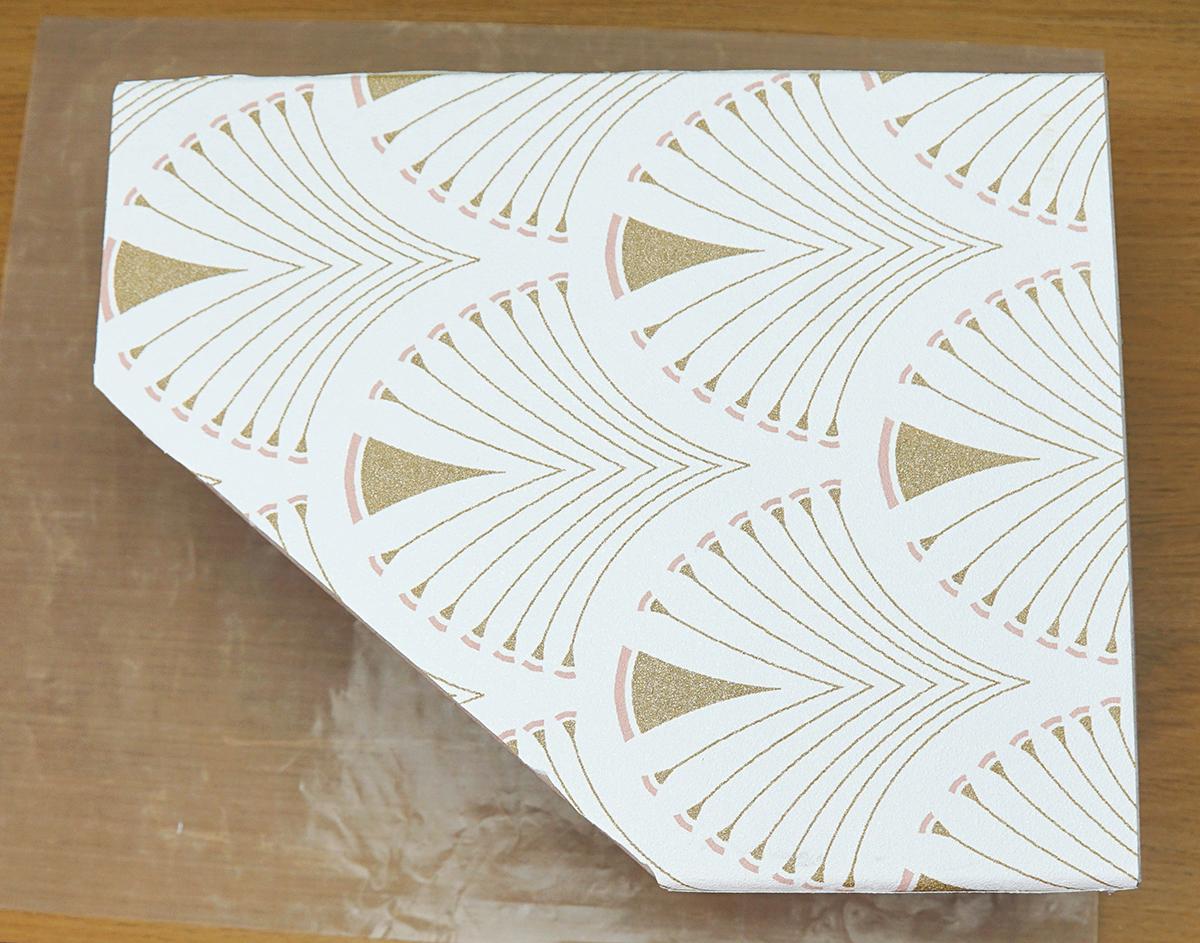
Use a sharp craft knife to carefully trim away the excess paper along the diagonal edges, using a slicing motion.
At the front and back of the box files, keep about 1 cm of excess paper on each side to wrap around the corners and glue down.
Next, use the same technique to attach paper to the front and back. Except this time you don't need to keep any excess paper to wrap around the corners - you can cut off all of the excess.
Box Files - Trimming


Use your craft knife to trim around the outside edges and inside the hole at the back, but use small scissors instead to trim at the corners where the pieces of paper meet.
Box Files - Tape


Apply decorative tape neatly along all of the outside edges. You can also put 2 strips at the back where the paper pieces meet, unless you've cut the paper neat enough to not need to do this.
I found that because my wallpaper is textured, the tape started peeling off in a few places, so I ended up using my strong glue to stick it down again. When I used non-textured paper, the tape stuck down very well so it's definitely an issue of texture.
Box Files - Acetate Lid


I hate getting dust in my box files, so I thought I would make an acetate lid for mine, which of course is an optional extra.
First, you'll need to work out the design for the lid, and measure the top edges of the box file as well as the width and depth.
I couldn't fit the entire length of the lid on one sheet of acetate, so I needed to attach 2 pieces together by glueing them along a little 'flap' section. In total, I needed 2 rectangles and 2 triangles, all with flaps on one side where the pieces needed to attach together.
In the photos above, you can see that in this step I cut out 1 rectangle and 2 triangles. I then glued these together to form a 3D triangle that fit perfectly into the diagonal 'gap' of the box file.
Each triangle had 2 flaps that needed to be lightly 'scored' using a ruler and craft knife, to make sure they bent cleanly.
In the rectangle shape, only 1 line needed to be scored where the acetate reached the front of the box file.
When marking out the pieces, I used dry erase marker which can be later removed from the acetate.
Box Files - Finishing


The 2nd rectangle was then drawn and cut out, before being glued onto the triangle section. 1 line needed to be scored on this piece, where the acetate reaches the back of the box file.
This lid includes a strip of acetate that will be pushed down the back of the box file, and this is enough to keep the lid in place - no glueing required. You'll likely need to just trim down the sides of this section though, so it fits snugly into the file without bending.
In the last photo, you'll see another box file I decorated in exactly the same way, except I used different wallpaper and tape. A tropical theme!
Mini Drawers - Fill-In Tabs


If you intend to add different handles to these drawers, you'll first need to fill in the gaps at the front.
To do this, just cut out pieces of cardboard the same shape as the gaps and glue them in place.
Mini Drawers - Sides & Fronts


Using the same method as with the box files above, I spread a thin layer of PVA glue on the side of the drawers, then pressed the paper onto the glue all over.
Unlike with the box files, I measured out the exact size of paper I needed prior to attaching it, as then I didn't need to trim the paper whilst it was attached to the drawers.
Just make sure you leave a little excess paper at each end though, to wrap around the top and bottom corners. Make folds in the paper at these points before attaching the paper to the drawers, so that you get a clear fold line. Makes for a neater finish.
Repeat for the other side.
Then do the same for the drawer fronts, measuring and cutting the pieces of paper first.
I left a little excess paper at the top to fold over each drawer, but just make sure that if you do this the drawers won't then fit too tightly.
Glue these paper pieces into place and leave to dry.
Mini Drawers - Back, Top & Drawer Pulls


Repeat the same method to cover the top and back of the drawers. You don't need any excess paper on these pieces though.
Then it's time to use strong glue to attach the drawer pulls - one in the centre of each drawer.
Finally, add little labels to each of the pulls.
The End.


And that's it, all of the organisers have been transformed!
As you can see, it's a very simple process and the results are well worth the effort. No boring organisers any more :D