How to Make a Reversible Jersey Cardigan
6926 Views, 31 Favorites, 0 Comments
How to Make a Reversible Jersey Cardigan

This reversible cardigan you can enjoy two looks, like the one I'm showing, combined with a strapless dress but can definitely wear it with jeans and t-shirt.
You Will Need


You will need the following materials:
Jersey, choose two differents colors. Sewing machine, scissors, measuring tape, chalk.
Necesitarás los siguientes materiales:
Jersey, elige dos colores diferentes. Máquina de coser, tijeras, cinta métrica, tiza o lápiz
Jersey, choose two differents colors. Sewing machine, scissors, measuring tape, chalk.
Necesitarás los siguientes materiales:
Jersey, elige dos colores diferentes. Máquina de coser, tijeras, cinta métrica, tiza o lápiz
First Step


The two fabrics must be the same measurements.
Las dos telas deben tener el mismo tamaño/medida.
Picture #1: Once you have the two fabrics like the picture, pin it together.
Una vez que hayas colocado la tela como lo puedes ver en la imagen, asegúralo con alfileres.
Picture #2: Fold in half
Dobla la tela por la mitad.
Picture #3 and Picture #4: draw the shape as you see in the picture, then cut the excedent fabric
dibuja la forma del chaleco como lo puedes ver en la figura, luego corta la tela excedente.
Picture #5: After you're done, it will look like this
Luego de cortar, te quedará así
Second Step


Picture #6 and Picture #7: Measure your back/shoulder for this part and mark on the fabric.
Medir la espalda/hombros para poder marcar sobre la tela.
Picture #8 and Picture #9: Now mark the measures of your arm, following the mark you just did.
Ahora marca la medida del brazo, siguiendo la marca que acabas de realizar.
Picture #10 and Picture #11: Sew all the edge that I'm pointing in the picture
Coser todo el borde que estoy señalando en la imagen.
Third Step


Picture #12 and Picture #13: Cut the arm hole that you mark before, but only one side of the fabric in this case the black fabric.
Corta donde irá el brazo y has marcado recientemente, pero solo un lado de la tela, sería la tela negra.
Picture #14: It will look like this.
Te quedará así.
Picture #15 and Picture #16: Sew the other edge but make a hem to the inside.
Coser un dobladillo en el otro extremo.
Picture #18 and Picture #19: To sew the arm part choose the zig zag of you seweing machine.
Para coser la parte del brazo elige la forma zig zag de la máquina de coser.
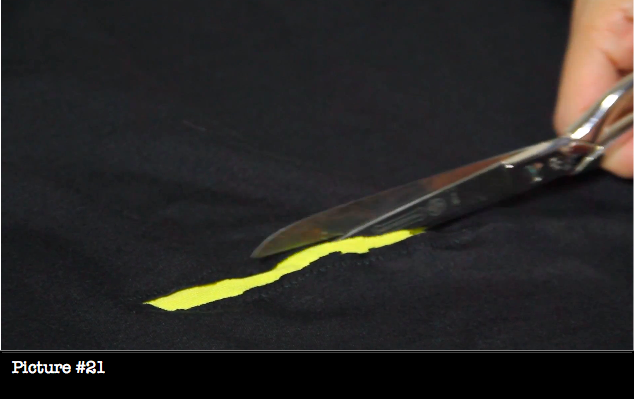
Picture #20, Picture #21 and Picture #22: Now cut the excedent yellow fabric
Ahora corta el excedente de la tela amarilla.
Picture #23 and Picture #24: And you're done! :)