Kids Bench + Toy Chest + Desk
by ToolboxDivas in Workshop > Woodworking
9506 Views, 83 Favorites, 0 Comments
Kids Bench + Toy Chest + Desk
.jpg)
.jpg)


Christmas is rapidly approaching and all I can see are toys everywhere. With this space-saving multi-functional kids furniture you can clear the clutter and have a place for your kids to sit and read a book. . Here are instructions on how to build A kid's bench that has toy box storage and converts into a desk. Decorate and style it to fit your child's personality.
Here are some of the items I used in this project.
Hardware/Supplies:
- (2) 1/4in. - 28 x2 in. Hex Cap Screw
- (6) 1/4in. Flat Washers
- (2) 1/4in. x 2-5/8in. Eye Bolt with nut
- 2in. Narrow hinges
- (2) Magnetic catch with strike
- (1) Universal lid support
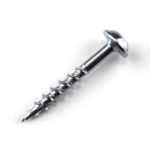 1 1/4 in pocket screws
Tools
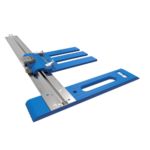 Kreg 24 in. Rip-Cut Aluminum Circular Saw Guide
 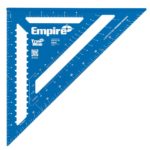 Speed Square
 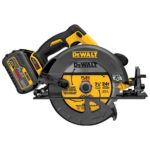 Circular Saw
 - Clamps
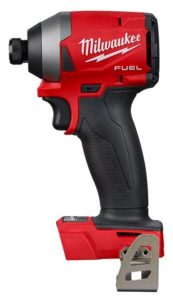 Impact Driver
 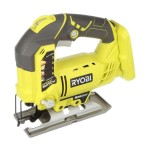 Jigsaw
 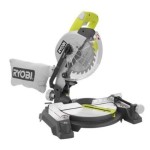 Miter Saw
 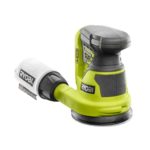 Sander
 - Tape Measure
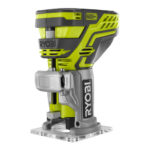 Palm Router
 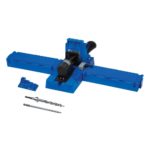 Kreg Jig K5 Pocket-Hole System
I worked on this project in conjunction with Buildsomething.com in their 2018 Holiday Campaign. The complete plans with dimensions can be found at Buildsomething.com.
Cut Boards


Cut down the plywood to size. I used sanded 3/4 in plywood for this project.
Mark Opening


Mark out opening on the 2 side boards and front box panel. I used a cup to help round the edges.
Clamp and Cut


Clamp the boards to the work surface and cut using a jig saw.
Create Handles


Create handles on the two side boards by drilling in to the side panels and using a router to create the opening.
Assemble the Box


Using Pocket holes assemble the base box frame of the toy box storage.
Attache the Lid


Start with the back part that will remain in place. this is where the backrest for the bench will rest when its not in a table/desk position.
Hinges


Attach the hinges. Route the inside so that the hinges will allow the lid to close flush with the surface.
Arm Rest


Round 1 side of each of the 1x2 legs boards. I just rounded it out with a sander. Attach the two 1x2 boards.
Backrest/ Desk Top


Cut the backrest in the desired curve pattern.
Assemble the Desk/ Backrest

Attach the arms to the back rest /desk top board using pocket screws.
Attach to Toy Box


Using a hex cap screw anchor the arm to the toy box base.
Locking Holes


Drill the holes to lock the back rest in place. I used simple eyebolts.
Wood Filler

Apply wood filler to the holes and openings.
Lid Support


Attach a lid support bracket at the center of the toy box lid.
Magnetic Catches


The support lid can make it hard to fully close. Add magnetic catches to fix this issue.
Round Edges

Using a router with a roundover bit round out the edges.
Finishing

Sand, paint or stain. Decorate with paint or decals
Enjoy
.jpg)
.jpg)
.jpg)
Your kid will love this and so will you because the floor won't be cluttered.
For more details on this project and the complete free plans head over to ToolBox Divas for more details.