Landscape Wall Hanging


I am showing a large project and a small one to give an idea of the many things you can do for this project.
Supplies


The moss mat can be purchased from a craft store. You can use pre-made miniatures or dried nature and bits of other things. Here I used dried moss, flowers, a half avocado skin, some small stones, broken safety glass, the dried ends of small peppers, dried artichoke leaves and some suede strips.
I like using Mod Podge and E-6000 gel glue. Wire is used to secure larger pieces.
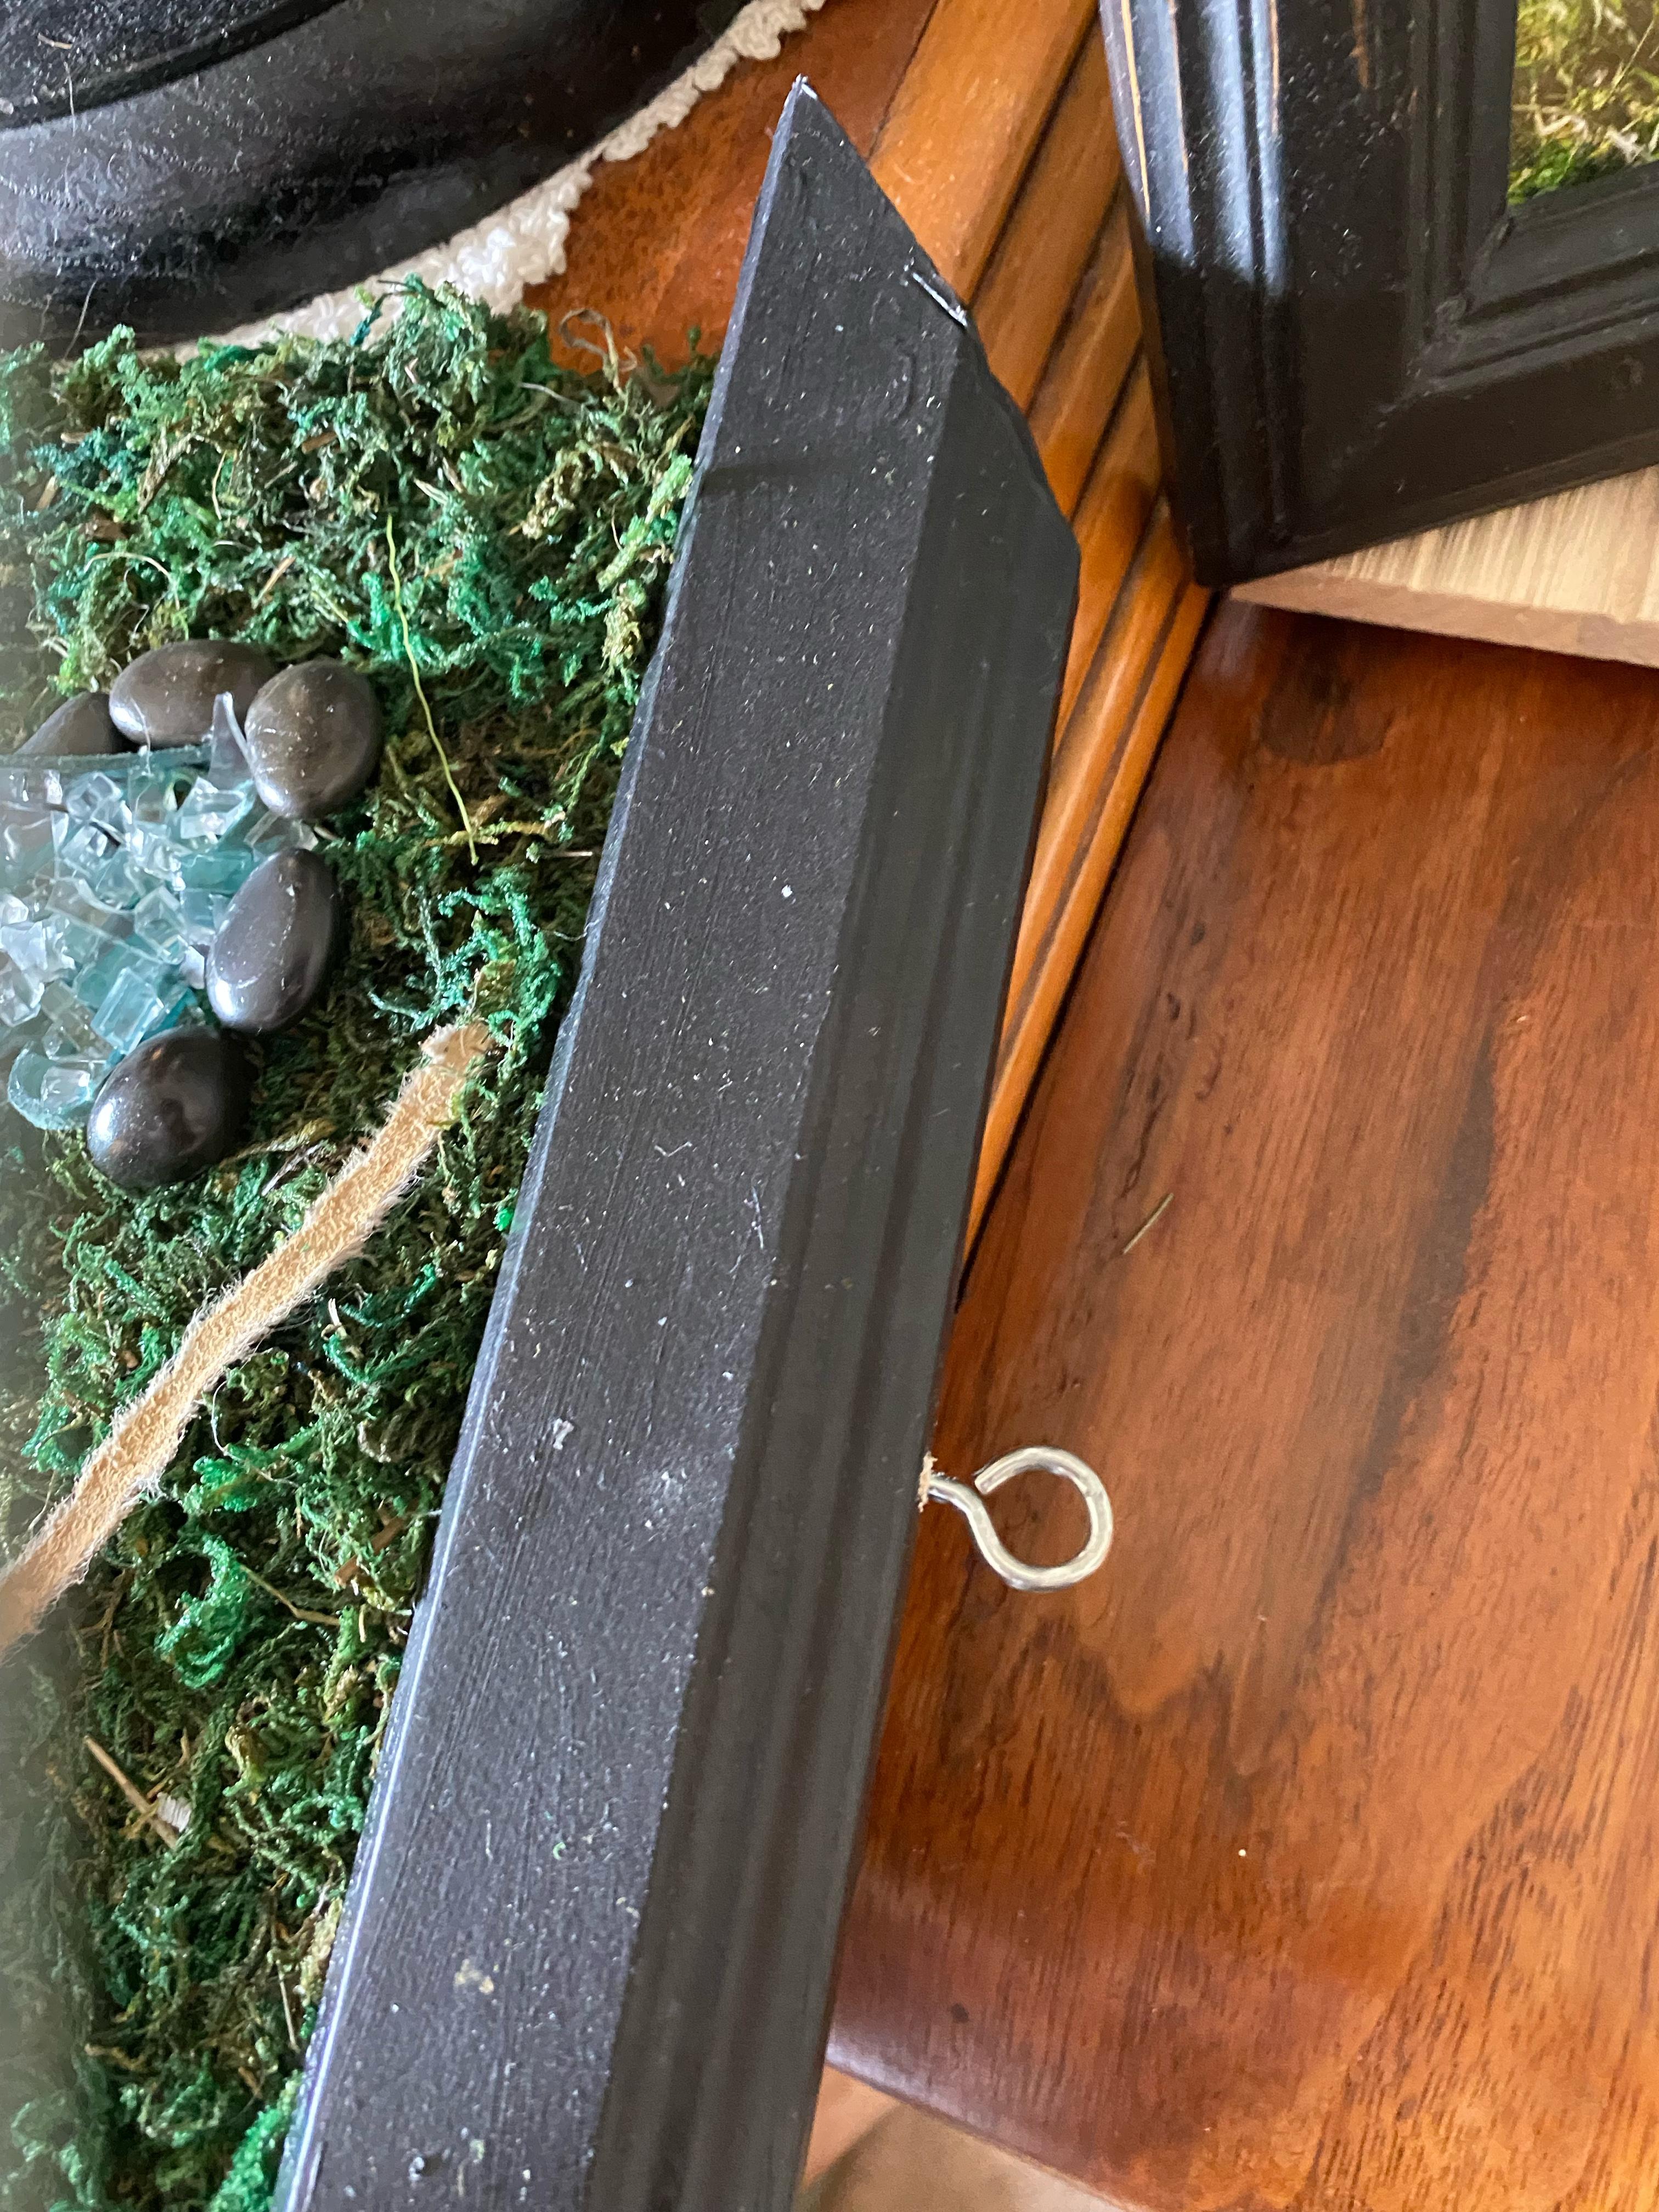
An old arm from a frame is attached to the top to give it a ‘picture’ feel.


Start by spraying the moss with acrylic spray to help it stay put. Then glue a piece of cardboard on the back. Make sure the edge of the mat meets the top of the cardboard.
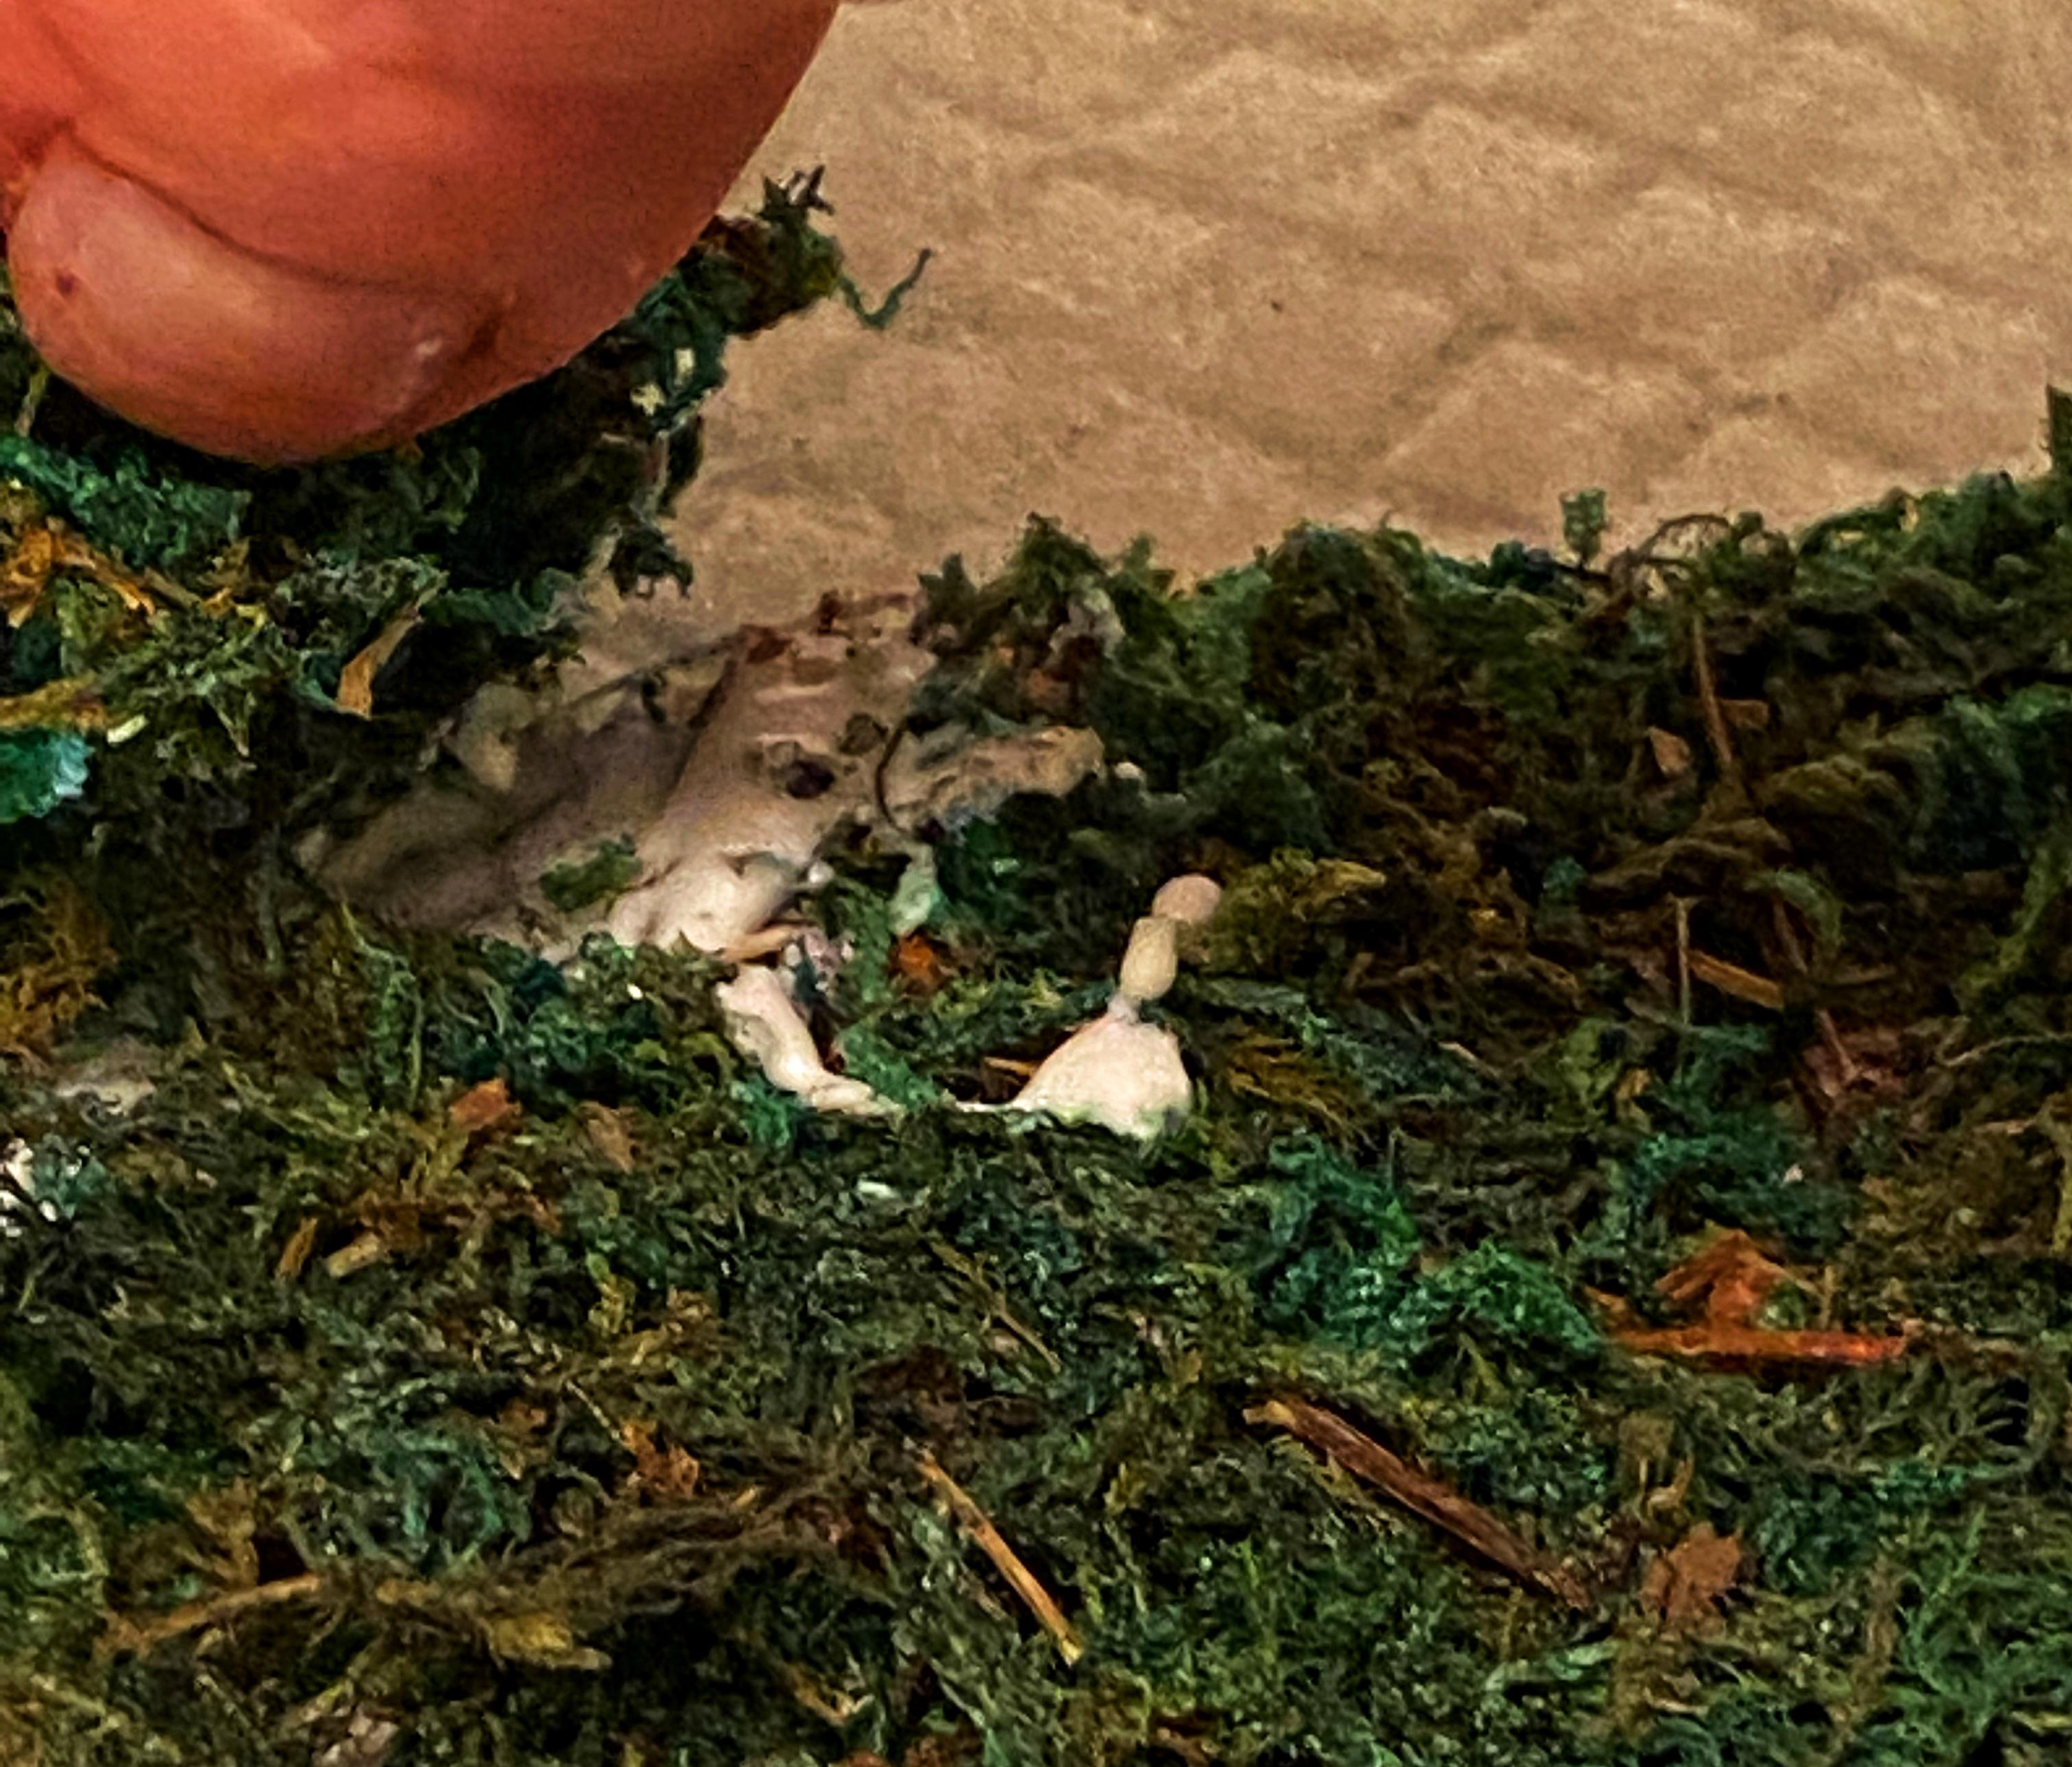
Use glue to fill in any bald spots on the moss mat.


Using scissors, cut a wavy line at the bottom of the mat.


Paint the frame to all one color if desired.


Spray the mat where you filled in any pieces and all dried plant/nature material.

Experiment with your layout. It helps to lay out your design then walk away for awhile to get a ‘fresh look’.


Attach your individual pieces. Put small holes in larger or heavier pieces and use wire to secure. Make holes in the mat and through the cardboard for pieces with stems. Glue down the individual pieces using more glue than you think necessary. It will dry clear.
Use the E-6000 for heavier pieces like stones.


Spray with acrylic one more time when everything is dry.
Attach the frame with E-6000 and attach a fabric strip on the back where the frame meets the cardboard. Add netting if you can to ‘finish’ the back.
Drill small holes to add a way to hang your finished piece.