Light Box


The light box is a vintage box, that turned into a lamp when opened.
I renovated the box that I found in the trash. Inside it I added a led strip and a switch that turns it on when the box is opened. I also added a hinge to keep the lid open.
Supplies


Materials:
An old wooden box
A LED strip (20-50 cm, according to the box).
One hinge
Some screws, white wood paint and glue.
Tools:
Multimeter
Soldering iron and some tin
Screwdriver
Vibrating sander
A brush
A clamp
Find, Clean, Repair and Paint a Vintage Box


I picked up from a pile of scraps an old wooden box that contained a disused measuring instrument.
The first step was to return it back to being the beautiful box:
I emptied it of its contents, scraped and cleaned sponge and glue residues, disassembled the buckles and polished the outer part. The connections of some of the sides came loose, I glued them using carpenter's glue, strengthened them with a clamp and dried them.
Then I painted the inside white, so that it reflects light nicely.
Find and Characterize a Lever Micro-switch


I found a lever micro-switch in an old printer (see step 5), that I take apart with Nir.
I wanted the light to be ON when the box lid will be open, i.e, when the lever arm is up, so I tested the wiring with a multimeter.
I realized that the UP position of the lever will refer to the ON state of the switch, if I connect the LED through the two contacts at the ends.
I straightened the end of the lever with pliers, so that it could be between the box and the lid, without interfering with the closing.
Wire the Lamp to the Switch


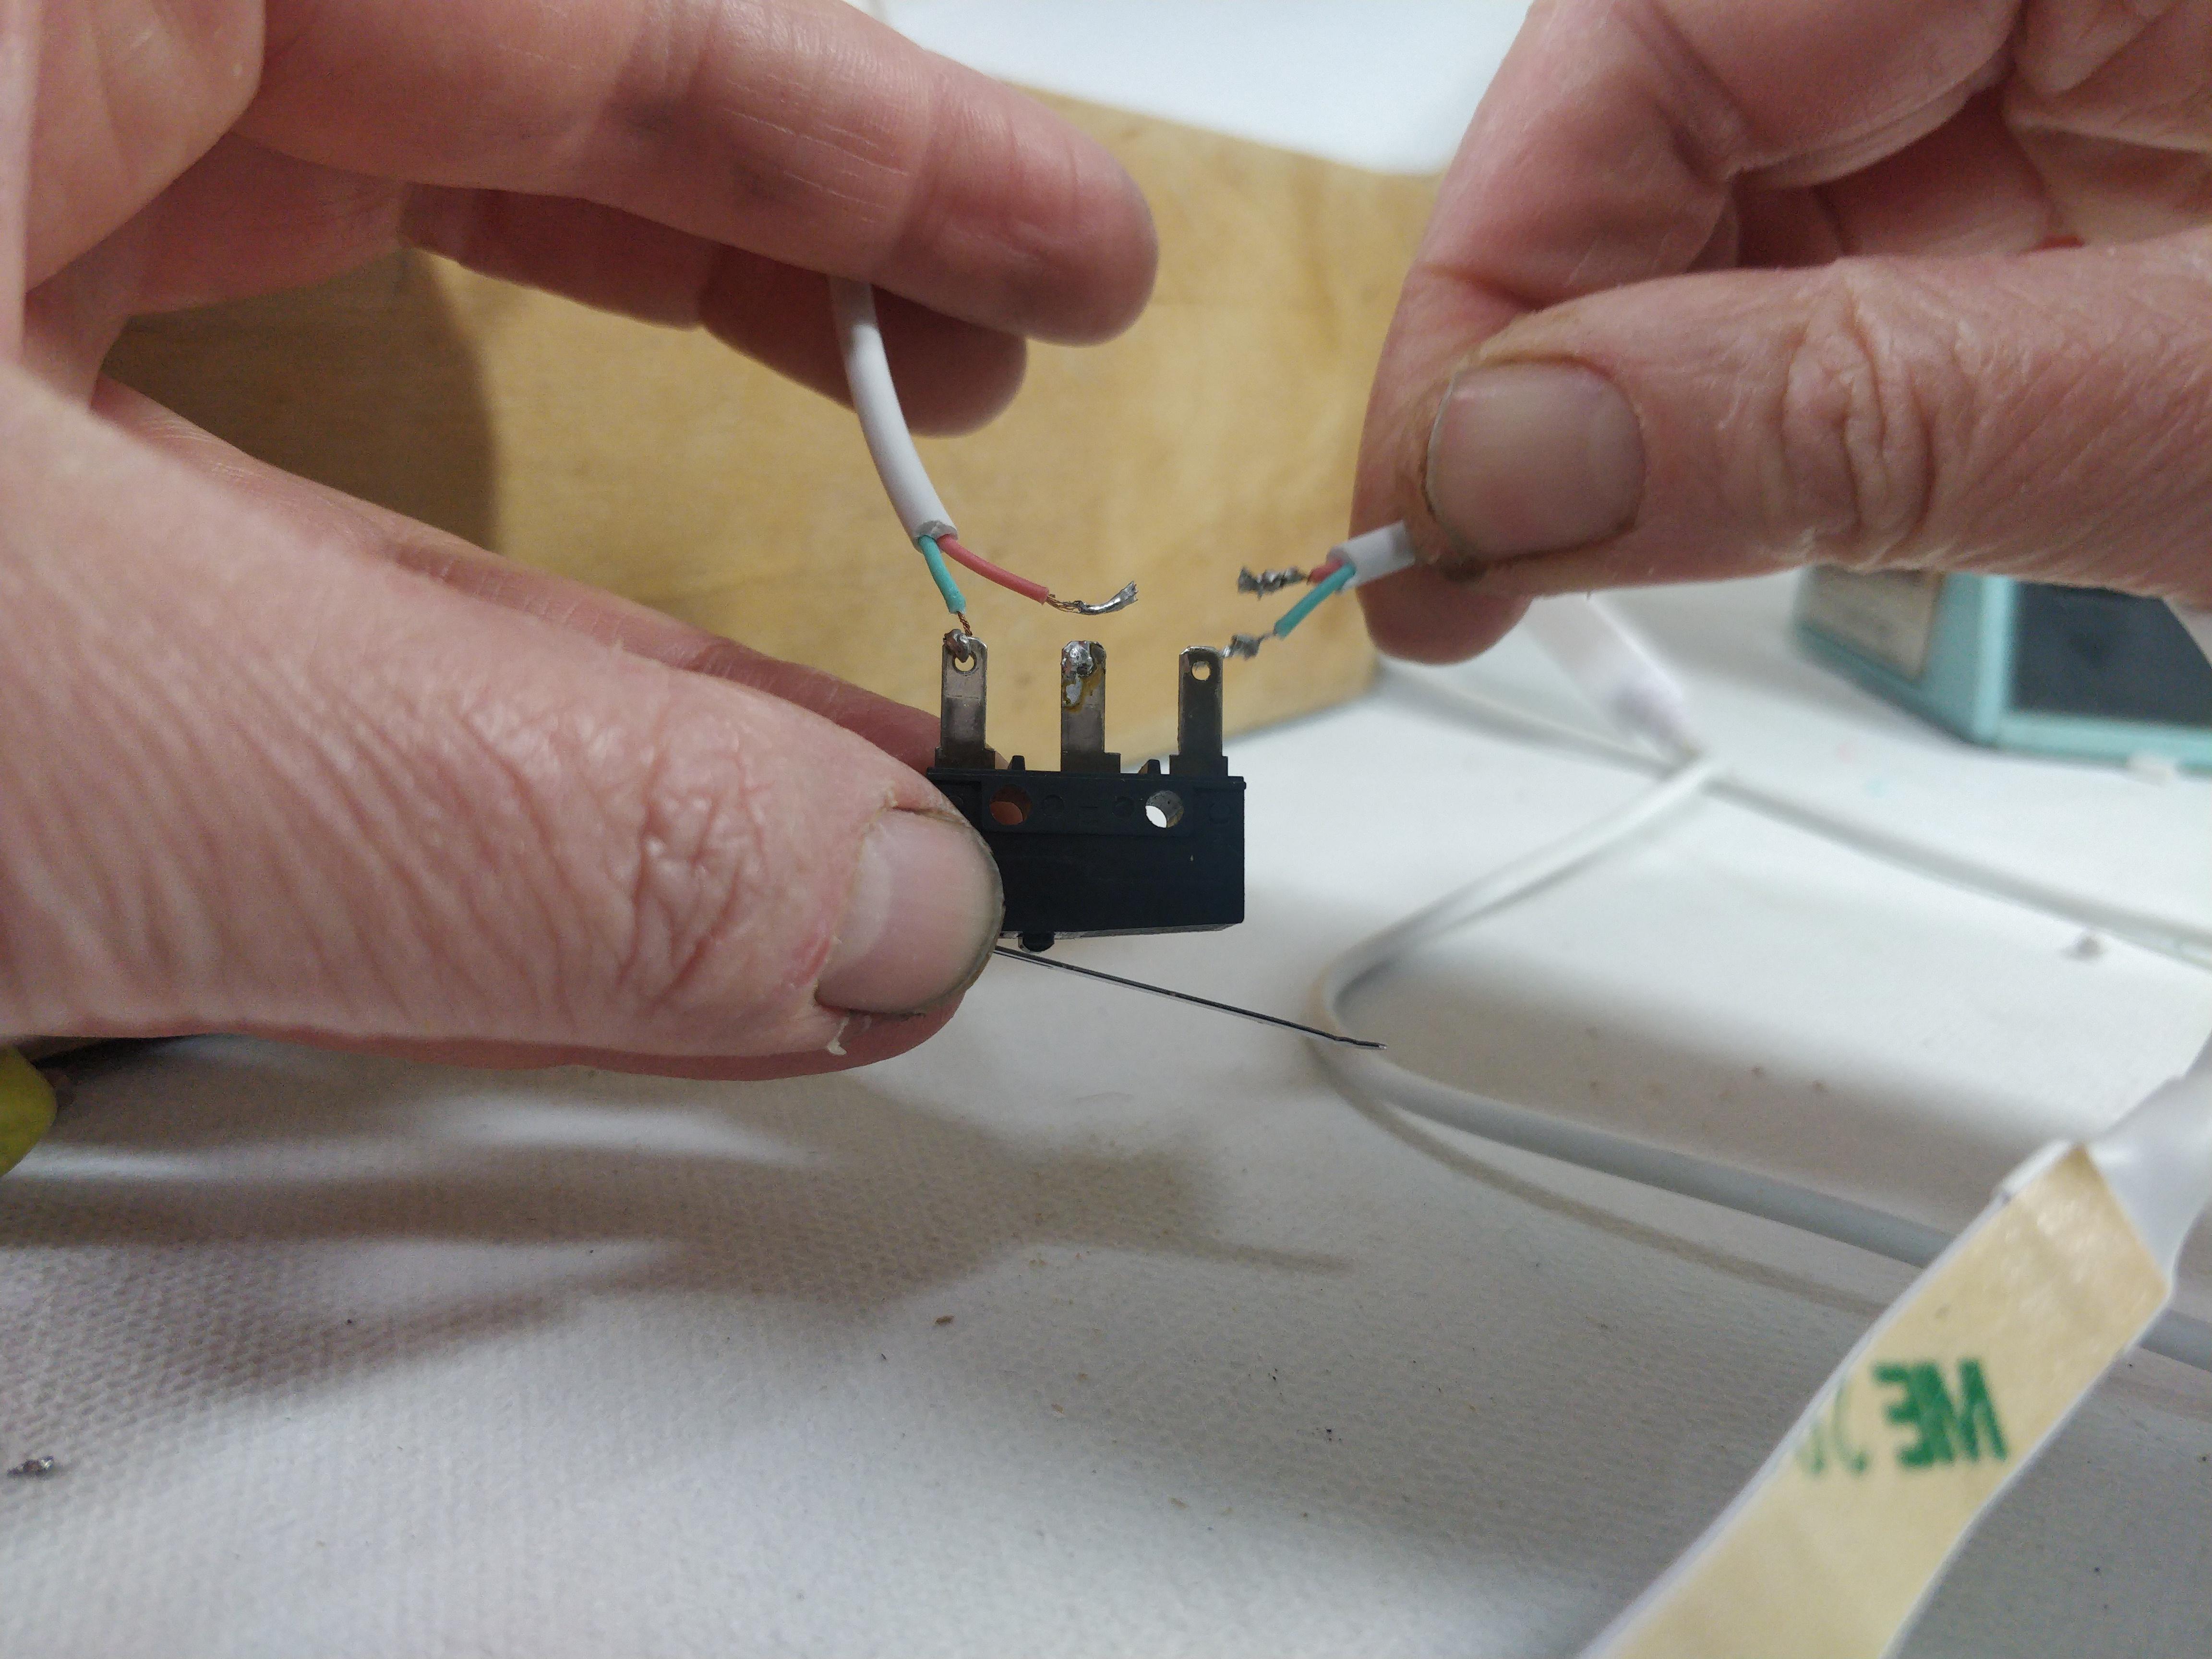
I cut the electrical wire of the LEDs and striped the two inner cords, if one of them goes through the switch, the click will control the light on. The other cord should be connected back.
The wire should also come out of the box. So, I wanted the LEDs to be inside the box, connected through the switch (which would be glued to the wall) to the other side of the wire, which came out behind the box.
I drill a small hole in the back of the box and threaded the non-led side of the cord through it from the back. Then I soldered both two side of the blue cord to the two sides of the switch. I soldered the two parts of the pink wire back together.
Check the Wiring

I just checked that the contacts work and that pressing the switch does turn off the LEDs.
Attach the Switch to the Box Wall


I glued the switch to the box wall (using a little epoxy glue), so that closing the lid will lower the lever of the switch and the lamp will turn off. This way the light is turned off when the box is closed and on when it is open.
Add a Hinge


I bought a hinge that allows to leave the box open at any angle, similar to the hinges of cabinets in the kitchen, but small and decorative.
The box is small, and the lid is light, so one small hinge seems definitely enough, I just attached it to the side and the lid.
Glue the Lamp

I glued the LED strip with glue to the inner front wall of the box, so that when it is opened, only the reflected light from all the inner sides of the box will be seen. I attached the power cord outside the box to the back wall, so that it doesn't accidentally pull out.
Reassemble Parts

I cleaned the rust and put back the box buckles.
Let Someone to Open the Box and Enjoy His\Her Reaction

That's all....