Lily∞Bot With Raspberry PI Pico W: Get Started Programming With MicroPython in Platform IO Visual Basic
by carlottaberry in Circuits > Robots
528 Views, 0 Favorites, 0 Comments
Lily∞Bot With Raspberry PI Pico W: Get Started Programming With MicroPython in Platform IO Visual Basic

This story is a continuation of the Open-Source Flower∞Bots journey. In the latest version of the robot, it now has a modular bottom and top so that they can be changed as needed for the various brains, microcontrollers or microcomputers and also the necessary power for them. Modified from the following Shilleh's project and Youtube. This project describes how to get started with the Raspberry Pi Pico W attached to the Lily∞Bot to write programs and control outputs and read sensors to execute actions on the robot.
Supplies

Lily∞Bot from NoireSTEMinist.com/shop includes Raspberry PI Pico W,
or 3d printer and CAD files and code at https://github.com/berry123/Lily-Bot
Install MicroPython on the Raspberry PI Pico W


- Download Visual Studio from this link
- Download Python from this link
- Download MicroPython from this link
- In the link go to Port:rp2
- Scroll down and click on the image for Pico W
- Click on the latest version of UF2 bootloader
- Install MicroPython on the Pico W by plugging the device into your computer while holding down the BOOTSEL button
- The folder for the Pico W will open on your computer it will have RP files in there
- Drag the .UF2 document that you downloaded from MicroPython into the open PICO W folder
- Unplug the PICO W from the computer and plug it back in WITHOUT holding the BOOTSEL button
- Open up Visual Studio on your computer and the bottom status should show the PICO connected to the computer
- Click on Extensions and do a search on MicroPico and install


Run the Code
- Create a folder on your computer for the LilyBot code
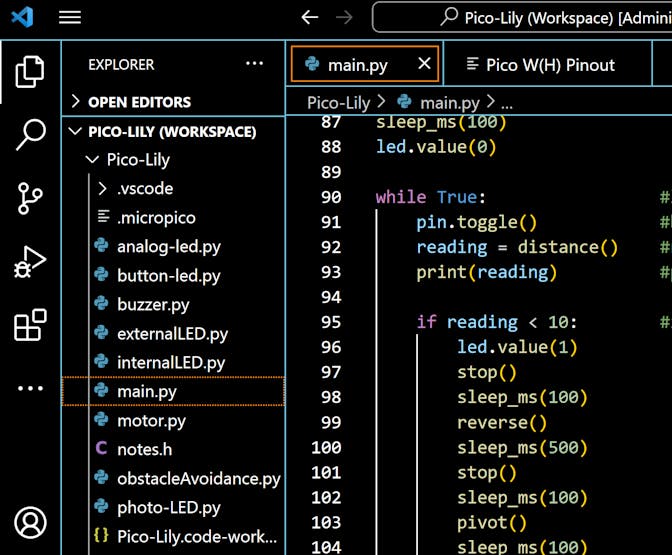
- Open this folder inside of Visual Studio by using the file explorer button on top left of previous figure
- Then click on CTRL-SHIFT-P in Windows or COMMANd-SHIFT-P in Mac or Help->Show All Commands
- In the box at the top type MicroPico: Configure Project
- Create a Python file (.py) in the folder and copy the code in the following space in the document.
- Make sure that there are no errors and confirm that bottom status screen shows the Pico W connected.
- Next right click on the file and select "Run current file on Pico"
- If the green LED starts blinking, you are all set up and can go on to the next tutorial on blinking and external LED on the Lily∞Bot using Raspberry PI Pico W with MicroPython. If not, please walk through this tutorial again until you can get it working.
Downloads
Confirm It Works
