Lining a Hand Knit Sweater
by blopez in Craft > Knitting & Crochet
44620 Views, 19 Favorites, 0 Comments
Lining a Hand Knit Sweater

This is not an instructable to teach you to knit. It assumes the ability to knit a sweater.
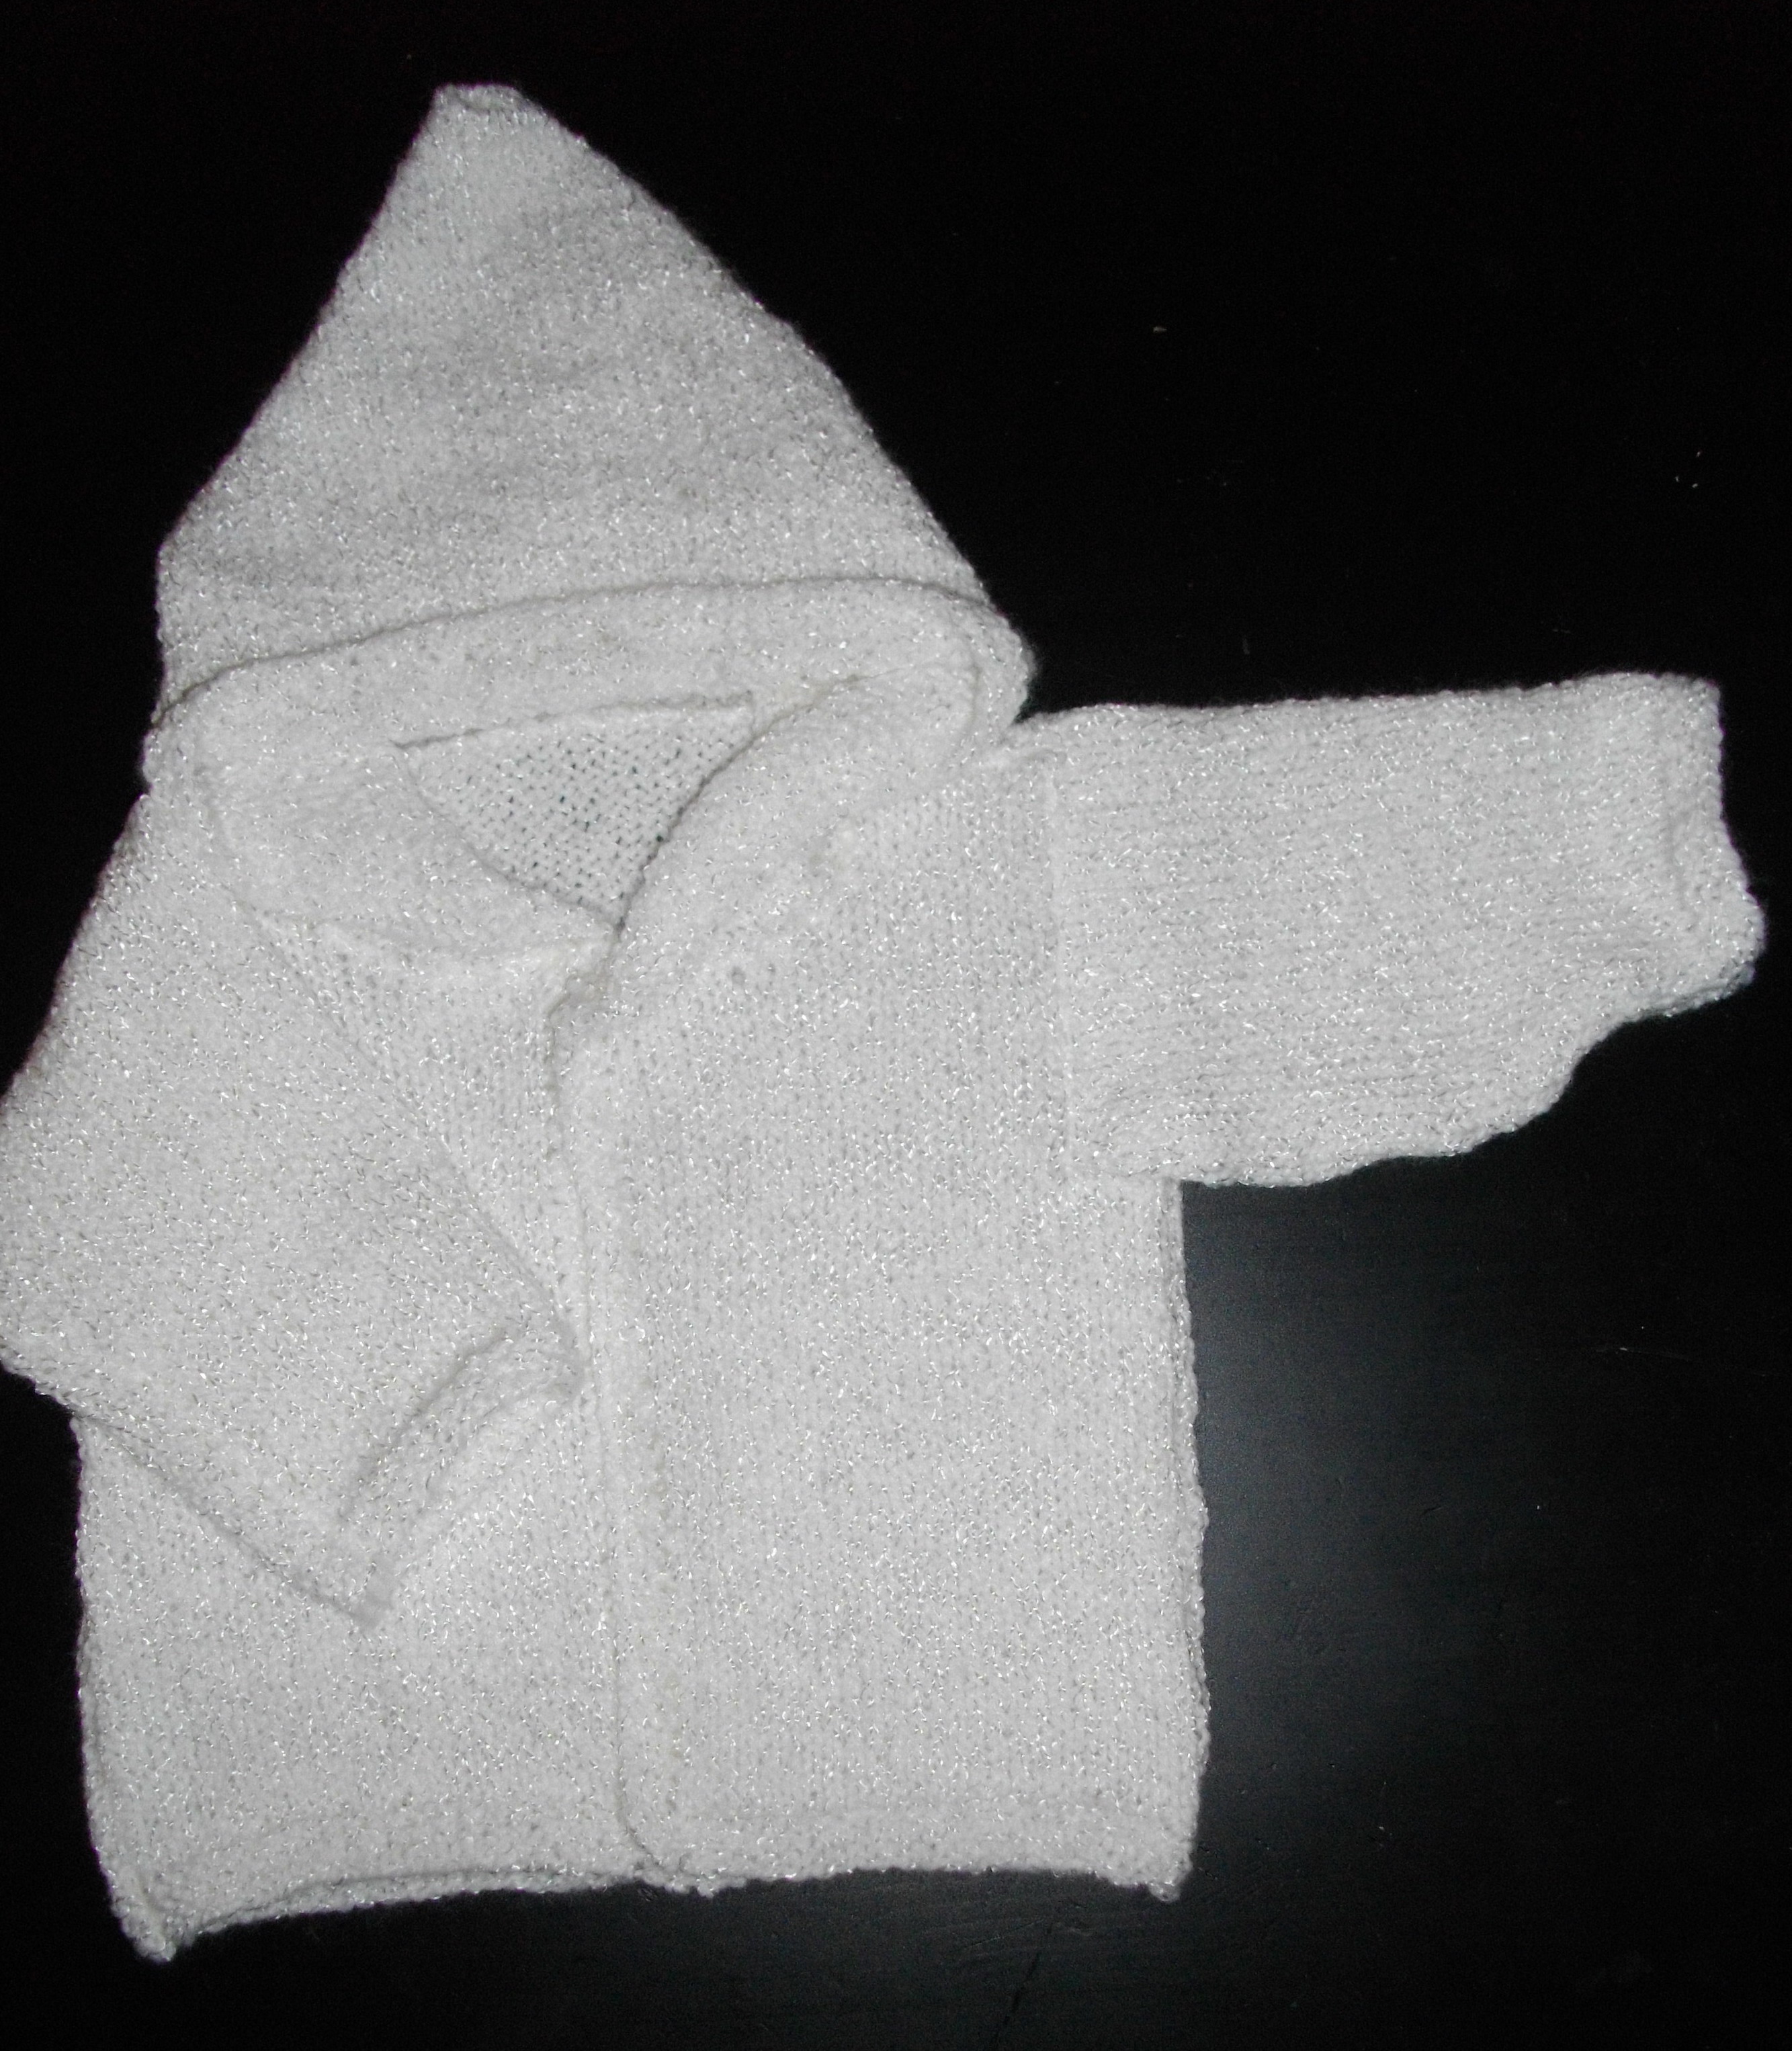
I was knitting a baby sweater for a pregnant friend. The pattern called for button holes and tiny buttons. I remembered the frustration of trying to button a squirming newborn into a wee sweater and thought that snaps were so much easier do up. The problem is that snaps can't be sewn onto a knit sweater. That's when I decided that lining the sweater with flannelette would provide the firm structure needed to attach snaps.
Here's how I did it.
Materials Needed

You will need:
a pattern, yarn and needles to knit the sweater of your choice
flannelette: in a matching or co-ordinating colour to line the sweater. A baby sweater will need less than half a yard or meter of fabric.
sew on snaps
buttons in matching or co-ordinating colour
sewing needles and matching thread.
fabric shears (scissors)
Knit the Sweater

Knit up the sweater pieces and block them according to the pattern. Do not knit in the botton holes given in the pattern. With the snap closure, you won't need button holes. Don't piece them together yet!
Pin the Pieces on Lining Fabric

Pin the blocked pieces onto the lining fabric and cut out the fabric leaving a seam allowance about a 1/2 inch wide around all sides of every piece.
Sew the Knit Pieces Together


Follow the knitting pattern instructions to sew the pattern together.
Sew the Lining Pieces Together


Following the exact same steps as the knitted pattern, sew the lining pieces together using the 1/2 inch seam allowance.
I sewed the lining together by hand. Each seam is so short it just wasn't worth setting up the sewing machine to piece them together. If you find fiddling with the sewing machine easier than hand sewing, by all means, use the machine.
I sewed the lining together by hand. Each seam is so short it just wasn't worth setting up the sewing machine to piece them together. If you find fiddling with the sewing machine easier than hand sewing, by all means, use the machine.
Pin and Sew the Lining Into the Sweater.


With wrong sides facing each other, and the lining on the outside, pin the lining onto the sweater. Turn under the 1/2 inch seam allowance along each edge. Don't forget to pin around the cuff of each sleeve as well. Ease the pieces together to eliminate any pulling or bunching, making sure everything lies flat.
Once the lining is all pinned, sew the two together using a fine needle, matching thread and small stitches. I think this part is better sewn by hand. I would be afraid the knitted piece would catch in the feed dogs on the sewing machine or knitted stiches would catch in the presser foot if you sewed it knitted side up. Either way, it's not worth risking all your hard work and it really doesn't take long to sew around the sweater by hand.
Once the lining is all pinned, sew the two together using a fine needle, matching thread and small stitches. I think this part is better sewn by hand. I would be afraid the knitted piece would catch in the feed dogs on the sewing machine or knitted stiches would catch in the presser foot if you sewed it knitted side up. Either way, it's not worth risking all your hard work and it really doesn't take long to sew around the sweater by hand.
Adding Snaps and Buttons


Space your snaps evenly down the front of the sweater making sure to put one at the top and bottom and the rest evenly spread out along the length. The number of buttons you add is your choice, or follow the suggestion given in your knitting pattern.
Sew the snaps inside the sweater and then sew the buttons on the top of the front placket just above the snaps inside. The buttons are purely decorative.
That's it! You've made a warm, cosy sweater for baby and made the mom's job much easier too.
Although I haven't tried it, I don't see why the same method couldn't be used for an adult sweater if you wanted to add warmth. Adults, however, don't usually find buttoning a sweater too difficult.
Good luck!