Make a Knife From High-carbon Steel
by kai.h in Workshop > Metalworking
52906 Views, 419 Favorites, 0 Comments
Make a Knife From High-carbon Steel


Here's a quick guide on how I made a knife from 1084 high-carbon steel.
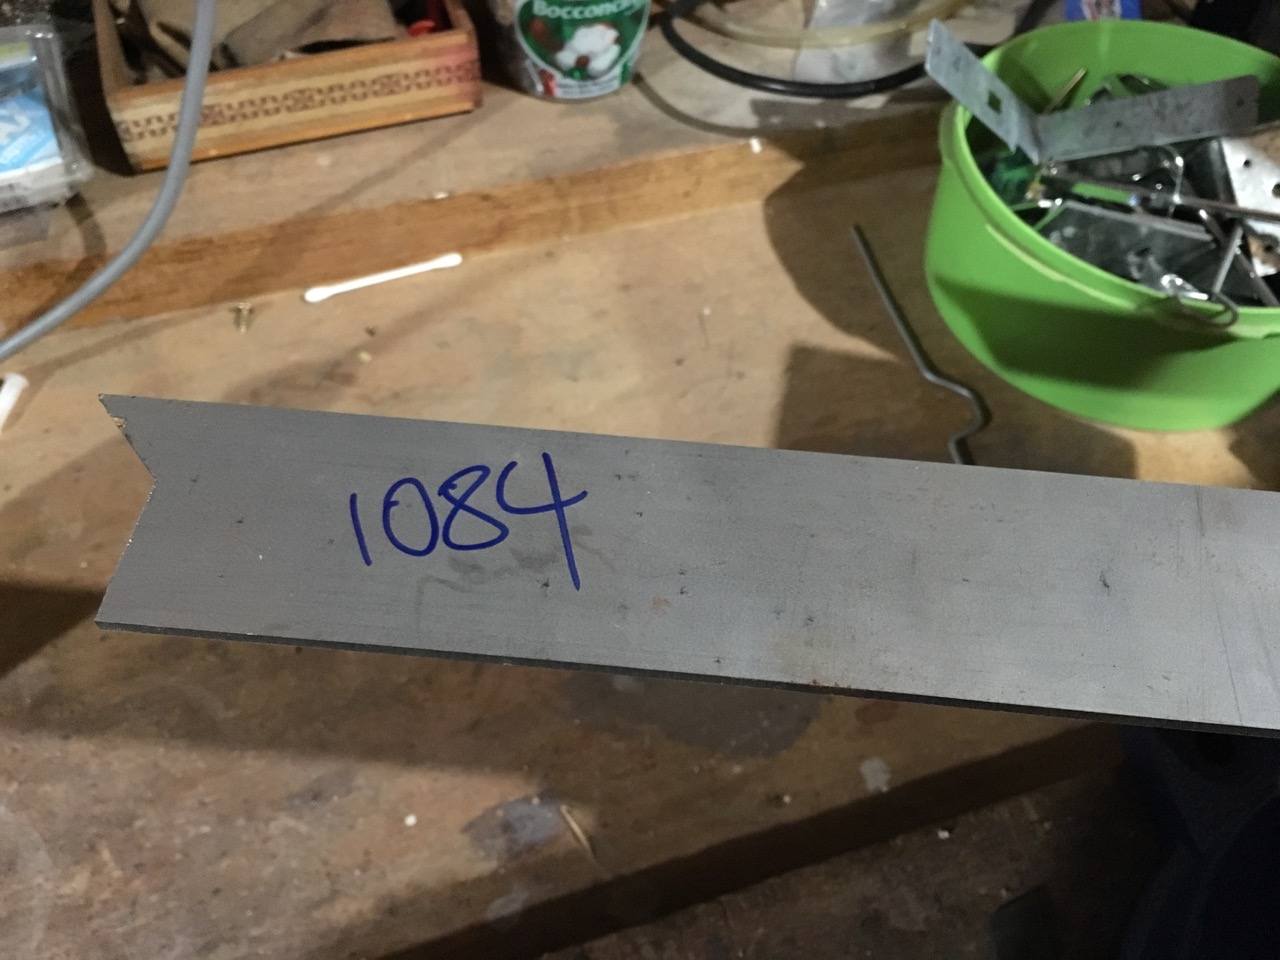
You can use a huge range of different materials for a knife - I've gone with 1084 because it's easy to work with and relatively forgiving when heat treating it.
Heat treating a blade is the most important step when making a knife. If you're not heat treating the blade, you've just got a knife-shaped piece of metal, not a knife.
I'm not going to cover heat treating in this instructable, instead there's another one that I've put up that shows how to heat treat 1084 high-carbon steel.
I'm lucky enough to have a belt grinder, however you can use files and sandpaper - it just takes a bit longer.
I've entered this Instructable in the Brave the Elements contest - if you like it, please head on over and consider voting for me
Mark Out Your Blade Shape


You first need to come up with a shape for your blade. You can do this in a number of different ways.
You can sketch it freehand, trace an existing design or draw something on the computer using either drawing software (like Adobe Illustrator) or CAD software (like AutoCAD).
I find it very useful to make a wooden template first to get a feel for how the knife looks at the actual size, how it feels in the hand and to refine it from there if necessary.
Using a scrap piece of plywood, sketch (or trace, or print on paper and stick down) your design.
Get out a coping saw, or other thin-bladed saw and cut it out. It will save you a lot of time doing this with wood, rather than trying to refine and tweak the shape once you've cut it out of metal later on.
Once it's cut out, sand down the edges and see how it feels to hold it in your hand.
Refine the Template


I'm going to go with a Chisel Grind on this blade (ground on one side and flat on the other side) just to see how it goes. This is my second time grinding bevels on a blade and I want to concentrate on getting the bevels as straight as possible and don't want to have to worry about having them symmetrical on both sides.
I've roughed out the bevels on the wooden blade to once again see how it is going to go. You can use a rasp, files, sandpaper or a grinder to do this - it's pretty quick and easy.
Once you're happy with the wooden template, it's time to move on to the steel.
Steel Selection

In the introduction, I explained that I was using 1084 high-carbon steel. 1084 is a pretty basic steel, as far as these things go, but it can be hardened fairly easily, takes and holds a good edge and, if I'm totally honest, is more than good enough for the quality of knife I'm making at the moment.
Steel, at it's most basic level, is an alloy of iron with up to 2% or so carbon. We need a fairly specific property that some steels have, that is being able to be hardened, in order to make a blade. Steel on it's own is fairly soft and if you got a piece of mild steel, or low-carbon steel, you can make it into a blade, but being unable to be hardened, the blade will dull very quickly when in use.
Wikipedia has some more information on different types of steel, it's a fascinating topic, with seemingly minuscule differences in the ingredients for the steel sometimes having enormous effects on the behaviour of the alloy.
https://en.wikipedia.org/wiki/Carbon_steel
https://en.wikipedia.org/wiki/List_of_blade_materi...
The 10xx series of steels are simple, low-tech alloys with carbon contents of around 0.5% all the way up to around 1%. They can be heated to a critical temperature and then when cooled rapidly (by dunking in water, oil or other liquids) the crystalline structure changes to a much harder (but more brittle) structure. This is what allows a blade to take and keep a fine edge. Tempering after quenching can reduce the brittleness at the expense of some hardness.
1084 steel has around 0.8% to 0.9% carbon, by weight, and no appreciable amount of other elements (such as chromium, manganese, cobalt, nickel etc).
It's fairly widely available, is inexpensive and doesn't require exotic quenching techniques. Notably however it is not a stainless steel, so if exposed to moisture, it is liable to rust.
Trace the Template on to the Steel

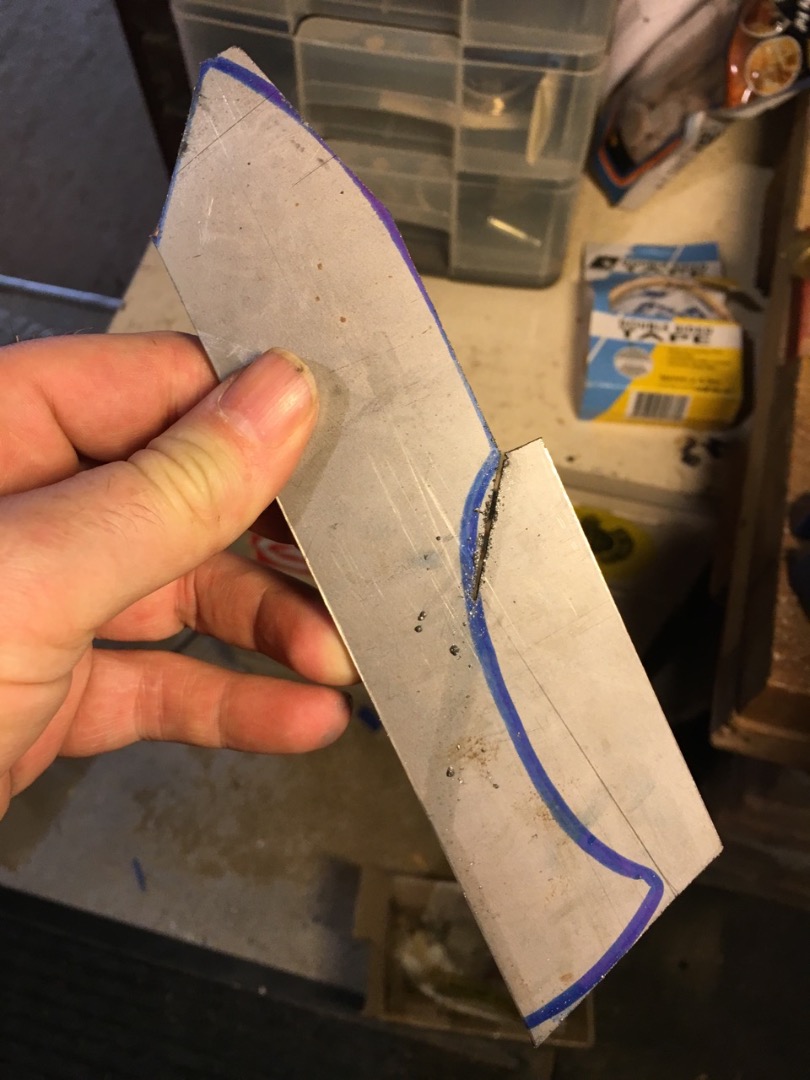
I have just used a permanent marker to trace the template onto the steel. If you have layout dye or anything like that, feel free to use it. As I've traced around the edge of my template, if I want to make the knife exactly the same size and shape I'm cutting or grinding to the inside of the line.
Get Out the Hacksaw and Start Cutting


If you have access to a bandsaw or other powered cutting tool, feel free to use it to speed up this step. You can also use an angle grinder with a cutting wheel if you want. If you are using an angle grinder, make sure you've got a cutting wheel, not a grinding wheel - they are made differently and I don't want you to use the wrong one and have it come apart at 10,000 rpm in your hands.
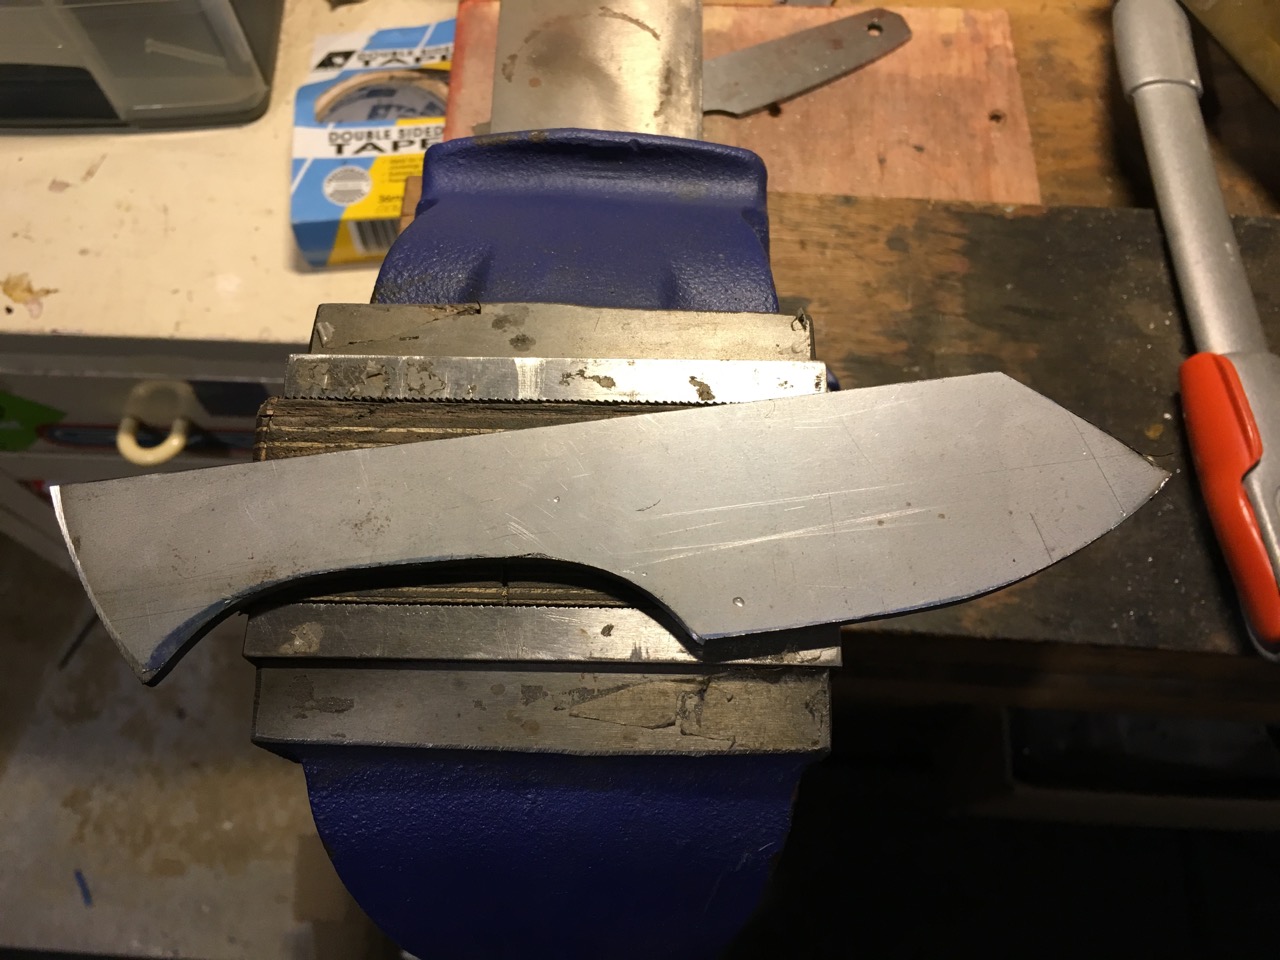
I used a hacksaw and roughed out the shape by hand. This took a fair amount of time, however it's probably still quicker to cut as much metal away as you can, rather than trying to file it or grind it away.
Cutting the shape out also means that you might end up with some interesting shaped offcuts, these can be made into Kiradashi if you want
https://www.instructables.com/id/How-to-make-a-Kiri...
Cut, cut and then cut some more. I scribed some lines in with pencil to work out what the best cutting angles would be as I can't cut a curved line with my hacksaw blade.
You might notice that although I've got the steel clamped in the vice (using some magnetic wooden soft jaws I made) I've got some small clamps on it - I found that putting the smaller clamps at strategic places made it a lot quieter to cut. Particularly when there's a long thin bit being cut, it screeches quite loudly. Clamping it dampens the noise considerably.
Start Grinding


Before grinding the bevels, I made sure each side was flat.
A belt grinder isn't perfect for this as the platen on the grinder is often not perfectly flat. If you're really going for a perfect flat finish, a disk grinder is good and a surface grinder is even better. I don't have any of these tools however so it was off to the belt grinder for me.
If you don't have a belt grinder, or if you're after a perfect finish, this step can be done by hand. Get some successive grits of wet & dry paper and a smooth, flat surface like a piece of glass. Put the abrasive paper on the glass, with the abrasive side up, wet it all down and go to down sanding the flats of your blade.
I ground down the flats with a 50-grit belt and then started grinding the bevels. I then used some finer grits on the flats once I had the bevel ground in. In hindsight, this was the wrong way to go about it all as it got rid of the nice sharp line I had between the bevels and the flat of the blade. Next time I'll get both flat sides of the knife almost finished completely before grinding in the bevels on the blade.
Grinding and Finishing


As I said in the previous step, you probably want to get the flat parts of the knife looking good before doing the bevels. Once this is done, get going on the bevels.
I'm not very good at grinding bevels - I wanted to try doing this freehand rather than using a jig, and it shows - my angles are all over the place. This is just something that will take some practice.
If you want to see how to grind bevels, you're better off following an expert and there are a heap of videos on YouTube that will show you the technique.
Whether your doing it by hand or on a machine, you can always make up a jig to ensure that the angle you are grinding (or filing) remains constant - this will give the most pleasing appearance to the blade.
Here are some videos I've watched that show the process, both for hand tools and power tools.
Filing Jig by Gough Custom
Grinding Bevels by Walter Sorrels
Finishing Before Heat Treating


You don't want to put a showroom shine on the blade before heat treating it as during the HT process, the blade oxidises and it will end up covered with black crap (scale).
You do want to get it close to finished as once the blade has been hardened, it's a lot more difficult to work with and you have to be a lot more careful about overheating it (which can destroy the temper of the blade and soften it)
Here's the Instructable that I put up a while back showing how to heat treat in with a gas torch and canola oil. The first time I did this, I had ground the edge of the knife too thin and it warped during the quench. This time around I kept a bit more meat on the blade and didn't have any problems with warping
Heat Treat and Temper the Blade

I didn't take any photos of the HT process this time, however here's some I prepared earlier
https://www.instructables.com/id/Heat-Treating-1084-High-Carbon-Steel/
Finish and Sharpen the Blade


Get back on the grinder, or back onto the wet & dry, and get all the scale off the surface of the blade.
Once you've cleaned it back up, sharpen it. I'll post an instructable on sharpening blades in the future.
I used a Ruixin brand Chinese clone of the Edge Pro which does an acceptable job, but it doesn't put a mirror finish on the bevel or anything like that. I've got a Lansky kit on order which I'm hoping will do a much better job.
Either way however, it's sharp enough to cut through a phone book...
I will be attaching scales to the handle, made from home-made mircata.
I ended up with epoxy all over my fingers while I was doing this so was unable to take any photos of the process. I'll post some pictures of the end result however wh
The End Result


I've finished the knife off with some home-made cotton canvas mircata handles. I'll post an Instructable at some stage detailing how to make the mircata, it's really not that difficult.
The handles were glued on with 2-part epoxy (I used JB-Weld, but in hindsight I should have used something that was clear, or black) and clamped in place. Once the epoxy had cured (4-5 hours in the warm sun) I shaped the handles
The finished knife is pretty rough in some spots, but now I have a better idea what to do next time (and, more importantly, what not to do next time).
Sharp #1 finished! On to the next one.