Map Design for Clock Dial


A beautiful design for a DULL! clock face
Supplies
- A Clock
- A Piece of Cardboard (for clock dial)
- A Map Template
- A Piece of polythene (size of the cardboard piece | use recyclable one to protect our environment)
- Colored Pens (better if washable ink and able to use on polythene)
- A Black pen (I used 0.7 mm tipped one)
- A Pencil
- A Pair of Scissors
- A Bottle of School Glue
- A Ruler (for measurements)
- A Spray Bottle (to spray water onto polythene)
Take Measurements


Carefully remove the front glass of the clock.
Then take the measurements of the clock dial. (The one I'm using is a rectangle-shaped clock so it's easy to take measurements[ length & width ] if you use circular shaped one measure the radius of it.)
(Be Careful! while handling the glass)
Cut the Cardboard

Cut the cardboard piece according to the size of the clock dial
Trace!

IF YOU KNOW HOW TO TRACE SKIP TO NEXT STEP
Place the cardboard piece over the map template and mark the area you want to trace on the map with the pencil.
Then place the cardboard piece below the map template.
Position the map to align your marked area with the borders of the cardboard below.
Then firmly fix the map to prevent accidental de-alignments. (don't make it permanent you have to remove the map after the tracing is done)
Then take the pencil and draw on all outlines in the map template with medium pressure on the pencil.
Then remove the map template and draw on creases in the cardboard piece.
Arrange the Colors

Take the polythene sheet and draw any pattern of colors on it with color pens. (In the next step colors will mix with each other, So no need to have a sharp pattern here Just Be Simple)
Spray!


Take the spray bottle and spray water onto the pattern you draw in the above step.
Then take the carboard piece and place it on the polythene sheet. (map should coincide with colors)
Then flip it over. Now you can see the colors are spread all over the cardboard.
Let it for about 5mins and remove the polythene sheet. (Careful this would ruin your pattern)
Then let it dry for an hour.
Draw Outlines


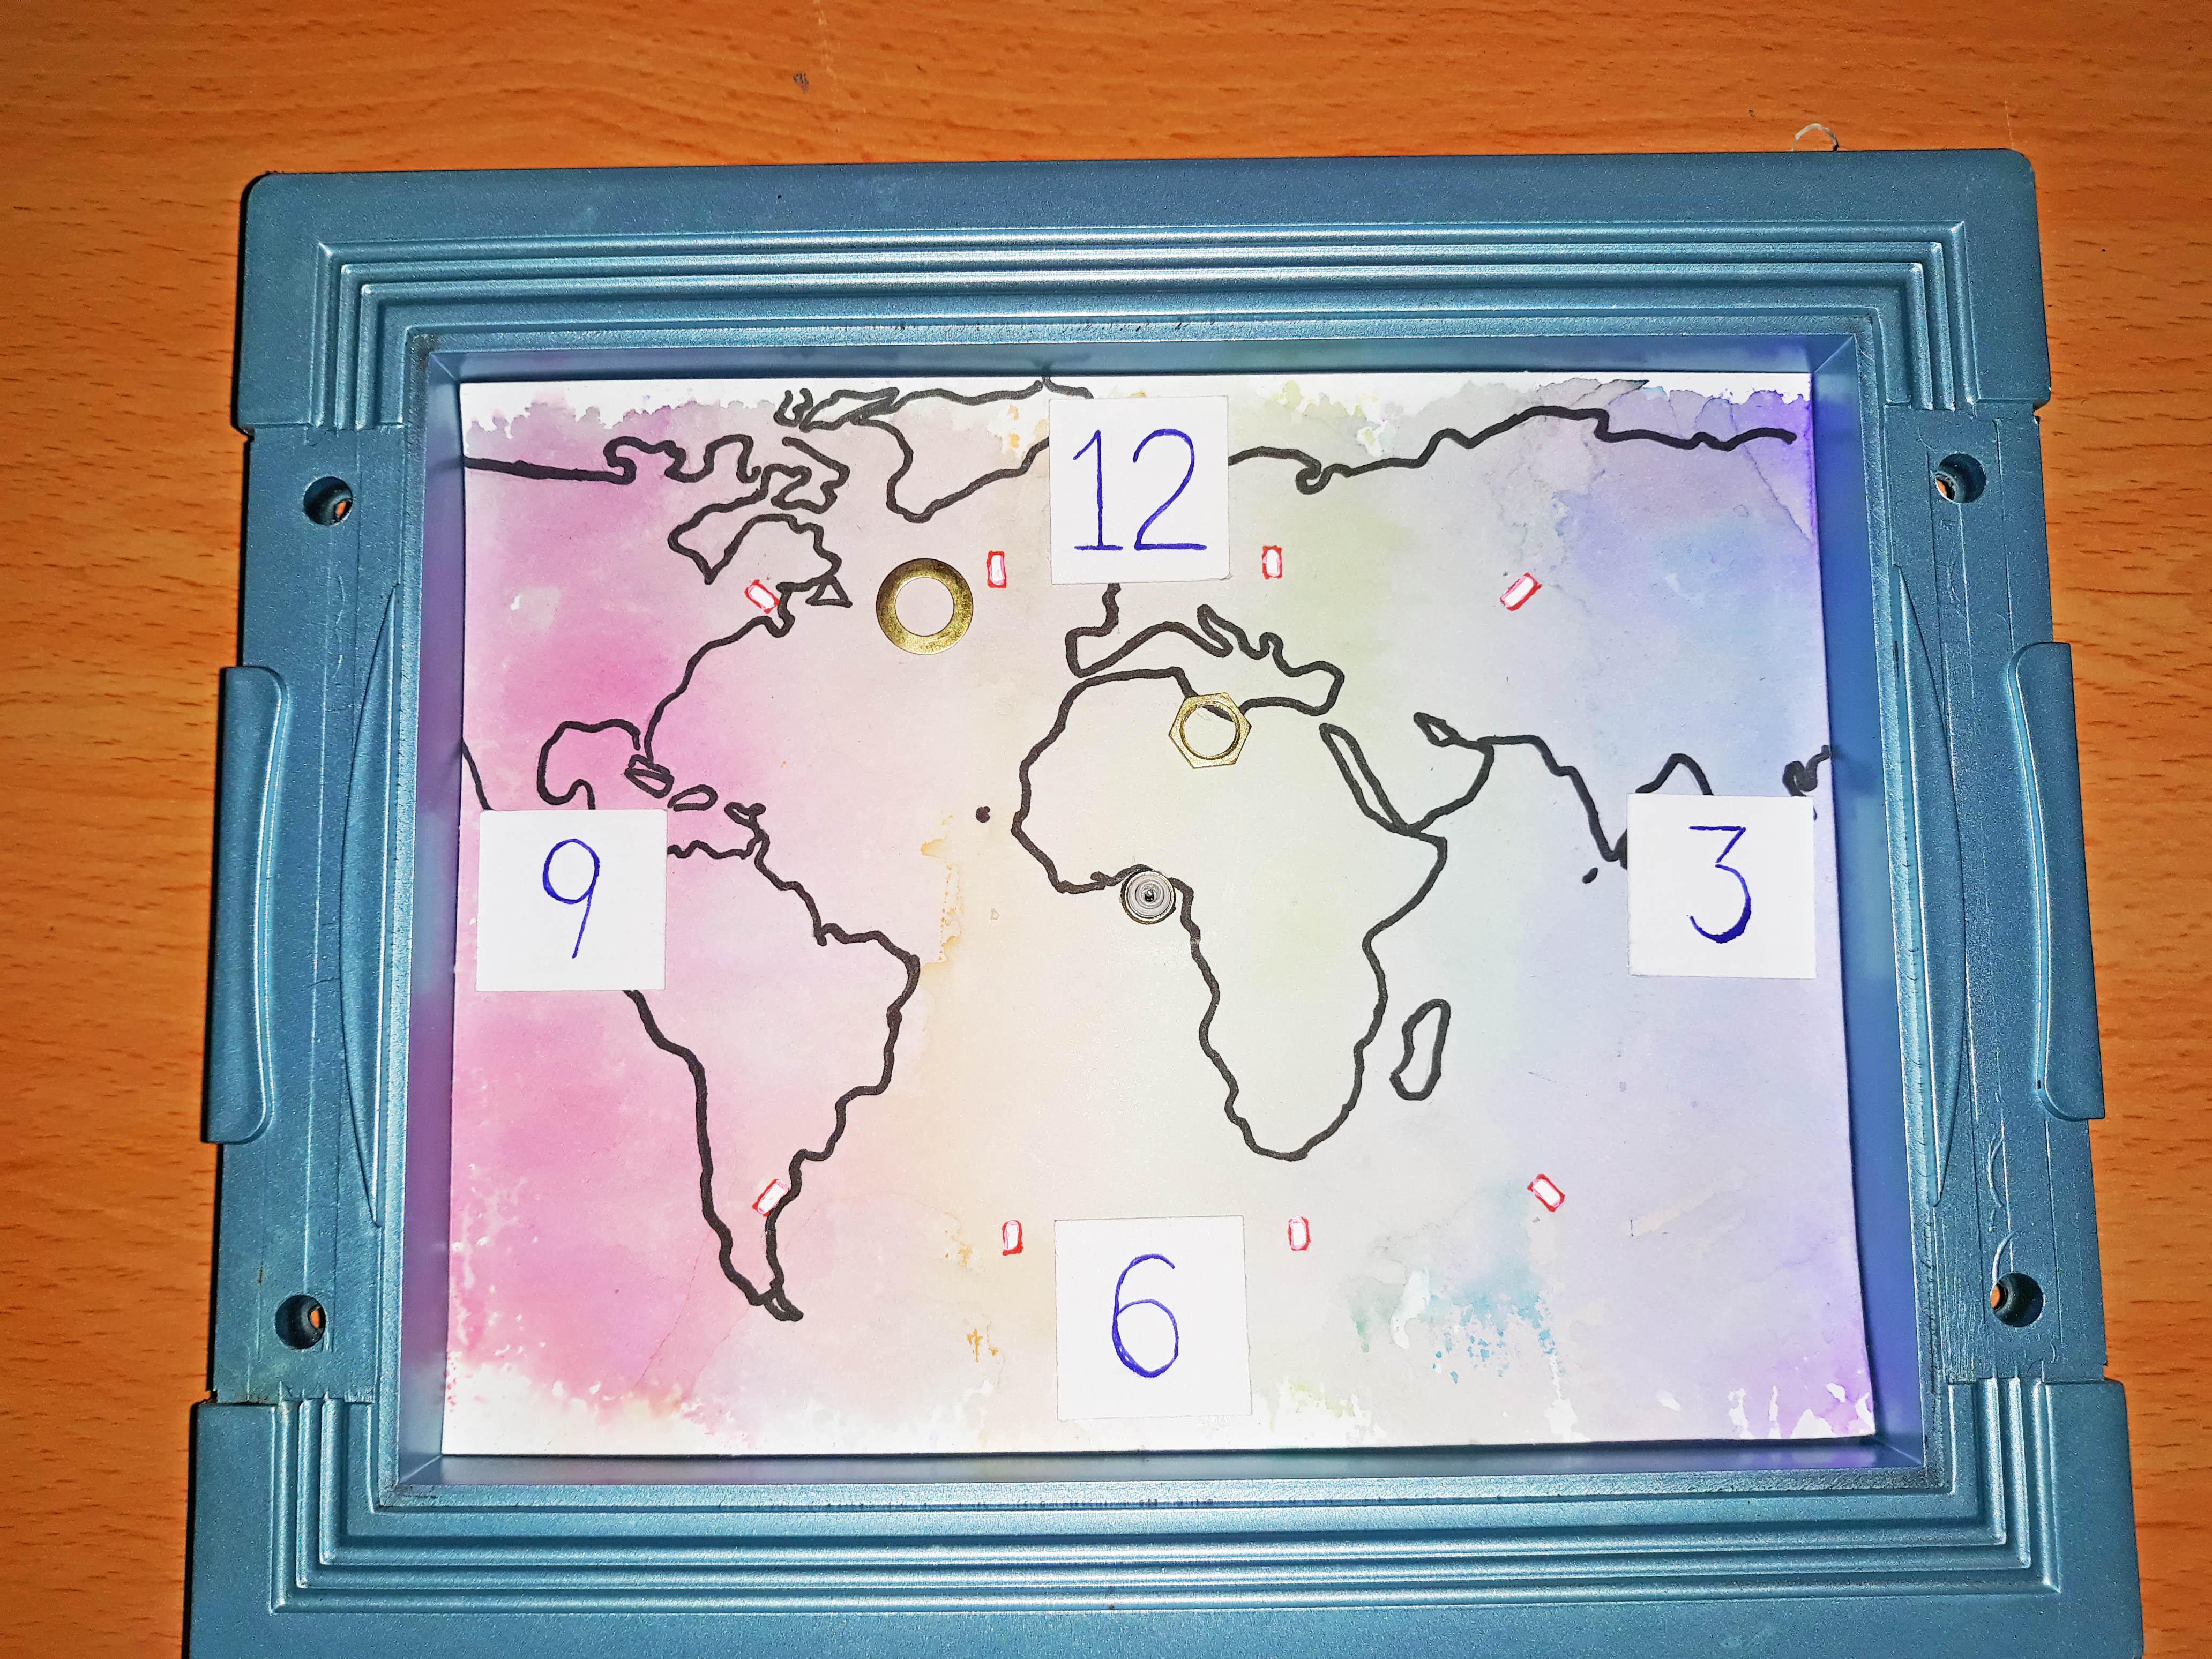
After your cardboard is completely dry, use the black pen to draw on all the pencil lines you drew before.
Numbers for Clock


Cut out four small cardboard pieces.
Take the pen write down 3,6,9,12 on them separately.
Then glue them onto our map-clock-face in the exact locations where they printed on the original clock dial.
The New Clock Dial


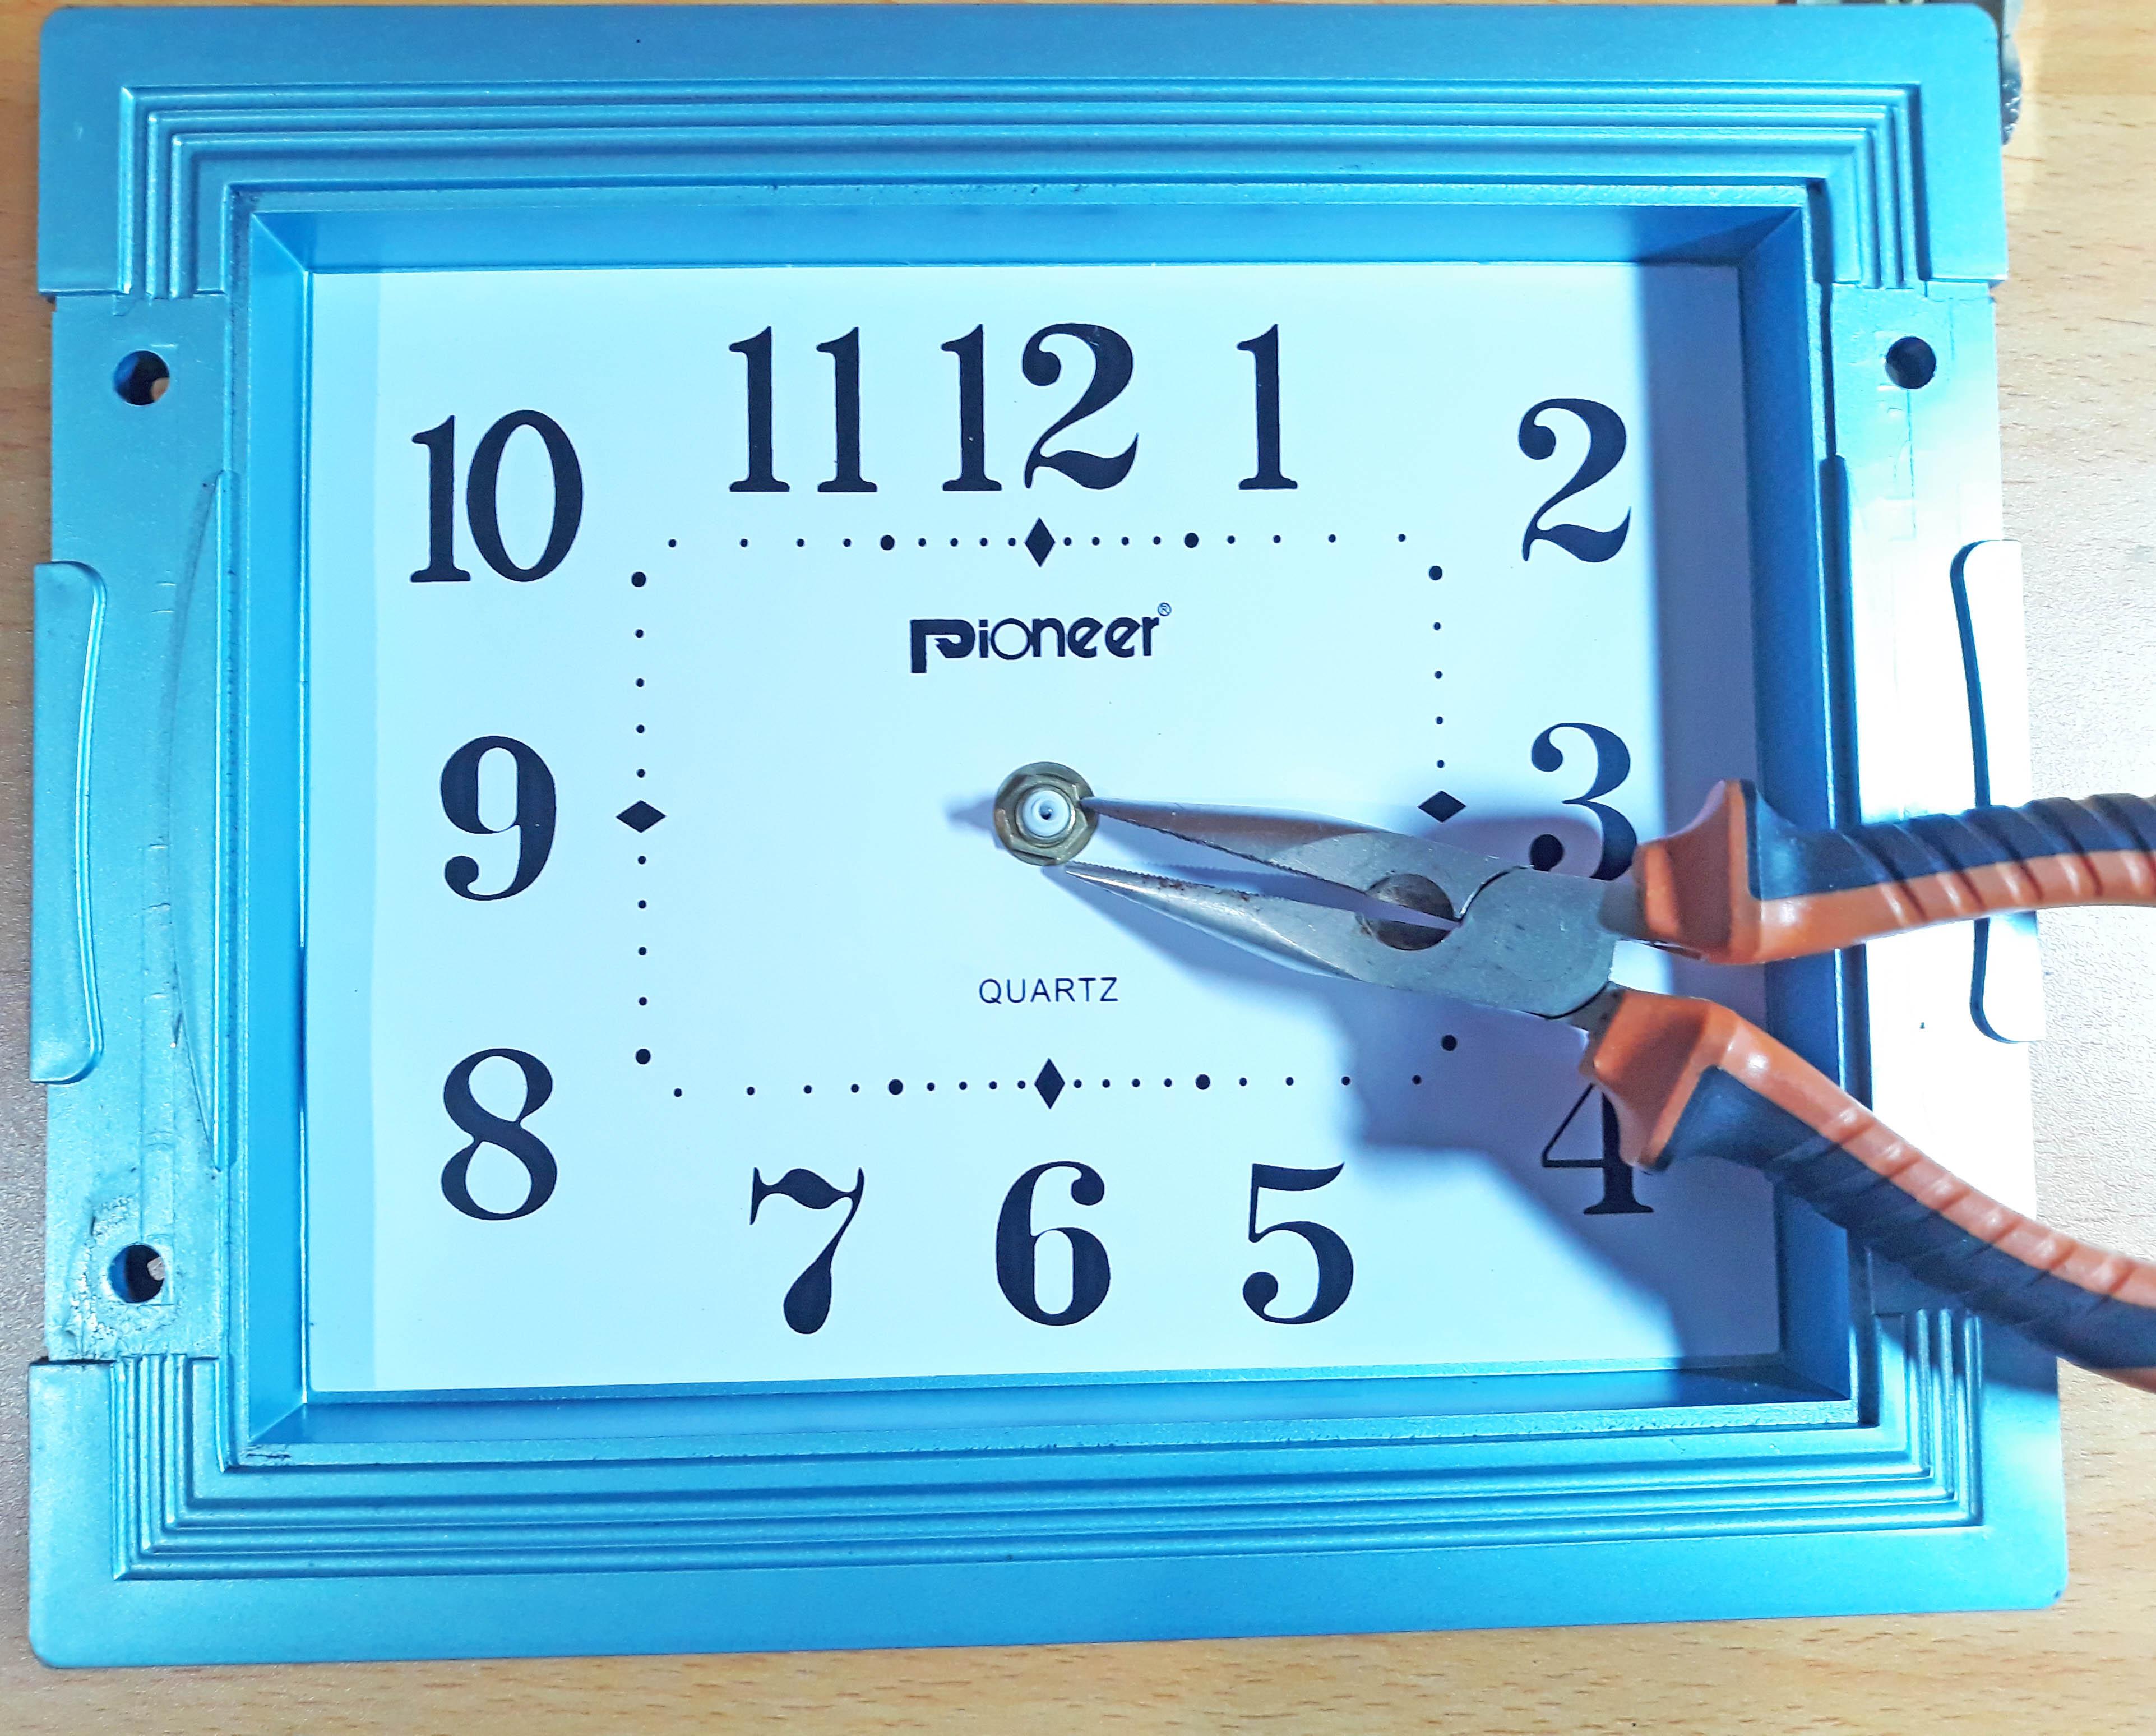
Use a pair of pliers to remove the middle hex-nut that holds the clock mechanism and axles. (Careful Don't grab on axles instead of hex-nut)
Then place our new clock dial on the old one.
Then cut out the small hole on the new clock face for mechanical axles to come through.
Then put the mechanical axles through the hole and replace the hex-nut.
Done!


Use a screwdriver and screw the glass back on the clock.
Then hang it back on the wall!
~DONE!~

YES YOU DID IT
This is my first Instructable feel free to comment down any suggestions or
show my mistakes.