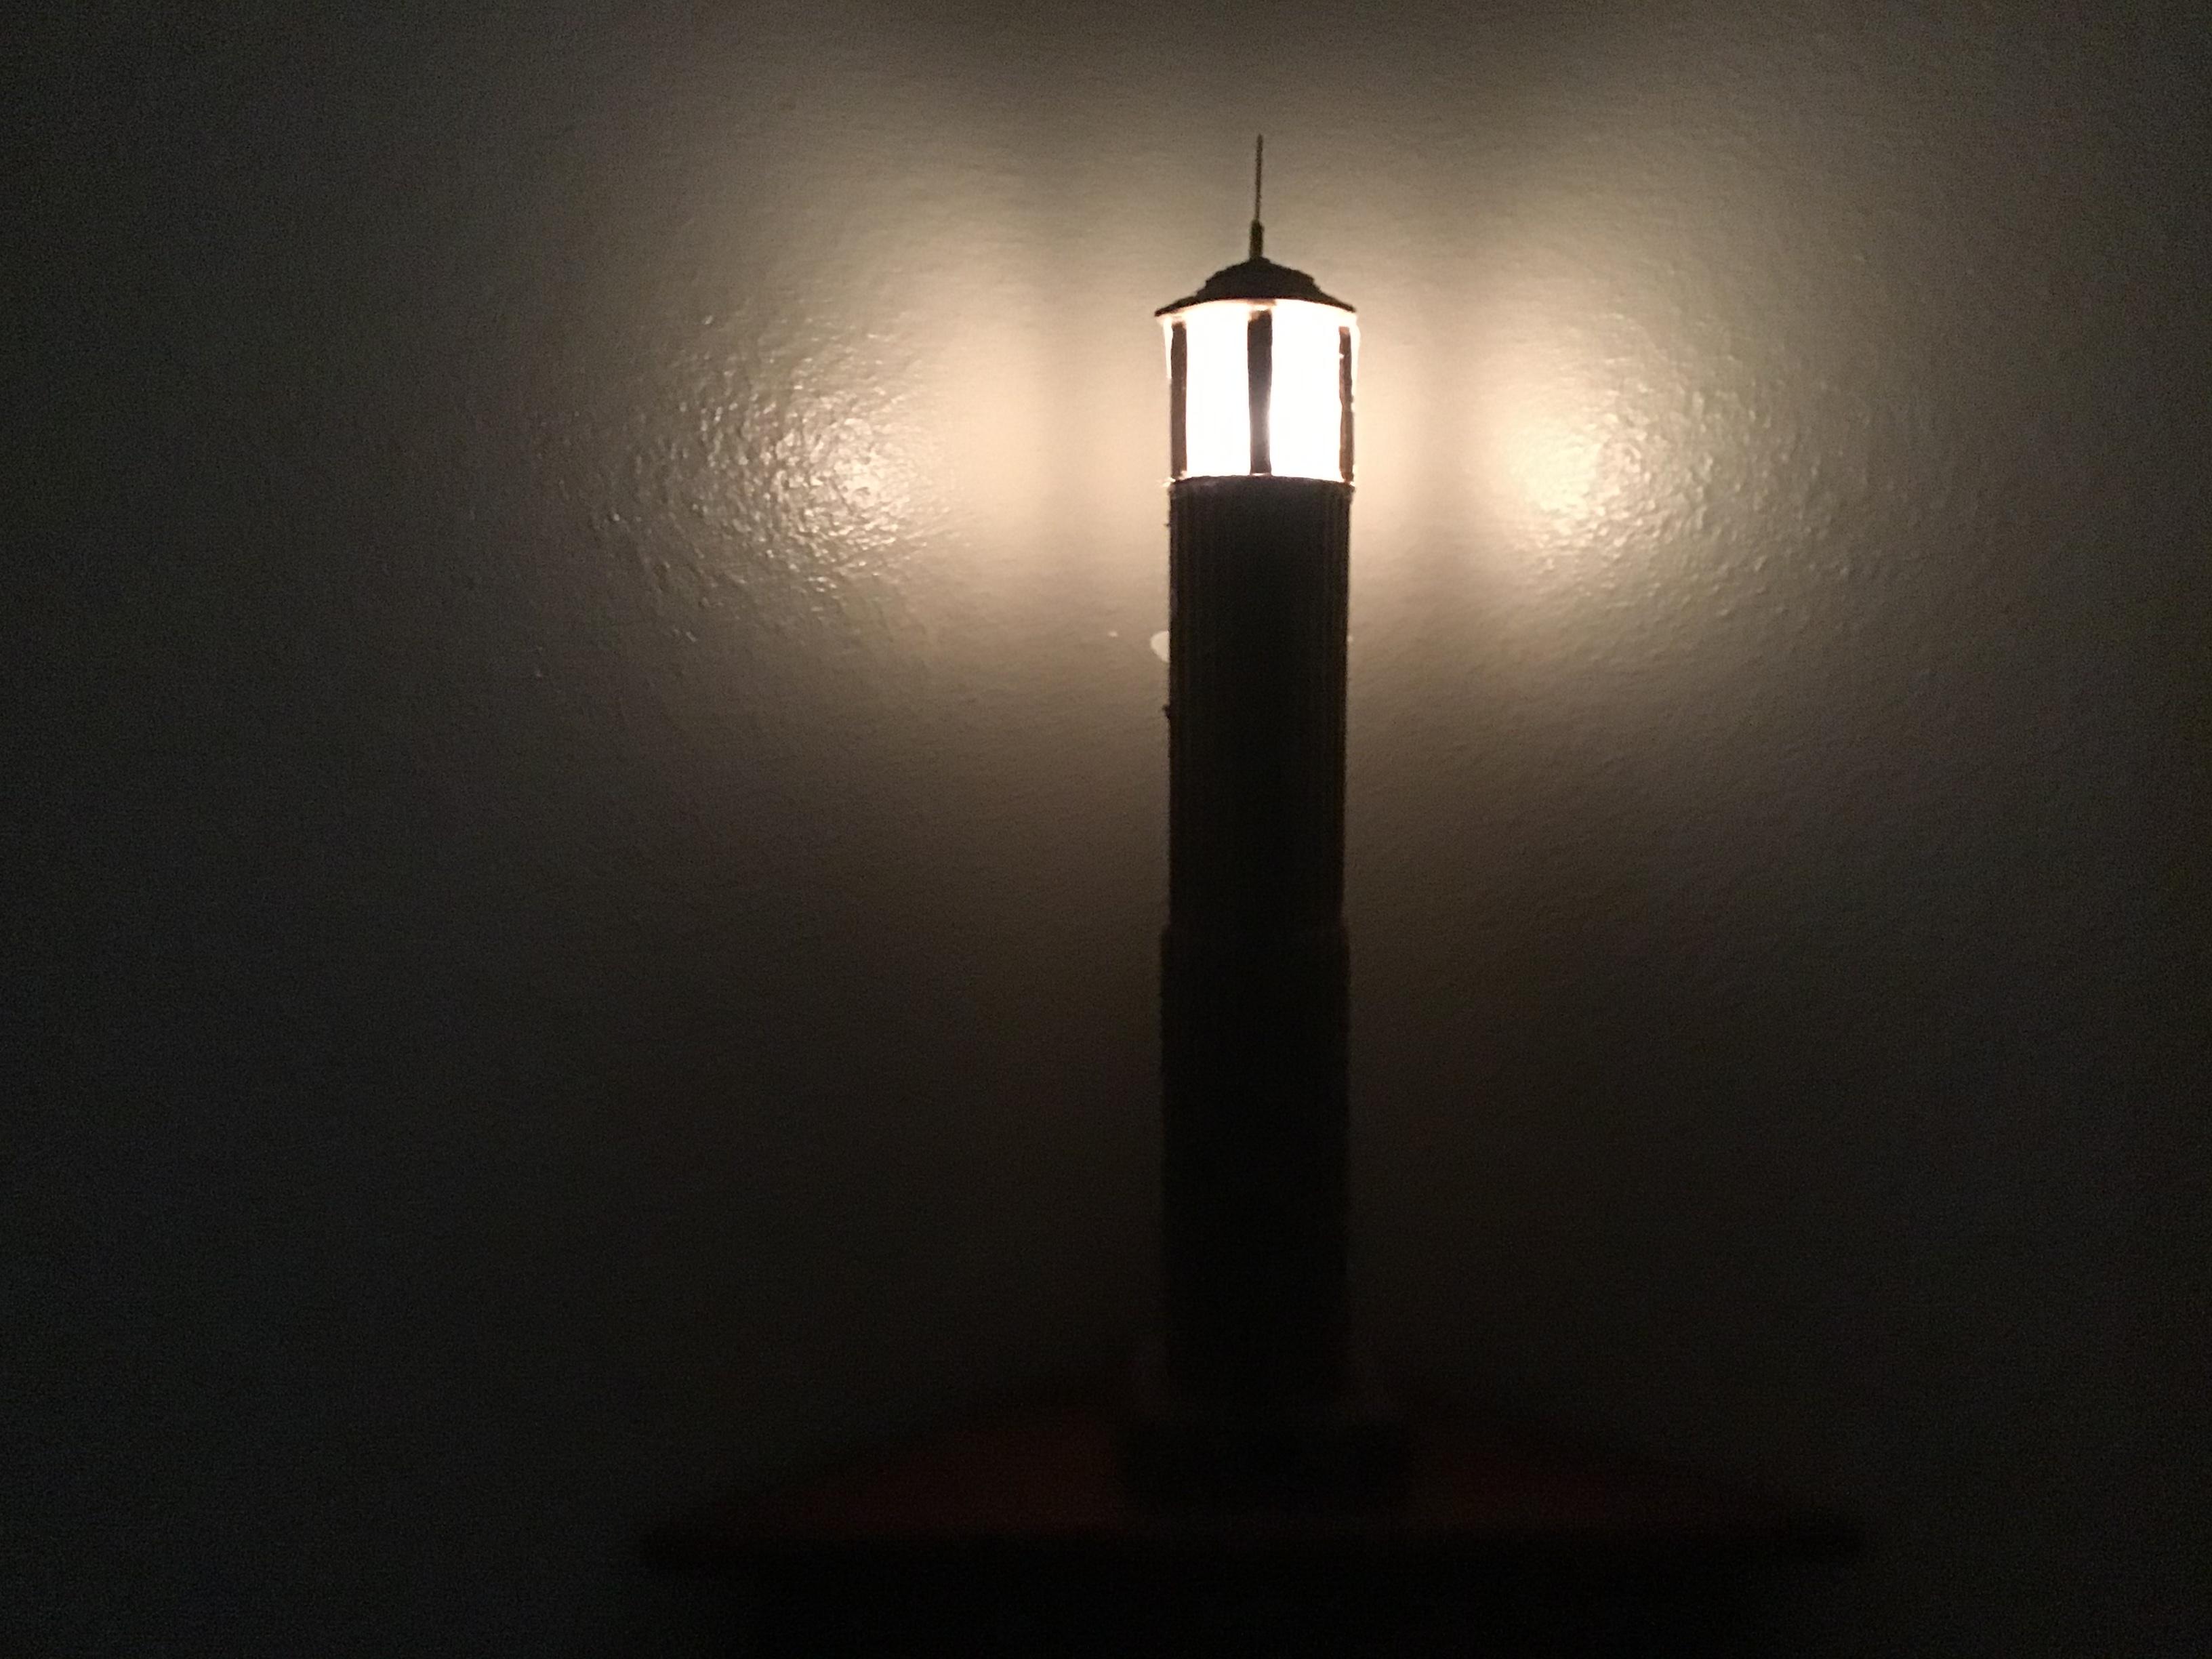
Mini Light House


This mini sized light house shines brightly at night and is beautiful during the day.
Supplies
- Cardboard
- Hot glue gun
- 2 1.5 volt batterie pack
- Red wire
- Black wire
- Tracing paper
- Mini Light bulb
- Mini light bulb socket
Gathering Materials and Making the Base


- cut out two squares about 3 inches wide.
- Make 4 rectangles the same lengths of the squares.
- Cut a hole in the side of one of the rectangles, large enough for the switch to fit through.
- Connect the wires together, making sure not to short circuit anything.
- Attach the wiring to the inside of the base.
- Cut a hole in the middle of the second square.
- Pull wiring through the hole in the square.
- Attach the square.
Making the Walls


- from 2 pieces of cardboard about 9 inches high, peel off one side.
- Make a cylinder with the cerated side out.
- Attach the cylinder to the base.
- Pull the wires through.
- Attach a second cylinder on the inside of the first one.
- Pull the wires through.
Light


- make a circle the size of the cylinder.
- Cut a hole in it.
- Attach the circle to the top of the wall.
- Attach light.
- Cut out five cardboard “poles.’’
- Glue them to the inside of the light room.
Finishing


- cut a hinge around the bottom of the battery pack so you can replace old batteries.
- Cut out the tracing paper so it will fit around the inside of the “poles”.
- Glue it on.
- Cut out 9 or 10 circles and attack them.
- Put a point on the top to finish!