Mini Outside Cinema for Switch
by edrian.cabreranegron.23 in Craft > Art
182 Views, 0 Favorites, 0 Comments
Mini Outside Cinema for Switch


Are you completely bored in quarantine and have a switch lying around? Then this is the instructable for you. This will make your switch into a grand outside cinema for little cars to enjoy.
Supplies
A switch, a shoebox, scissors, liquid glue, popsicle sticks, blue, red, green construction paper,
Material


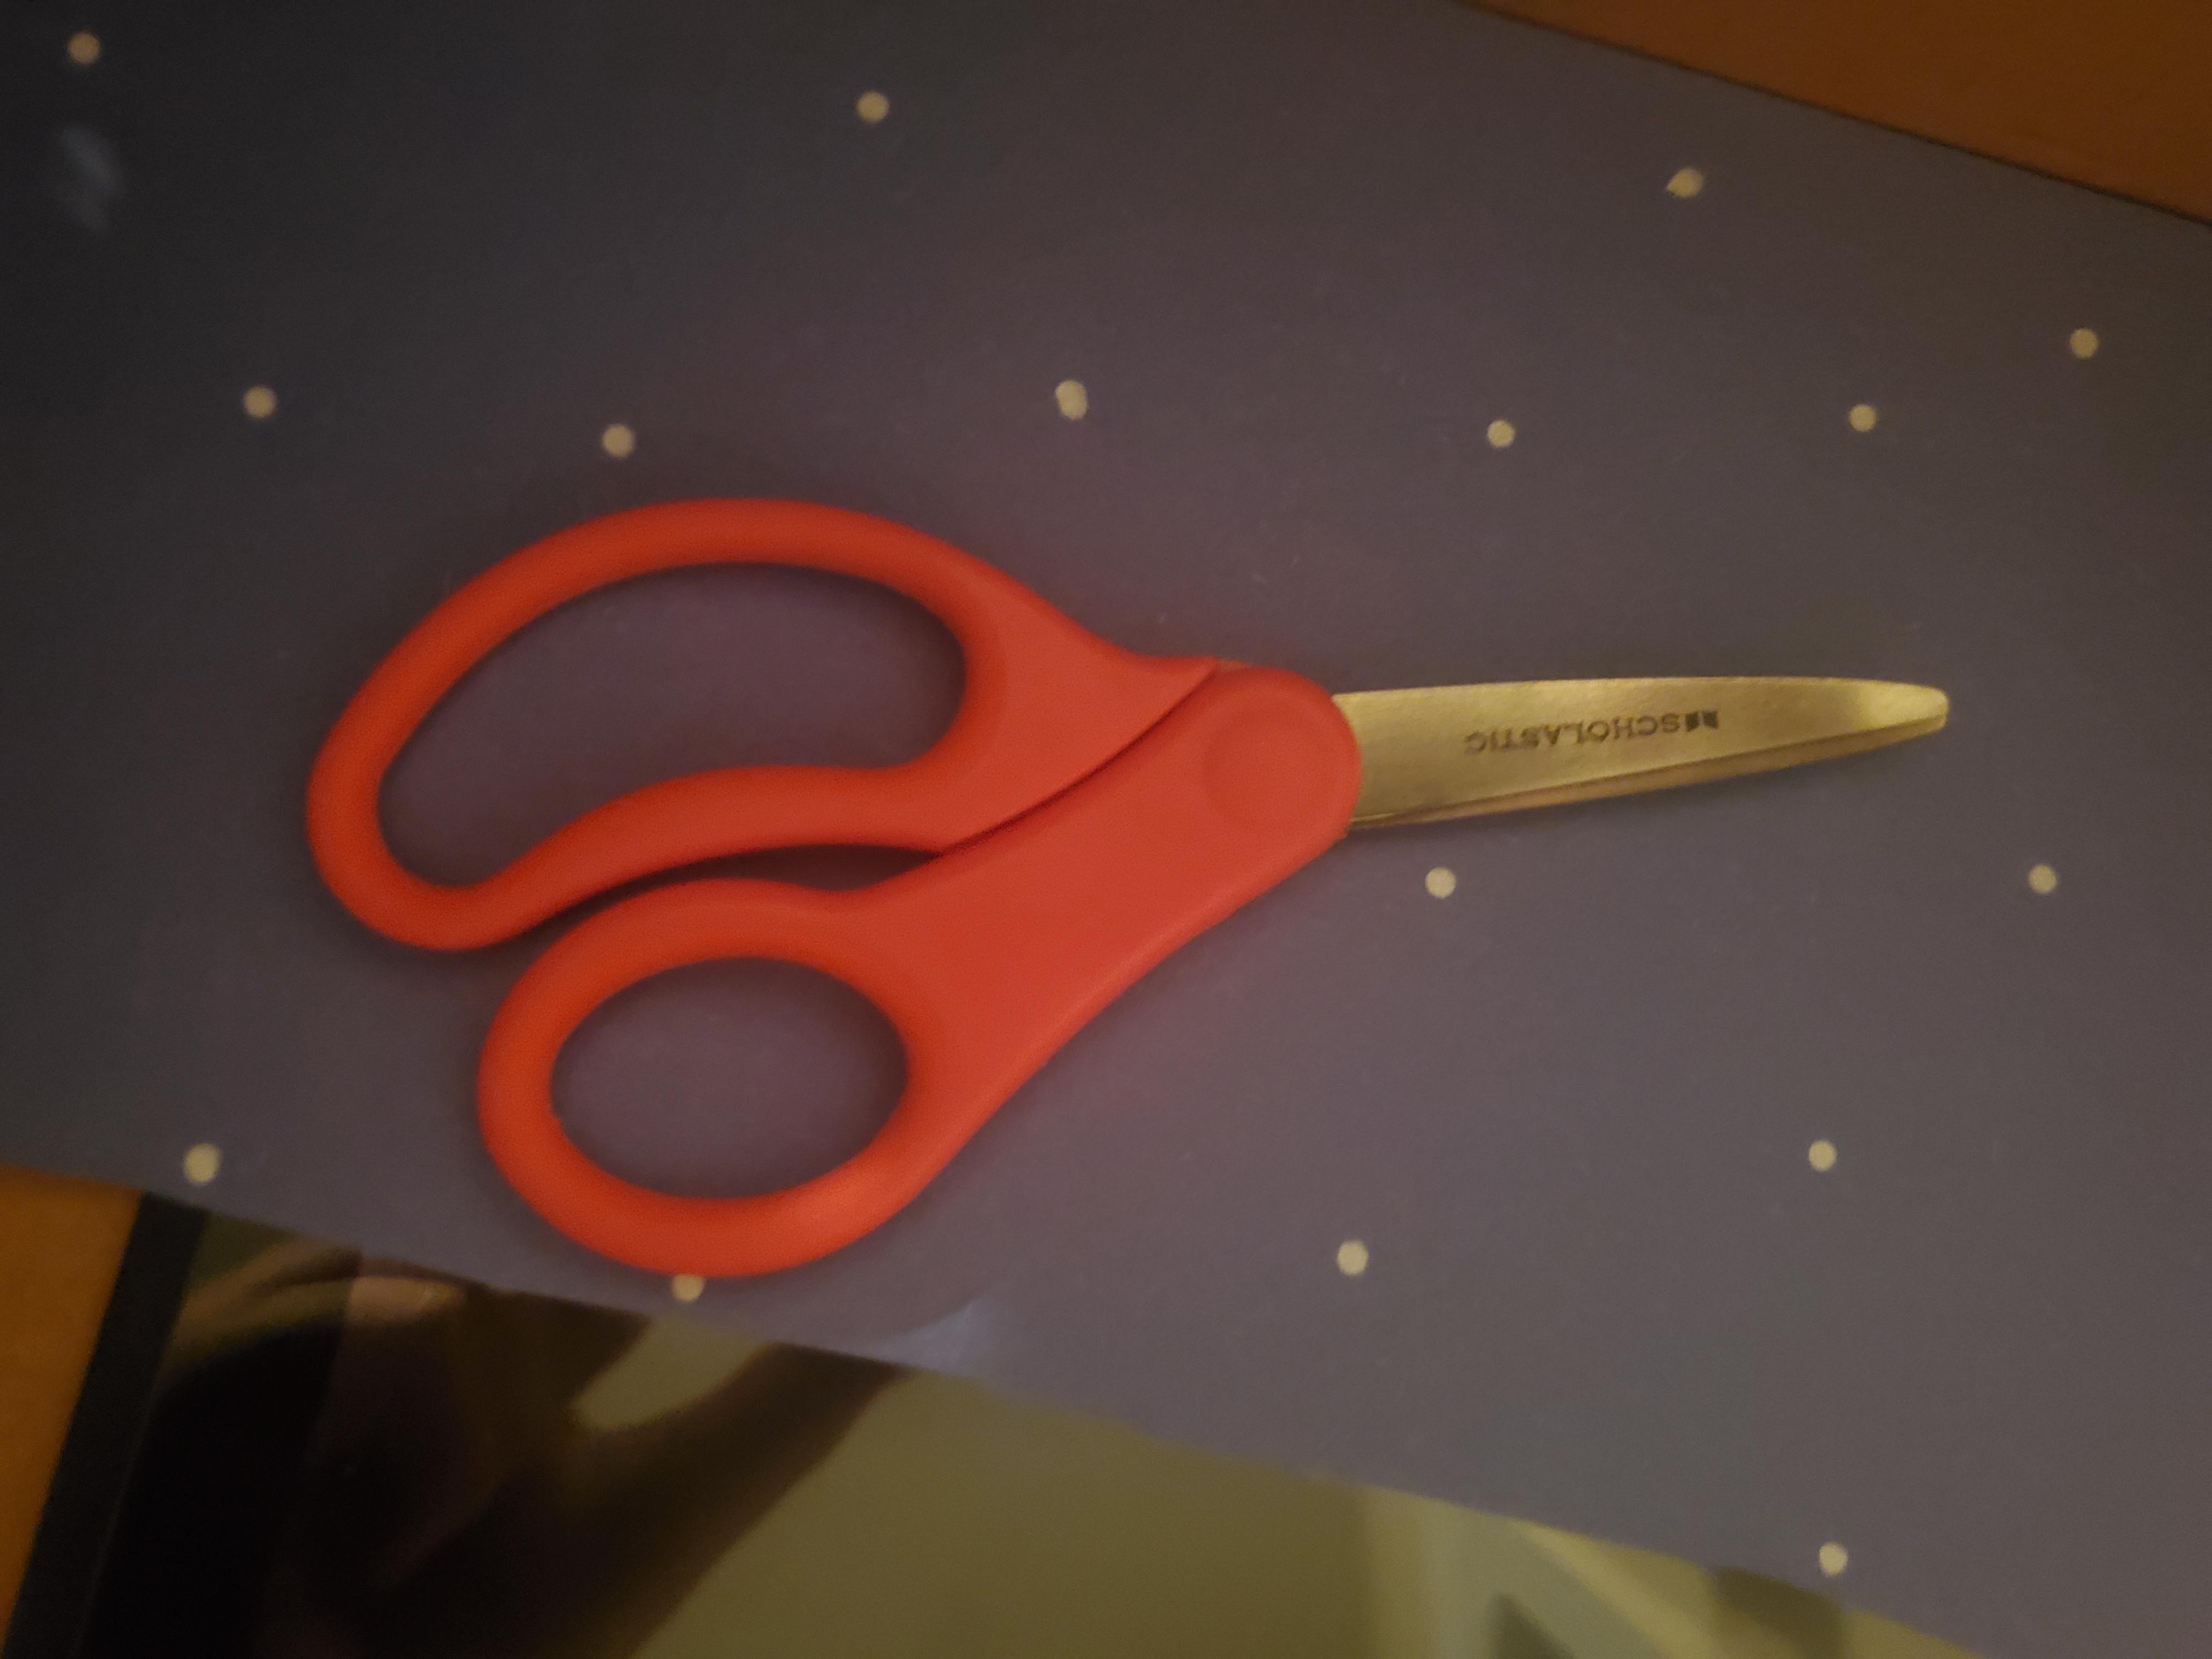
A switch, a shoebox, scissors, liquid glue, popsicle sticks, blue, red, green construction paper, led lights, tape, cars.
First Things First

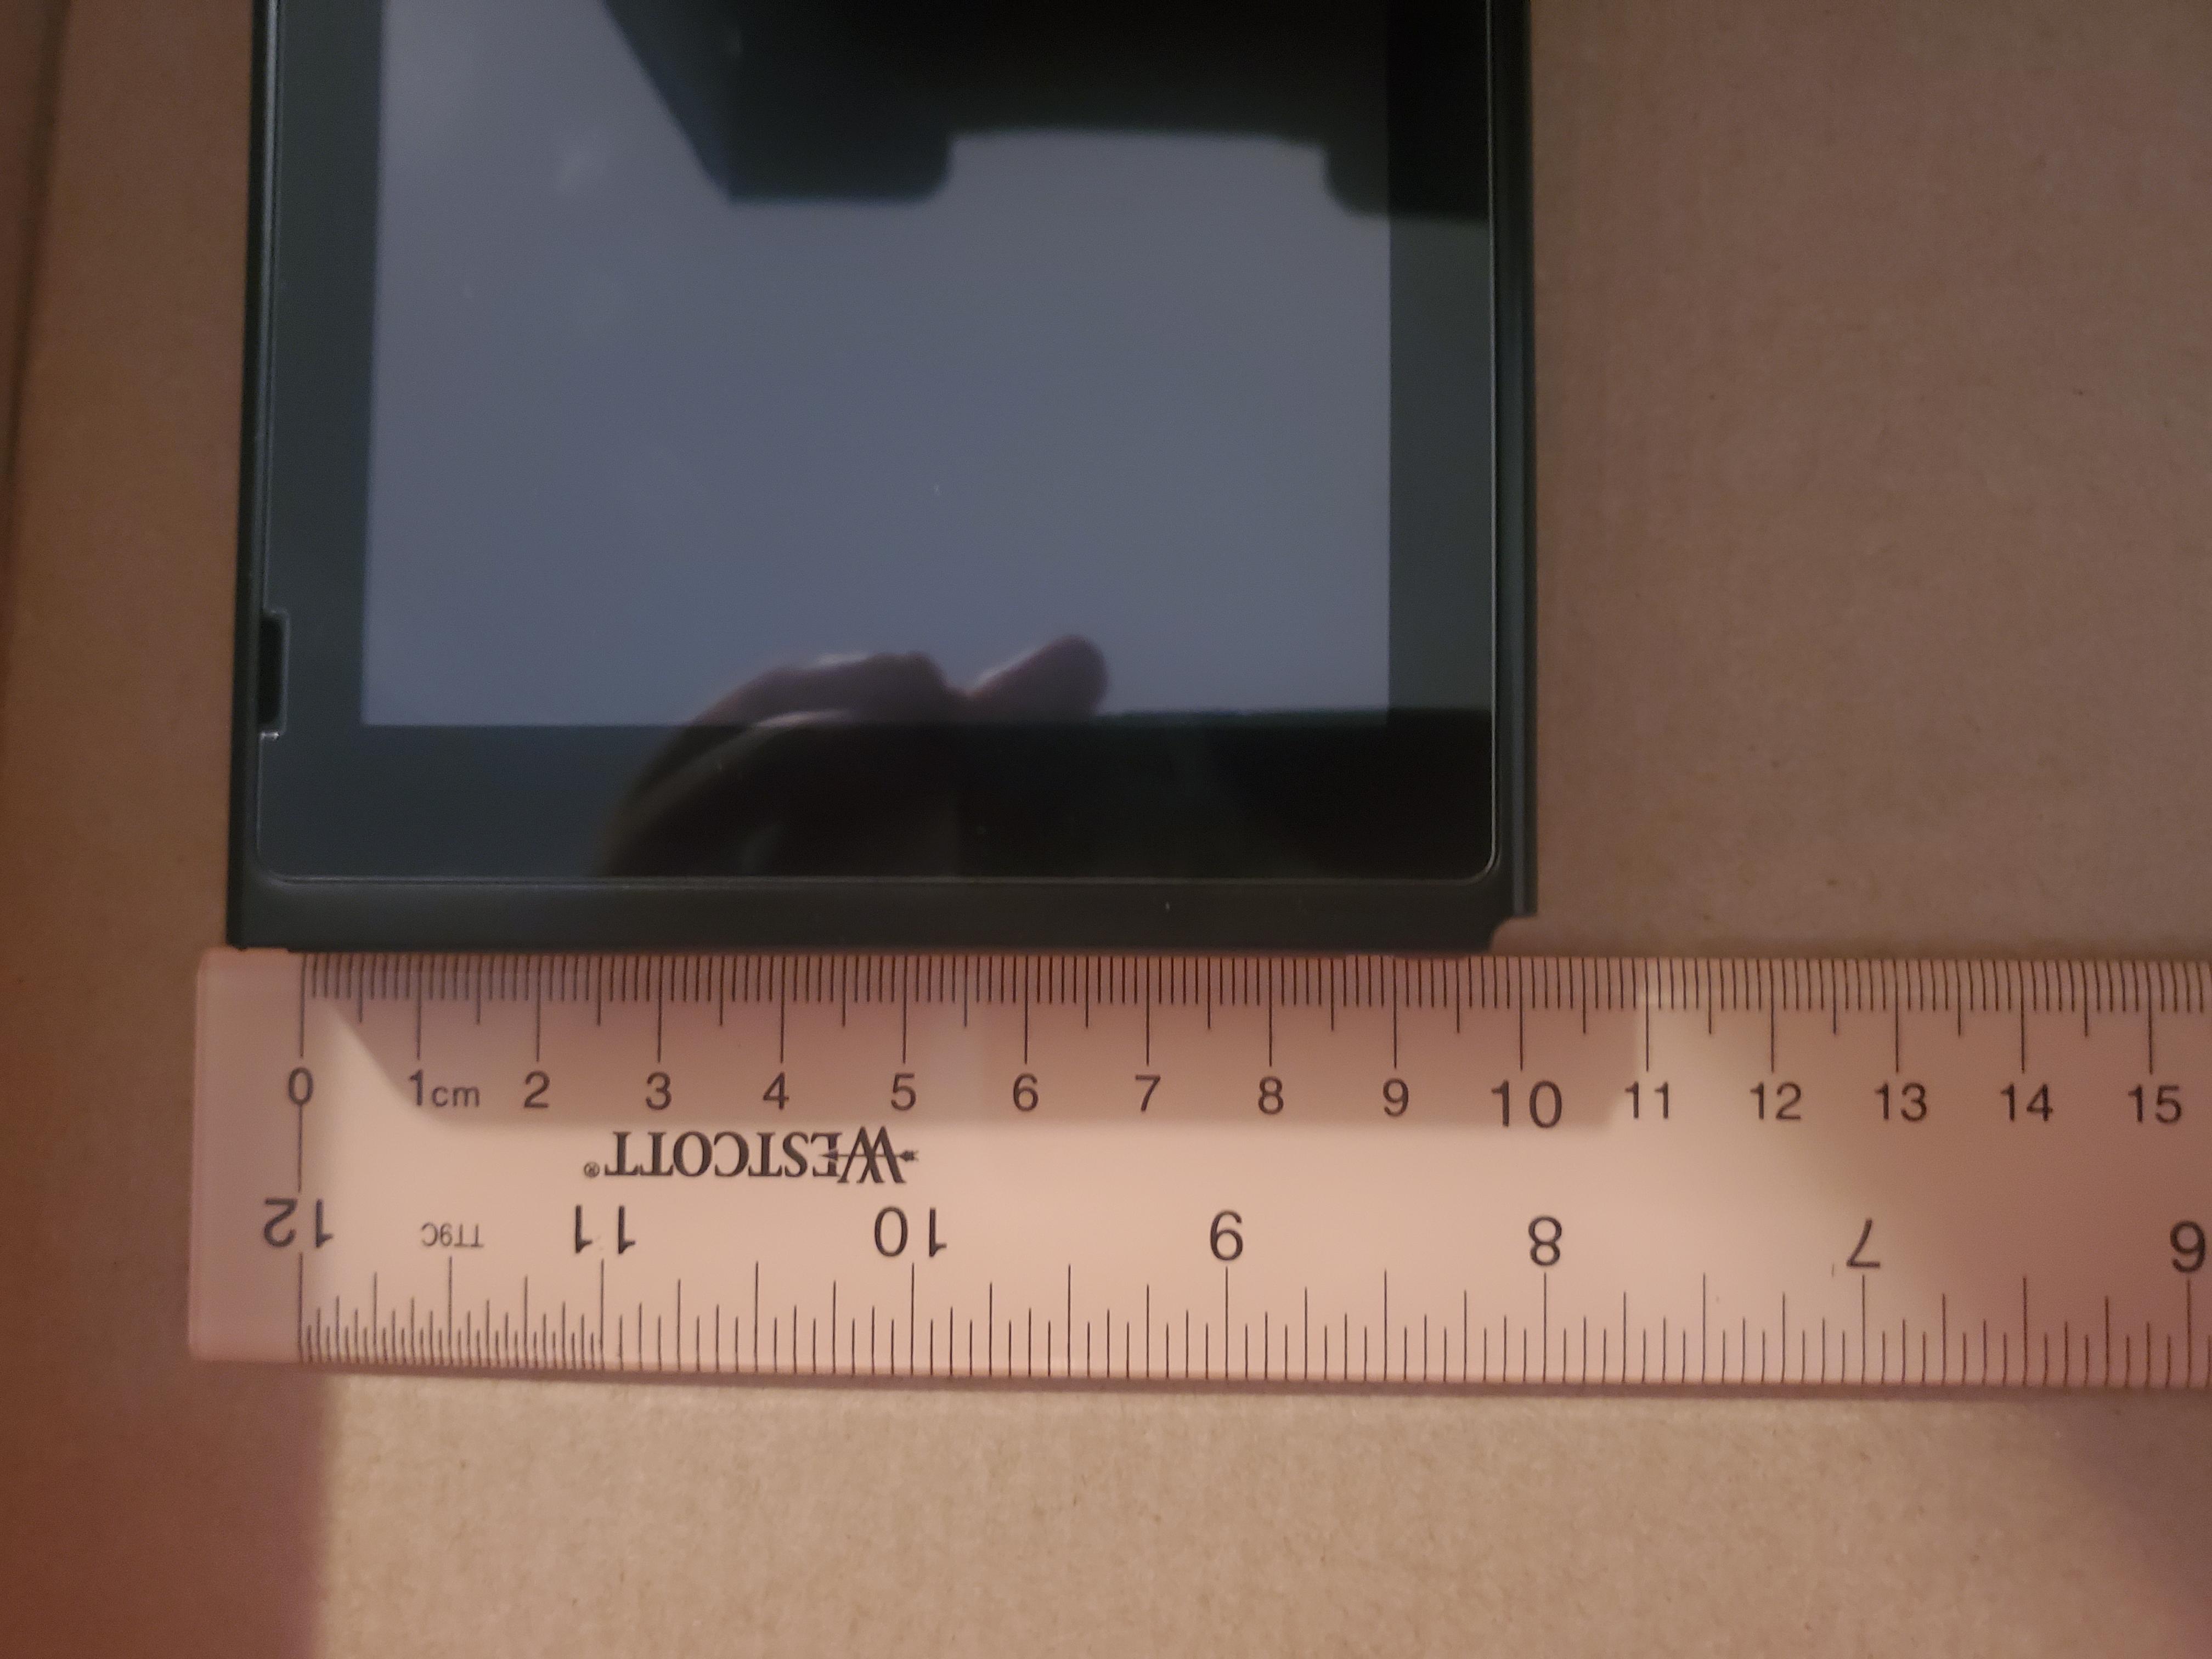
Take the joycons out of the switch and start measuring the length and the height. (17.1 cm, 9.5cm)
Measurements Secure

Once measured, draw the measurements on the center of the box.
Cutting the Shoebox

With a knife, cut the box at its exact measures so the switch's screen is visible through the other side.
Tape That Sucker Down!

Once cut, get the switch behind the shoebox and put the screen in the hole. Start taping it left and right and top to bottom. Make sure it can hold on its own for 30 seconds.
Decorating


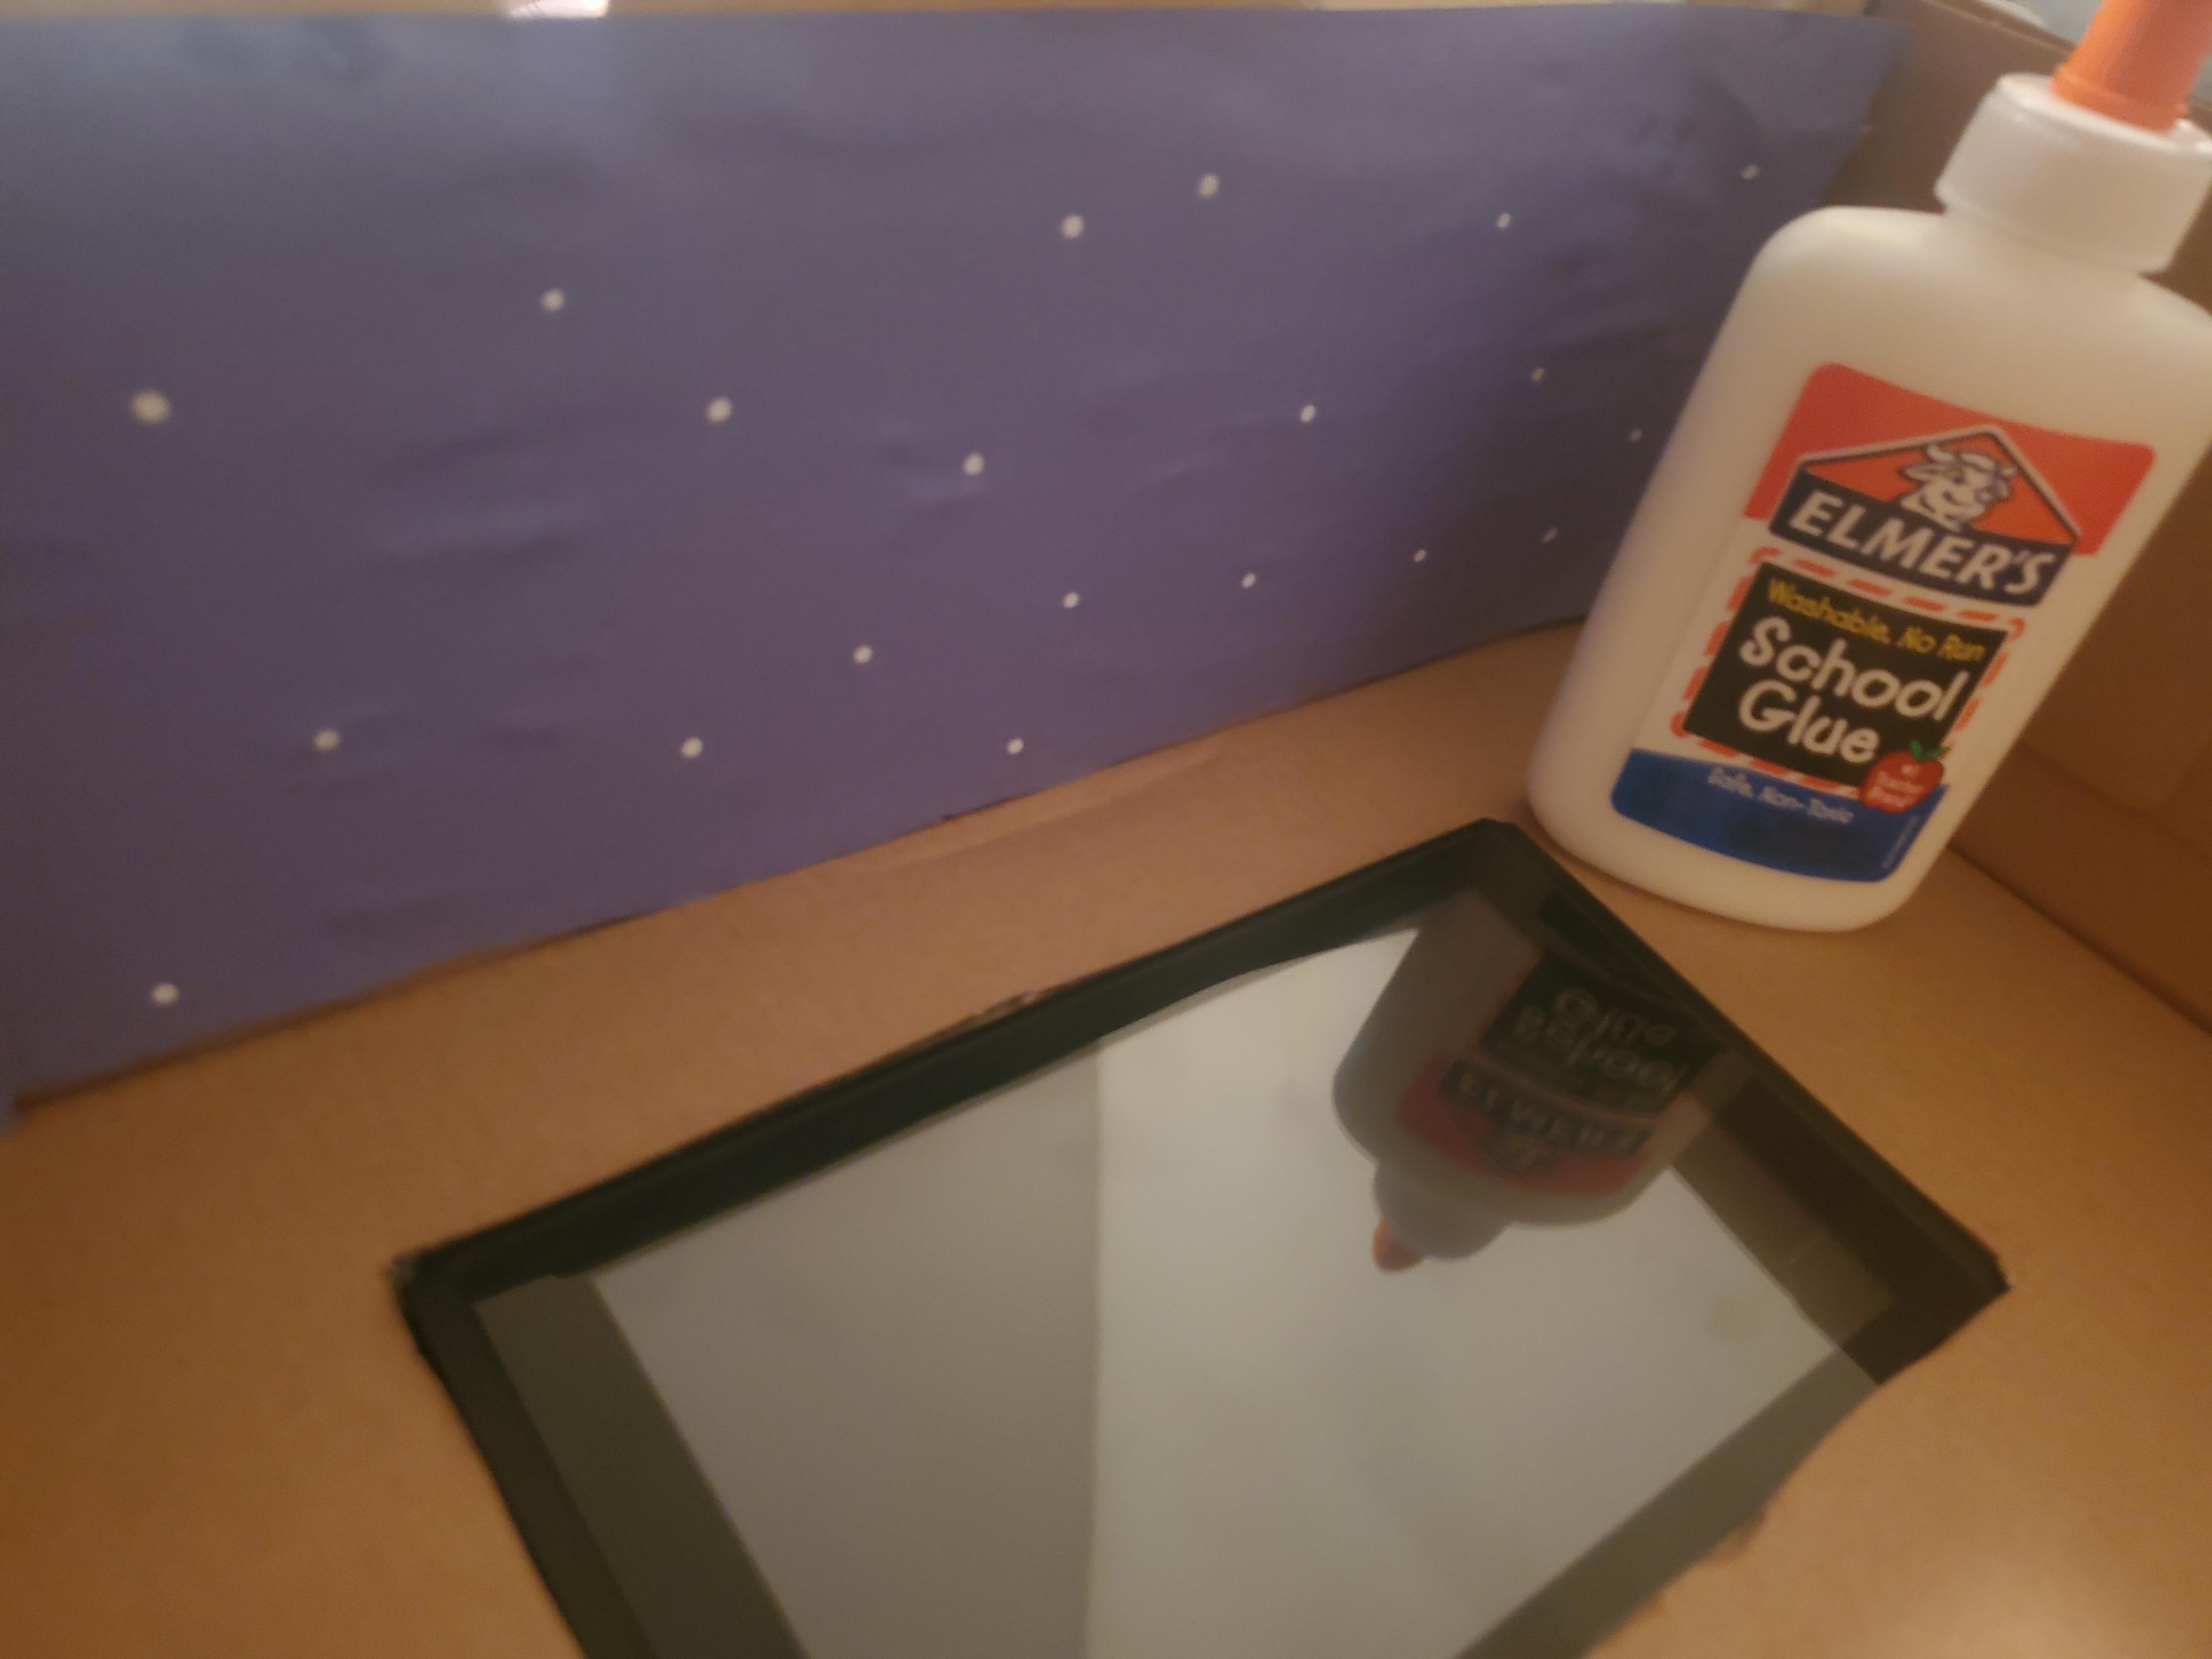
Now comes the most fun part of this entire project, polka dots! get a white marker and tap away on the blue construction paper. This will be your night sky. Then, cut it in half to make it fit on the roof of the shoebox. Glue both pieces on the roof of the shoebox.
Grass


Get a whole green construction paper and glue it on the bottom left corner of the shoebox. Get another green construction paper and glue it to the bottom right of the shoebox.
The Wall


Now cut the red construction paper and fill out the cardboard wall with it. Dont cover the switch or this whole project will be meaningless.
Side Walls

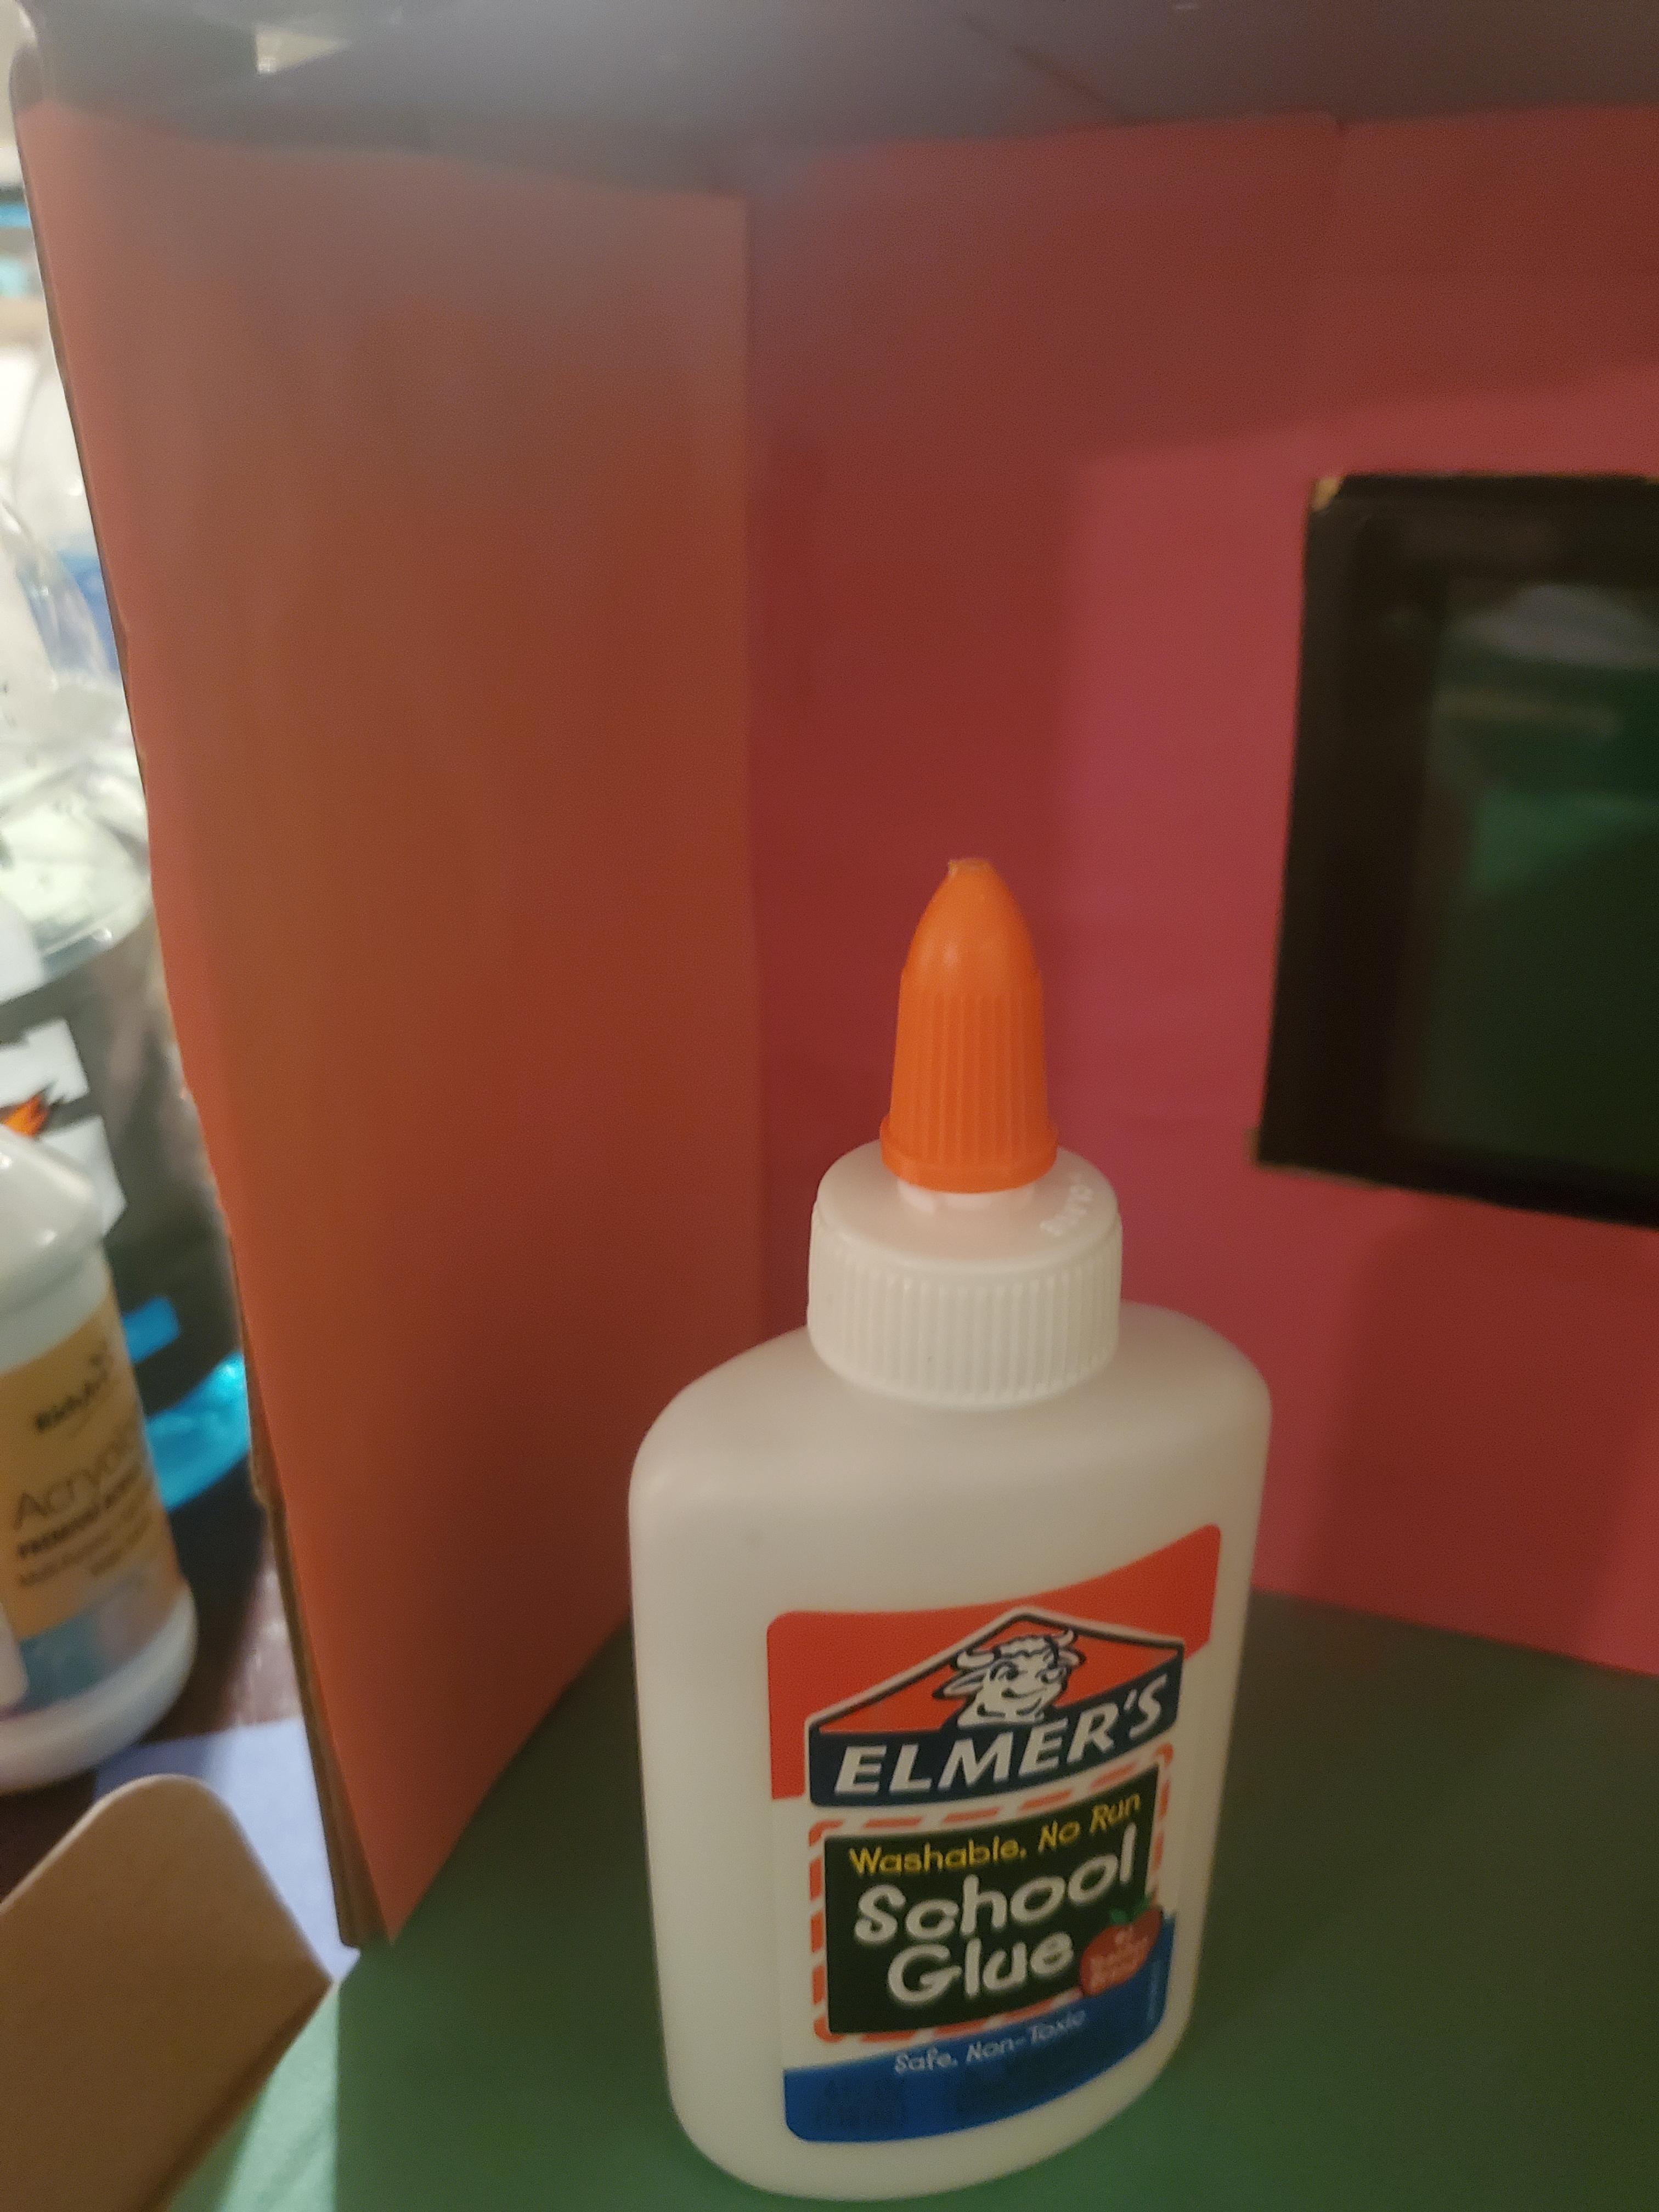
Take an orange piece of construction paper and cut it in half, and glue them to the sides to make it look sunset-themed.
The Stand


Get 6 popsicle sticks for this part. Get 2 sticks for now and glue them exactly as shown in the image. get 2 more and glue a whole popsicle stick onto the top of the switch and then snap to in half and put one half on the top and the second half on the bottom. With one more stick, fill in the frame. Now glue two sticks as support and bingo.
Led Lights

tape. the led light batteries and package on the side of the shoebox. Get the line of led on top of the shoebox for the next park.
Led Lights Part 1


Connect the lines to the little holes of the shoebox that was already there. If there aren't any, tape them.
Led Lights Part 2


drag the line to the bottom shoebox. Then connect it to the corner, where the side wall and wall wall collide.
Led Lights Part Three


Stretch the line out onto the top corner and tape the corner.
Led Lights Part 4


Then connect the line to the outer corner. Once done, stretch the line to the opposite side of the shoebox and tape it there.
Led Lights Part 5 (so Many Parts..)


Now you are done with the roof, stretch the line back to the ground of the shoebox and tape it into the corner. Then stretch all the way to the back of the shoebox.
Cars!

Now, glue your childhood cars onto the grass.
Finished!
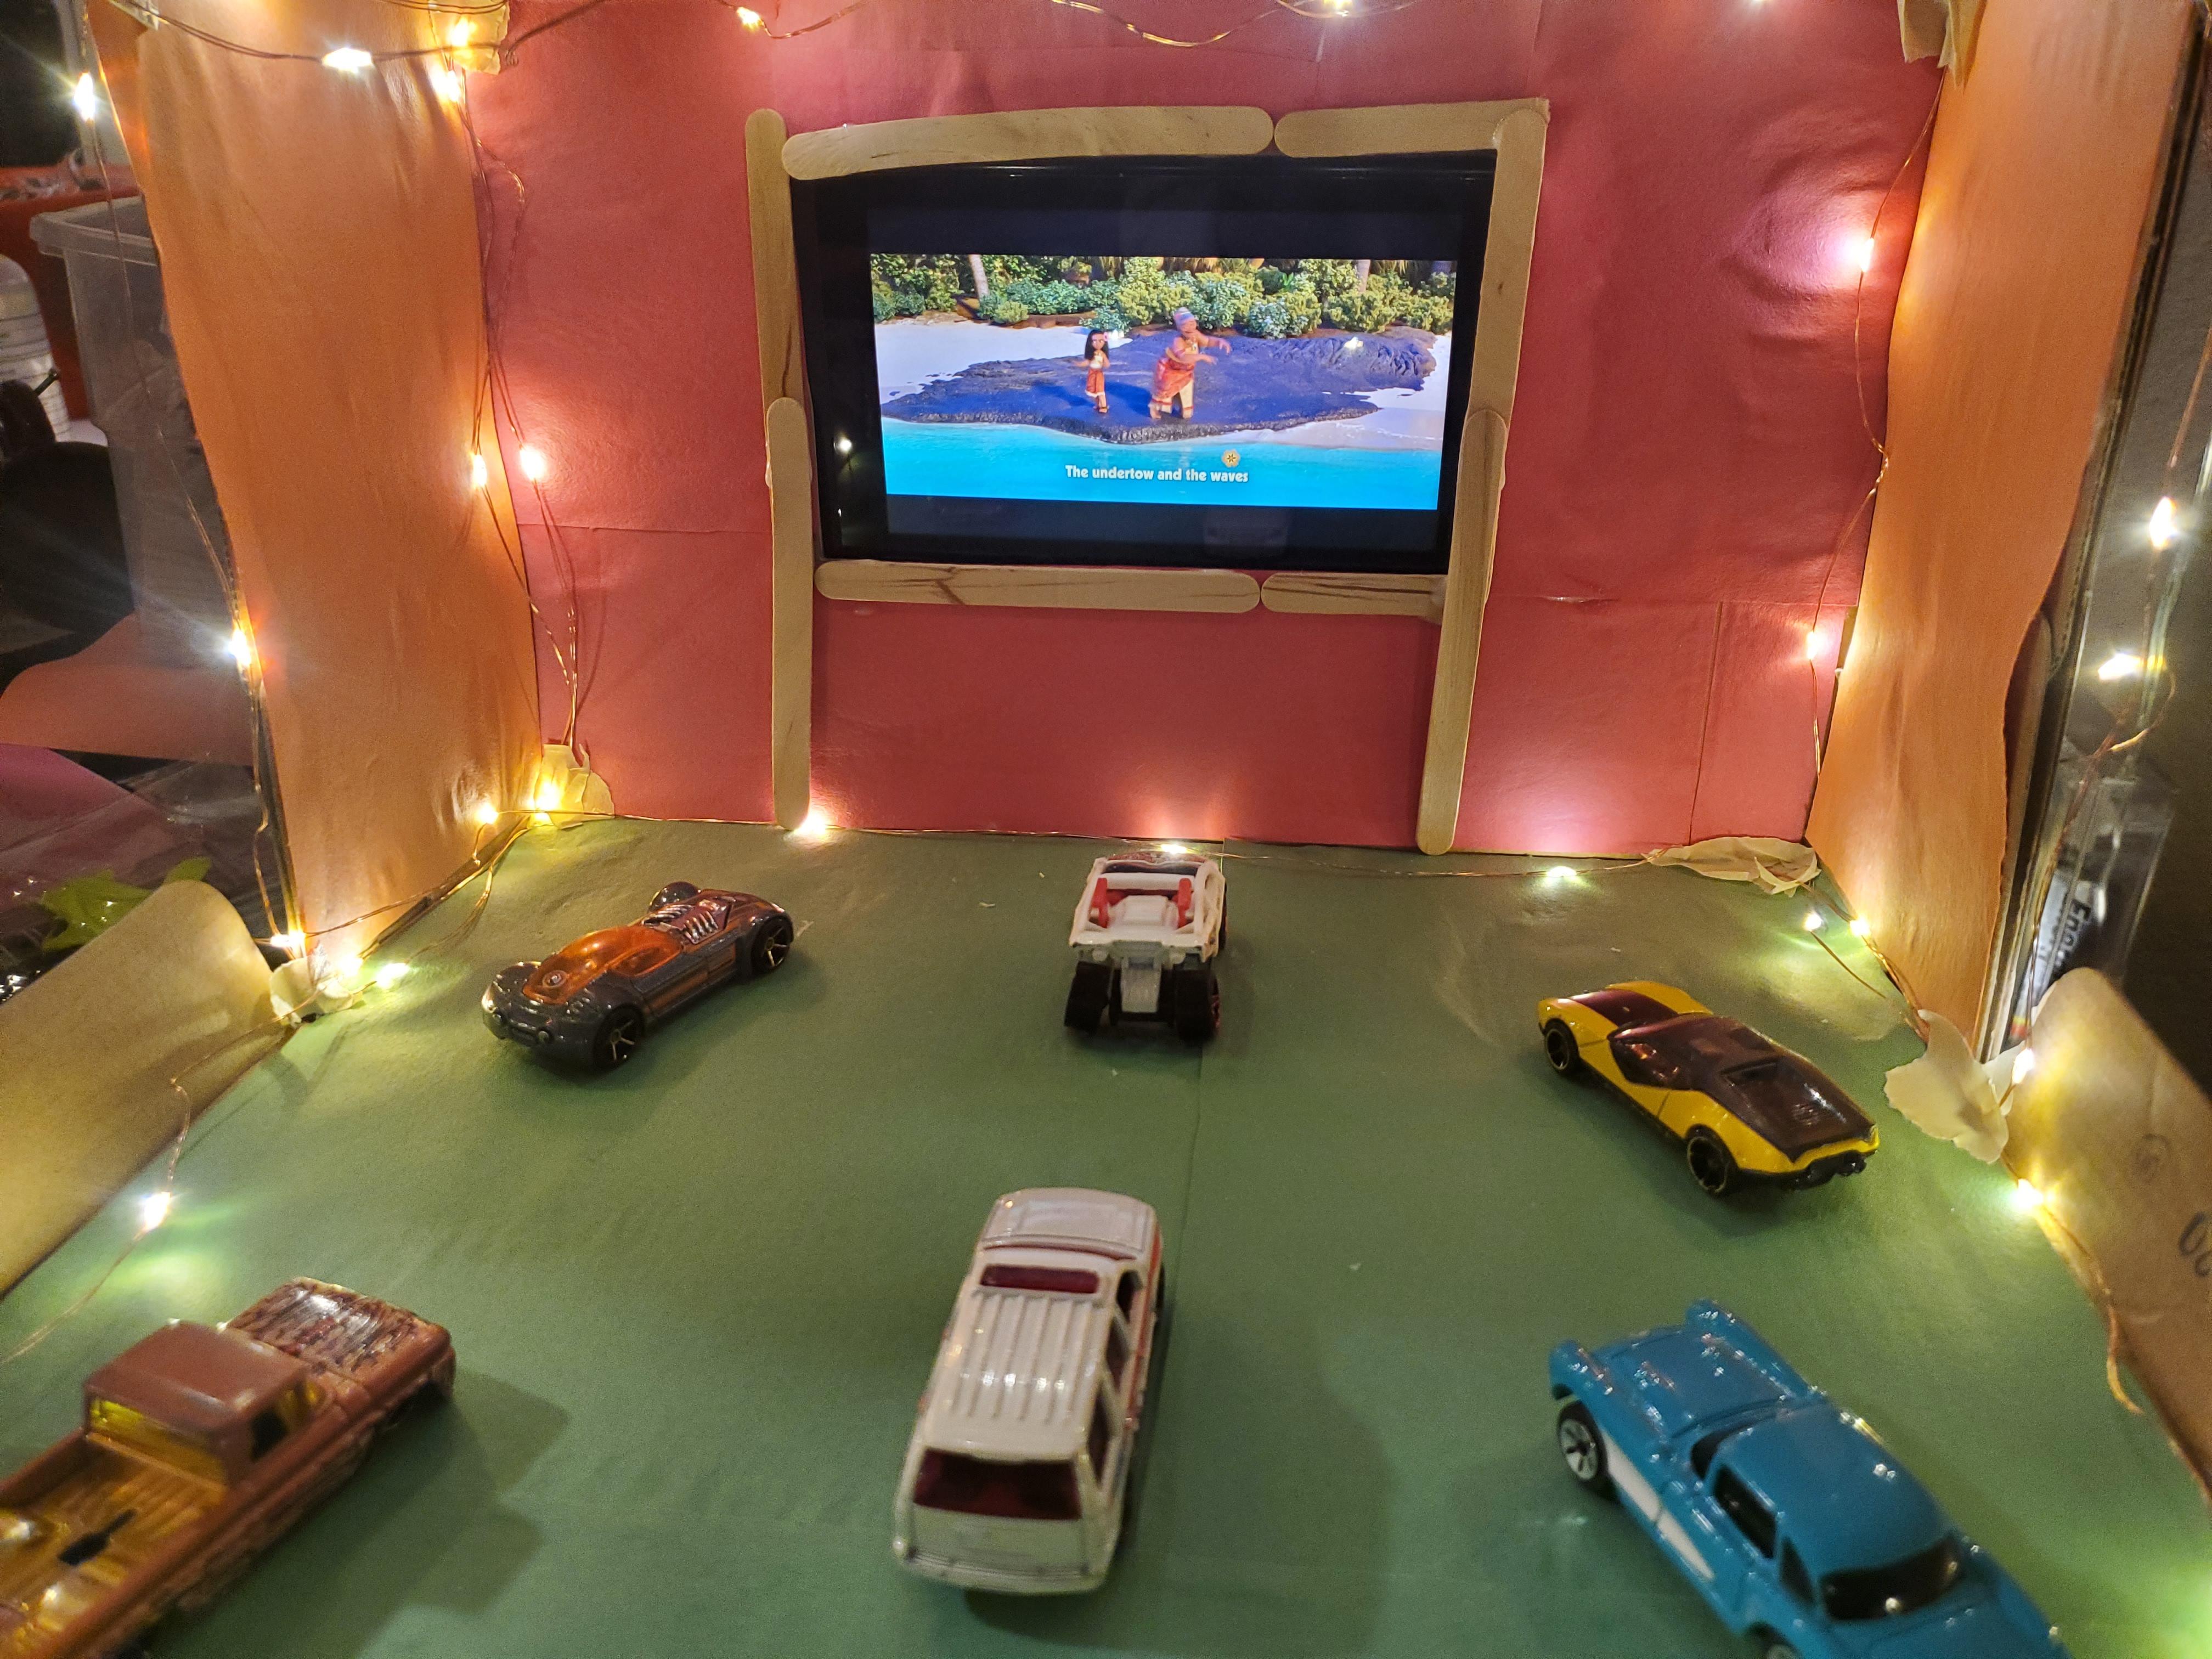
Now all that is left is to turn on the lights, and you are done!