Miniature Landscapes: a Beginners Guide
by MarvelousMoi1544 in Craft > Art
3380 Views, 22 Favorites, 0 Comments
Miniature Landscapes: a Beginners Guide


Making miniatures is a fun pastime, and forging tiny scenery is an important part of that. Today, I will take you through the basic steps for making a realistic landscape, perfect for model trainsets, dollhouses, etc.
Supplies

For the foam, I recommend using the cheap foamcore you can get at the dollar store. Most storebought foamcore has a paper backing, and with the kind you can get at most craft stores, it doesn't peel off as easily.
Cut the Foam


Carefully cut the foamcore over a designated cutting surface with a relatively sharp blade. If you want hills, loosely cut the shape you want and layer them on the base piece.
Glue the Foam


Glue the layers together with hot or elmer's glue. I used the blade to bevel the other pieces to make it slightly smoother, although that's optional.
Apply the Plaster


The next few steps are messy, so I recommend putting scratch paper under the model. Mix a small amount of water into the plaster until it has a thick glue-like consistency, and use an old paintbrush to spread it over the foam. Be sure to stipple, don't smear, so that it has a rocky texture.
Add the Dirt


Once the plaster is entirely dry, cover the model in a layer of Mod Podge. You can then sprinkle the dirt over the model. You can get model dirt at some craft stores, but you can also get some in your backyard. Just make sure it's relatively dry, and you should be good. Once it is coated, gently shake off the excess dirt. Let the model sit for 5 - 10 minutes.
Add the Grass


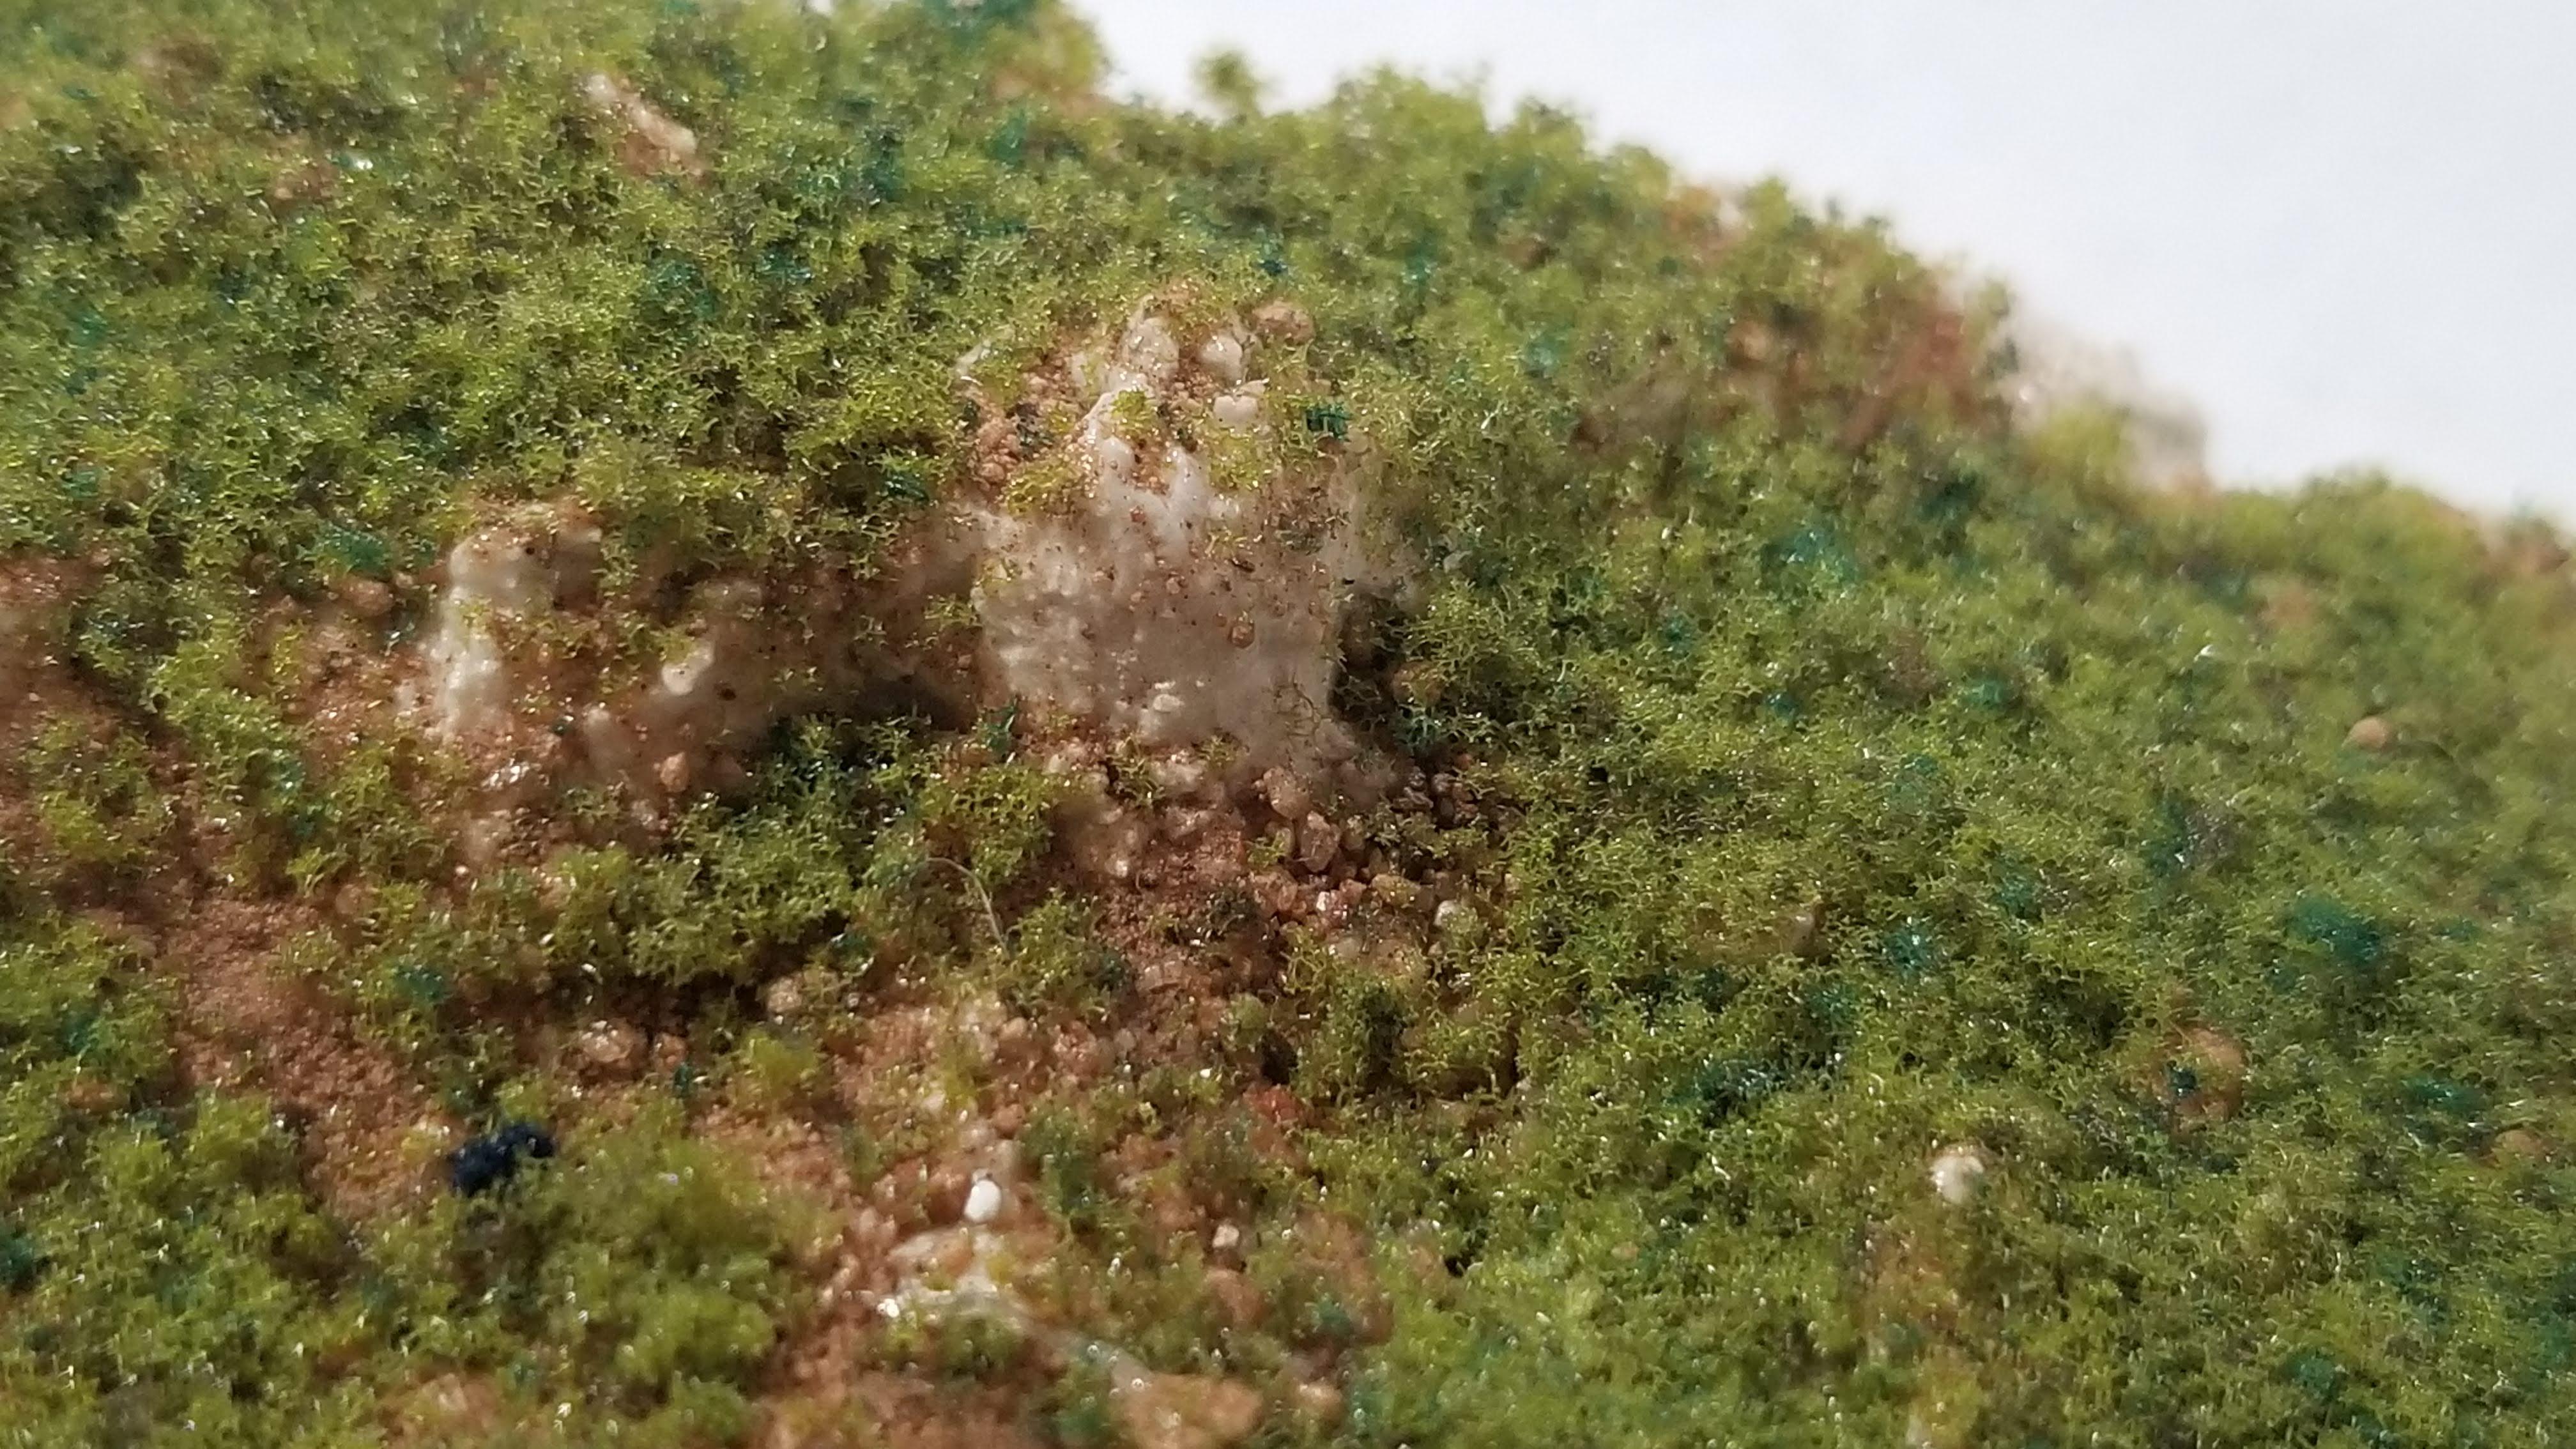
Once the mod podge is try, lightly spray the dirt with hairspray to fix it in place. Once that's dry, cover it in slightly watered down mod podge. Sprinkle on model flocking in the areas where you want to have grass, then press it down gently with your finger or a pencil eraser.
Finishing Touches


.jpg)


Once the mod podge dries, lightly spray it once again with hairspray. Once that dries, here may be areas where you can still see the plaster. If this is the case, you can paint over those areas. Start with the dark colors and once it dries, use a flat paintbrush to drybrush a lighter color on to the raised edges.